How to Make a DIY Devil Horn Hat in a Few Simple Steps

What's up guys? Today we're going to be covering a fun little trend, the devil horn hat. This is the best and most quality way to make horns for your hat so let's get started.
Tools and materials:
- Baseball hat
- Devil horn template
- Scissors
- Red fabric
- Marker
- Sewing machine
- Tweezers
- Stuffing
- Glue
- Glue gun
- Barge cement
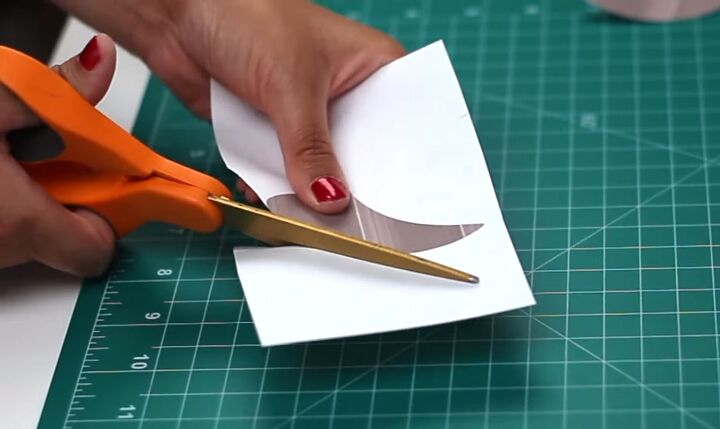
1. Cut the horns
First, print off the template for the horns and cut them out as precisely as you can.
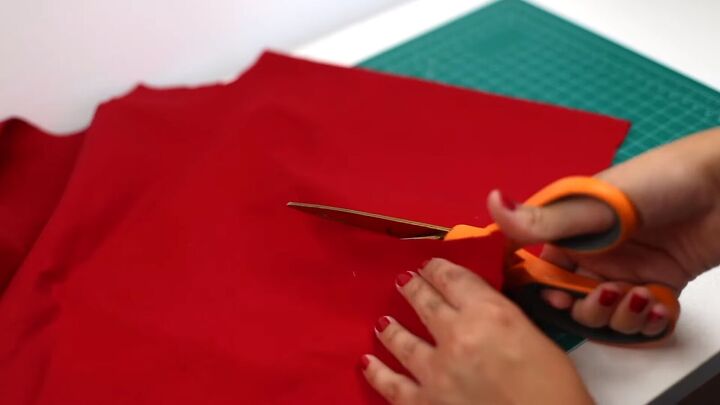
2. Cut the fabric
Take your fabric and ensure that it has a fold in it so that there are two layers, one on top of the other. With your fabric stacked, cut away a square big enough to fit both horns.
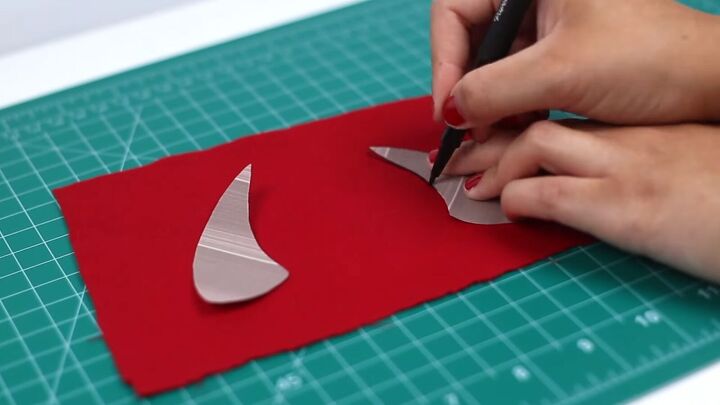
3. Trace the horns
Now take the cutouts of your template and lay them on top of the fabric. Take a marker and trace around each horn. The marker won't show in the finished product so trace as sloppily as needed.
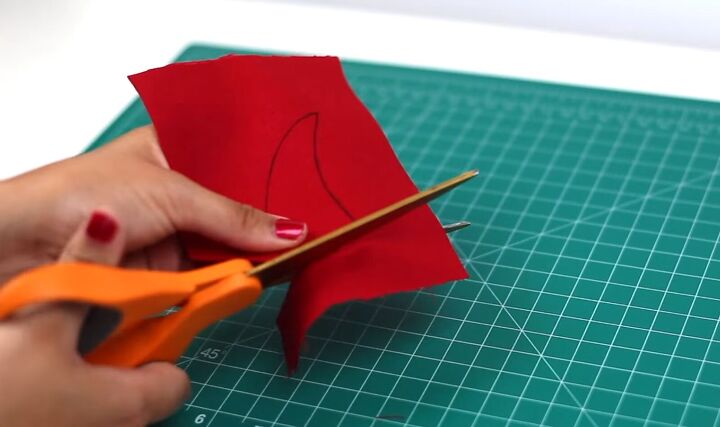
4. Cut the horns
Grab some scissors and cut away the bottom line of each horn.

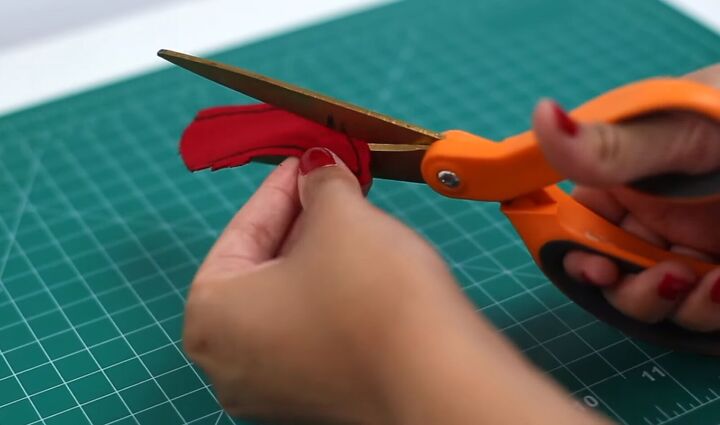
5. Sew
Sew the two pieces together with a simple stitch. Ensure to lift the presser foot and reposition the needle around curves so that you don’t stray off the marked line. Once your two pieces are sewn together, cut the excess around the horn leaving about an inch (2.5cm) to spare.
6. Cut slits
Then with the extra fabric around the stitching, cut small slits all the way around the design. This will allow the fabric to be more flexible when flipped inside out.
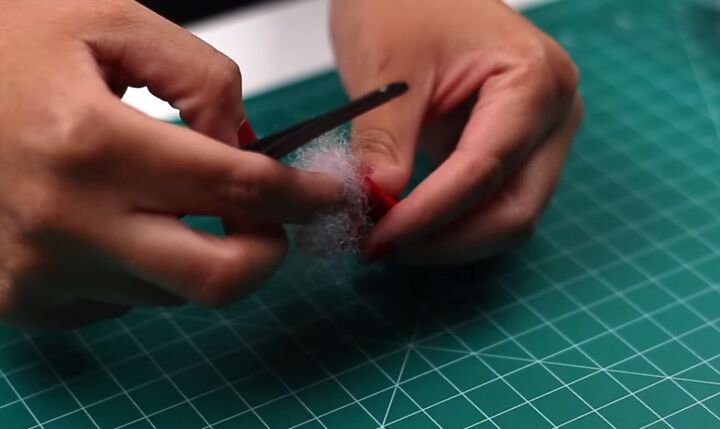
7. Stuff the horns
This next step is where the magic happens and the project really comes to life. Take your fabric and flip it inside out. It’s going to be a bit hard getting the pointed tip inside out so grab tweezers
and shove the fabric through until you get the whole thing flipped.
Now it’s time to stuff the horns with filling. I like to put some filling in and grab tweezers to help push it all the way down so it gets to the hard-to-reach areas.
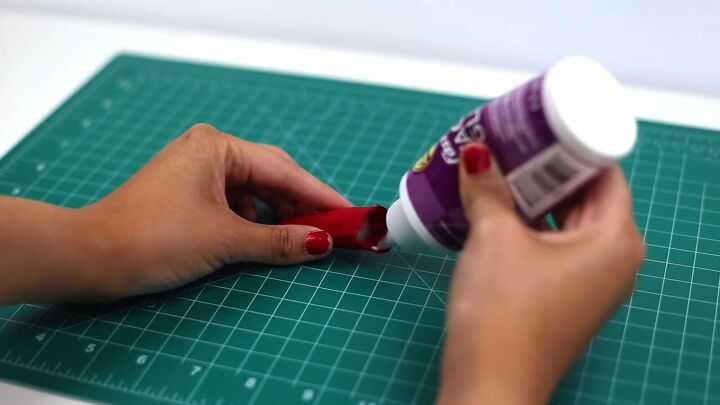
8. Glue the bottoms
Once you fill the whole horn with stuffing, you can then close the bottom by using some tacky glue. We want the bottom to be as flat as possible so try folding it like an envelope when gluing
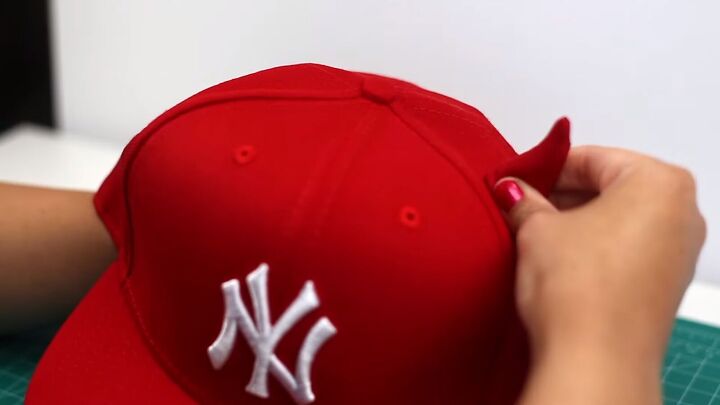
9. Attach to hat
Lastly, we're just going to attach the horns to the hat using a hot glue gun. I highly recommend using barge cement for this step but I didn't have any on hand so I used a glue gun instead.
Apply some glue or cement to the bottom of a horn and hold it on your hat for a few minutes until dry. Be careful not to add too much or it will visibly seep out from around the sides and make the finished product look sloppy.
Once you’ve stuck on one horn, repeat the process for the other one.
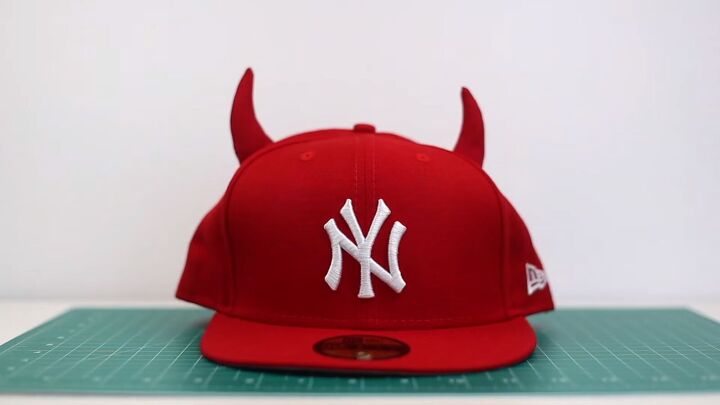
DIY devil horn hat
This devil horn hat is such a fun accessory to rock on your head. The fact that the horns are in the same exact color as the hat makes it look very seamless, like the hat came that way.
The horns were super easy to make and I’m in love with the finished hat. Discover your wicked side and give this DIY a go for yourself! Let me know what you think in the comments below.
The author may collect a small share of sales from the links on this page.


Comments
Join the conversation
Go Yankees! What a cute idea!