Easy Bucket Hat

When I was younger I use to wear hats ALL the time...it was as if my outfit wasn't complete unless I had a matching hat to go with it. I guess as I got older I started to explore other accessories and drifted away from the whole "a hat for every outfit" phase. However, recently I've been wanting to get back into the hat game, and more specifically try my hand at making my own hats. I really wanted to try to make my own bucket hat and I finally got around to doing it!
I found this free pattern for a bucket hat on Mood.com (click link to get pattern) and decided to use this beautiful suede fabric from Ferrell Fabrics.
I love Mood.com because their free patterns are a great option if you are on a budget and do not want to pay for a pdf pattern online, on Etsy or from your local fabric and craft store. All you have to do is enter in your name and e-mail address and they e-mail the PDF pattern straight to you.
Step 1:
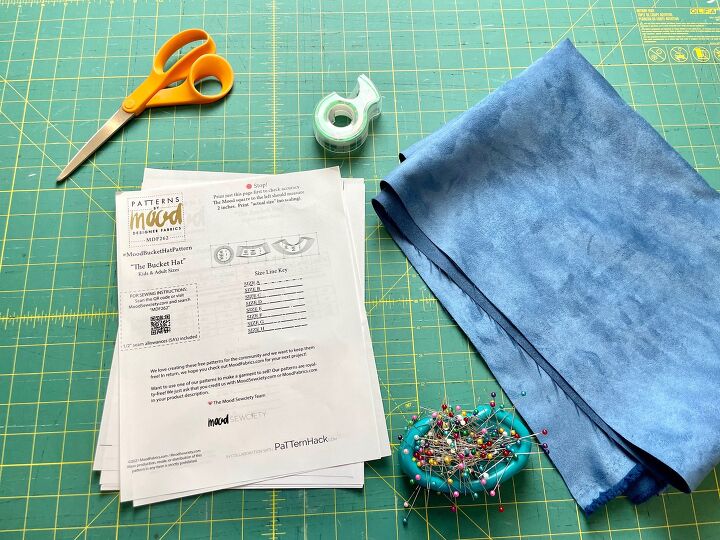
Gather Your fabric (about 3/4 of a yard), scissors, tape, thread, and tailors chalk. This project is best completed with a sewing machine, although I'm sure you can hand sew it too (just might take a wee bit longer).
Then print out your PDF pattern.
Step 2:
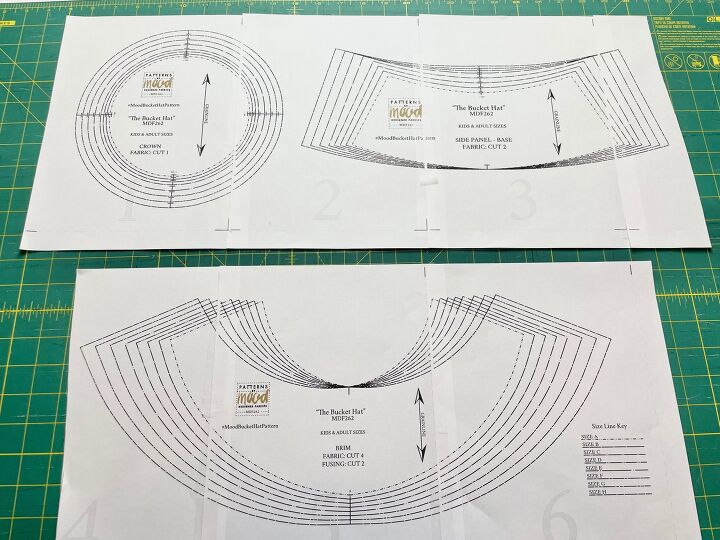
Once you have your pdf pattern printed out you will want to use your tape to tape the pages together (using the guidelines to line the pattern up properly).
Before cutting out the pattern I always refer to the measurement chart to confirm what size I need. PDF patterns can be confusing with all the lines from the graded sizes merging together so I often used a colored marker to trace the lines of the size that I need to cut for my project.
Step 3:
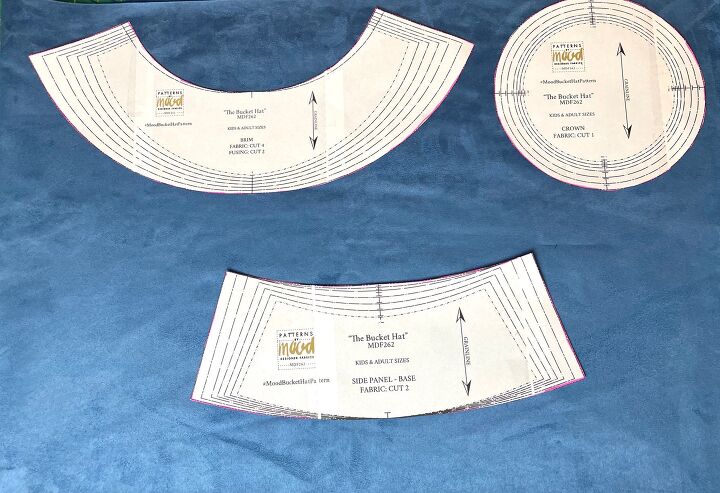
Once You have cut out your pattern in the size you need. Carefully lay all of your pattern pieces out on your selected fabric and pin them into place.
Then cut them out.
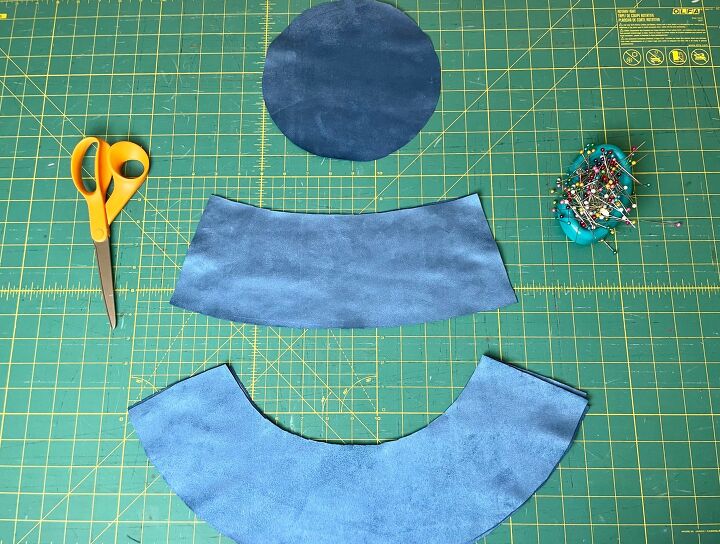
For this project you need to cut 1 of the crown of the hat, 2 of the side panel and 4 of the brim. If you have interfacing its a good idea to cut out 2 pieces using the brim pattern piece; this well add structure to the brim of your hat.
Step 4:
Once you have all the pieces cut out its a good idea to trace all of your seam allowances using tailors chalk on the wrong side of the fabric (all seams have a 1/2" seam allowance for this pattern). Although most sewing machines have gauges that help you when sewing your seams sometimes having them traced with tailors chalk makes it easier.
Step 5:
Lets get Sewing!
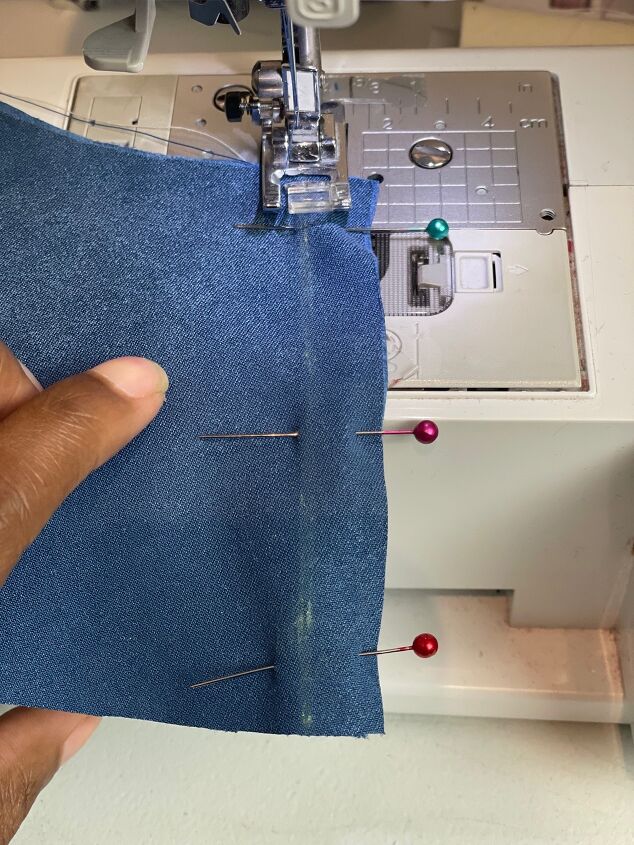
So after you have all of your pieces cut out, seam allowances marked and pieces pinned (right sides together) we can begin sewing.
Honestly it doesn't matter what order you sew the seams together for this project. I sewed the side panels together at the side seams first and then I sewed each set of the brim pieces together at the side seams.

Step 6:
After you have sewn the side panels and the brim pieces together make sure to trim the seam allowance to reduce bulk. You will also want to use your iron to press the seams open.
Step 7:
The next step is to sew the 2 set of brim pieces together (you should have 2 sets of brim pieces sewn together at the side seams).
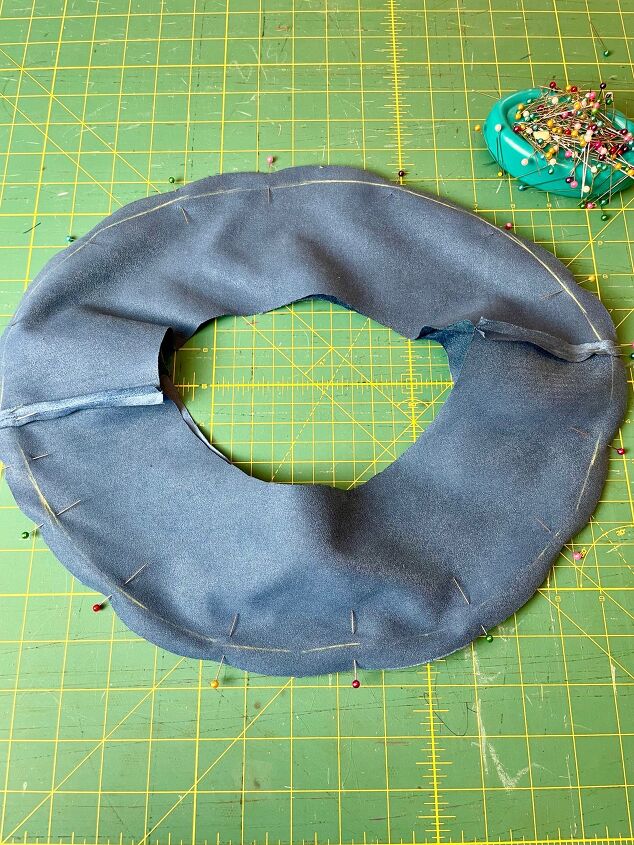
You will want to lay one set of the brim on top of the other (right sides together) and sew around the outer rim.
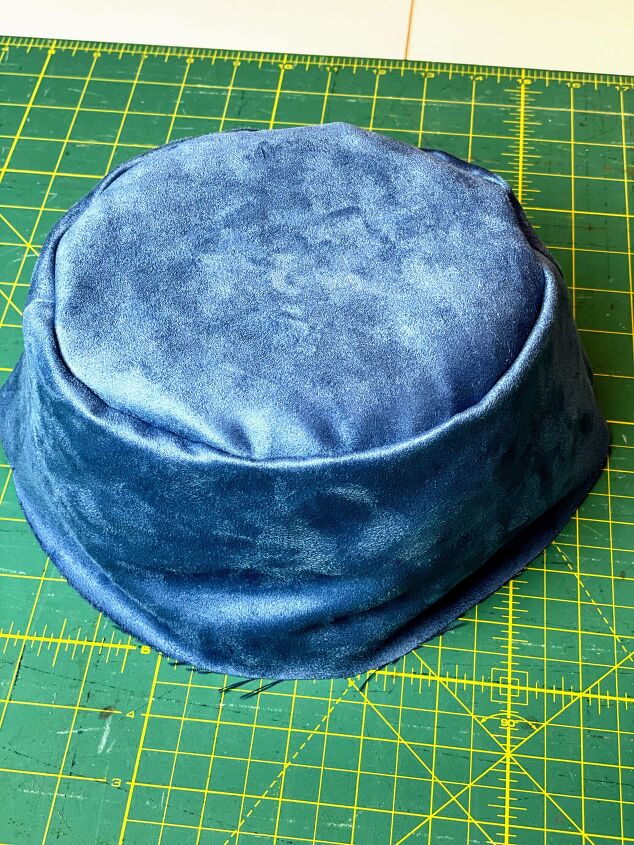
Step 8:
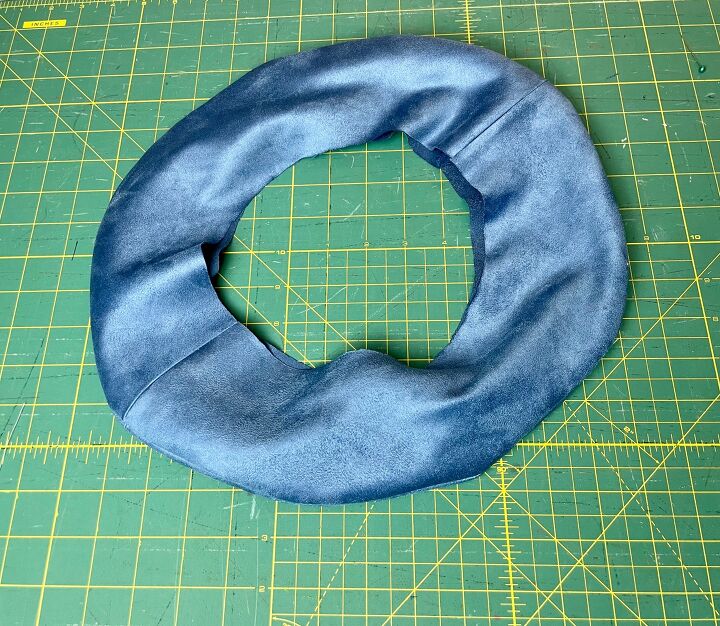
Once the brim pieces have been sewn together at the rim you will want to turn this piece right side out and press. Your brim should look something like this picture above.
Next, you will want to pin the open inner part of the brim pieces together and stay stitch around.


Step 9:
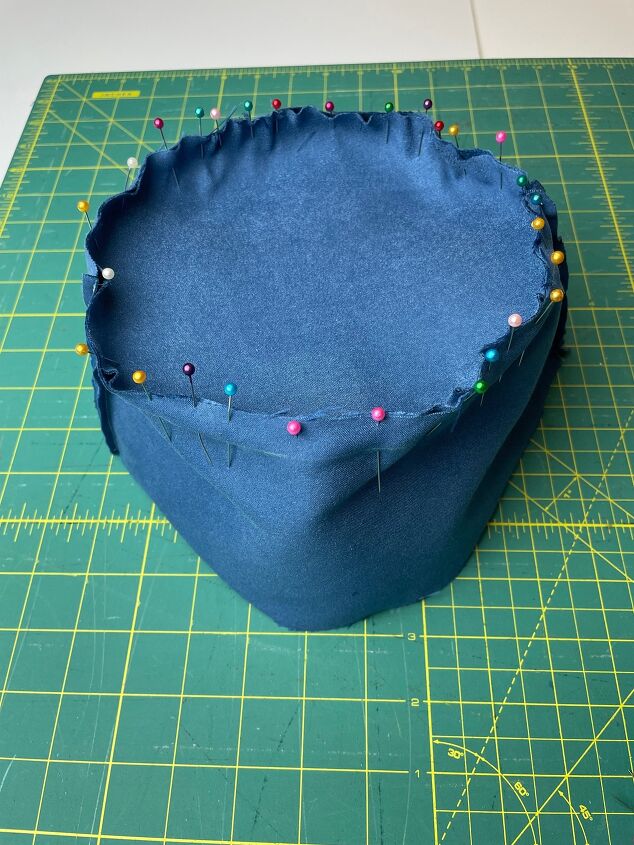
The next step will be to pin the crown piece to the side panel pieces and sew at 1/2" seam allowance.
Once you finish sewing you will want to remember to trim your seam allowance down to about 1/4".
Step 10:
After trimming the seam allowance turn the top part of the bucket hat right side out and press around the seams for a clean crisp look.
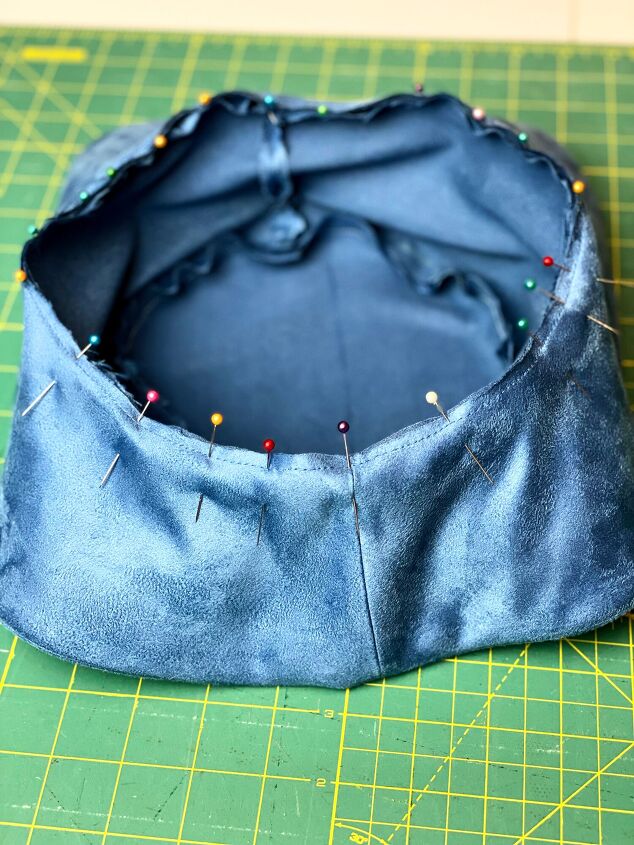
Step 11:
Pin the brim piece to the side panel (top of hat) and sew at 1/2" seam allowance.
Trim seams to 1/4" when finished.
You will also want to press these seams once you turn the hat right side out.
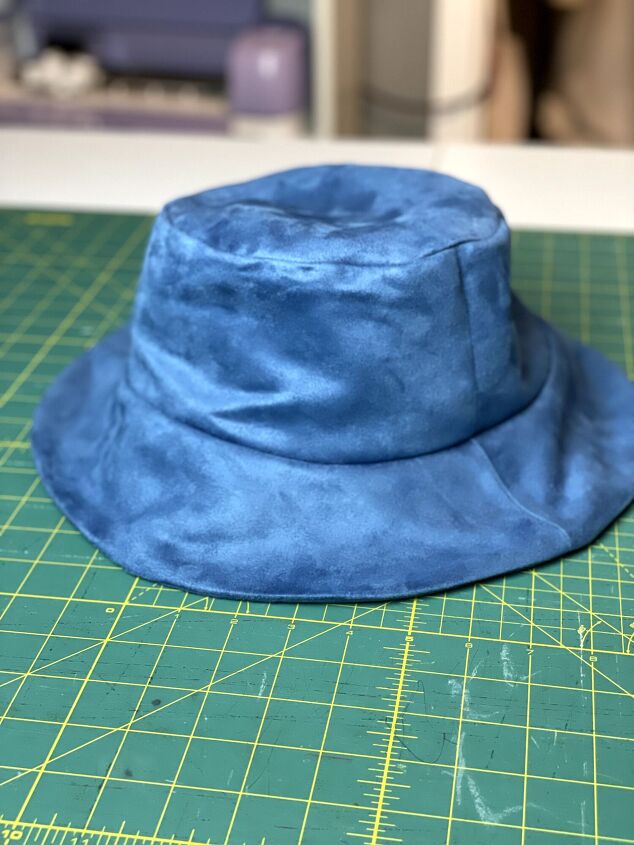
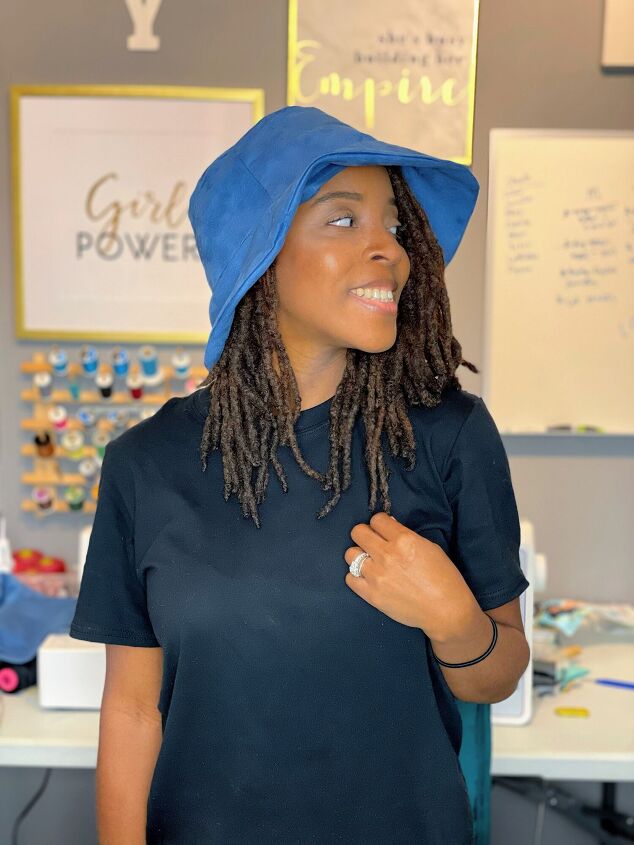
And just like that you're all Finished!!!!
This Hat was super easy to make and the pattern worked perfectly.
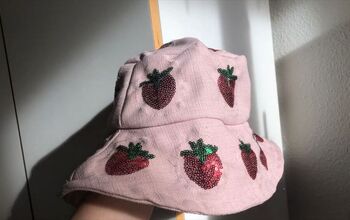
I even ended up making a smaller version for my toddler.

The author may collect a small share of sales from the links on this page.


Comments
Join the conversation