How to Make a Baseball Cap Out of an Old Pair of Denim Jeans

A denim baseball cap is a timeless accessory. This tutorial shows you how to make a baseball cap from old denim jeans. I’ll give you the sewing pattern and sewing instructions, so let’s get started on your DIY baseball cap!
Tools and materials:
- Old jeans
- Baseball cap
- Interfacing
- Ruler
- Marker
- Scissors
- Iron
- Sewing needle and thread
- Sewing machine
- Buttonhole foot
1. Make your pattern
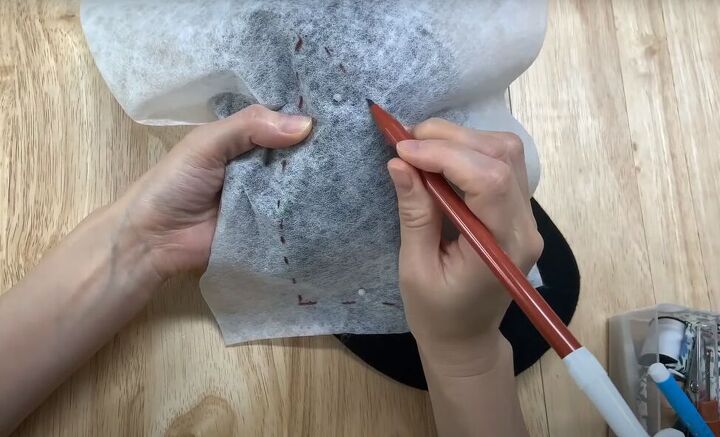
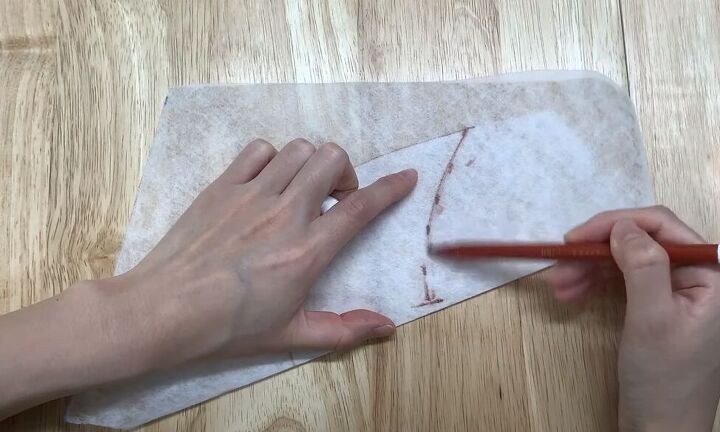
To make the pattern, copy an existing baseball cap you already own. Position your interfacing fabric over the front of your baseball cap and pin it in place. Trace out one triangle of the cap onto the fabric.
Mark the center of your cap brim at the front and back of the brim and trace the outer edge of the brim onto your interfacing fabric.
Mark the center of the brim on your tracing and then roughly cut out the brim tracing from the rest of the fabric.
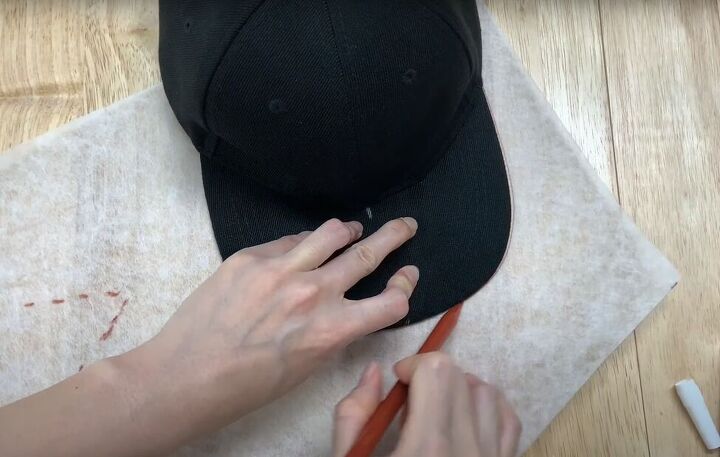
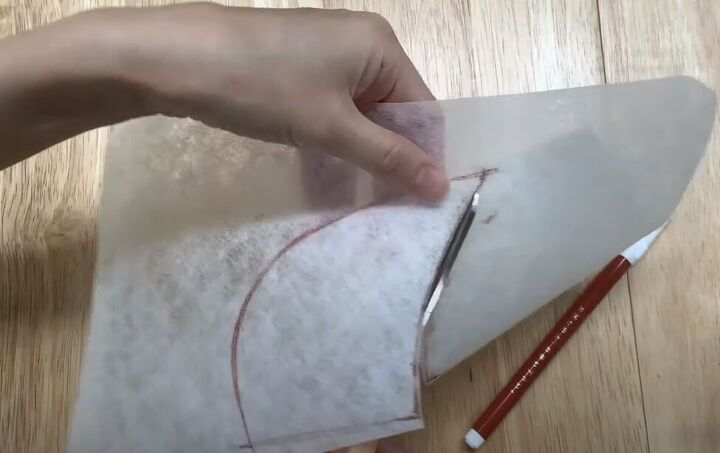
Lay the interfacing on top of the underside of your brim, lining up the edges. Mark the inside edge of the brim from the center line to one side edge
Make sure you do not include the cap band as part of the brim.
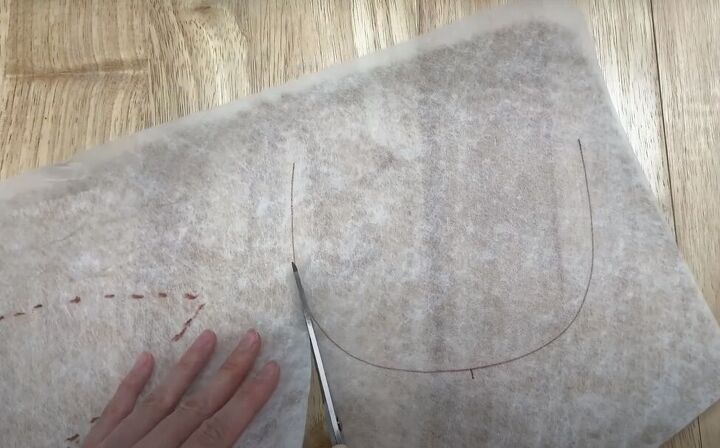
Fold the interfacing so the brim pattern is symmetrically folded and draw out the inner brim line.
Cut the brim from the interfacing.
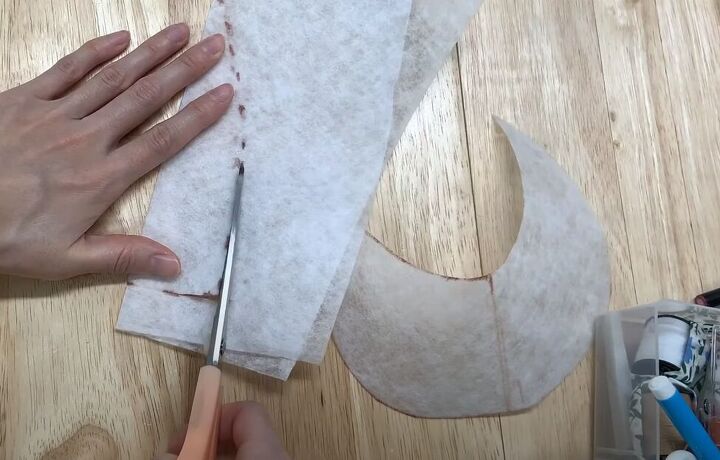
Fold and cut the triangle tracing as well.
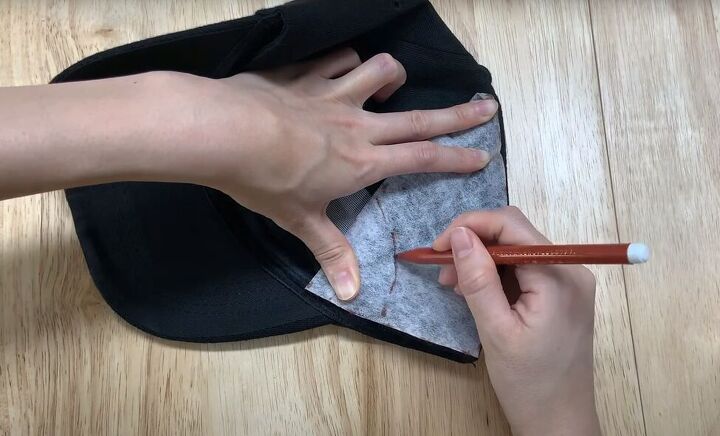
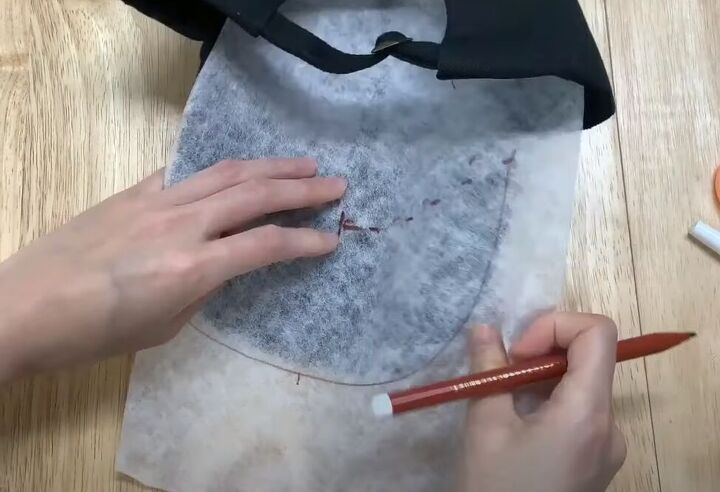
Lay your triangular interfacing on top of the cap triangle adjacent to the back opening and trace out the cap opening line on your interfacing.
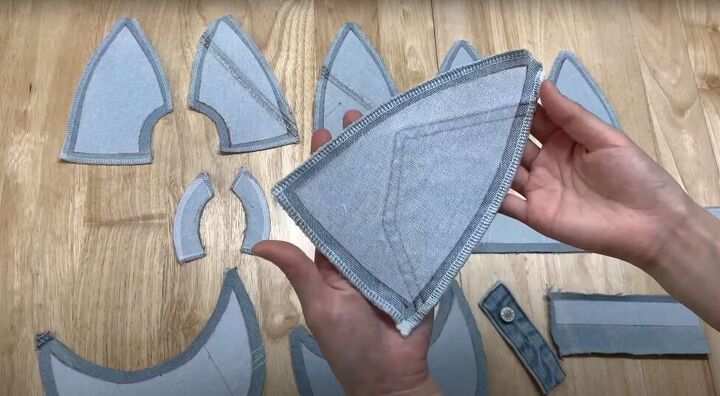
2. Cut all pieces
Cut open the side seams of your jeans so you have a large piece of denim to work with.
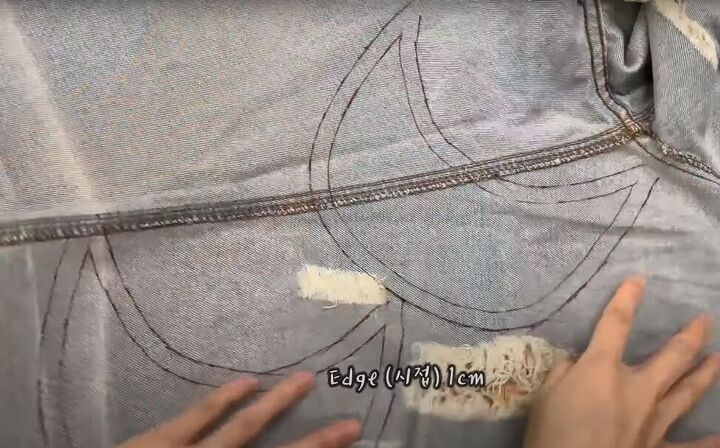
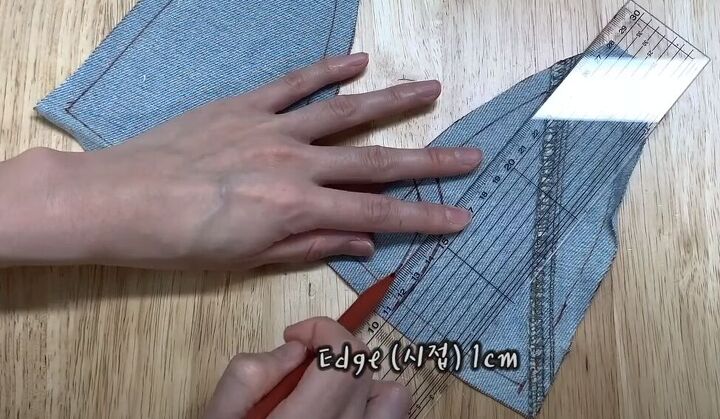
Using your interfacing pieces as a pattern, trace two cap brims on your denim, adding 1 centimeter (0.4 inches) all the way around for seam allowance.
How you lay out your pieces is totally up to you.
Trace and cut a total of six triangle interfacing and six denim pieces, adding a 1-centimeter (0.4 inch) allowance all the way around.
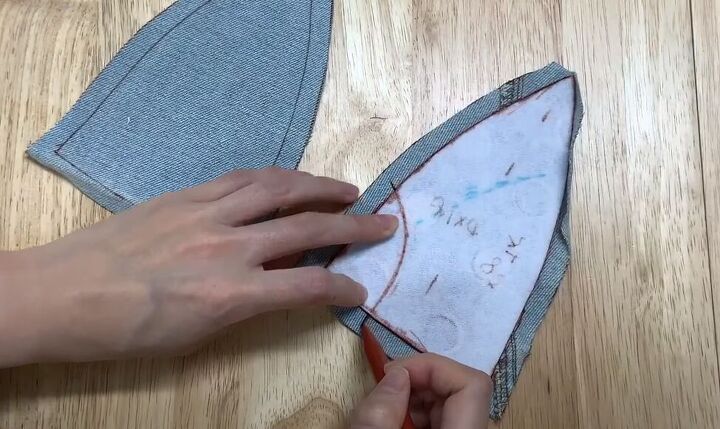
Place a triangle interfacing piece on the back of one denim triangle and mark the back cap opening on the fabric.
Then draw in another opening line 1 centimeter (0.4 inches) closer to the inner corner.
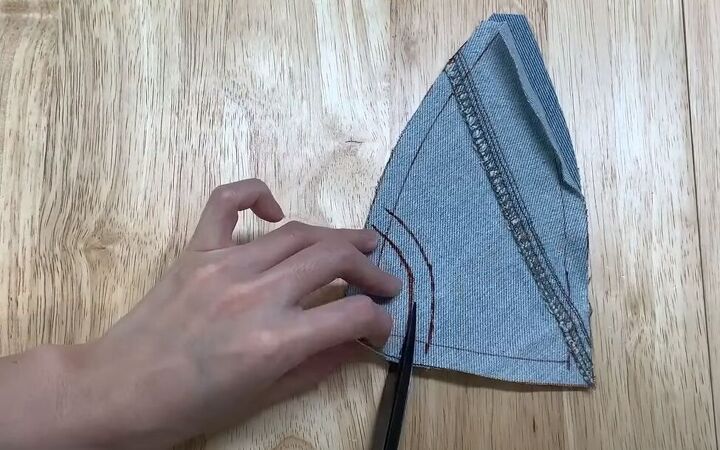
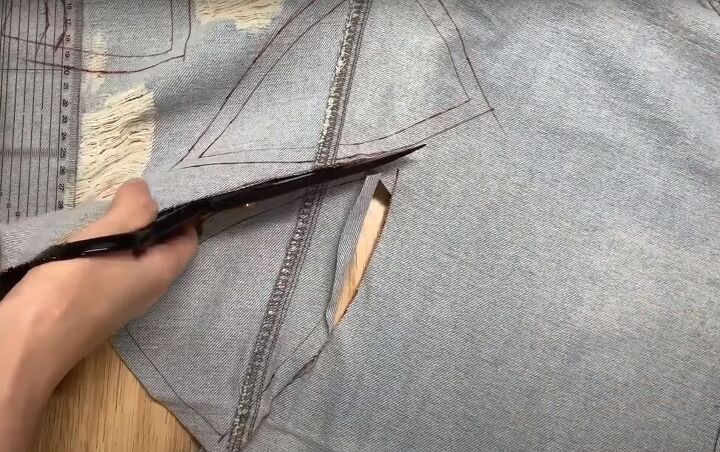
With right sides facing, place that triangle on top of another triangle, and cut the inner opening line from both layers.

Fold your leftover denim with the right side facing in and trace the outline of the cap opening.
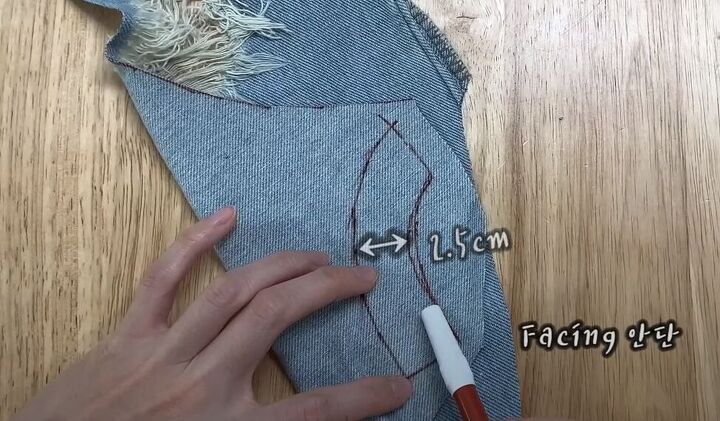
Add a parallel curved line 2½ centimeters (0.98 inches) farther from the edge than the first line and cut out the cap opening facing.
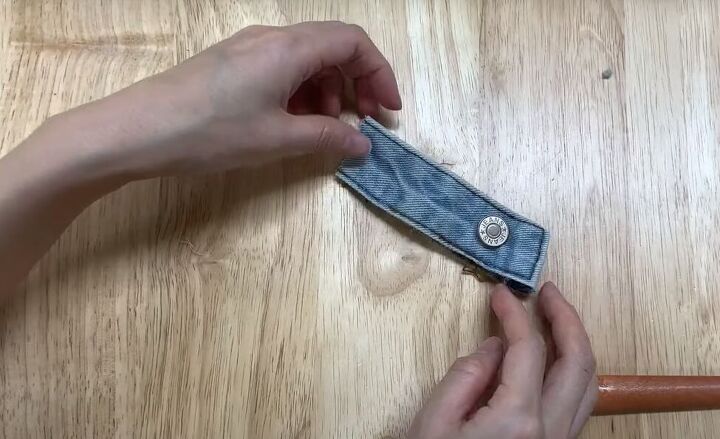
Cut the snap and band out of your jeans for later use.

Cut two strips of denim, one measuring 58 x 5 centimeters (22.8 x 2 inches) and the other measuring 18 x 7 centimeters (7 x 2.75 inches).
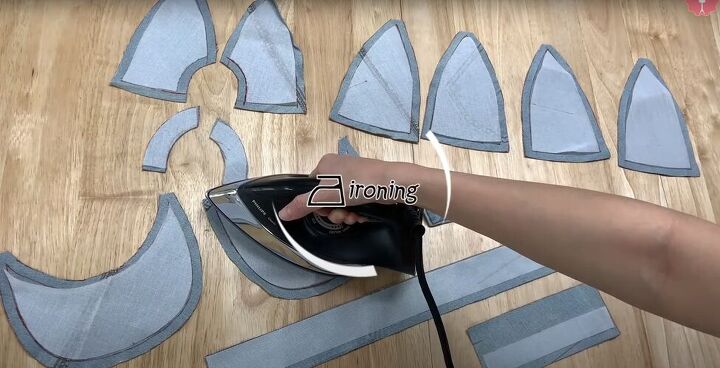
3. Iron the interfacing
Cut interfacing pieces for the two rectangular strips and curved opening facing, as shown above. The only piece that doesn’t need interfacing is the decorative snap.
Place the interfacing on the back of their respective denim pieces and iron down all the interfacing.
Sew a reinforcing zigzag stitch around the edges of all of your triangle pieces. Note that you may need a heavy-duty needle for this, as denim is a very thick fabric.
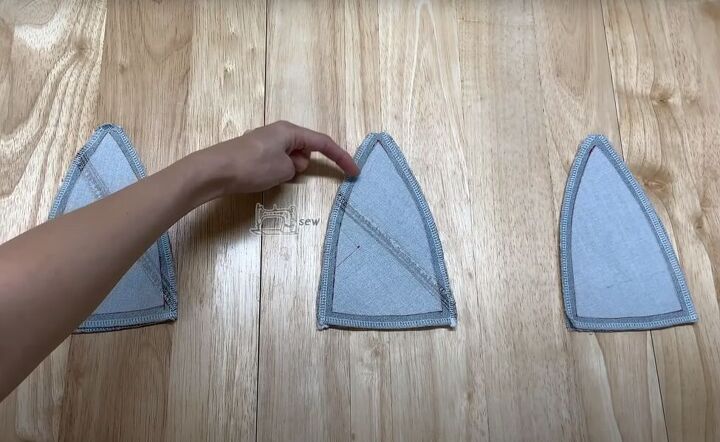
4. Sew the denim cap
With the right sides together, pair up the triangles to make 3 double-layered triangles and sew each double triangle together around the edges of the interfacing.
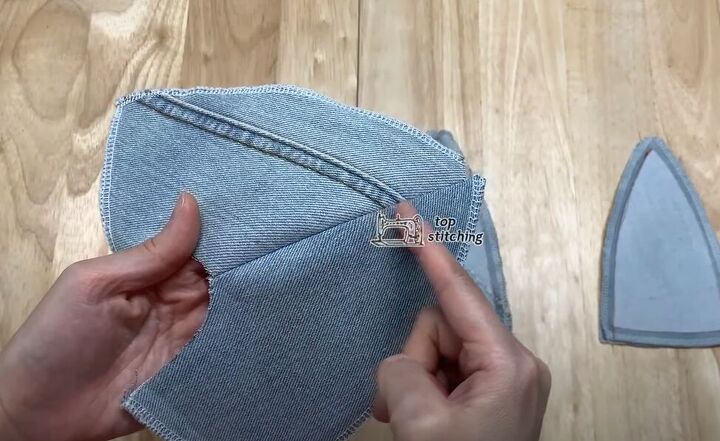
Open the seams flat and topstitch along both sides of the seams.

Place the two opening facing pieces together with right sides in and sew the short edge at the top of the curve.
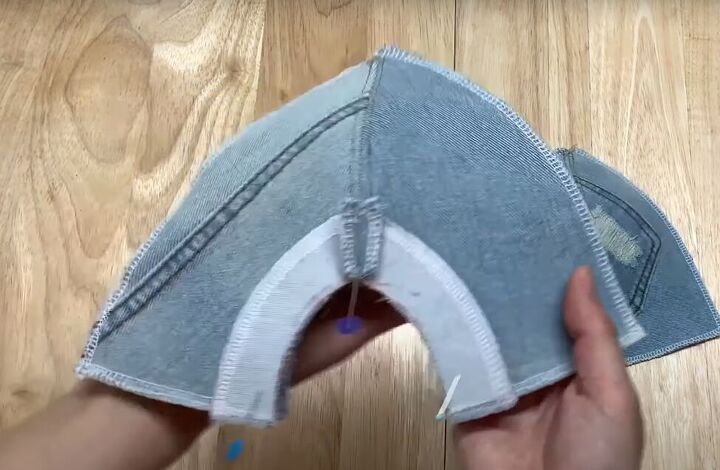
With right sides facing, pin the opening facing to the triangle with the opening. Sew them together along the inner edge.
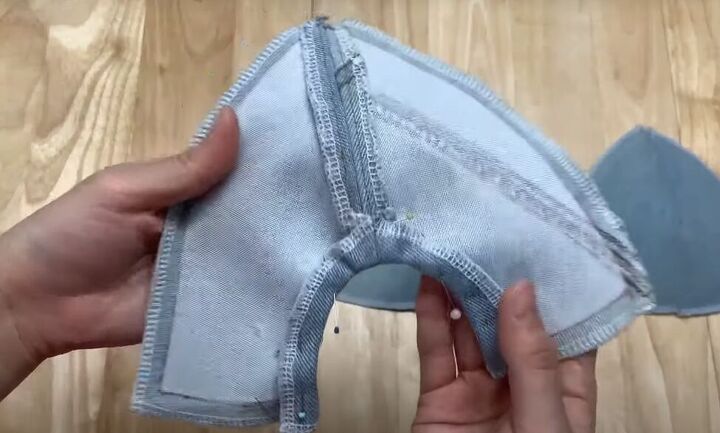
Snip into the seam allowance of the opening and then turn the facing to the back of the triangle.
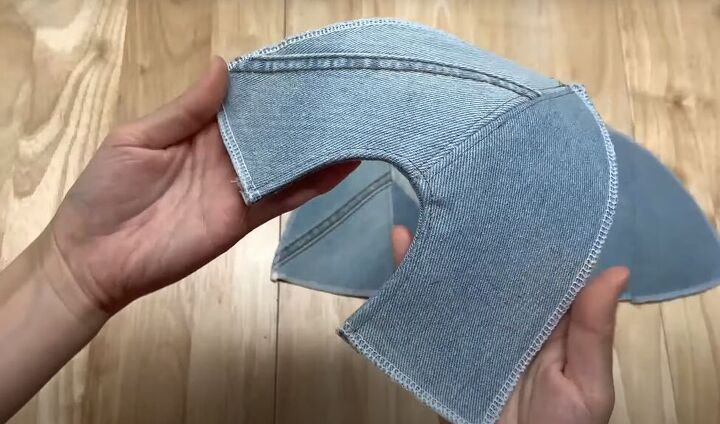
Topstitch the facing in place near the inner edge.
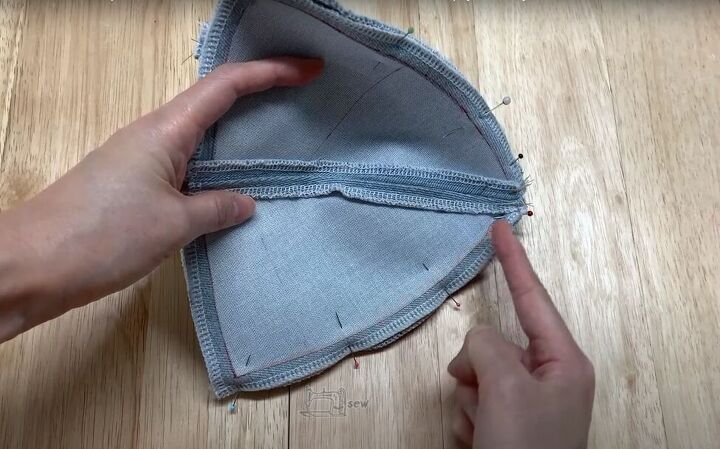
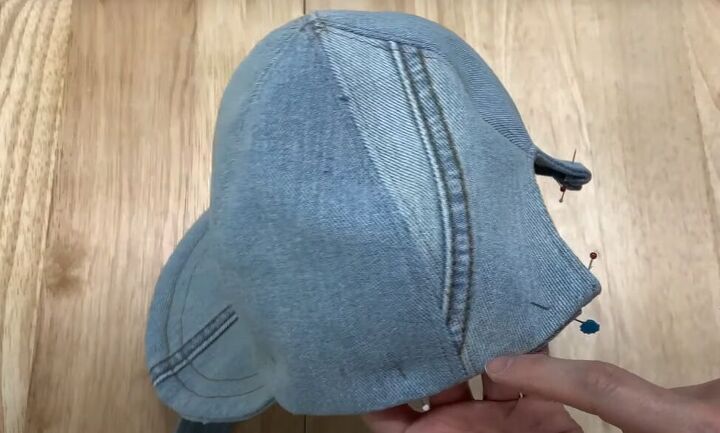
With right sides together, pin all three triangles into a cap and sew the three seams.
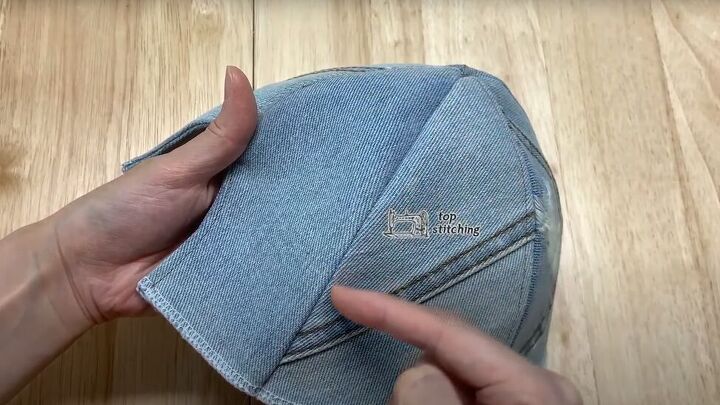
Turn the cap right side out, open the seams flat and topstitch on both sides of each seam.

5. Sew the brim
With the right sides facing, sew the brim pieces together along the outside edge.
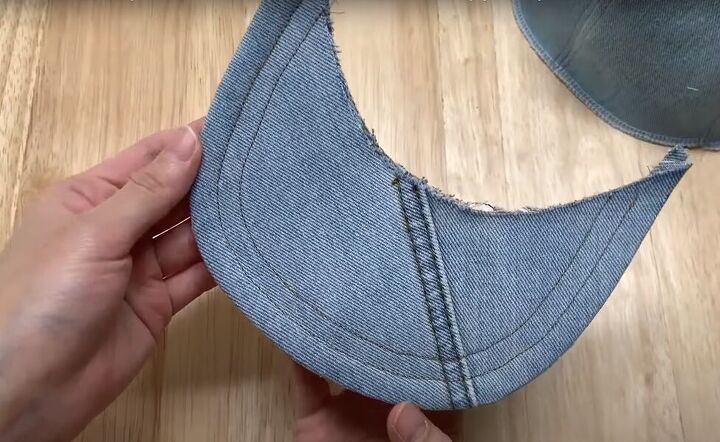
Snip the seam allowance, open the seam, turn the brim right side out and topstitch two rows on the outer edge, as shown above.
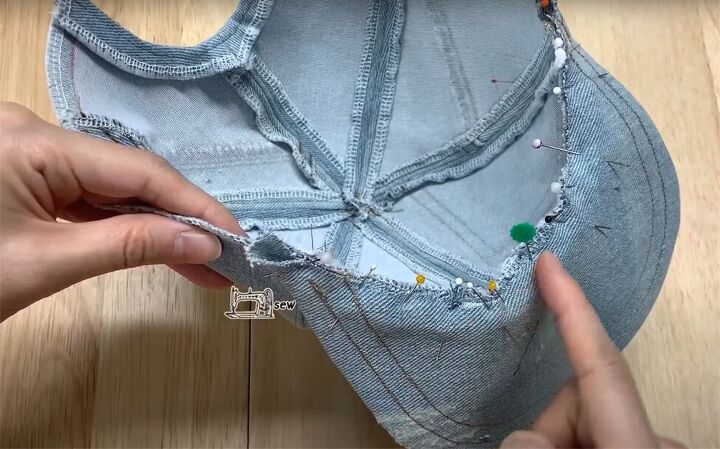
6. Attach the cap to the brim
Pin and sew the brim to the front of the cap.
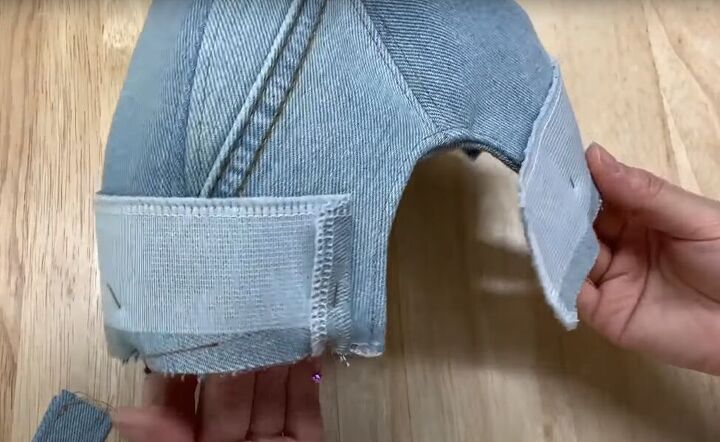
7. Sew the facing
Fold and sew the long rectangle, as shown in the video from 8:19 to 8:57.
Then, with the right sides facing, pin and sew the rectangle around the bottom of the cap, starting and ending about a ½ inch from the opening.
Fold and pin it to the inside, trim off excess fabric from the end and top stitch it down.
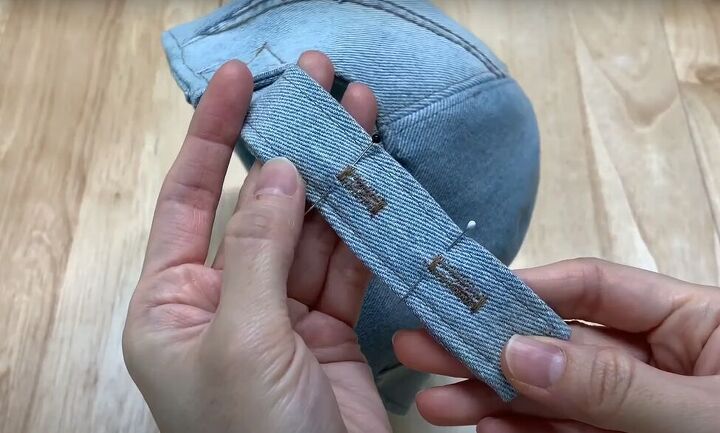
8. Sew the back strap & closure
Attach the smaller rectangle across the bottom of the cap opening and add the snap, buttonholes, and top button as shown in the video from 10:26 to 12:54.
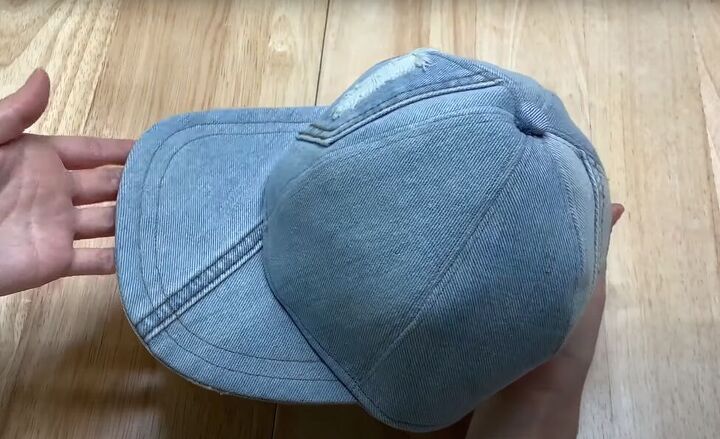
How to make a baseball cap
I bet you wear this DIY baseball cap all summer! It’s stylish, comfortable, and protects your face from sun damage. Enjoy making yours and let me know in the comments how it turned out!
The author may collect a small share of sales from the links on this page.


Comments
Join the conversation