How to Make a Classic French Scarf, From Pattern Drafting to Sewing

In this tutorial, I’m going to show you how to make a French scarf. This is very easy and versatile to make, even for beginners. As long as you can sew straight lines, you should be good to go! Ready to see how to sew a scarf? Let’s begin!
Tools and materials:
- Fabric
- Paper scissors
- Fabric scissors
- Marker Pen
- Tape measure
- Paper
- Ruler
- Sewing machine
- Matching thread
- Pins
1. Make the scarf sewing pattern
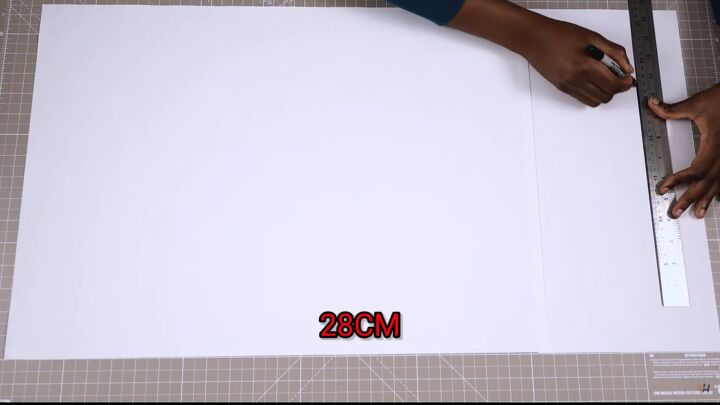
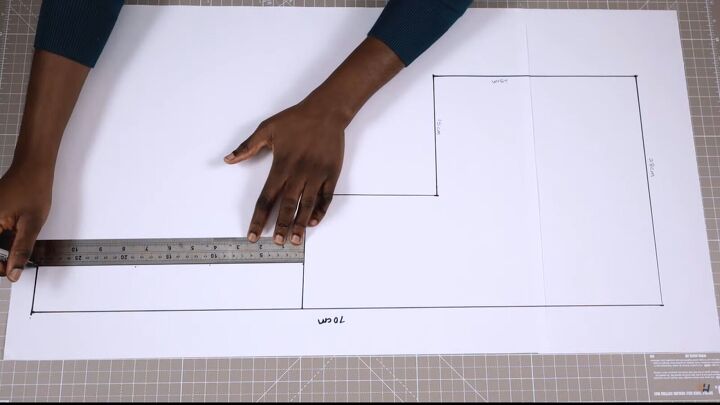
For the body of the DIY scarf, draw a 28cm (11.02 inches) vertical line starting at the edge of the paper.
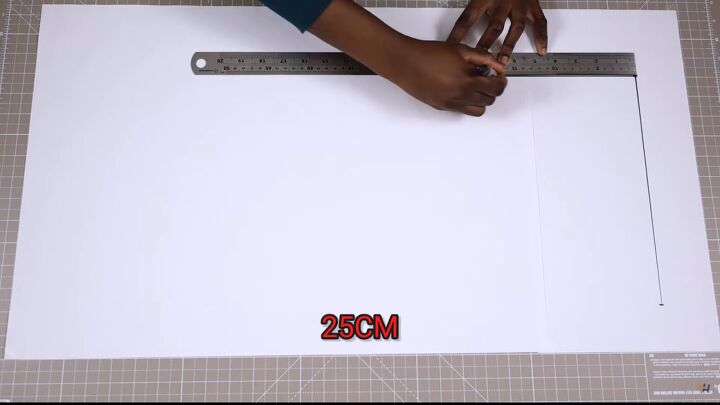
Next, draw a horizontal line perpendicular to the vertical line. This should measure 25cm (9.84 inches).
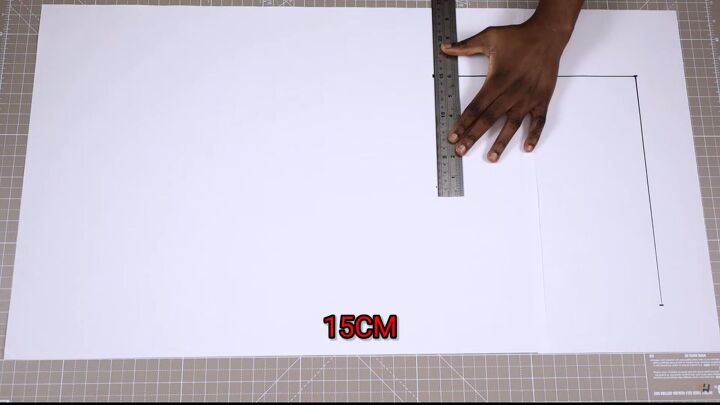
Draw a vertical line at the end of the lower vertical line, measuring 15cm (5.90 inches).
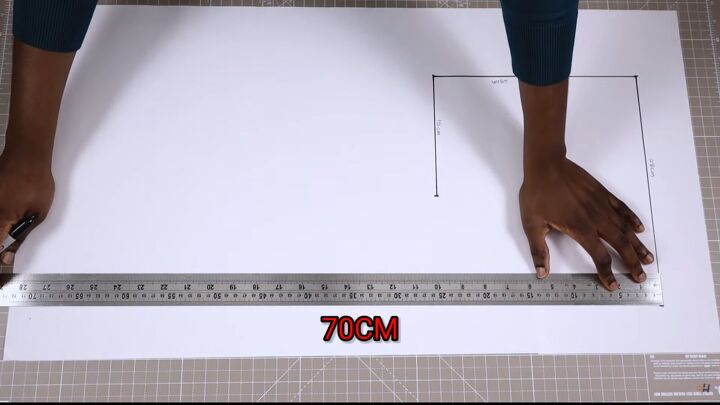
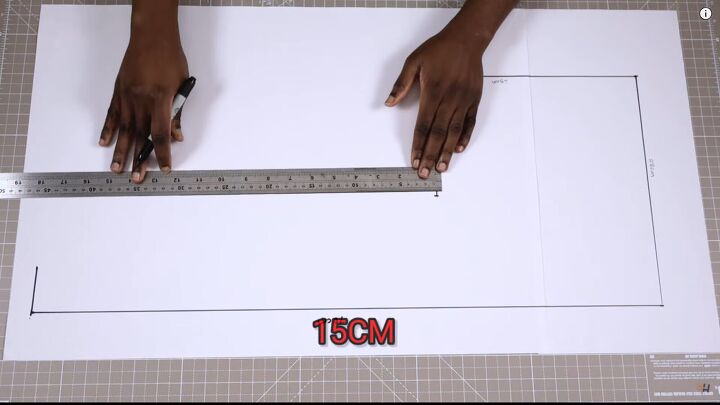
At the top of the vertical line, draw a horizontal line that measures 70cm (27.55 inches). This is going to be the strap of the French scarf.
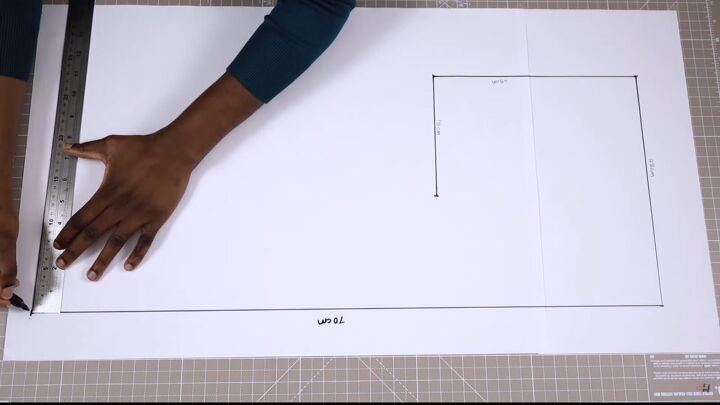
For the width of the strap, at the end of the horizontal line, measure 5cm (1.96 inches) down.
Going back to the body of the scarf, measure 15cm (5.90 inches) vertically.
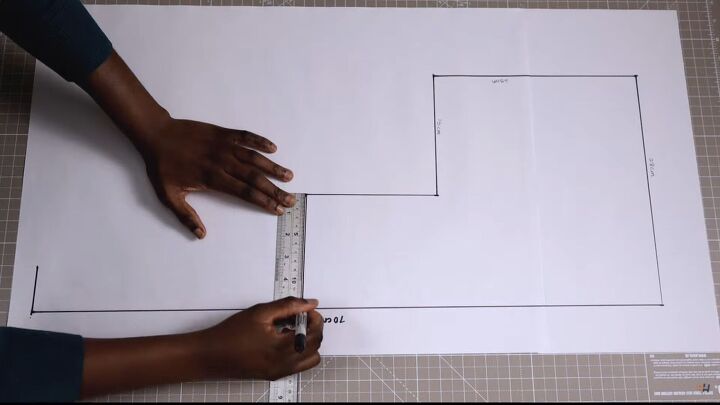
Then, join it to the top of the line.
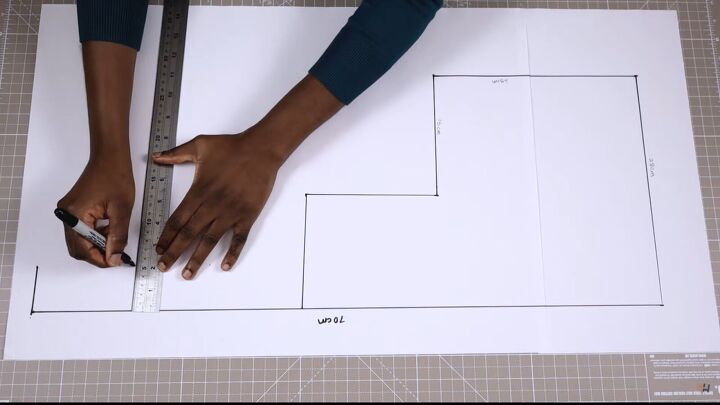
To close the strap, measure 5cm (1.96 inches) along the stripline.
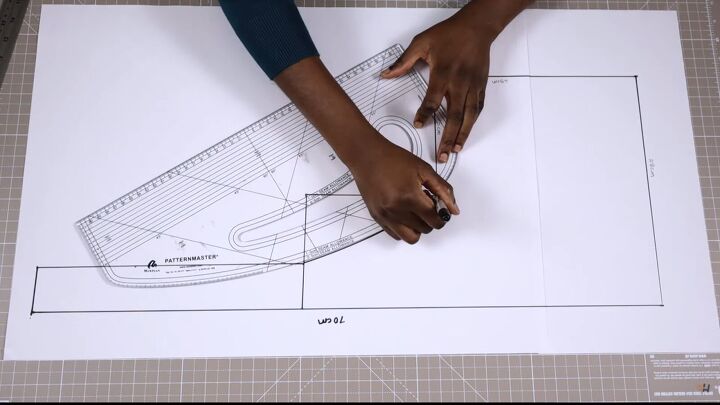
Now, curve the end of the strap to the main body. You can use a pattern master or freehand it.

Measure 5cm (1.96 inches) from the short end of the strap (at the top and bottom).
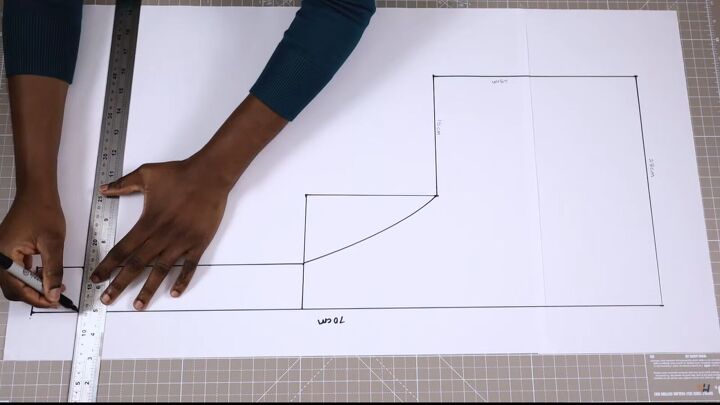
Then, square it out.
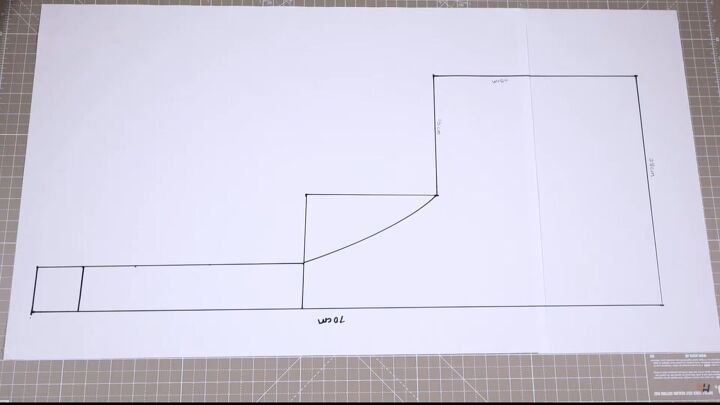
Your scarf sewing pattern is complete and ready for cutting.
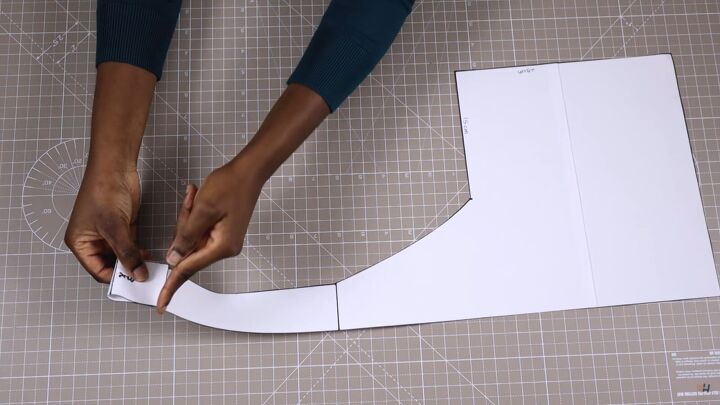
For the fold you created on the tip of the strap, this is what it will look like. Just flip it over and create an opening.
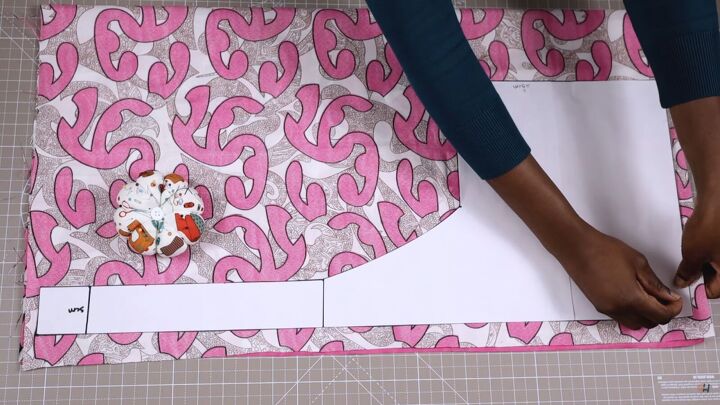
2. Cut the pattern
Fold your fabric in half, right sides facing, and lay your pattern over the top. Secure the scarf sewing pattern with pins, and cut it out.
Tip: The ideal fabric for this DIY scarf is silk.
You should now have two pattern pieces to work with.
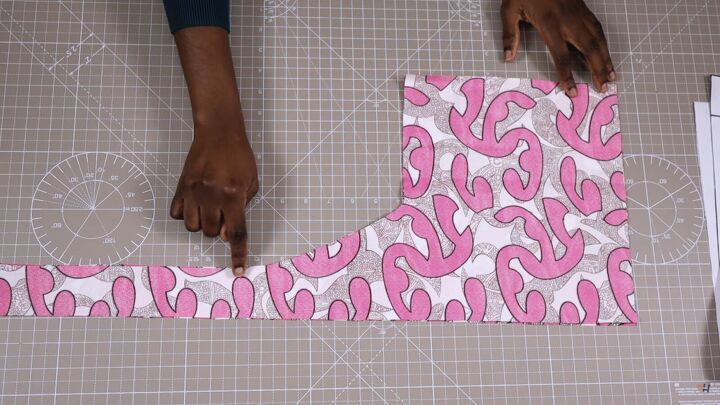
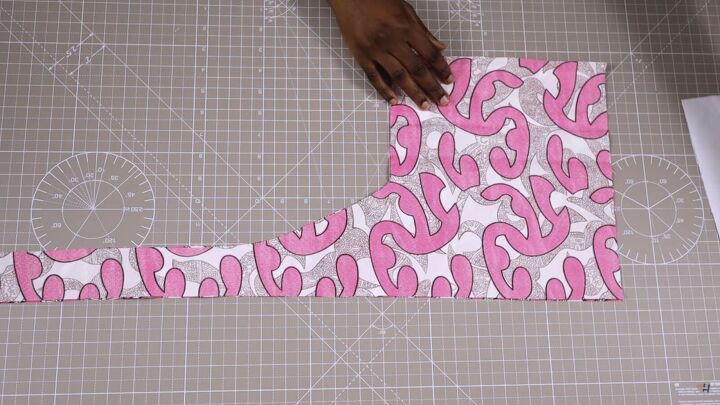
3. Sew a seam allowance
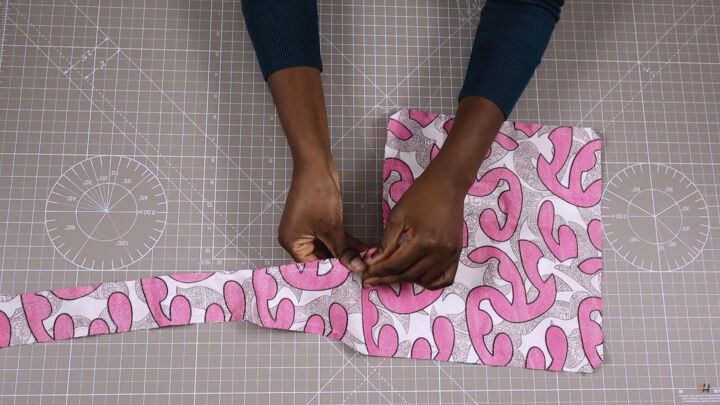
Sew a 1cm (0.4-inch) seam allowance all around, except for the curved part, starting from where my finger is placed on the image. This will enable you to turn your fabric inside out.
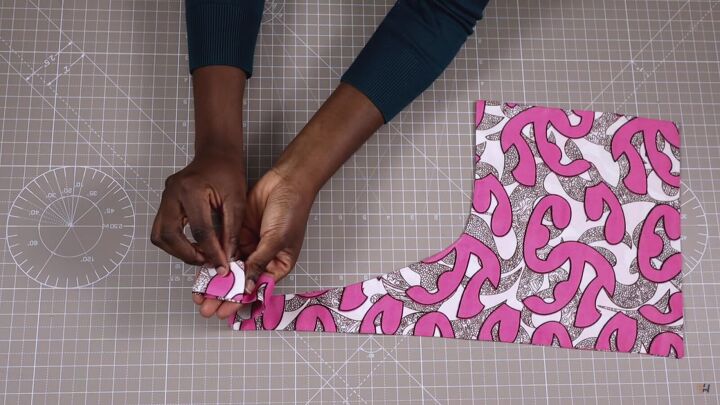
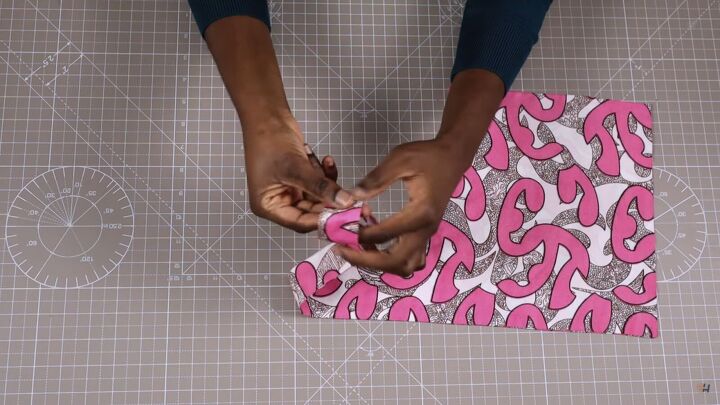
4. Finishing touches
Trim off the sharp edges, turn the fabric right sides out, and give your DIY scarf a good press when you're done.
Also, topstitch the opening.
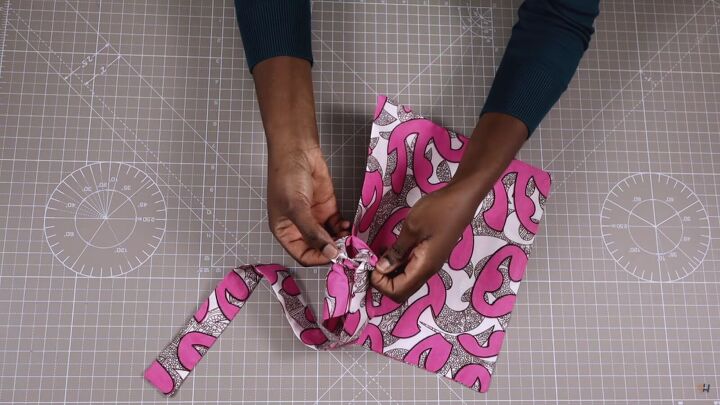
5. Create the DIY scarf’s opening
To create the opening for the scarf, flip the top end over.
Stitch the edge down.

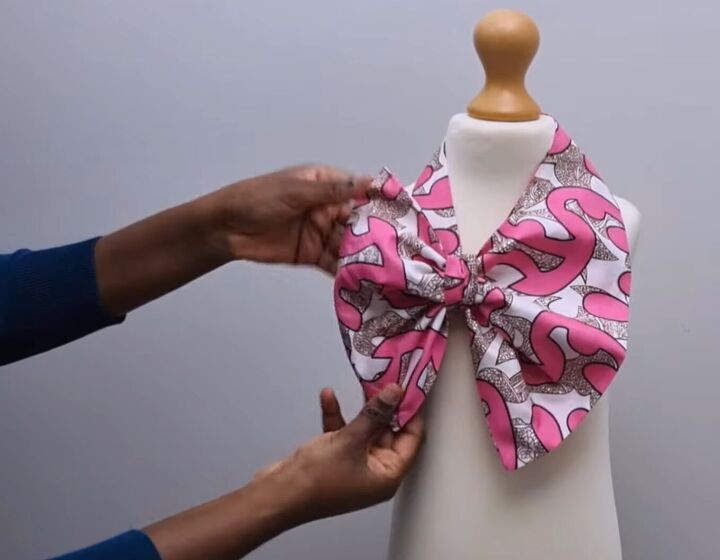
You can wear this French knot scarf in two ways.
The first is to drape the strap over your neck and push the main body’s fabric through the scarf’s opening halfway through. Like this, you create a cute bow tie.
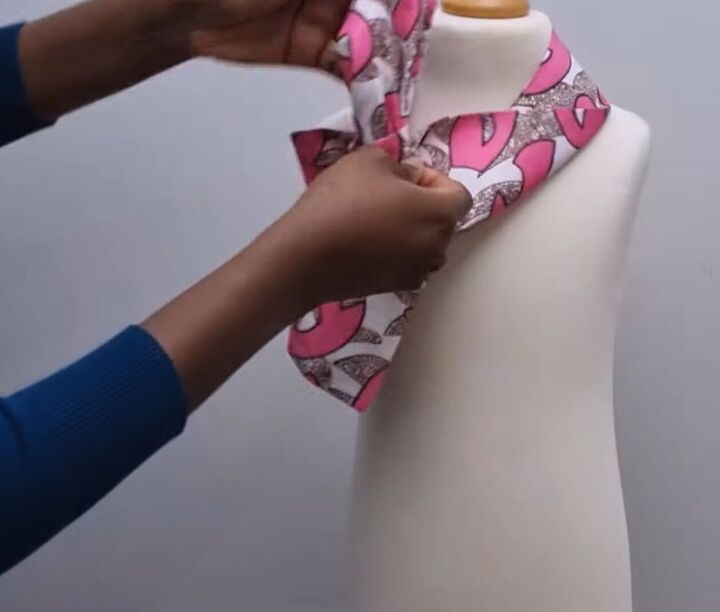
The second way is to take the opposite end of the main body and feed it through the opening.
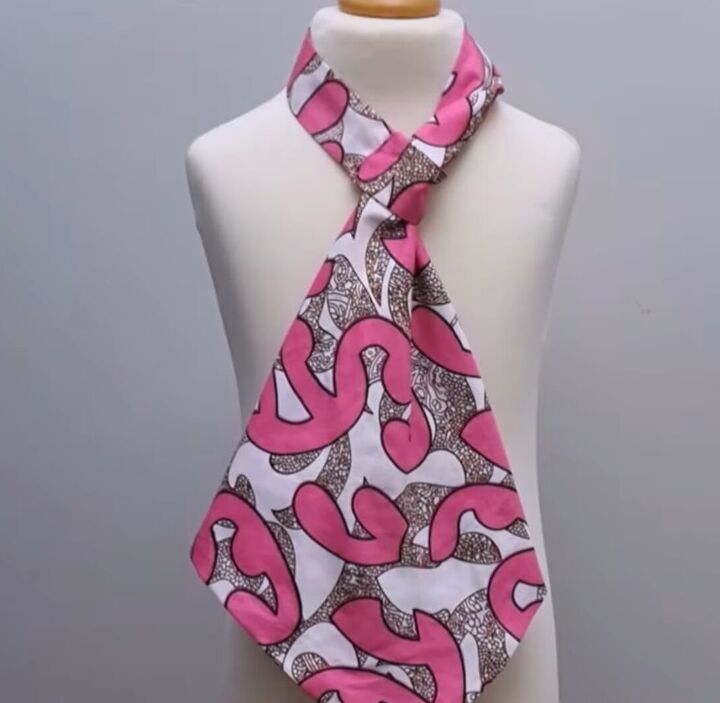
You now have a lovely oversized tie!
How to make a French knot scarf
I hope you enjoyed this tutorial on how to make a French knot scarf. Thank you so much for tuning in, and let me know what you think of my pretty DIY scarf in the comment section below.
The author may collect a small share of sales from the links on this page.


Comments
Join the conversation