How to Sew an Alice in Wonderland Blue Dress For Cosplay or Halloween

Alice in Wonderland is one of the most popular stories in English fiction. She has wild adventures and meets a crazy cast of characters. If you’ve been thinking of what to dress up as for Halloween, how about her? Here’s an easy Alice in Wonderland blue dress DIY you can whip up in less than a day!
I also made an Alice in Wonderland apron for this costume, so be sure to check out that tutorial too.
Tools and materials:
- Pale blue fabric - 1 yard
- White fabric for trim
- Your own sleeveless dress for a pattern
- Elastic
- Needle and thread
- Sewing machine
- Paper
- Pen
- Marking chalk
- Measuring tape
- Pins
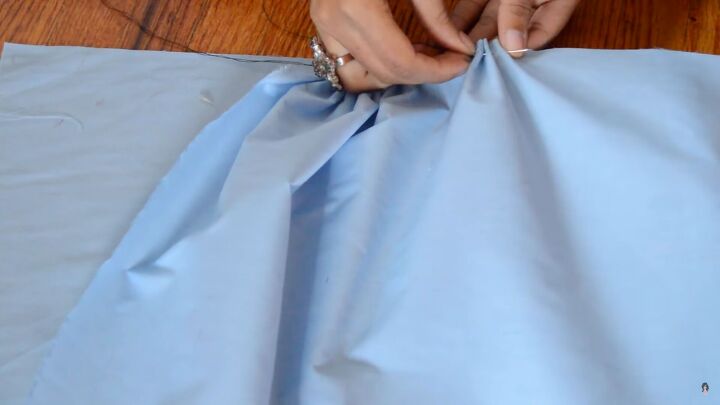
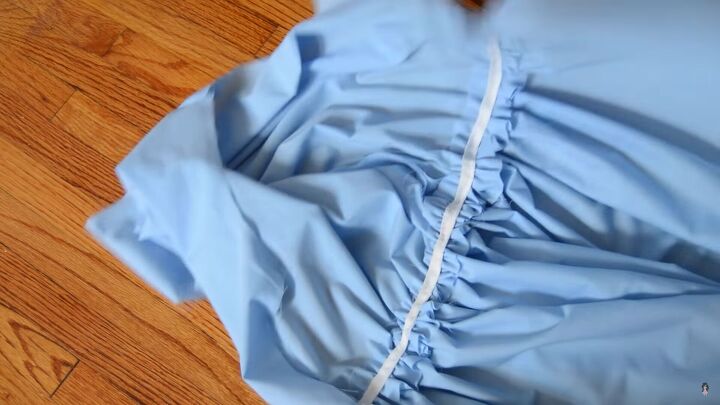
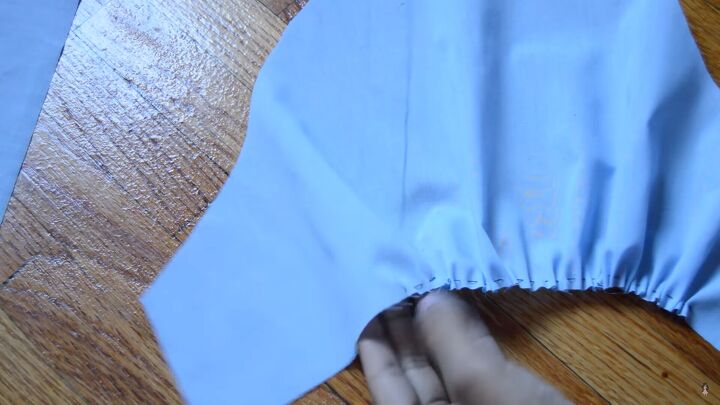
1. Make the skirt
Cut a piece of blue fabric that measures your bust size plus ½ an inch seam allowance, by the length you want the skirt. For me, that measurement is 62 x 23 inches. Hand baste the top of the skirt fabric to create gathers.
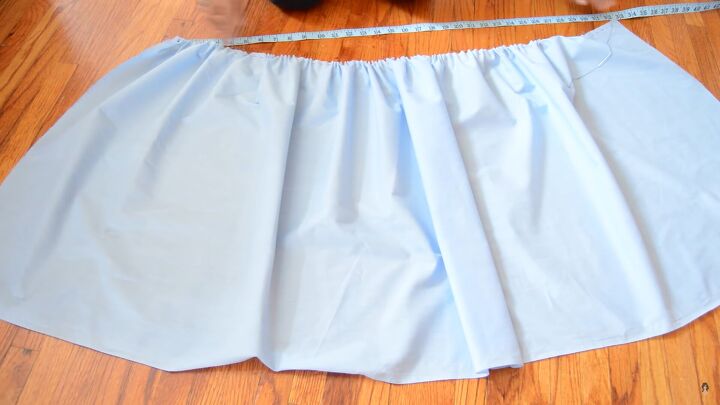
Set aside for now.
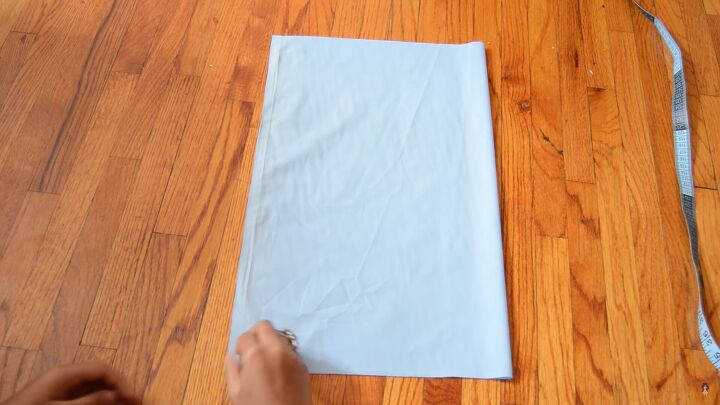
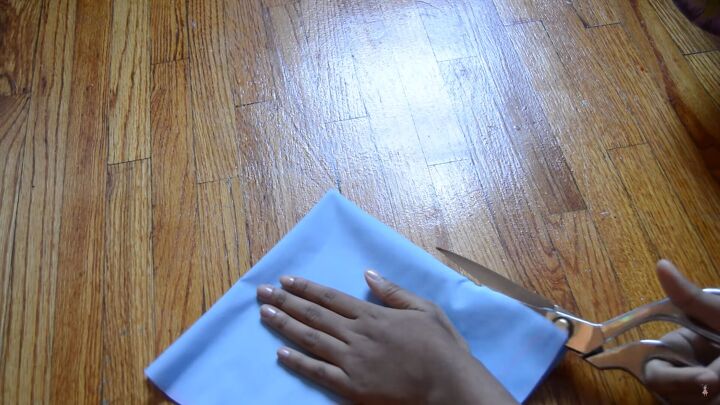
2. Make the bodice
Fold the rest of your fabric in half.
Lay your own sleeveless dress folded in half lengthwise on top to serve as a pattern. Trace the outline on a piece of paper. The side will be straight and not curved because we are going to add elastic to gather it at the waist.
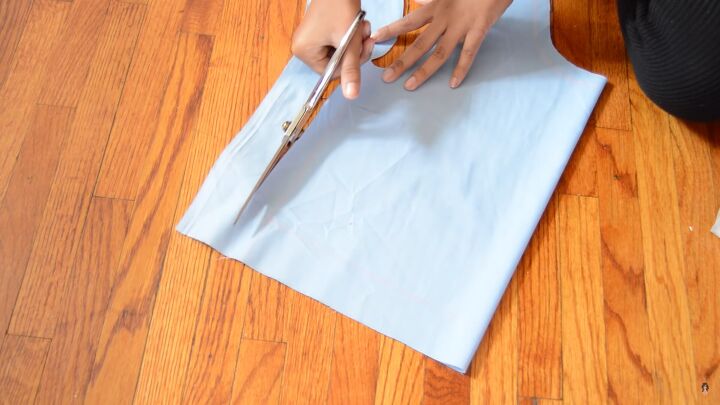
Add a ½-inch seam allowance. Cut the folded fabric.
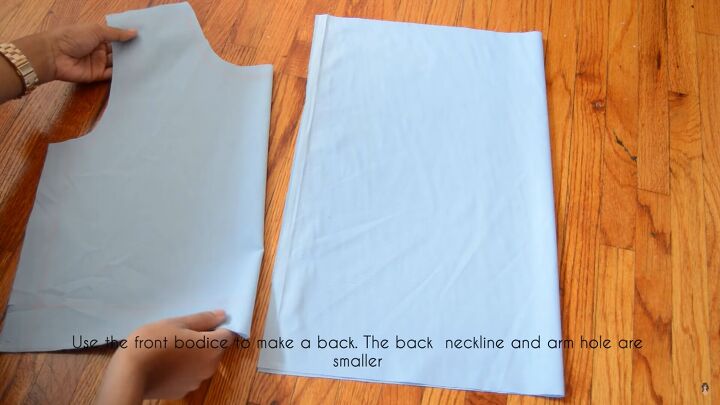
Use the front cut piece as a pattern for the back. Lay it on top of another piece of folded fabric. The back neckline is higher and the armhole is smaller than the front.
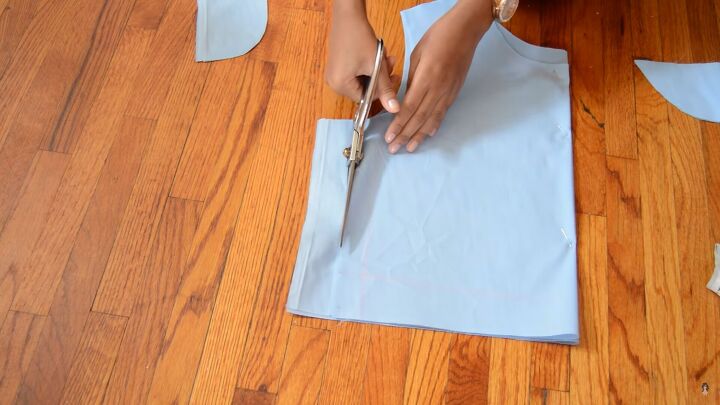
Cut the back piece out.
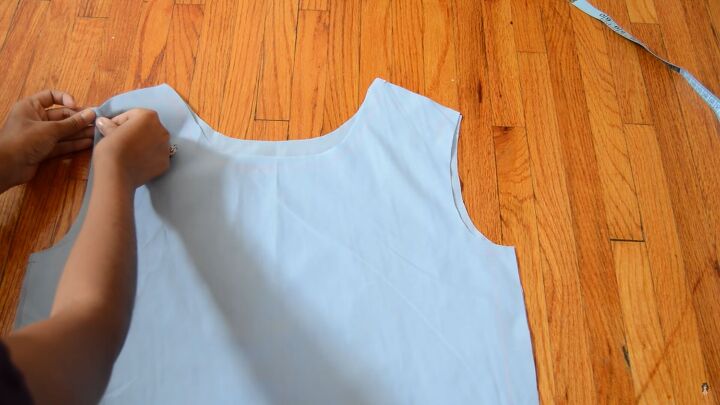
3. Sew the top
Pin both shoulders and one side seam. Sew them with a straight stitch on the sewing machine.
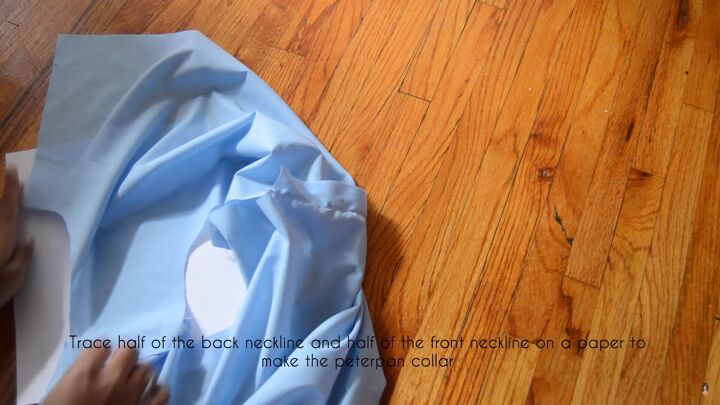
4. Make the collar pattern
Trace half of the back neckline and half of the front neckline on paper to make a Peter Pan collar.
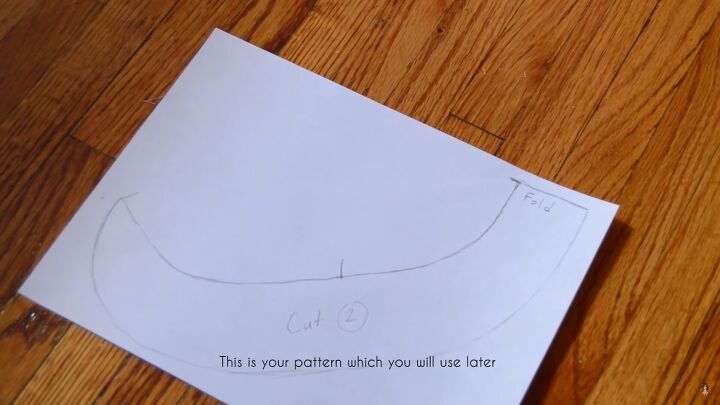
Draw the collar as a half of a round circle with a vertical line in the center. One end should be curved in a half-moon shape and the other should be straight.
This pattern will be cut twice.
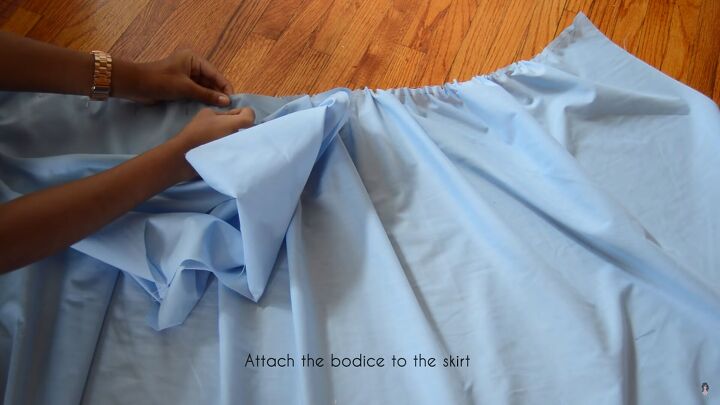
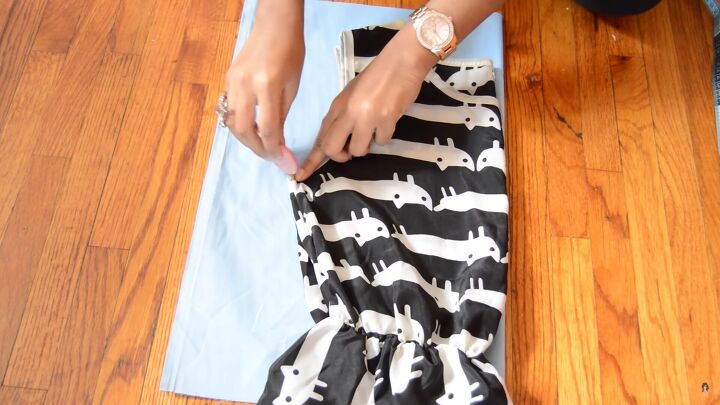
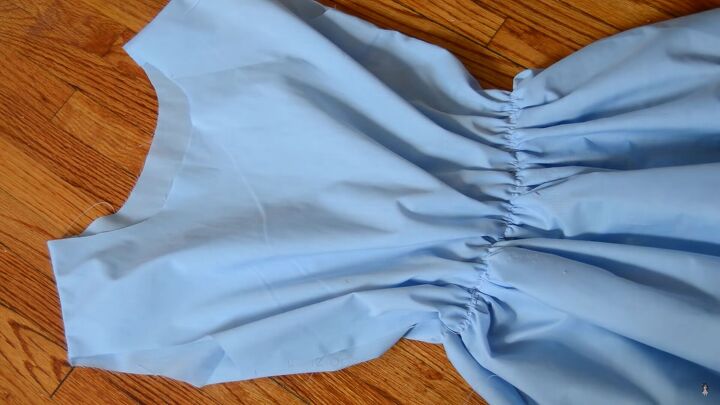
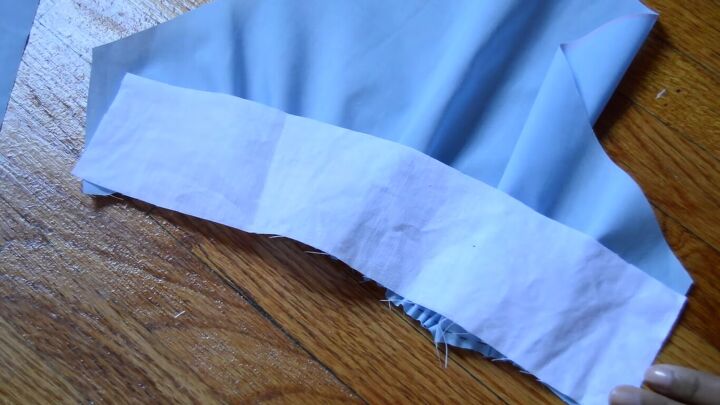
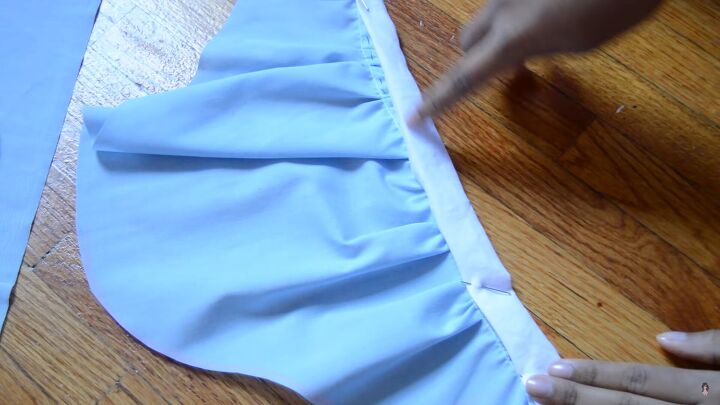
5. Attach the bodice to the skirt
Pin the bodice to the skirt. Sew them together on the wrong side using a straight stitch.
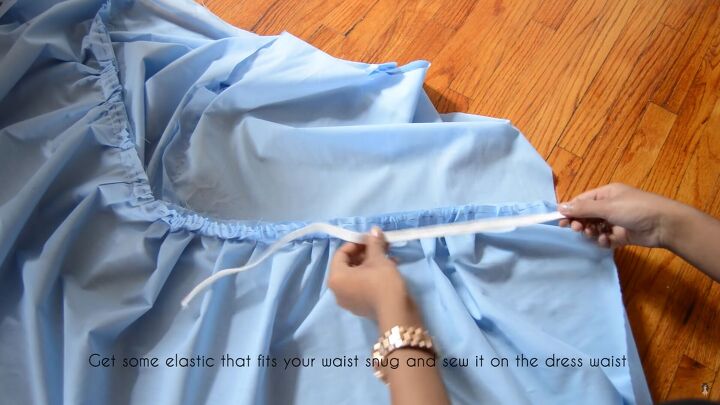
6. Make the waistband
Measure a piece of elastic to fit your waist snugly.
Pin the elastic and then sew it directly to the wrong side of the dress.
Sew the open seam on the wrong side.

7. Make the sleeves
Puffed sleeves are wider than normal sleeves.
Fold the fabric in half. Then fold it in half again. Draw a curved ruffle. Watch the video from 3:42-3:55 to see the shape.
Cut the fabric as marked.
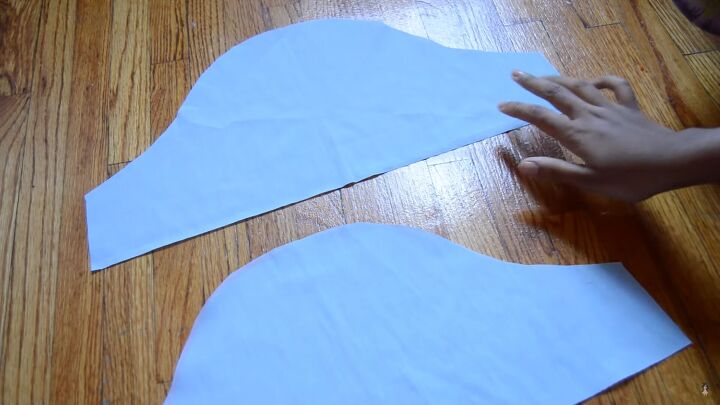
There will be a straight edge at the bottom and a domed top.
Hand sew the straight edge to ruche or pleat it in.
8. Make the cuffs
Sew down one edge of a piece of white fabric at the gathered end of the sleeve.
Then, fold the fabric over to form a white border at the edge of the sleeve. Pin into place.
Sew the white border down at the very edge.
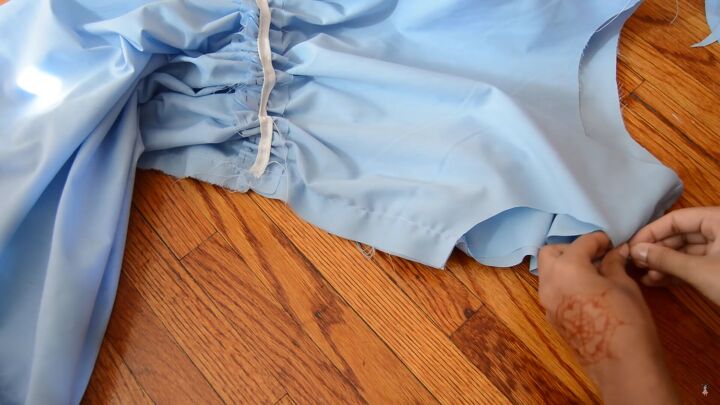
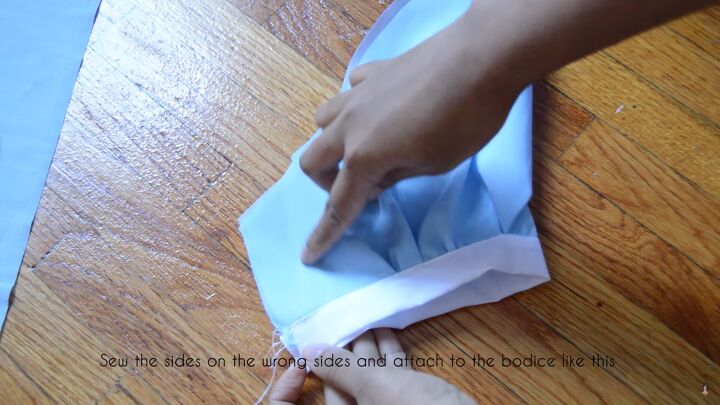
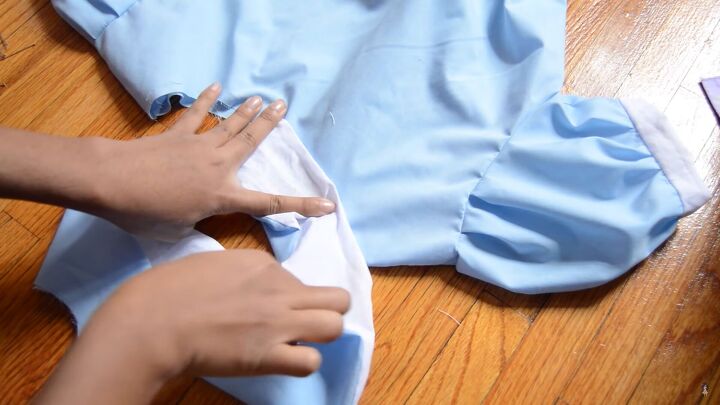
9. Attach the sleeve
Fold the sleeve in half and tuck it into the dress. Have the white band inside and the raw edge at the armhole. Line up at the side seams and armhole seams. Pin at the bottom to secure it.
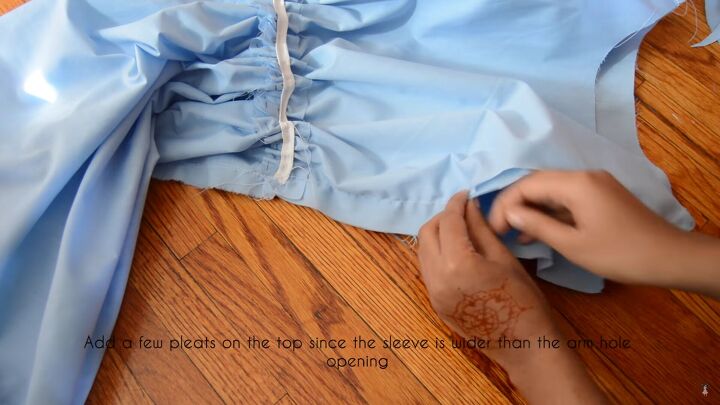
Tuck in a few pleats at the top as the sleeve is bigger than the armhole. Sew them together on the wrong side.
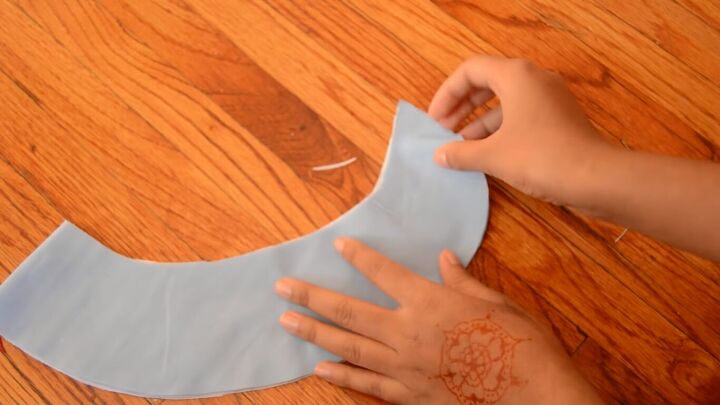
10. Make the collar
Cut out the 2 pieces in both blue and white fabric using the collar pattern, with a ½-inch seam allowance.
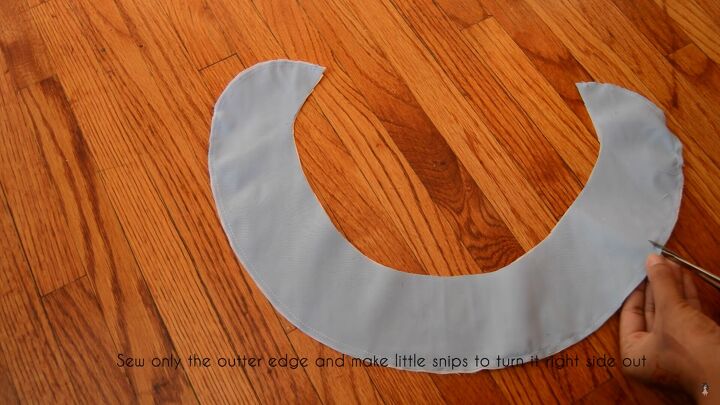
Sew only the outer edge together on the wrong side. On the seam allowance, cut tiny snips so it lays perfectly flat when it’s turned inside out. Turn the collar inside out.
11. Attach the collar
Attach the collar to the dress by pinning, then sew it with the white underneath and the blue on top. You’re done!
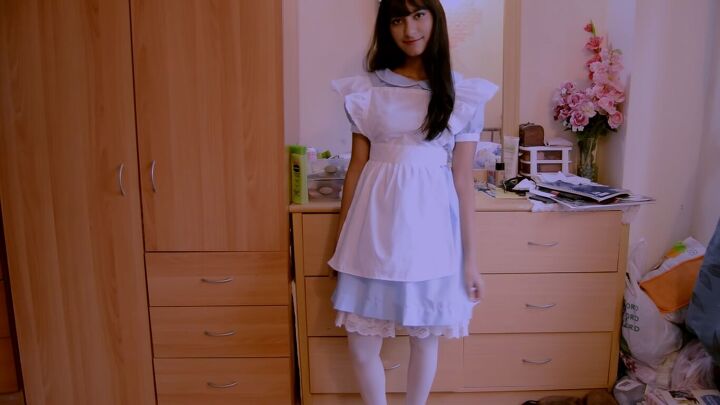
Alice in Wonderland blue dress tutorial
I hope you enjoyed this Alice in Wonderland blue dress costume tutorial! This dress is so cute and when you wear it together with the Alice in Wonderland apron and a black headband, you’re perfectly set for Halloween or any other costume event!
Let me know in the comments what you think of this Alice in Wonderland DIY dress.
The author may collect a small share of sales from the links on this page.


Comments
Join the conversation