How to Do Mesmerizing Aurora Ice Korean Nail Art 3 Ways

In this tutorial, I'll show you how to do Aurora Ice Korean nail art. This is my take on the new "Ice nails" trend that's been going around. I hope you try out this mesmerizing technique.
Tools and materials:
- Cuticle pusher
- Filer
- Pad
- Isopropyl alcohol
- Nail primer
- Base coat
- UV lamp
- Top coat
- Aurora ice powder
- Makeup brush
- Iridescent foil
- Scissors
- Protein base
- Tweezers
- Cuticle oil
- Fake nails
- Jewelry gel
Ice nails
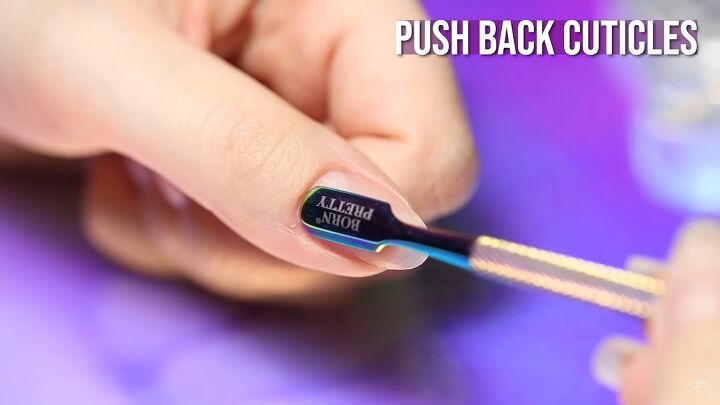
1. Push back cuticles
Push back cuticles with a cuticle pusher.
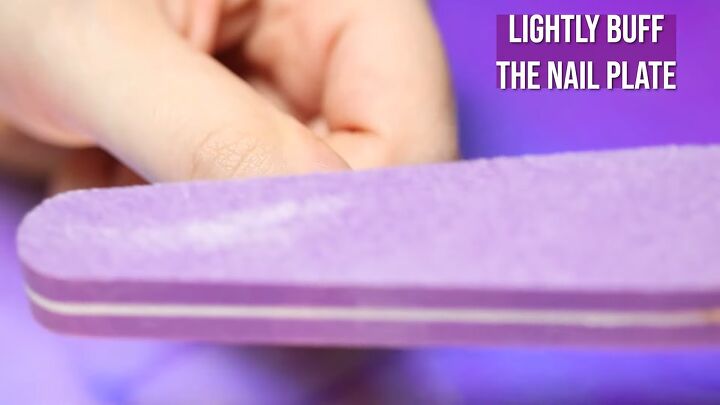
2. Buff
Lightly buff the nail plate.
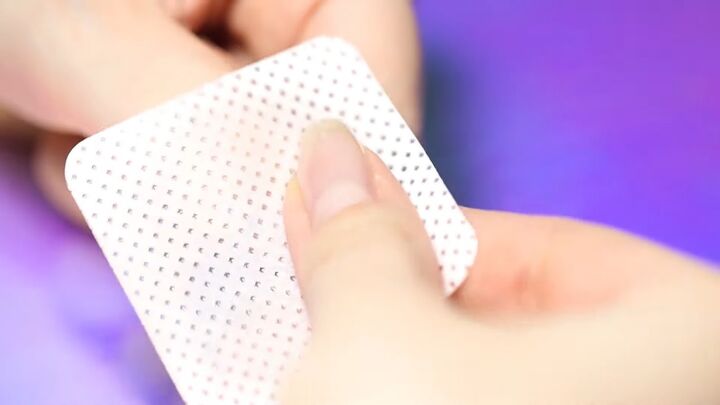
3. Clean nails with alcohol
This will prep them for the nail art.
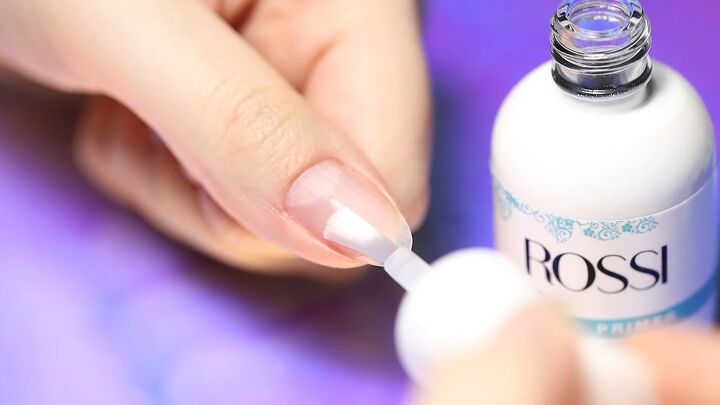
4. Apply primer
Apply primer for longer wear time.
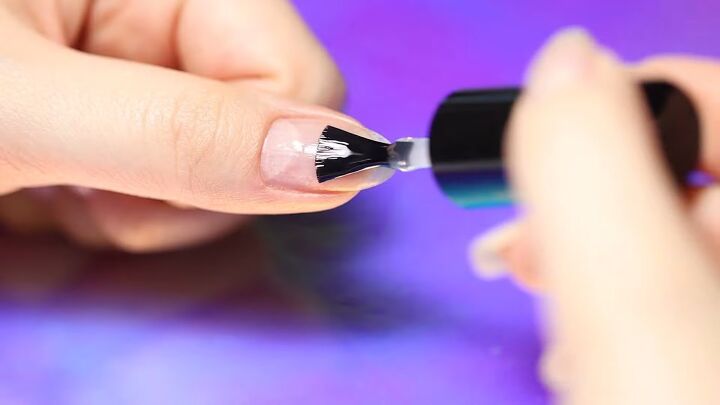
5. Apply base coat
Next apply a base coat with a rubbing motion, using the brush to go up and down the nail repeatedly as you work your way from bottom to top.
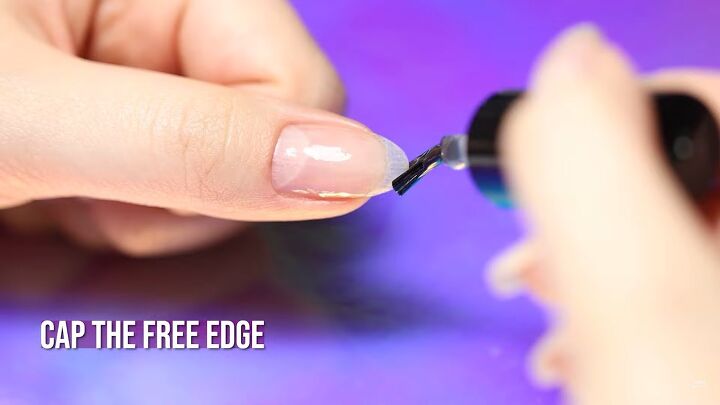
Cap the free edge of the nail
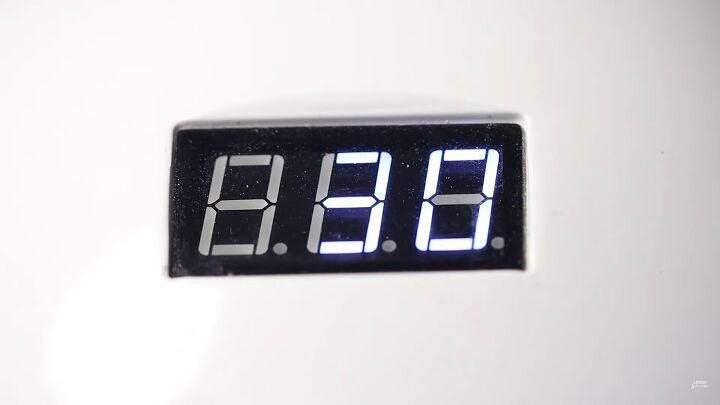
6. Cure nails
You can let your nails dry naturally, or I’m curing mine for 30 seconds under a 48-watt UV led lamp.
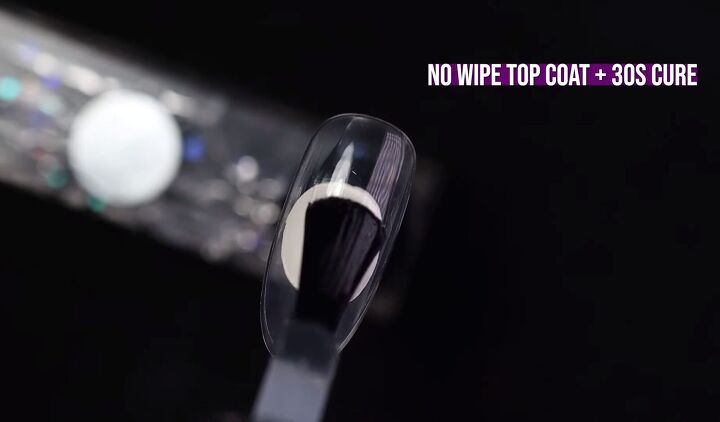
7. Apply top coat
Apply an even layer of a no-wipe top coat. Then once again cure your nails under the UV lamp.
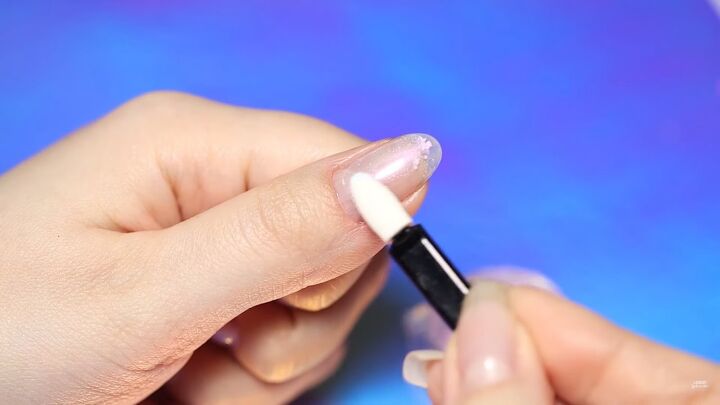
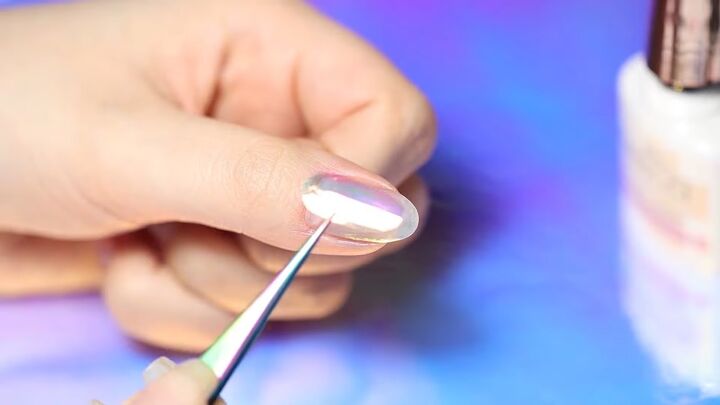
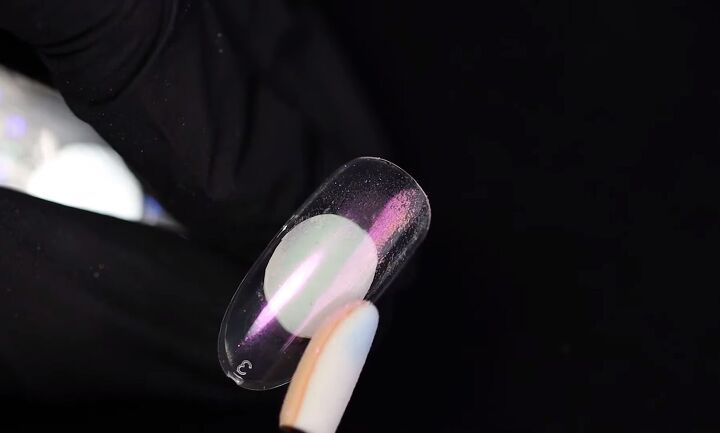
8. Add ice powder
Pick up a small amount of shimmery nail powder with an applicator and rub it onto your nails. Once done, brush off the extra powder from the nail with a wide makeup brush.
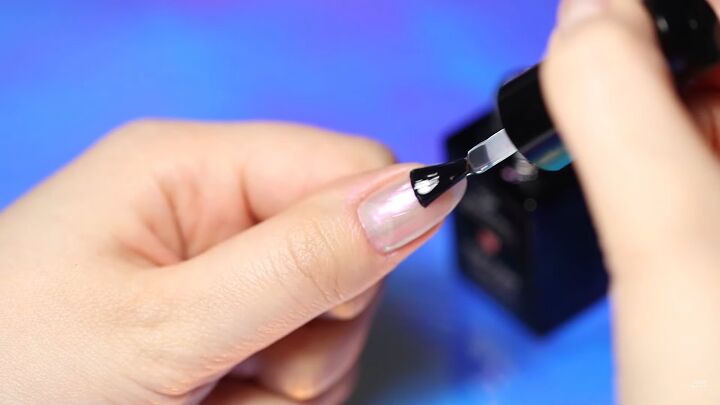
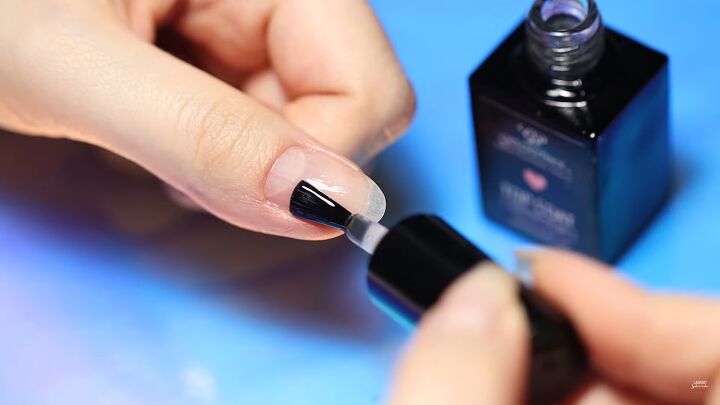
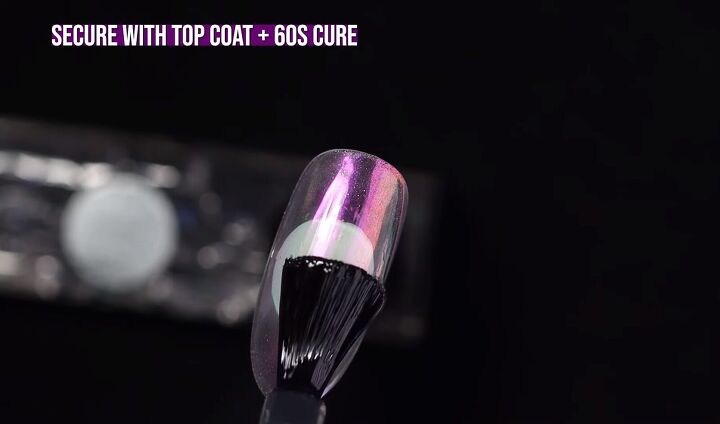
9. Add a top coat
Secure the design with another layer of top coat. Then cure the nails for 60 seconds.
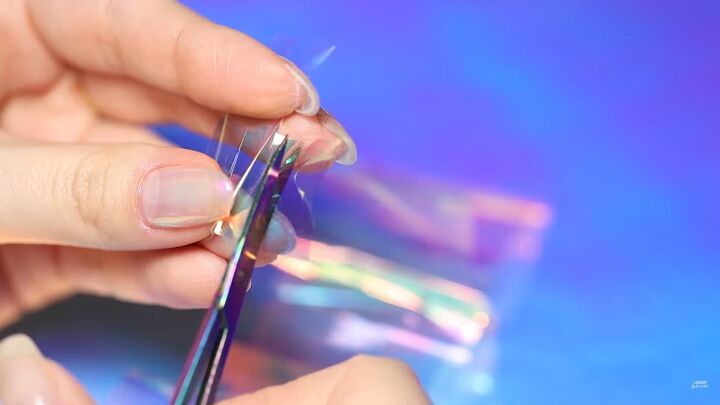
10. Cut the iridescent foil
Cut out a rounded rectangle shape that will fit your nail.
Make it into a curved shape using a brush handle. You can also heat it up with a hairdryer to help it keep it’s shape.
11. Attach the foil
I’m going to use a protein base to attach the foil but you can use any clear soak-off gel with a higher viscosity. Apply it in the center of the nail, place the foil on top and press it down. Proceed to cure the nails for 60 seconds.

12. Apply protein base
Overlay the foil with more gel to encapsulate it and smooth everything out. The film needs to be encapsulated fully in gel to last. Once done, cure the nails for 60 seconds and then clean the sticky layer with isopropyl alcohol. I then filed my nails to make a nice and even surface.
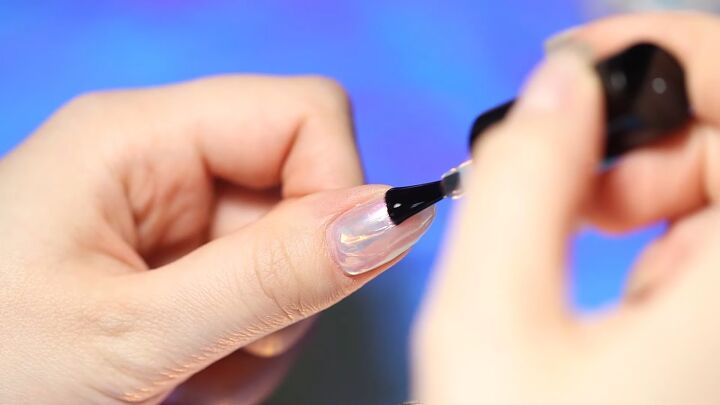
13. Apply top coat layer
Apply a top coat layer and cure for 30 seconds.
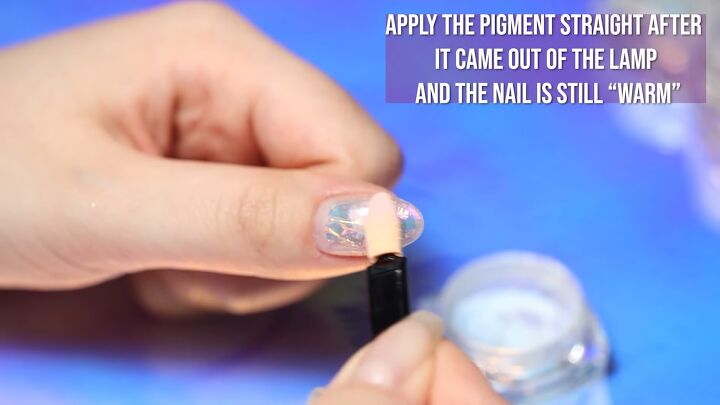
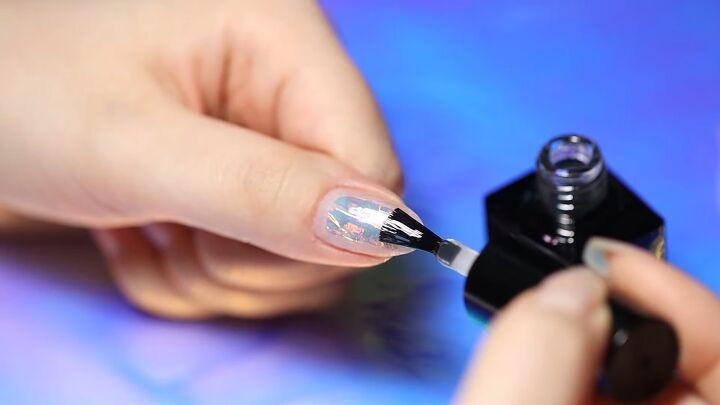
14. Apply ice powder
Time to apply ice powder again and this time I’m using a blue one. Apply the pigments straight after the nails come out from under the lamp and are still warm. If you over-cure the top coat then the powder will just rub straight off and not adhere. Brush off any extra powder.
15. Apply top coat
The last and final coat! (For your information, the original design that I’m copying is much thicker than this one!)
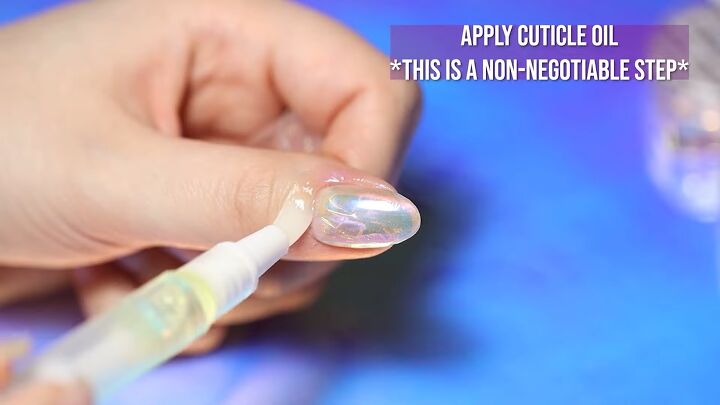
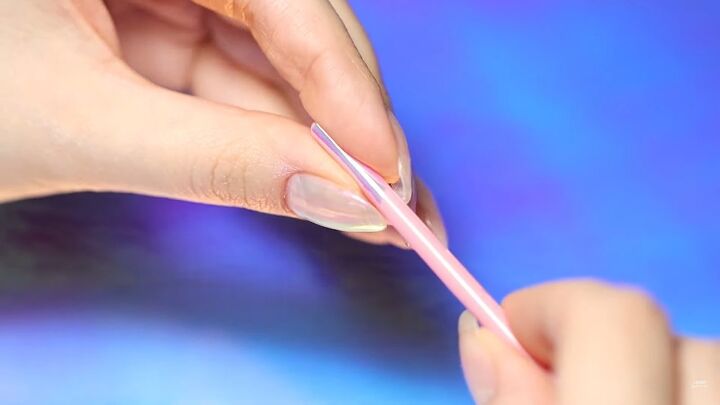
16. Apply cuticle oil
Apply cuticle oil and then you are finished!
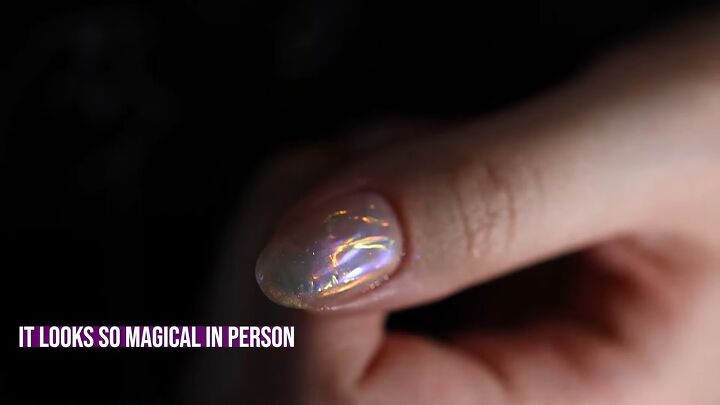
These nails look so magical and mesmerizing, and they glimmer every time they catch the light.
Ice nails with a heart design
Now I’m going to show you how to do the nails with a heart design
1. Top coat
Take some fake nails, apply a no-wipe top coat, and cure for 30 seconds.
2. Ice powder
Apply some ice powder.
3. Top coat
Secure another top coat and cure for 60 seconds.
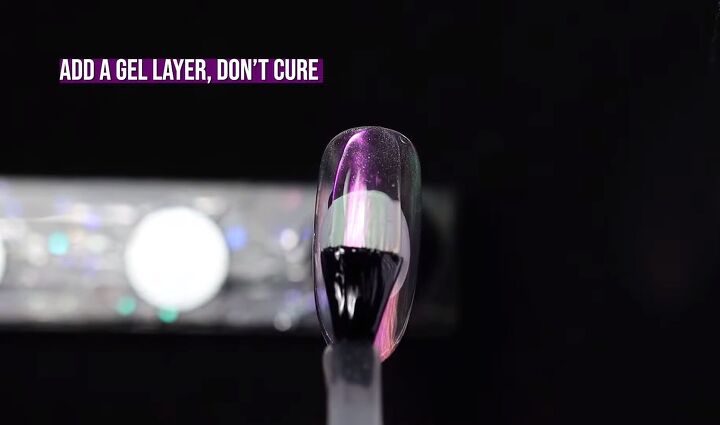
4. Protein base
Add a gel protein base layer, don’t cure.
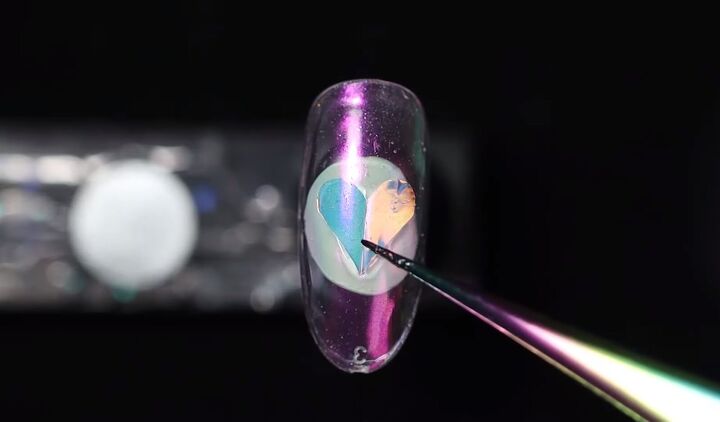
5. Cut out
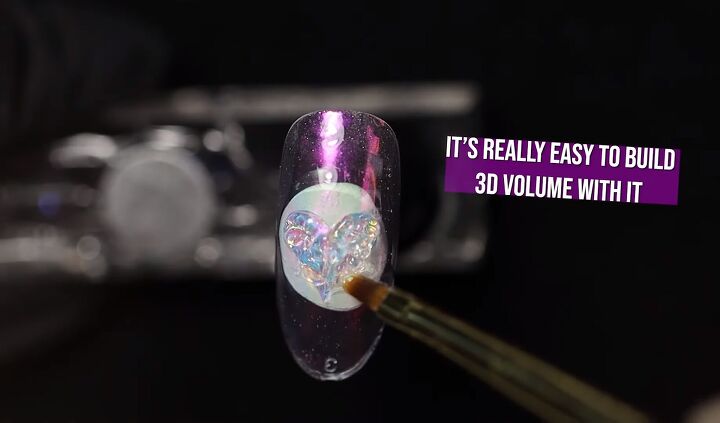
Then place a cut out heart-shaped foil piece on top. Cure for 60 seconds. Place gel on top of the heart with a thin brush. It has a unique viscous texture which makes it easy to build 3D volume with it.
6. Top coat
Apply a top coat to the entire nail and cure for 30 seconds.

7. Aurora powder
Buff in aurora powder (in a different color than the base). Remember, less is more. Last top coat layer. Cure for 60 seconds.
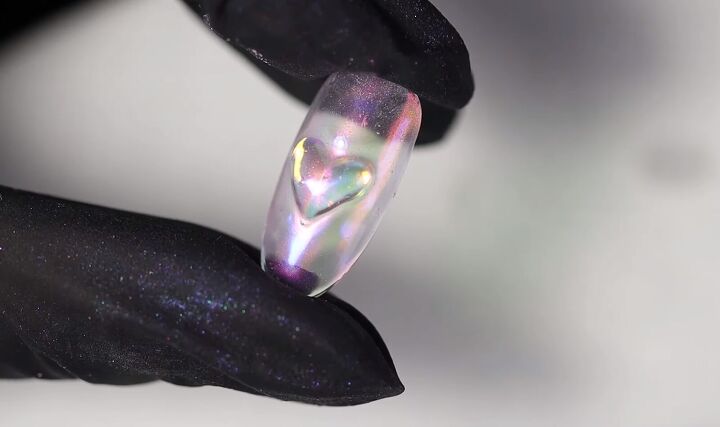
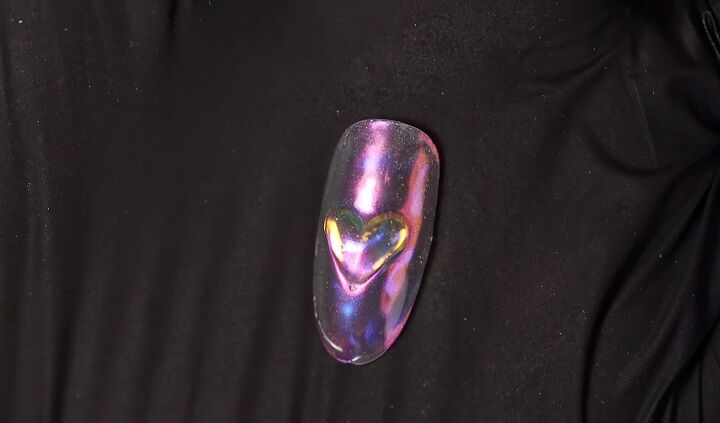
I love the 3D texture of the heart!
Lastly, I’m going to show you how to add a textured line in the middle. Simply, repeat the same process as before until step 4.
Ice nails with a textured line
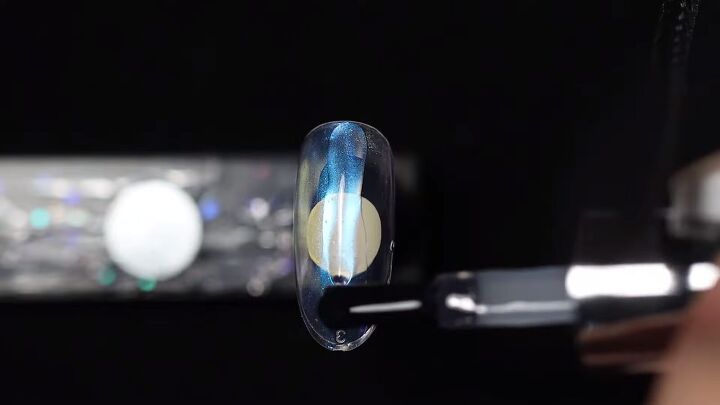
Then paint a stripe in the middle of the nail and cure it for 30s. Once done, rub in a different colored powder on the stripe, add a top coat and you’re done!
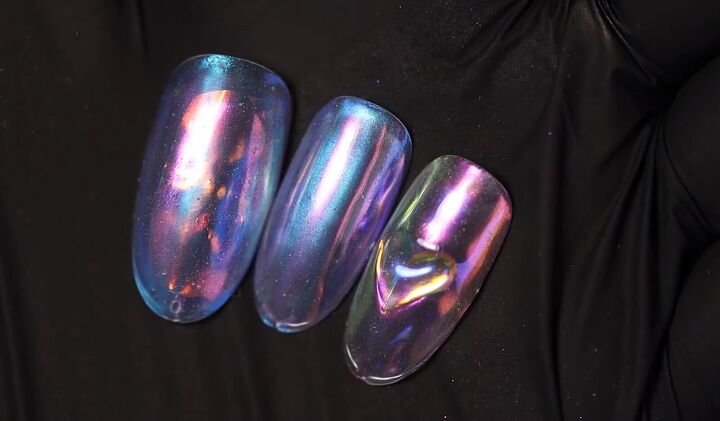
Aurora Ice Korean nail art tutorial
Here is the Aurora Ice Korean Nail art. They are all so shiny and mesmerizing and change color as they catch the light. It’s really fun to play around with different colors and layering techniques. Although the process to create these designs is quite lengthy, it is 100% worth it for the finished look.
Products used
- GelPerfect No wipe Top Coat and base bundle http://bit.ly/base_coat_and_top_coat
- Rossi Primer: http://bit.ly/nailprimer
- Aurora Ice Powder http://bit.ly/ice_powder
- Aliexpress link(cheaper): http://bit.ly/3bCMuOJ
- Foil: http://bit.ly/3rAbk7D
- Foil similar: http://bit.ly/2OPGrxG
- Daily Charme Stay Put Gelly / Jewelry Gel in a Tube
- http://bit.ly/38uRYcu
- Indigo Protein base: http://bit.ly/proteinbaseindigo
The author may collect a small share of sales from the links on this page.


Comments
Join the conversation
I'm very impressed with this tutorial and can't wait to try it. I used to do nails in a salon and I'm always up for new and unique techniques to make nails POP and get noticed. Thank you for posting this.