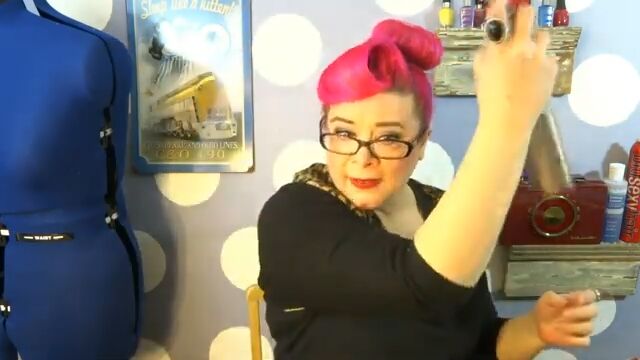
Glam Ballerina Bun Tutorial

Today's hair tutorial is all about putting a fun twist on the classic ballerina bun!
Not only is it easy but it's super versatile and can be casual or dressed up for a special occasion.
Something I love about a ballerina bun is that you don’t need to prep the hair. So let’s get started!
Tools and materials:
- Teasing brush with a pointed end
- Ponytail holder
- Hairspray
- Bobby pins and long pins
- Chignon form
- Hand mirror
- Flower hair accessory

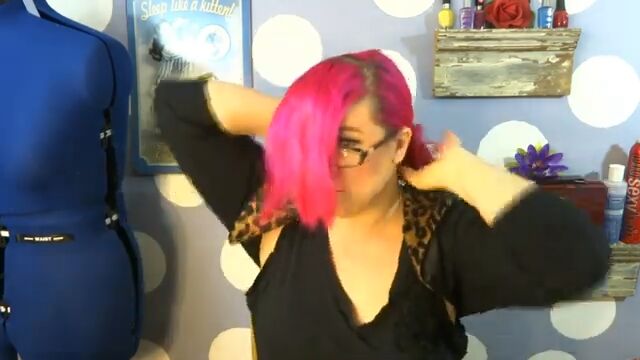
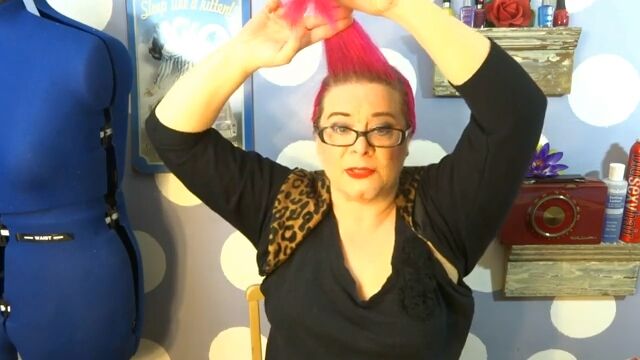
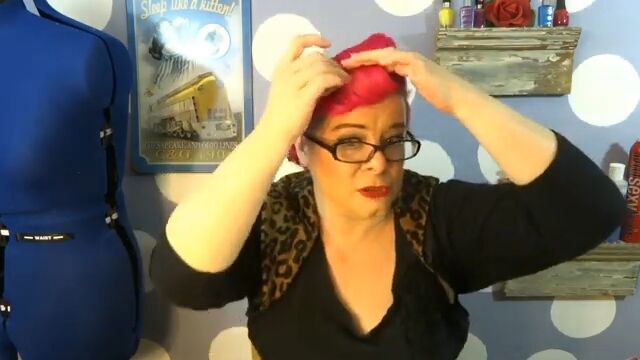
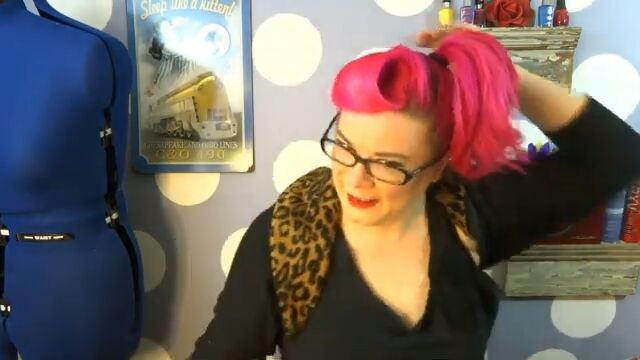
1. Separate the bangs section
Separate the bangs section in a U-shaped pattern from one corner of your forehead to the other using the pointed end of a brush or comb.
Then pull the rest of your hair out of the way temporarily.
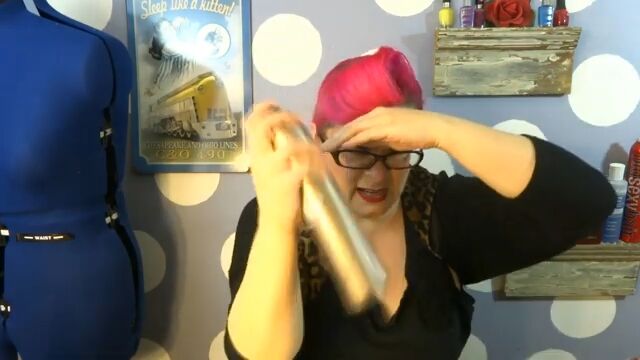
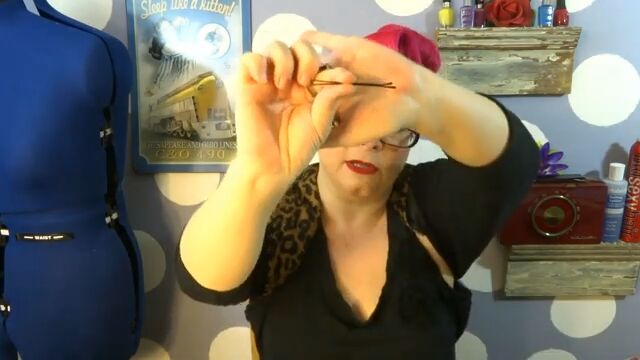
2. Tease your bangs
Next, grab your bangs (or the section of hair in the front that you separated) pulling them upward and brushing downward with a teasing brush.
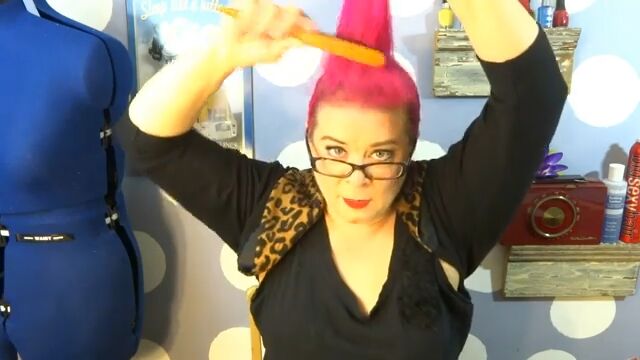
Then, spray with a bit of hairspray.
Once that’s dry, lightly brush the hair forward with the teasing brush so that it doesn’t look ratty on the outside.
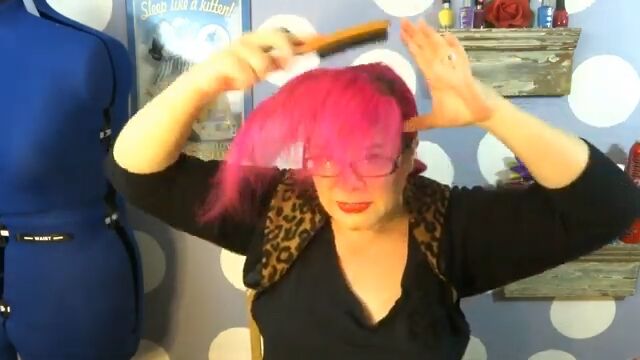
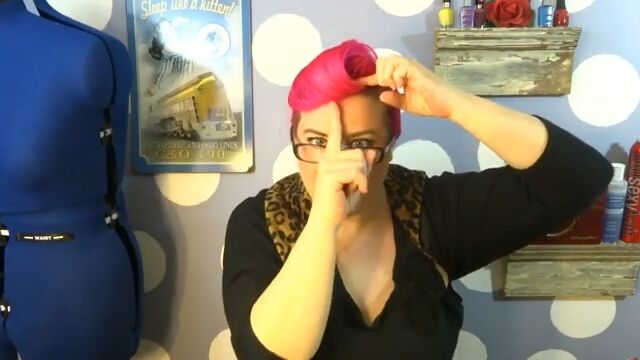
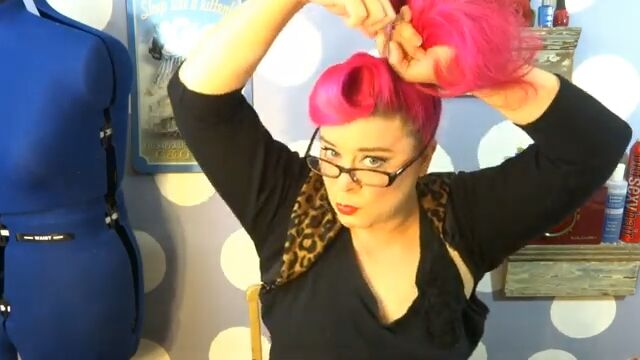
3. Roll your bangs and secure
Hold that section of hair out at an angle. Then take two fingers and place them about halfway down the hair.
Make sure the ends are completely tucked under your fingers and then roll the hair down to the base of your hairline.
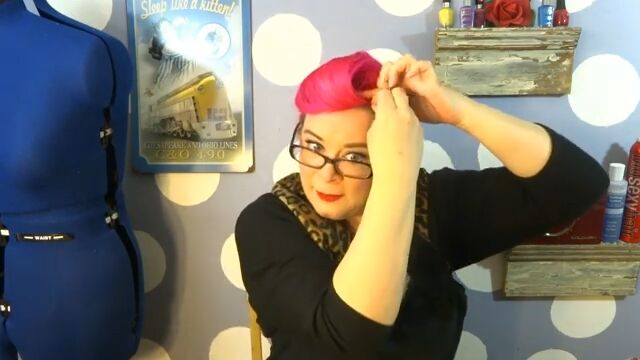
Switch hands, continuing to hold the roll in place with a finger from your left hand.
Then, gently pull the other side of the roll down to meet your temple.

Then, scoot the other side of the roll over so that it’s just passed the halfway point of your forehead.
Where your finger is still holding everything tightly, secure with a bobby pin.
Add another bobby pin to cross the other if you need the extra hold.
Then, continue to mold the hair, making sure everything looks smooth and that there are no holes or ends sticking out.
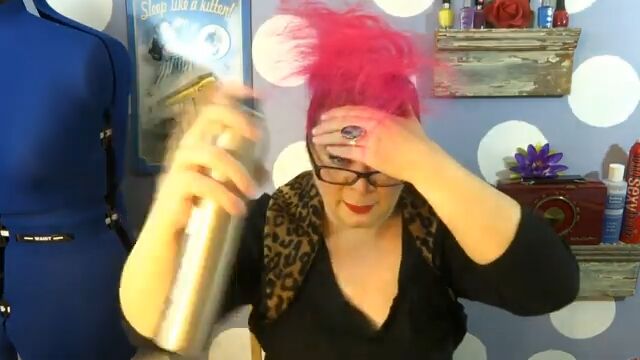
When you’re happy with how it looks, spray the roll with hairspray. Then, run your hand over it while still wet to hold down any flyaways.
4. Make a high ponytail
Take down the rest of your hair and comb it upwards into a high ponytail.
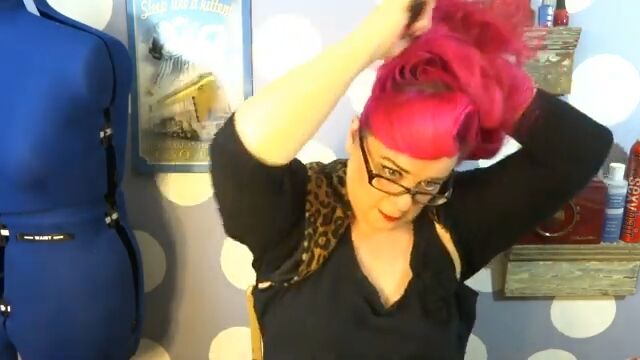
Basically, you want it to start right behind where you sectioned off your hair in the front.
Bring your ponytail where you want the bun to be: Centered or askew.
Make sure the hair against your scalp is nice and smooth. Then, tie it off with a ponytail holder and brush the ponytail to make it smooth.
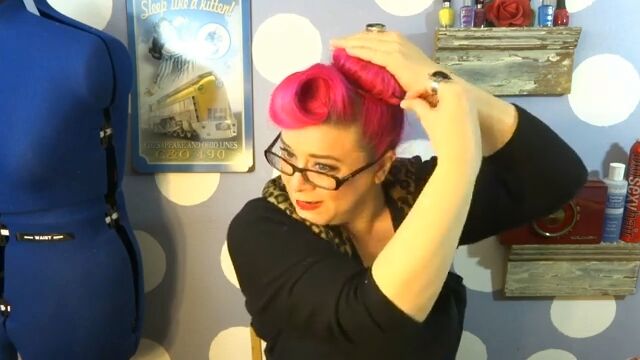
5. Place your chignon form
Choose a chignon form that best matches your hair in size and color. Pull your ponytail through the doughnut hole.
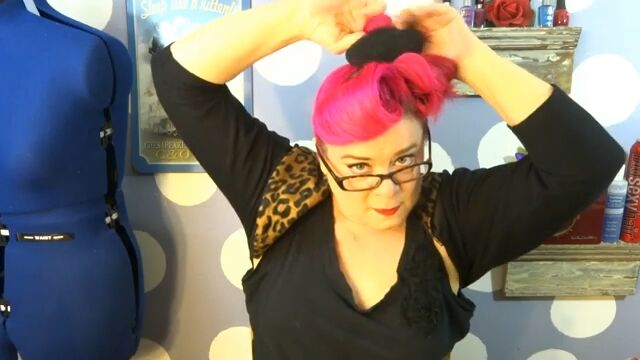
Then, bring the chignon form almost to the end of the ponytail, spread the ends around the form and tuck them.
Continue to roll and tuck the hair around the form until you reach your head.
See minute 5:00 of the video to see how I do this.
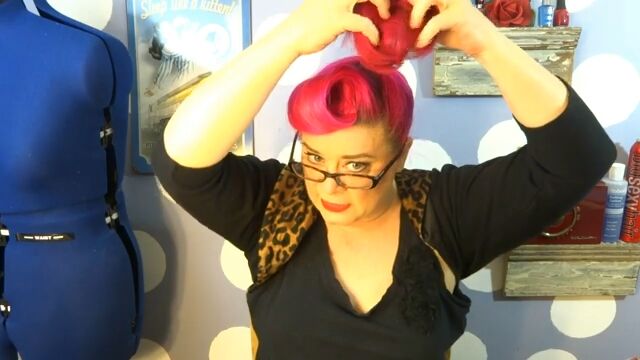
This feels pretty secure as is, but you will be able to tell that it’s still a bit messy.
Feel around the bun and slide the hair over any exposed patches of the chignon form.
For added security, slide a ponytail holder right down to the base of the ballerina bun.

Apply more hairspray.
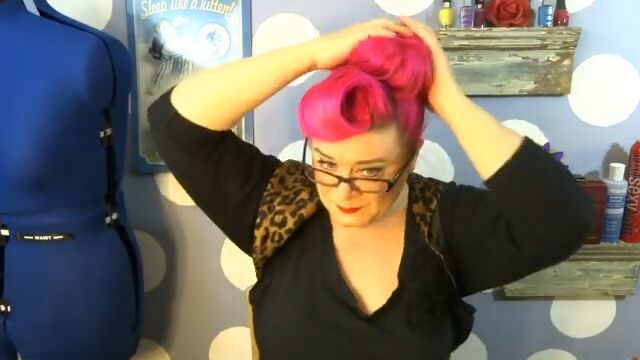
6. Make the gap disappear
You’ll notice that there’s an unsightly gap between the bottom of the bun and the scalp.
If you have really long, thick hair, use these long, straight pins:
Otherwise, you can use regular bobby pins. I prefer the long pins because then you can use less of them.
Now, smash the bun to your head and with your other hand, anchor a pin through the hair and through the chignon form.
Do this at least four times around your ballerina bun.
6. Fix any gaps in the back
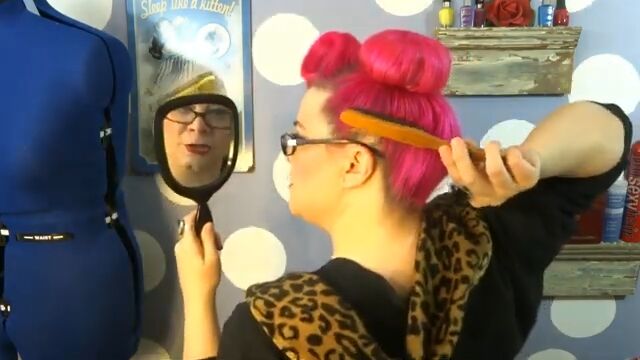
Using a hand mirror, check out the back of your head. See if there are any gaps, like this one, that you can fill in:
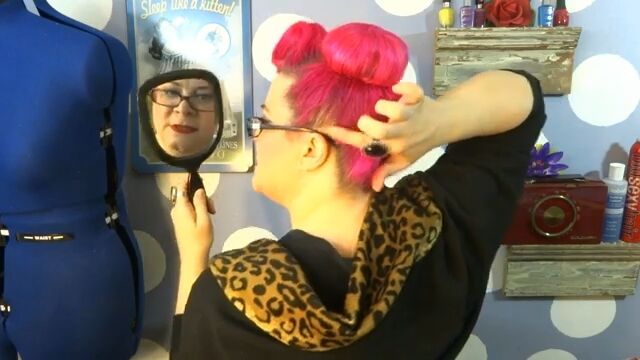
Use your teasing brush to go over the gaps to lightly fill them in with nearby hair. Also, gently brush through any bumps.
7. Accessorize
To glam up this ballerina bun even more, add your favorite hair accessory.
Since this ballerina bun is relatively simple, you can get away with adding an extra touch of glam.
Cute ballerina bun hairstyle
What’s great about this ballerina bun is that it doesn’t require any major prepping of the hair.
Plus, you can glam it up with accessories or makeup, or just wear it simply.
Now that you’ve learned how to make a ballerina bun, show us your looks in the comments below.
Check out my Easy Vintage Updo Tutorial.
The author may collect a small share of sales from the links on this page.


Comments
Join the conversation