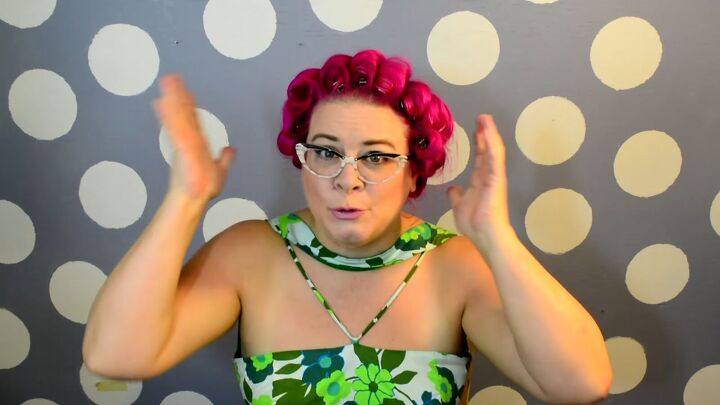
Fun Bettie Bangs on Long Hair Tutorial

If you’re looking to try Bettie bangs with long hair, follow along with this 1940s inspired, classic pinup hairstyle tutorial. It’s sure to impress and upgrade your look for a special occasion.
You don’t even need to have naturally long hair or bangs. Follow along to find out how!
Tools and materials:
- Clip in hair extensions - 4 weft and 3 weft
- Clip in bangs
- ½” curling iron
- Metal curl clips
- Teasing brush
- Hairspray
- Hair wax
- Bobby pins
- Hand mirror
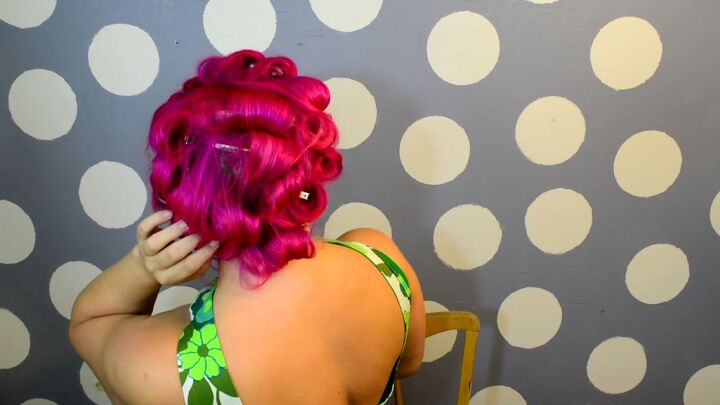
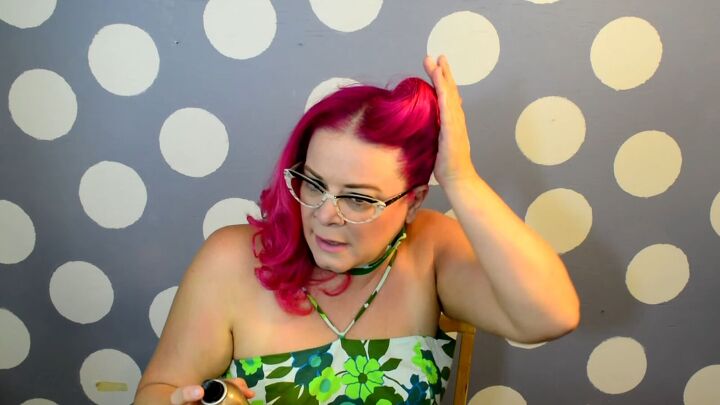
1. Curl your hair
Use a ½” curling iron (or any curling method that you prefer) to curl up your hair.
Make sure to curl everything underneath as well. Pin the curls as they cool to make them more resilient.
Some of the next steps are optional, depending on whether or not you have natural bangs or long hair.
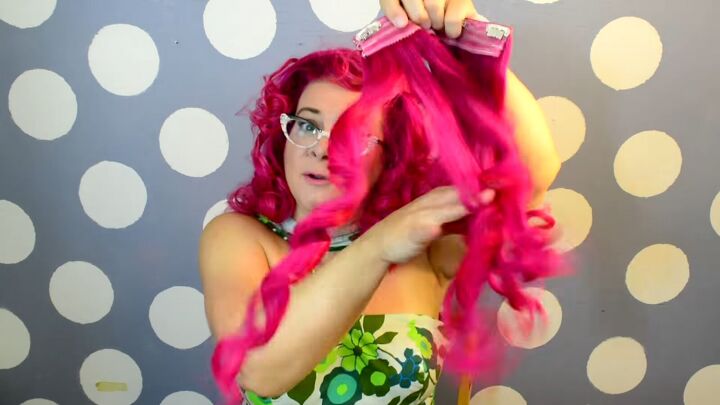
2. Prepare false bangs and extensions
I’ve dyed my false bangs to match my pink shade. I’ve also curled them under for the Betty bangs look.
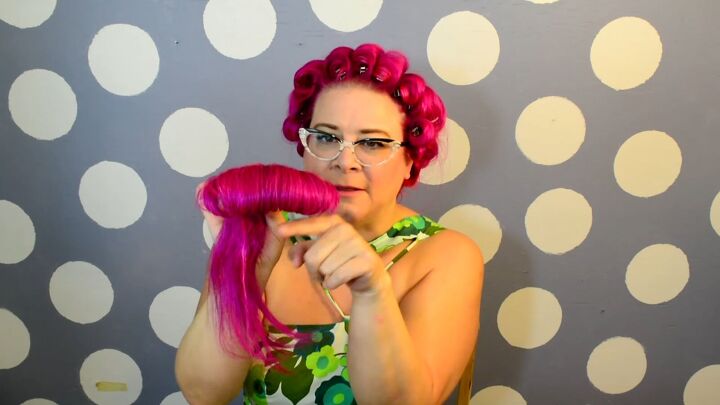
I’m using both 3 and 4 weft hair extensions to add length to my hair, dyed pink as well.
I used the same curling iron and clipping method for the extensions as I did with my natural hair.
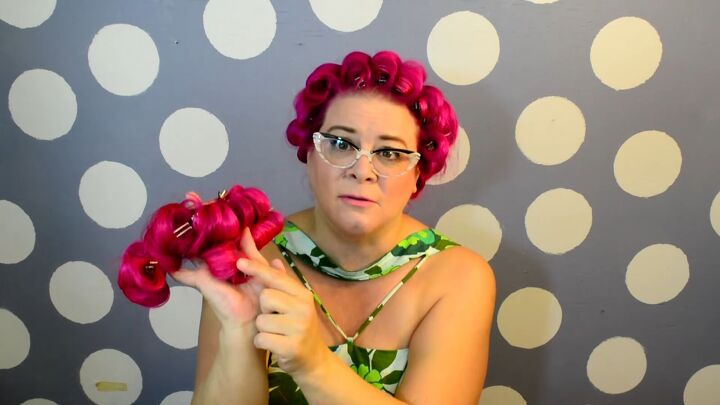
3. Take down the curls
Once your curls have cooled, take out the clips.
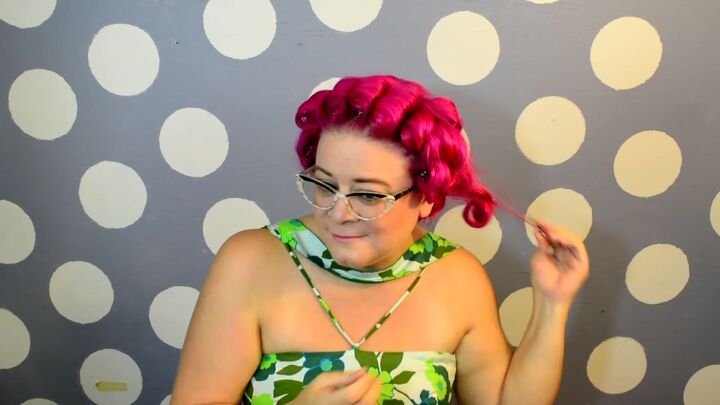
When you’ve removed all the clips, use your fingers to shake out the curls a bit.
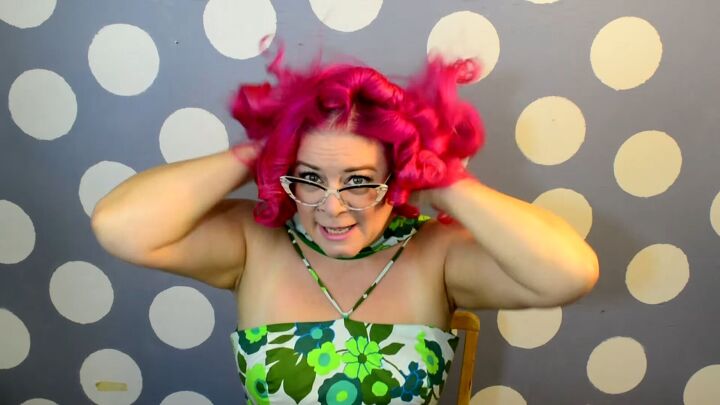
If you’re using extensions, do the same thing for those curls as well.
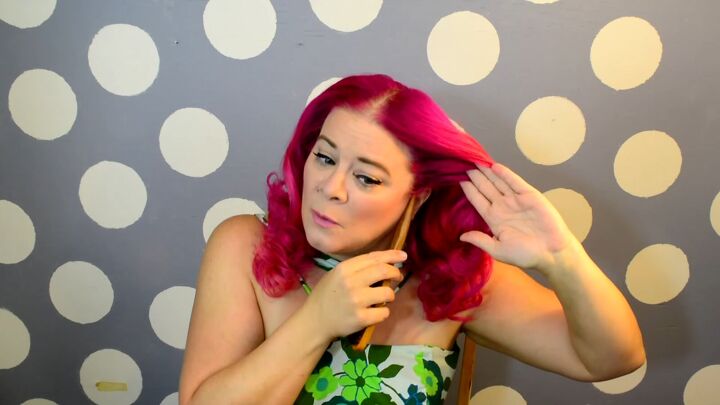
4. Part the hair
Part your hair down the middle.

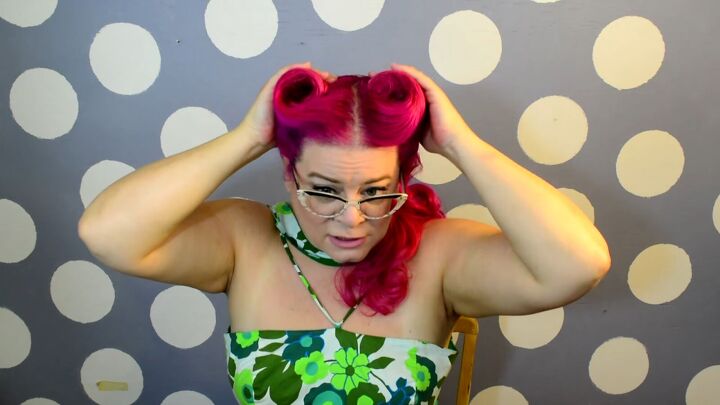
5. Style the first victory roll
For a more detailed explanation of how to create victory rolls, check out my video: Victory Rolls ~ 4 Ways to Get the Perfect Pinup Roll.
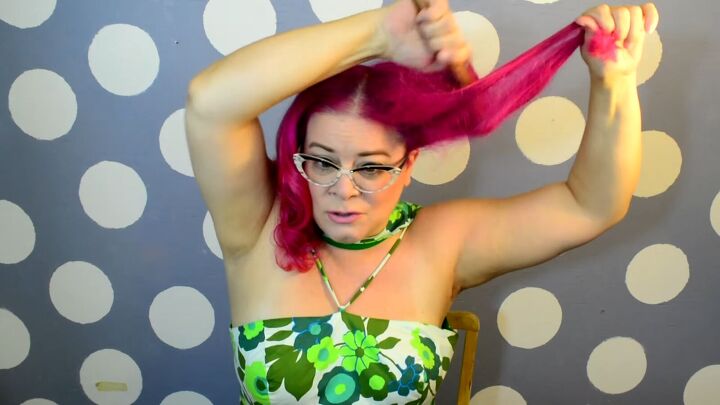
Start by using the pointed end of your teasing brush to pick up a section of hair from the front of your ear, toward the back of the part. (You could also use a comb instead.)
Then, pull the hair to the side and use your brush to backcomb that section.
Yes, at this point, it should look like this! Spritz it with some hairspray.

Let the hairspray dry. Then, lightly brush through all sides of the teased hair to make it smooth.
Be careful not to brush out that backcomb!
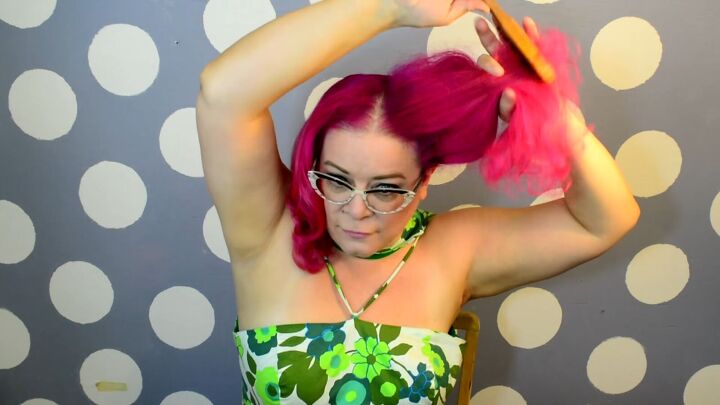
Then, grab the ends and brush through them so that they’re smooth.
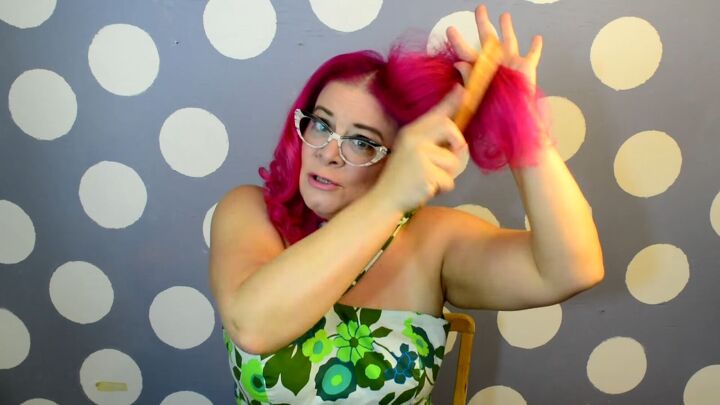
To control any flyaways or baby hair, apply some hair wax. Smooth it over the hair, paying close attention to the hairline.
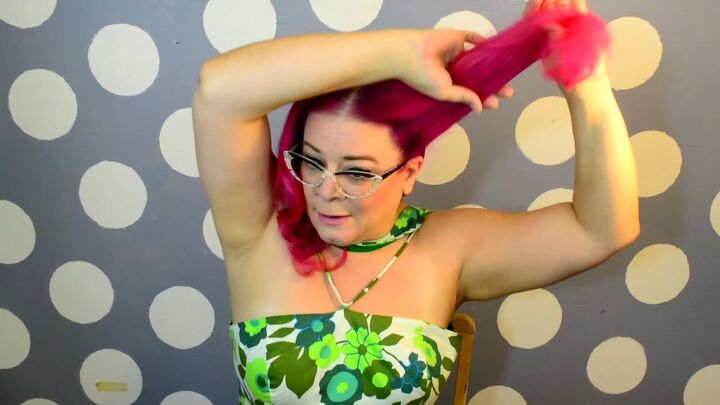
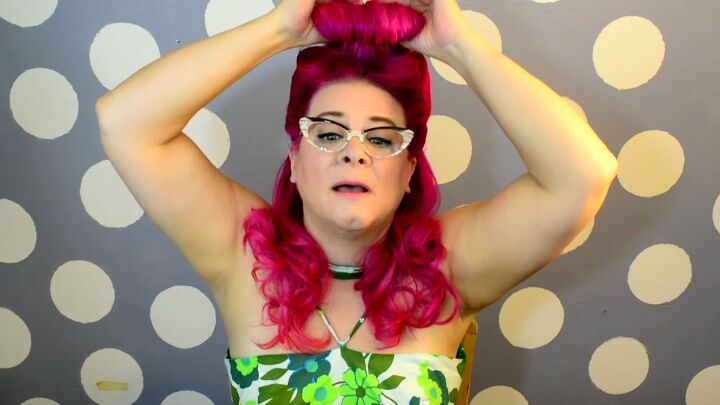
While holding the hair out, place 2 fingers about halfway through the hair and wrap the hair around them.
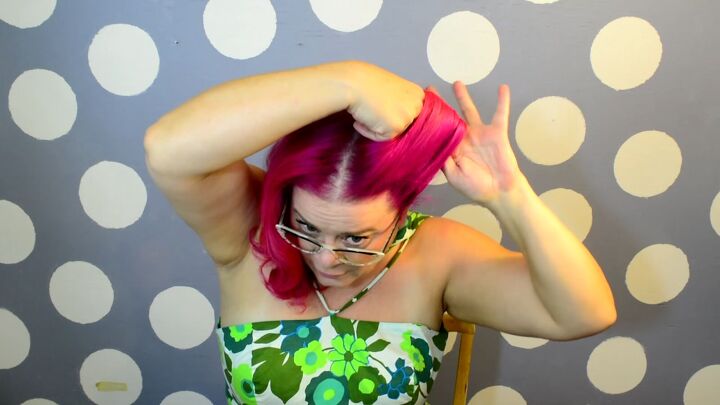
Roll this hair to your head, making sure everything feels stable.
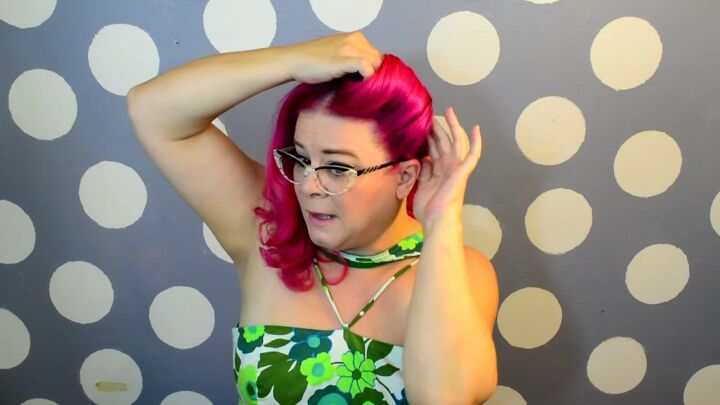
Next, cup your fingers around the roll itself and use a bobby pin to secure the front of the victory roll to your head.
That should be enough to take your hand away.
Then, secure it up further with a few more bobby pins and spritz the entire roll with hairspray.
While still wet, smooth the spray over the roll gently with your hand.
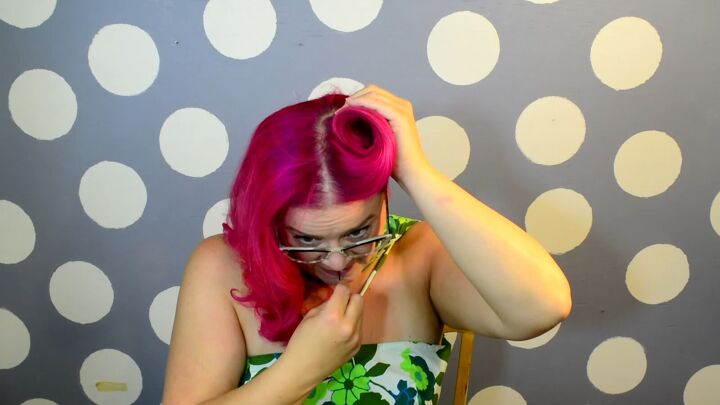
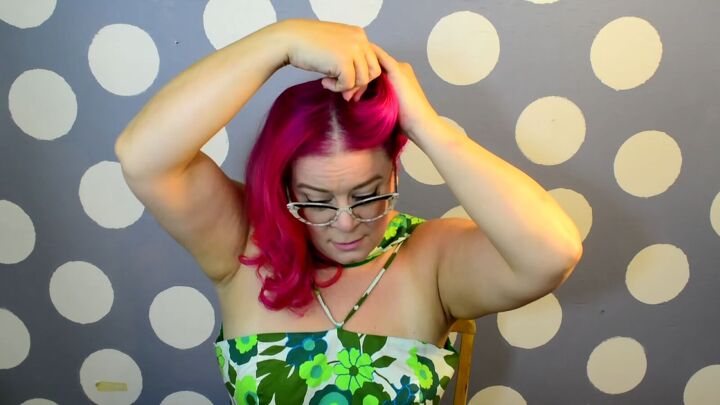
6. Style the second victory roll
Follow the same process on the other side. The trick here is to make sure the rolls are evenly placed and use about the same amount of hair.
7. Add false bangs
Take your false bangs in front of the victory rolls and close the center clip, making sure that the bangs sit in the middle.
Once the bangs are where you want them, close the rest of the clips.
To blend the clip in bangs with your updo, start by splitting the “tail” piece of the bangs in half.
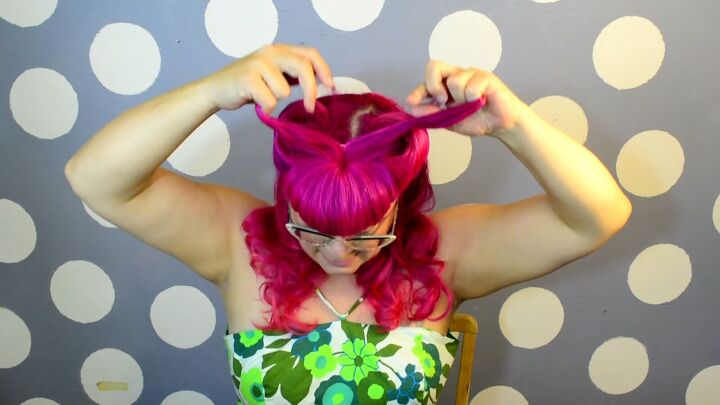
Then roll each piece and stuff them into each victory roll. Pin the ends inside the roll if necessary.

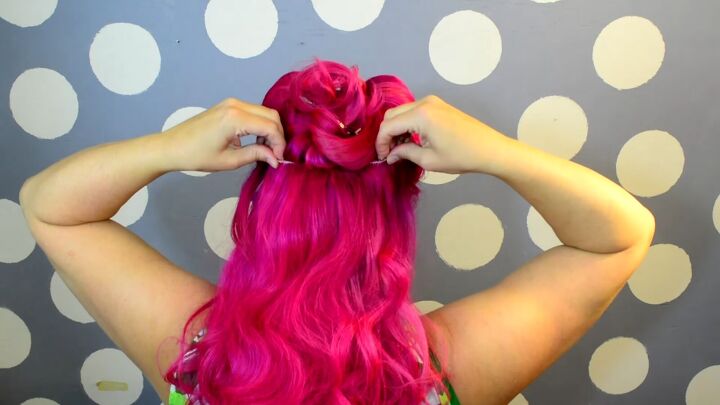
8. Prepare your hair for extensions
At the back of your head, split your natural hair by pinning the top half up.
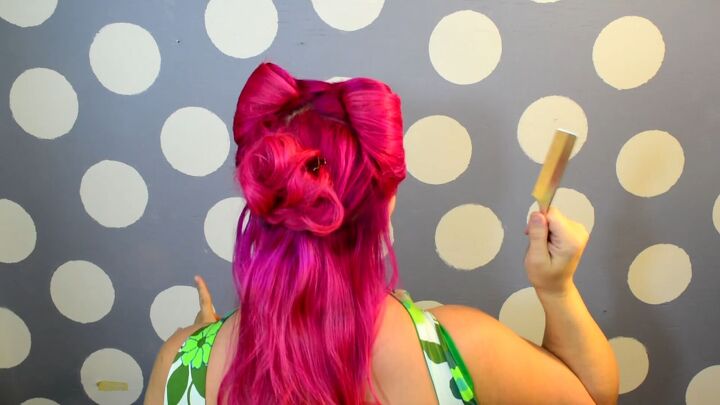
Use a comb or brush to backcomb about the top 2” of the loose portion of your natural hair.
This will make it easier for the extensions to stay in place.

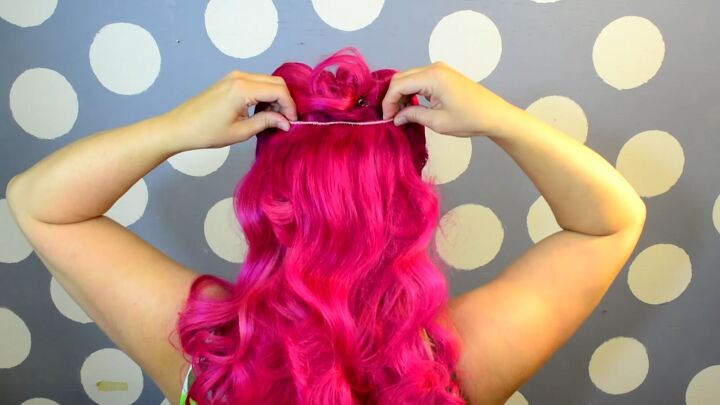
9. Apply 4 weft hair extensions
Make sure all clips on the extensions are open. Start by securing down the middle 2 clips.
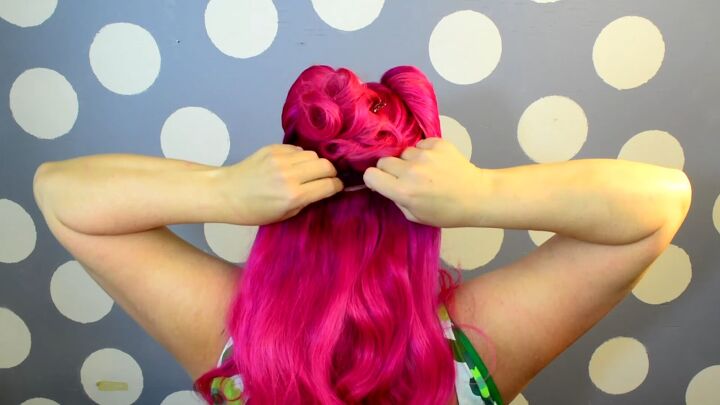
Then, secure the clips on the ends.
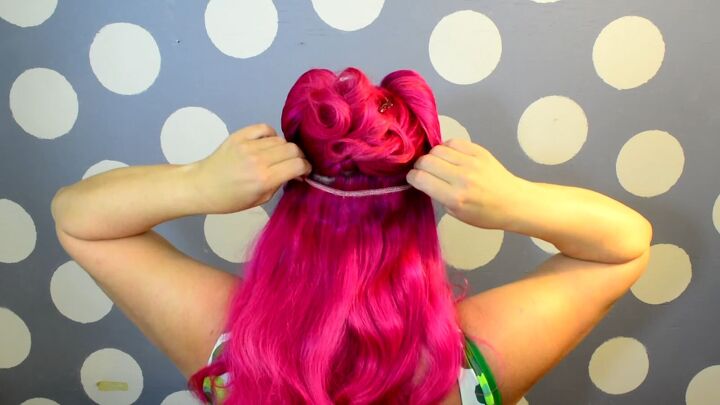
10. Apply 3 weft hair extensions
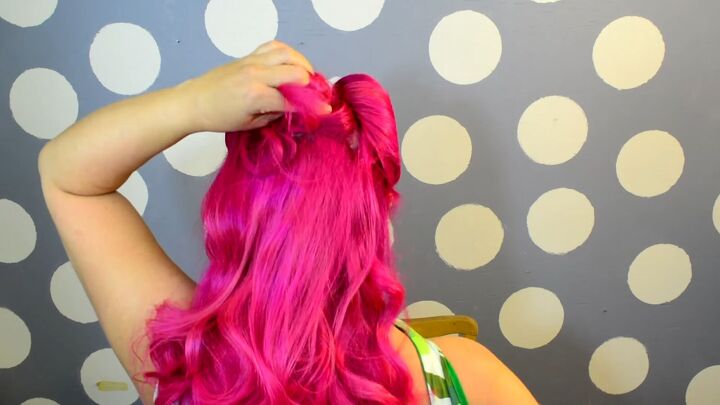
Next, take down the pinned up portion of your natural hair, separating out another section, and pinning the remaining hair farther up.
You can use a hand mirror at any point to help you.
Secure the 3 weft extensions in the center and then at the sides, as in the previous step.
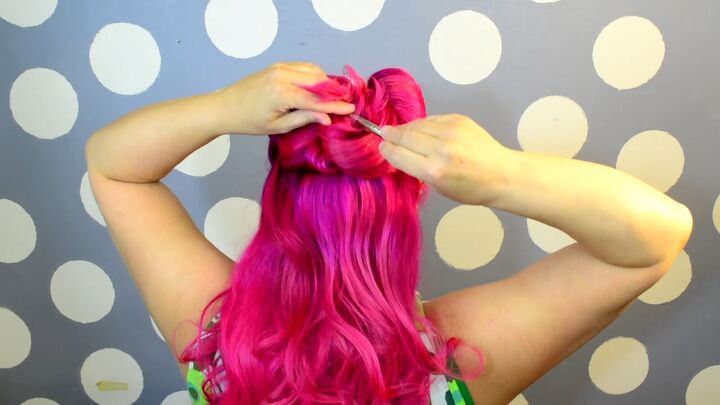
Once again, take down the clipped hair to let down another smaller section of hair, then pin the top half up.
Then apply another hair extension piece between your hair again.
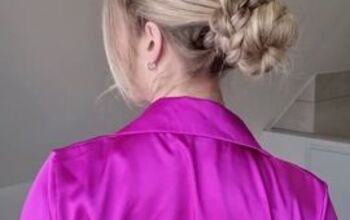
Then take down the last bit of your natural hair to cover that final hair extension for a completely seamless look.
Add a flower or accessory if you’d like, and our Bettie bangs look with long hair is complete!
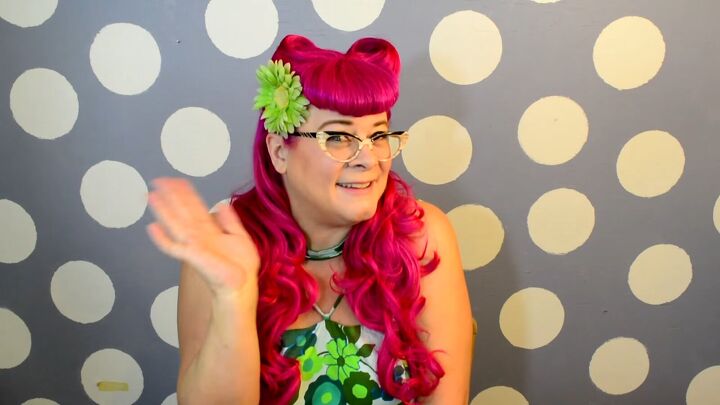
Cute Bettie bangs on long hair
Will you try this Bettie bangs pinup gal hairstyle? Let us know in the comments below where you’ll be wearing this fabulous, 1940s victory rolls updo.
For more hair content, check out my Judy Garland-inspired 1940s Bumper Bangs Tutorial.
The author may collect a small share of sales from the links on this page.


Comments
Join the conversation
Just wow💯!..
Your hair looks cool. I like how you use a bobby pin while curling, I shall use that tip, it will make curling so much easier. I'm thinking why did I not think of that before 😂
Thank you kindly
Louise