How to Make a Cute DIY Off-the-Shoulder Top Out of an Old Flowy Skirt

I had this beautiful peach organza skirt that I didn’t really wear or need. So, I decided to transform it into a ruffled DIY off-the-shoulder top. I documented the process, and the results are breathtaking!
If you want to know how to make an off-the-shoulder top for a skirt, then I’ve got you covered. Let’s begin!
Tools and materials:
- Long skirt
- Measuring tape
- Ruler
- Sewing machine
- Matching thread
- Scissors
- Elastic

1. Measure and cut the top
Align the hems of the skirt and pin.

Next, measure your desired length. Because this DIY long-sleeve off-the-shoulder top is cropped, I measured my desired length at 30cm (11.81 inches) and drew a straight line across.
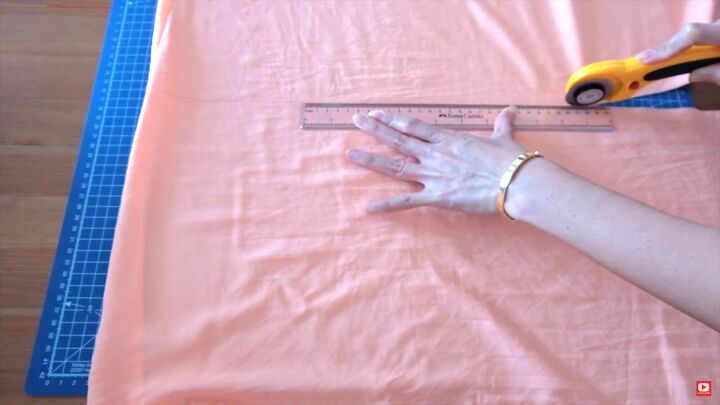
Then, cut the piece off with a rotary cutter for a precise finish.
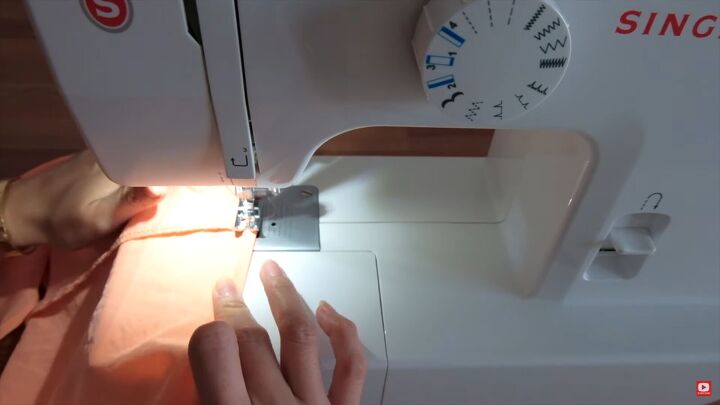
2. Hem the fabric
Double hem the raw edge of the fabric to avoid fraying.
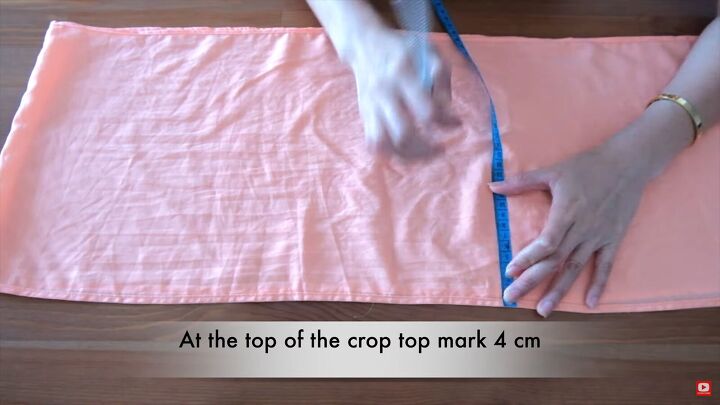
3. Mark lines for the ruffles
At the top part of the DIY off-the-shoulder top, mark 4cm (1.57 inches) all across.
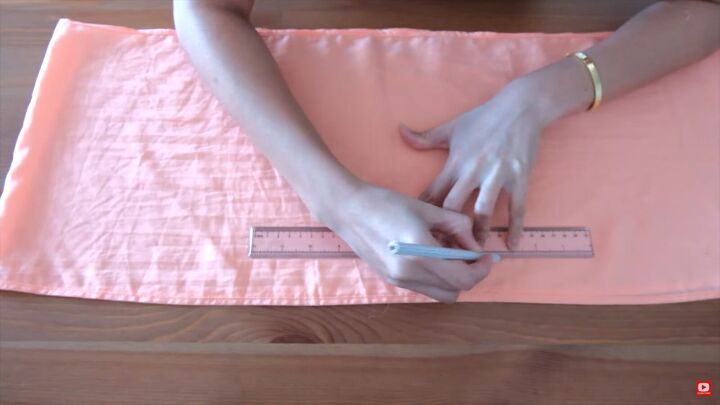
Then, draw a straight line across.
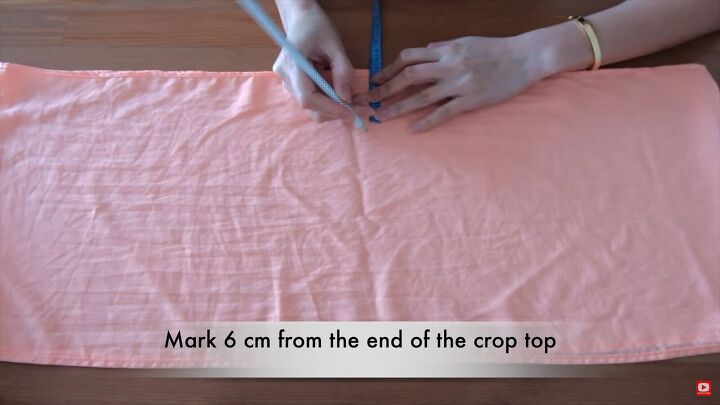
Heading to the bottom, mark 6cm (2.36 inches) from the end. Then, draw a straight line straight across, too.
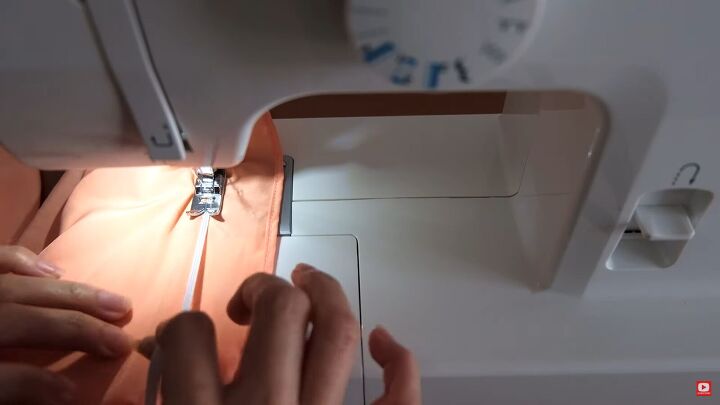
4. Stitch the elastic
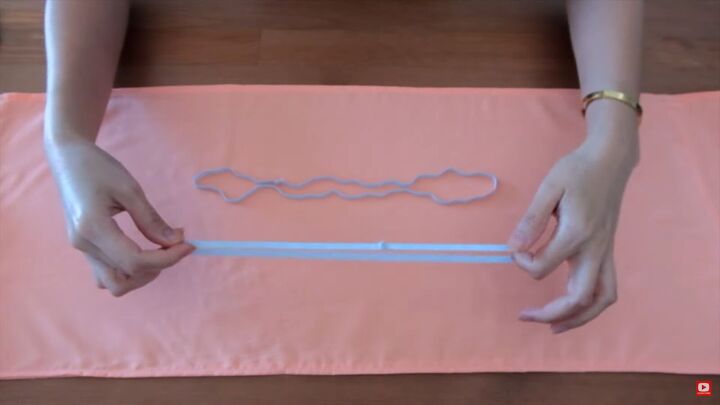
Now, iron the fabric and prepare two elastics. These should be the exact measurements of your upper bust and waist area. Sew the elastic at the ends, as shown.

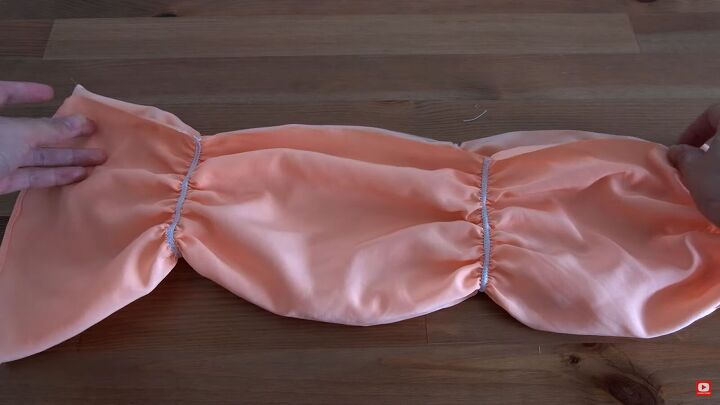
Place the seam of the elastic over the seam of the fabric. Then, zigzag stitch the elastic onto the fabric and lightly pull at the elastic while stitching. This technique will create that beautiful ruffled effect.
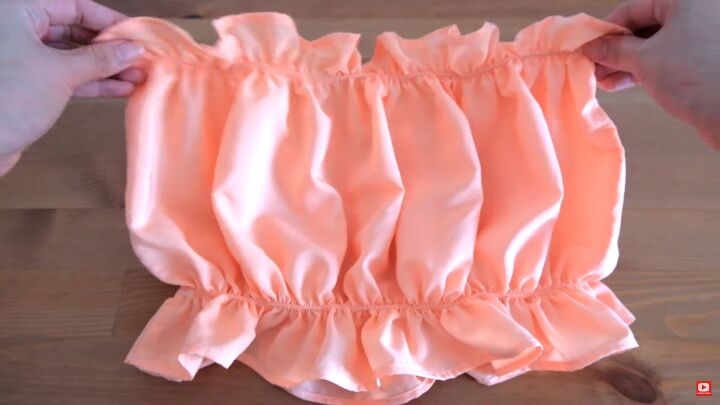
This is what you should end up with.
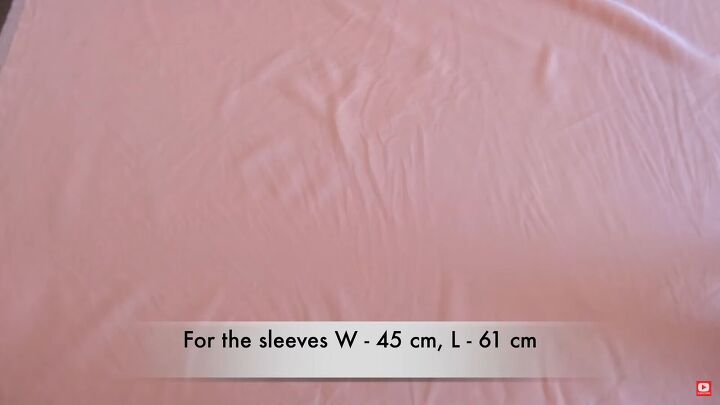
5. Make the sleeves
For the sleeves, cut two long rectangles measuring 45cm (17.71 inches) in width and 61cm (24 inches) long from the remaining fabric.

Like the crop top, double hem the raw edges on both short sides.
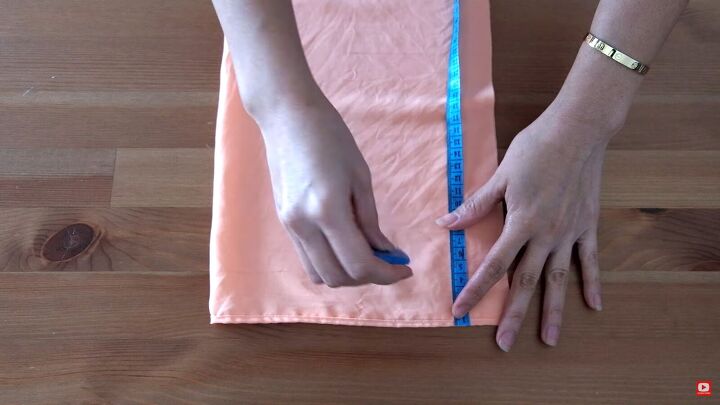
Fold the rectangle in half widthwise and mark 4cm (1.57 inches) from the top edge. We are going to be doing the same process as the crop top; drawing guides for the elastic.
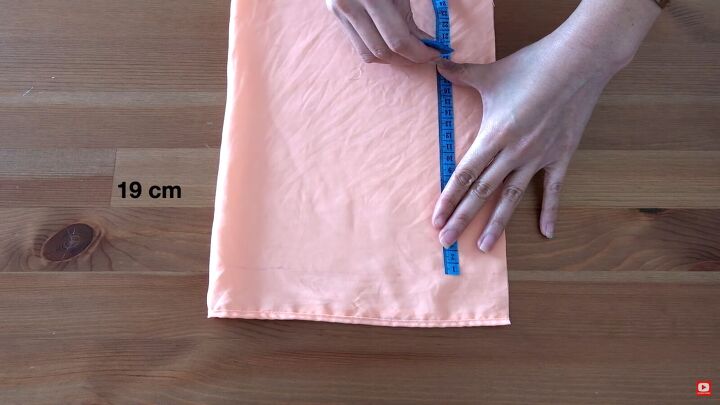
From the 4cm (1.57 inches) mark, measure 19cm (7.48 inches) and make another mark.
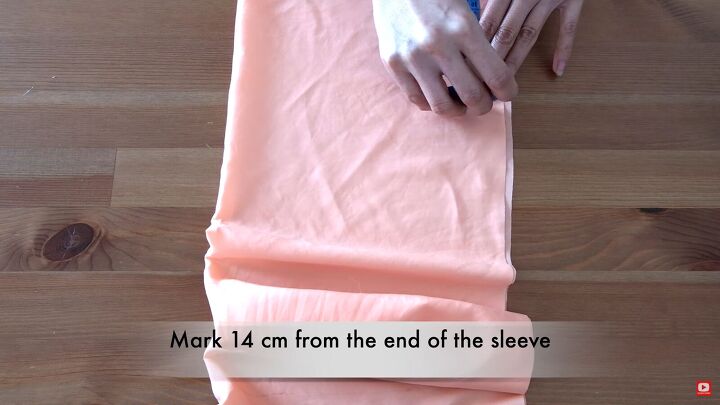
Lastly, mark 14 from the bottom end of the sleeve.
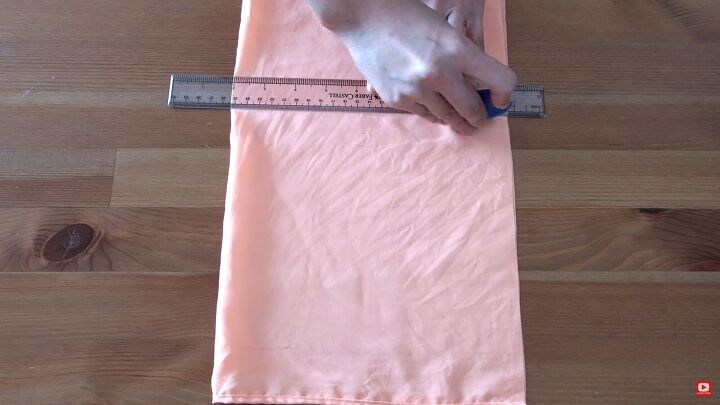
Draw straight lines across all three markings.
Measure your wrist, mid-arm, and upper arm and cut three pieces of elastic accordingly. Then, sew the elastic on the fabric, using the lines as a guide.
Remember, just like the first part of this DIY off-shoulder top sewing tutorial, sew the elastic on with a zigzag stitch and pull it as you go along.
Tip: Straighten out the fabric underneath the foot so that you have a smooth finish.
Once the elastic part is done, fold the sleeves’ right sides touching and sewing the side seam to create a full-length sleeve. Repeat the process for the second sleeve.
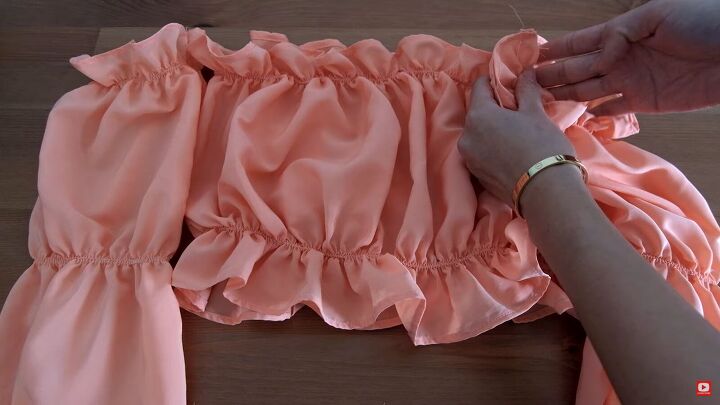
6. Attach the sleeves
Attach the sleeves to the DIY off-the-shoulder top by the side seams of the crop top.

DIY off-the-shoulder top tutorial
There’s no denying that this DIY off-the-shoulder top is absolutely exquisite! I love how it turned out.
I hope you enjoyed this guide on how to cut and sew an off-shoulder top. Let me know in the comments below what you think.
The author may collect a small share of sales from the links on this page.


Comments
Join the conversation