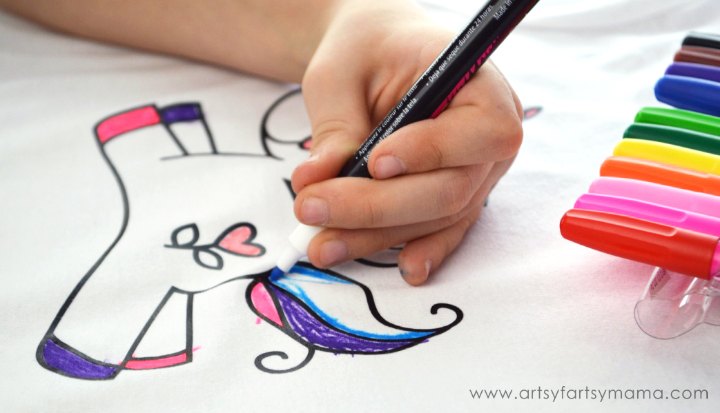
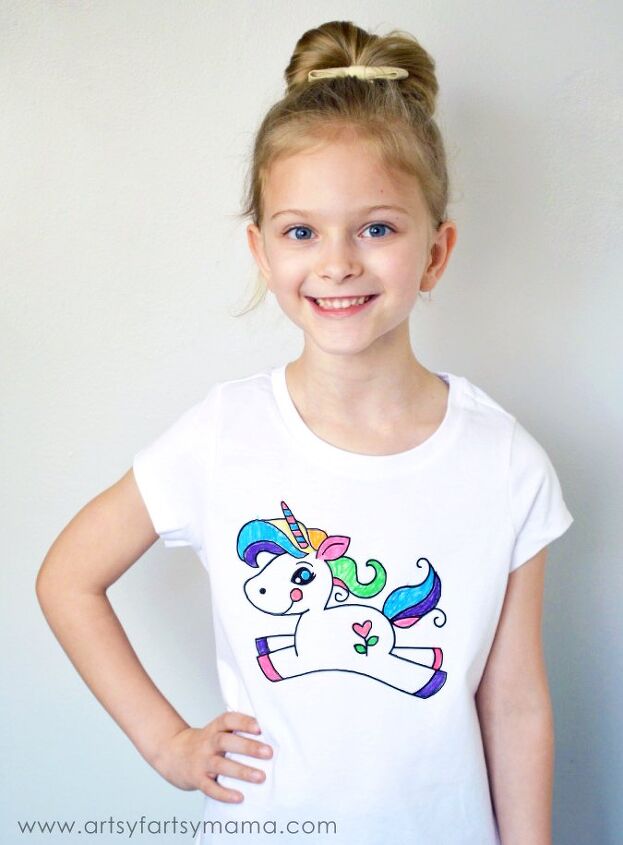
DIY Unicorn Coloring Shirt
$10
30 Minutes
Easy
This post is sponsored by Cricut, but all opinions and ideas are my own.
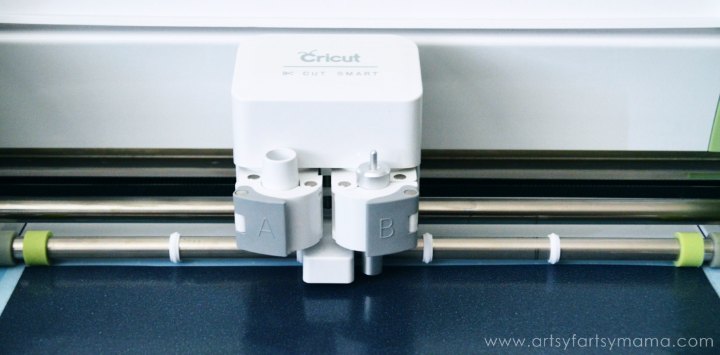
- Mirror your image before cutting. The vinyl will be placed with the clear carrier sheet/ "pretty side" down, so if you don't mirror your image it will be backwards after it is cut.
- Iron-On Lite Vinyl can be cut using the Iron-On setting on the dial.
- To cut Iron-On Glitter Vinyl and Flocked Iron-On Vinyl, switch the dial to Custom and select Iron-On, Glitter from the drop-down menu.
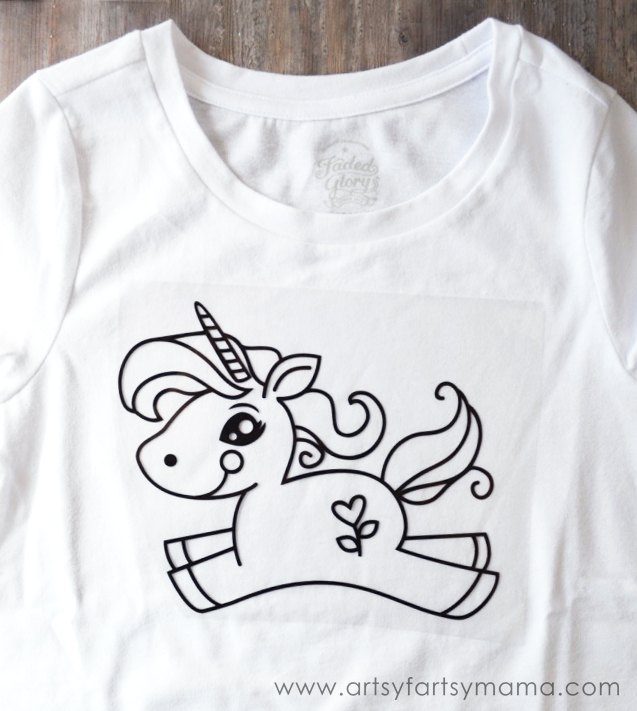
- Set your iron to the cotton/linen setting with the steam OFF.
- Lightly preheat the area with the iron for 10-15 seconds. This really does help!
- Place your image, liner side UP onto the area. If you don't place the liner side up, the vinyl will stick to your press cloth.
- Carefully lay a press cloth or dishtowel over the design.
- Apply medium pressure with the iron for 25-30 seconds.
- Flip the shirt over and apply medium pressure with the iron to the back for an additional 25-30 seconds.
- If you have any parts that didn't stick for some reason or if edges are flipping up, re-iron the pieces or loose edges with the iron tip for 10 seconds.
- Let cool and remove liner. If you try to remove the liner before it cools, you risk burning your fingers or peeling the vinyl up.
The author may collect a small share of sales from the links on this page.

Want more details about this and other fashion and style ideas? Check out more here!


Comments
Join the conversation