How to Make a Plaid Shirt Into a Dress - Easy DIY Tutorial

In this tutorial, I'll show you how to make a plaid shirt into a dress. I’m participating in a challenge with other crafters, in which we each buy a clothing item from the thrift store, and transform it into something new.
I found a red plaid turtleneck t-shirt for $2.50, which inspired me to create a plaid dress with a pleated skirt. Keep reading to find out the step-by-step process I used for this transformation.
Tools and materials:
- XL (or larger) long-sleeved t-shirt
- Scissors
- Fabric chalk
- Measuring tape
- Pins
- Safety pin
- Sewing machine
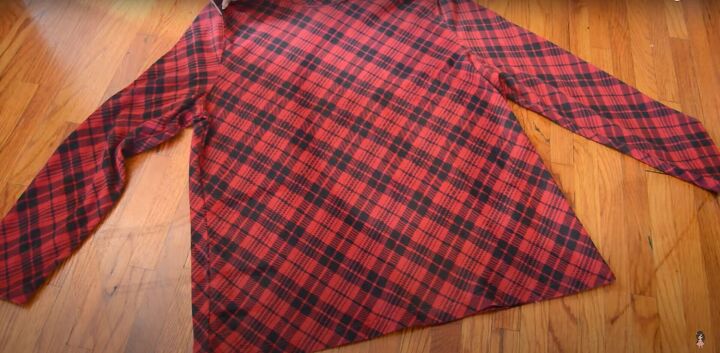
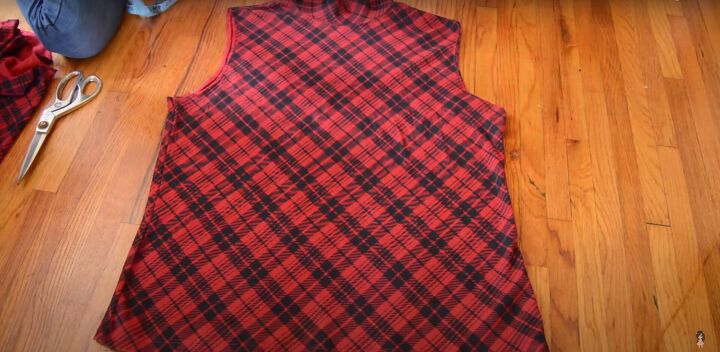
1. Cut off the sleeves
First, I removed both sleeves by cutting them along the seams.
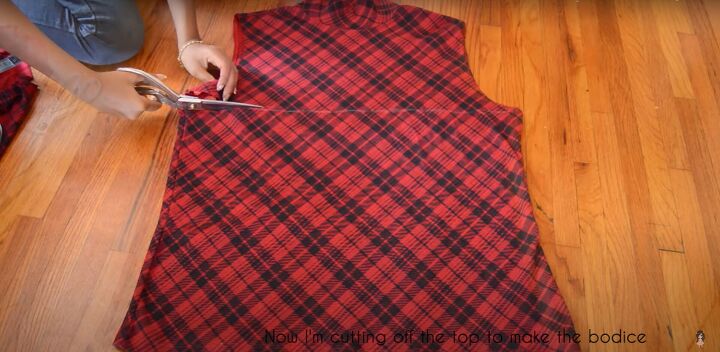
2. Mark and cut
Next, I measured from the center of my chest to below my bust, marked a line at that length across the shirt, and cut. I set aside the rest of the shirt to be used later as the skirt piece of my dress.
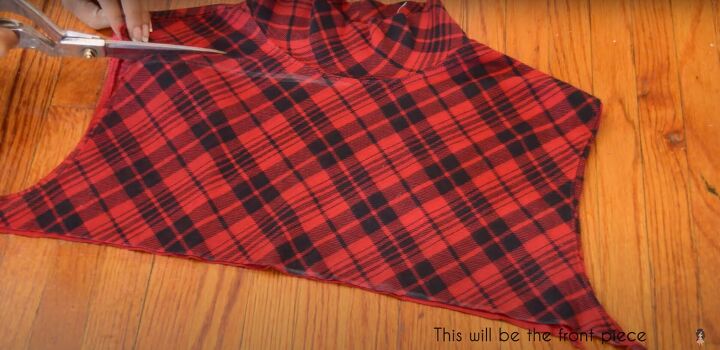
3. Cut the front bodice
I marked the top edge of the front bodice with a slightly curved line, and cut halfway across the top layer of fabric.
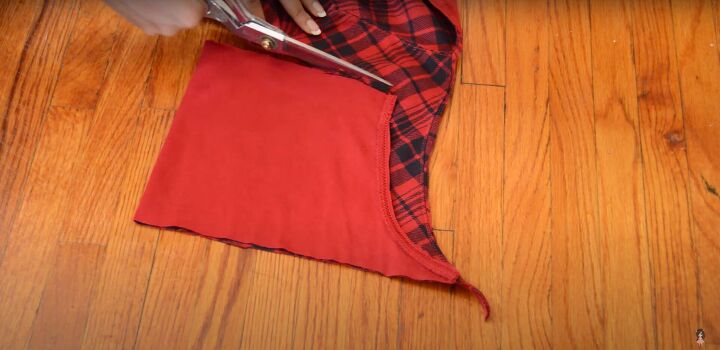
Then I flipped the cut fabric over, and cut the rest of the way across the shirt, so the shape would be symmetrical.
Finally, I cut off the sleeve seams on either side.
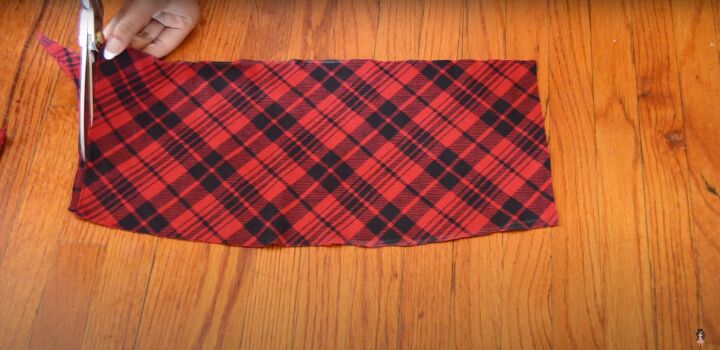
4. Cut the back bodice
I traced the front bodice onto the back section of the shirt. For the top edge, I simply marked the corners and connected them with a straight line, since I didn’t want the back bodice to have a curved edge, like the front. Then I cut out the rectangle.
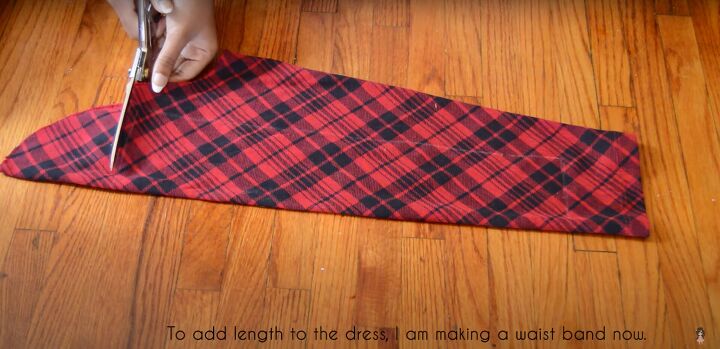
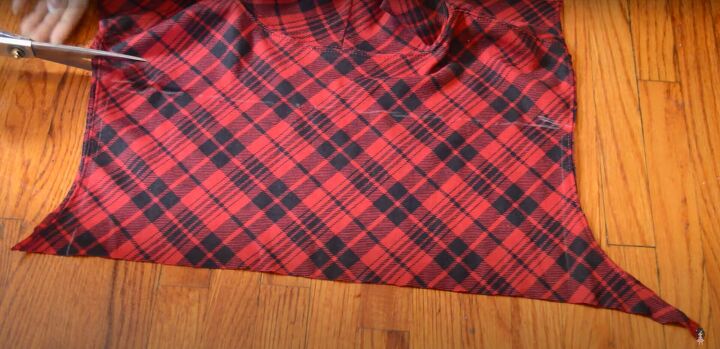
5. Cut a waistband
I used one of the sleeves I removed to create the waistband. I folded it in half, and used the bottom edge of the bodice to mark the length of the waistband, and added half an inch on either side for seam allowance.
I made the width about 4 inches wide. I cut out the rectangle and then cut along the fold, to create two equal rectangles.

6. Sew the side seams
I put the front and back bodices together, right sides facing, and sewed down one side seam.
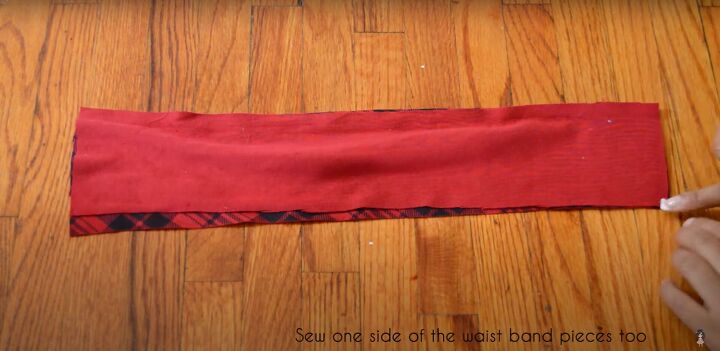
Then I put the two waistband pieces together, right sides facing, and sewed down one side, as well.
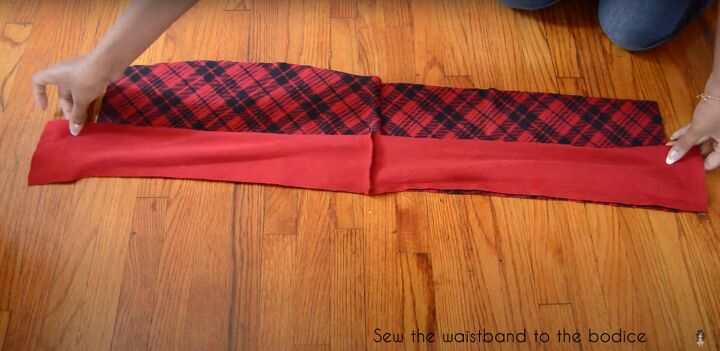
Then I sewed the waistband to the bodice, making sure the side seams were lined up.
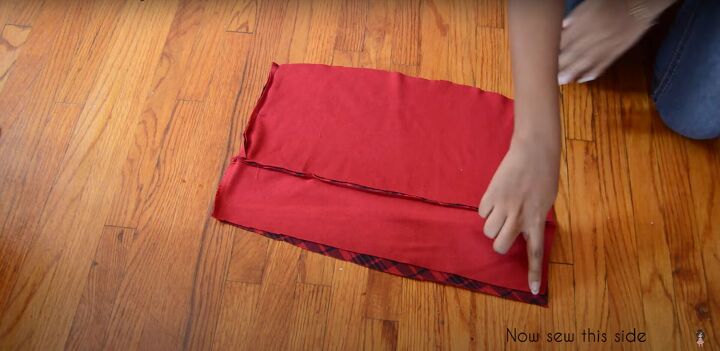
And finally, I sewed down the second side seam.

7. Hem
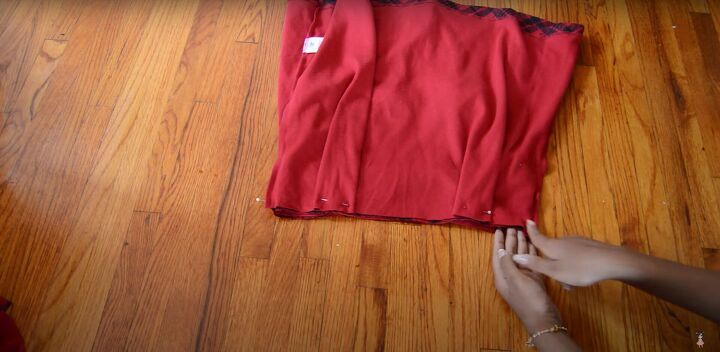
I finished the raw edges of the front and back bodice with a zigzag stitch to prevent fraying. Then, I folded the top edges down by about half an inch, pinned them in place, and sewed them down.

8. Pin the bodice to the skirt
Next, turned the skirt piece inside out, and placed the bodice, facing right side out, inside the skirt. I aligned the bottom edge of the waistband with the top edge of the skirt, and pinned them together at the side seams.
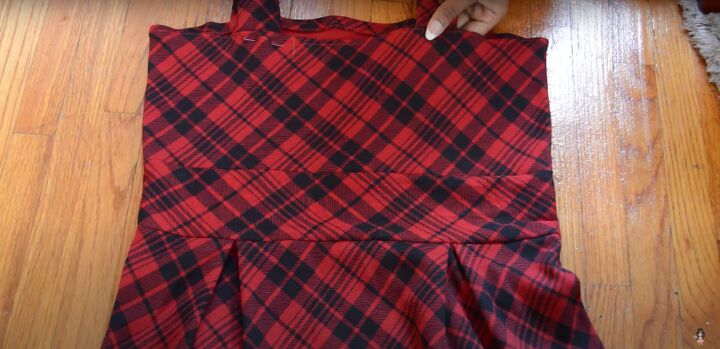
9. Create pleats and sew
On both the front and back sides of the skirt, I made two 2-inch wide pleats along the top edge, each about 3-4 inches from the side seams of the skirt. I pinned them in place and then sewed the entire waistline seam.
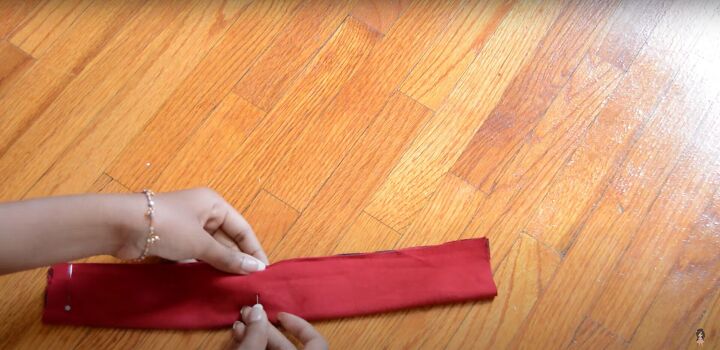
10. Cut, pin, and sew the straps
For the straps, I used the second sleeve from the original shirt to cut two rectangles, each 4 inches wide, and 14 inches long. I folded them in half lengthwise, right sides facing, and sewed them down along the long edges.
11. Attach the straps
I turned the straps right side out, pinned them in place along the top edge of the dress, and sewed them down.
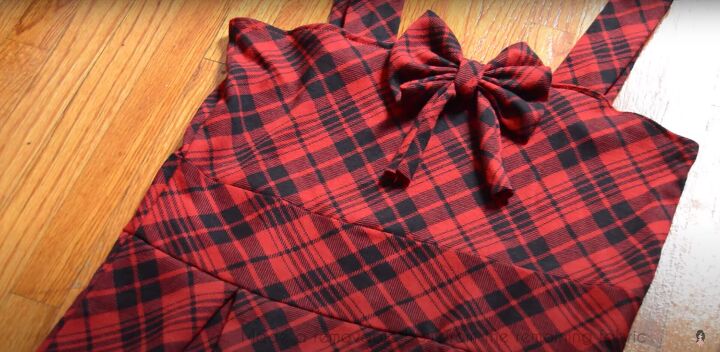
12. Make a bow
With the remaining fabric, I decided to make a bow, which I attached with a safety pin because I wanted it to be removable.
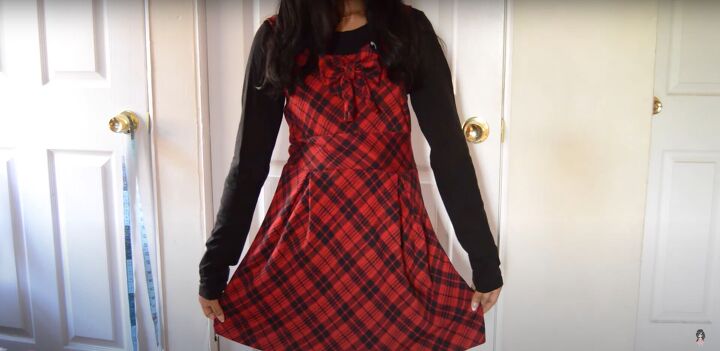
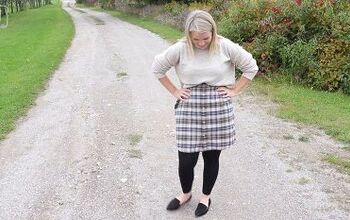
How to make a plaid shirt into a dress
Isn’t this the sweetest dress ever? I’d love to know what you think about this transformation. If you use this tutorial on how to make a plaid shirt into a dress, I would love to see your results.
The author may collect a small share of sales from the links on this page.


Comments
Join the conversation