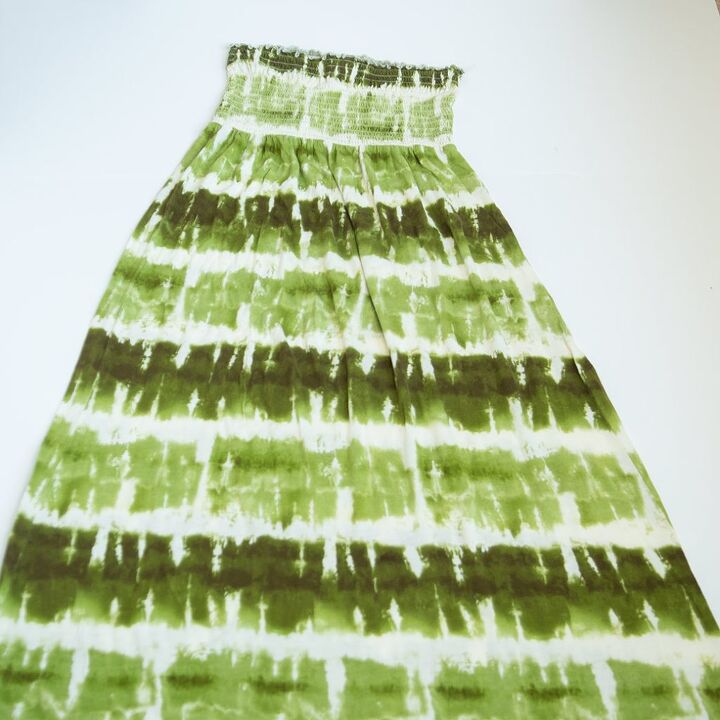
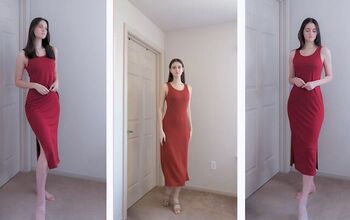
Maxi Dress Refashion to an Asymmetric Top
On today’s bill is a maxi dress refashion. I’m always up for a good refashion, and maxi dresses have a lot going for them.
Mostly a whole lotta fabric, both in width and length. This makes an old maxi dress that’s hanging out in your closet a GREAT candidate for refashioning.
On the refashion scale, this asymmetric top is a little harder than other refashions. This is mostly because of the asymmetric cut. We’ll walk through it, and I’ll show you how to miter a hem, and make a neckband for a sleeveless raglan.

Table of Contents
Supplies for your maxi dress refashion
- Old maxi dress
- chalk + ruler
- raglan sleeve t-shirt pattern( DIY raglan t-shirt pattern or pick your favorite. Here’s raglan tees for everyone for some ideas)
- stretch or ballpoint needles (see more on picking the best needles for knits)
Cutting your maxi dress refashion
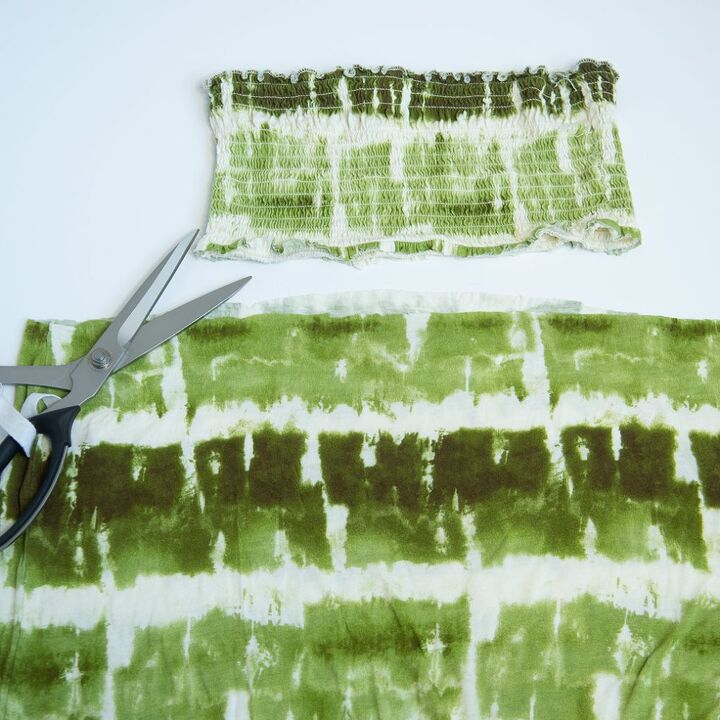
First things first, cut off the top part of your maxi dress. See how it’s all bunchy bunchy from where the top gathered bit is sewn into the empire waist? Let’s get rid of it and save it for something else.
Cut the front for your maxi dress refashion
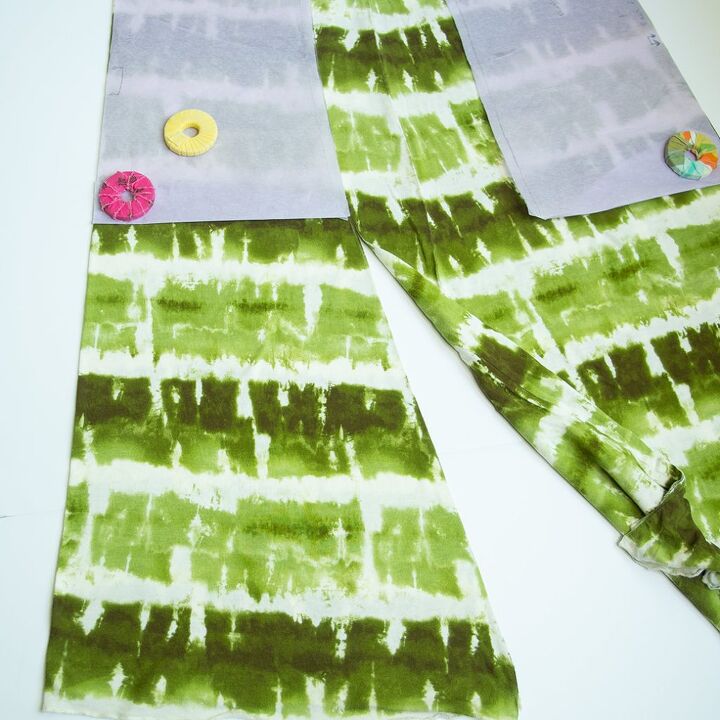
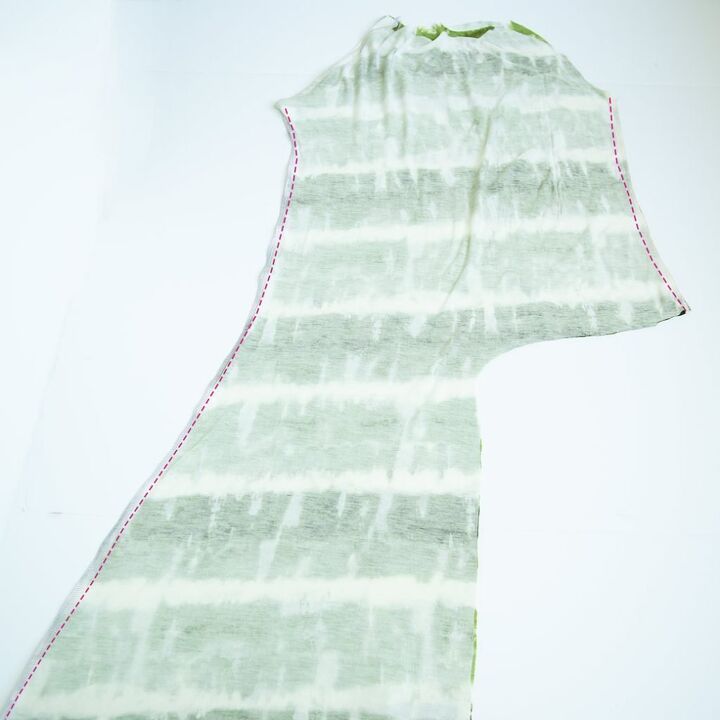
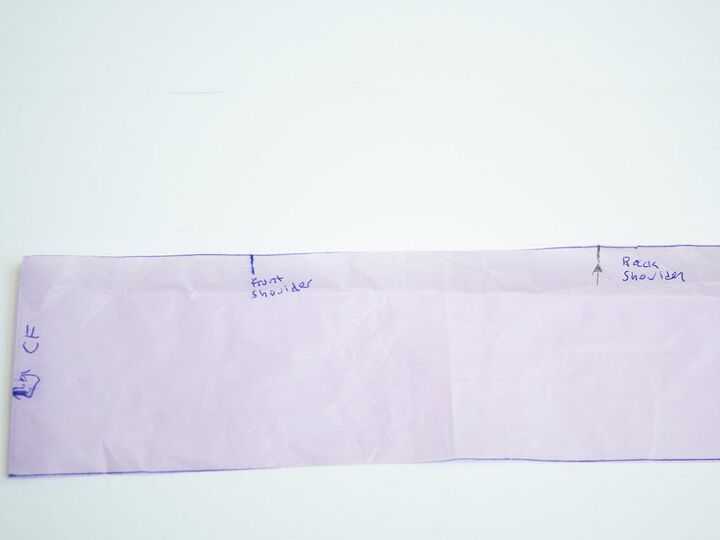
Next, grab your raglan pattern. Fold the skirt together at the side seams and smooth everything out. The new folds are your center front and center back.
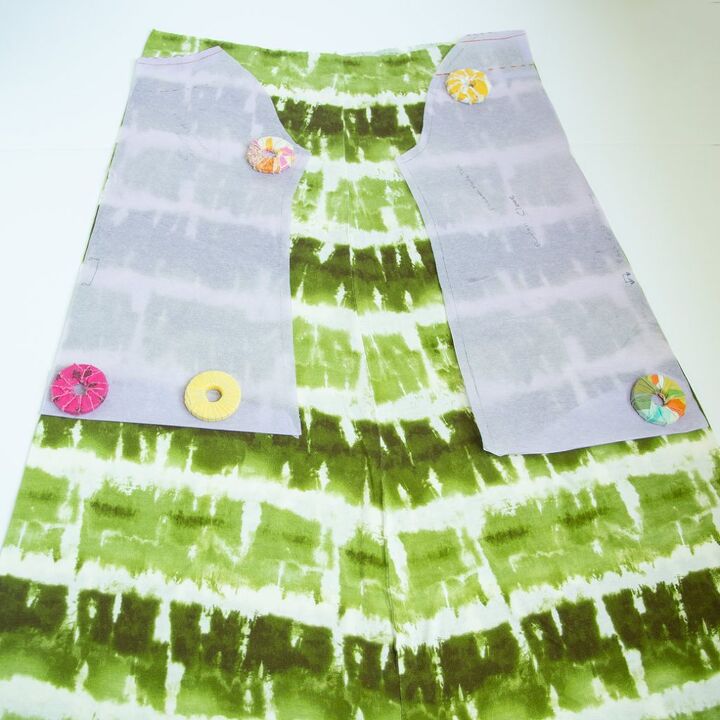
Layout your front and back pattern pieces.
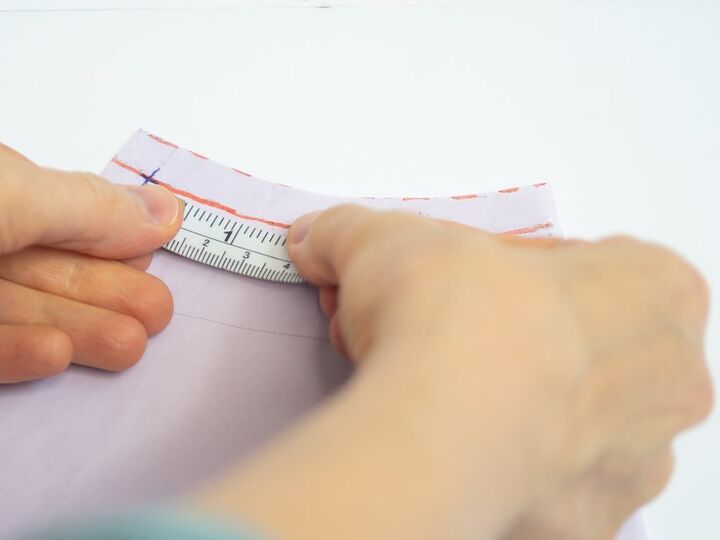
Next, use a ruler +chalk to extend the front side seam down to the hem. We want to use the full width available from the maxi dress here because
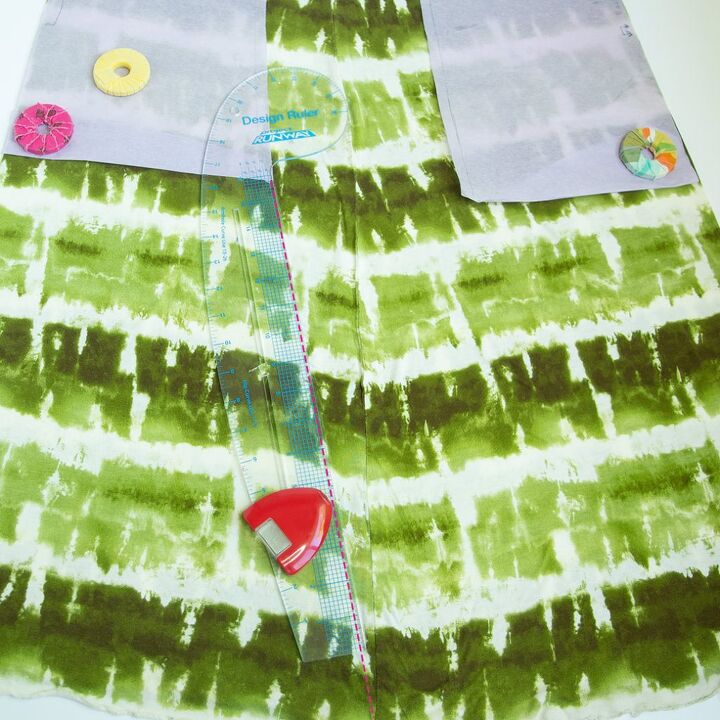
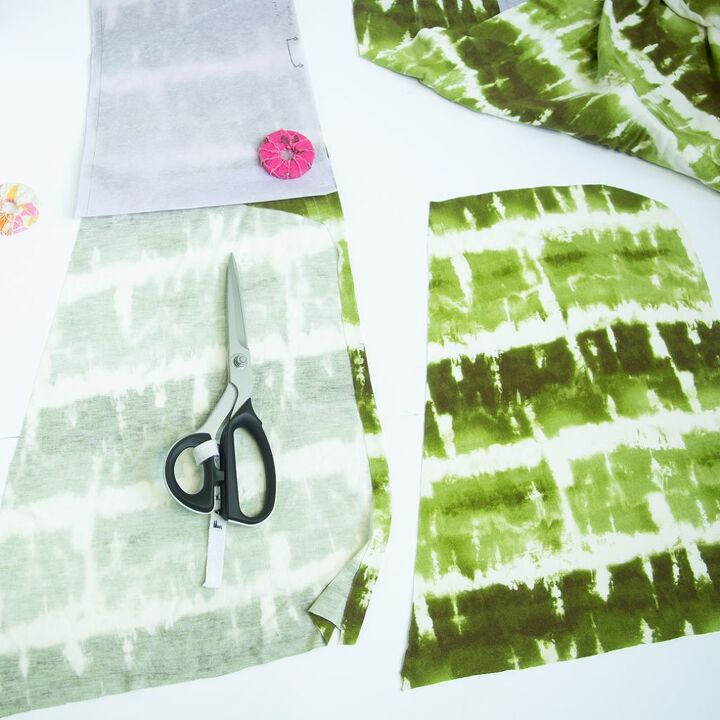
After that, cut through both layers of fabric up the chalk line and around your front pattern piece.
Now for the asymmetric bit: flip the folded piece to the other side, and cut through the top layer only along the hem and straight down 1″ away from center front. Instead of a true right angle, curve the line between the hem and the straight vertical extension.
Cutting the back for your maxi dress refashion
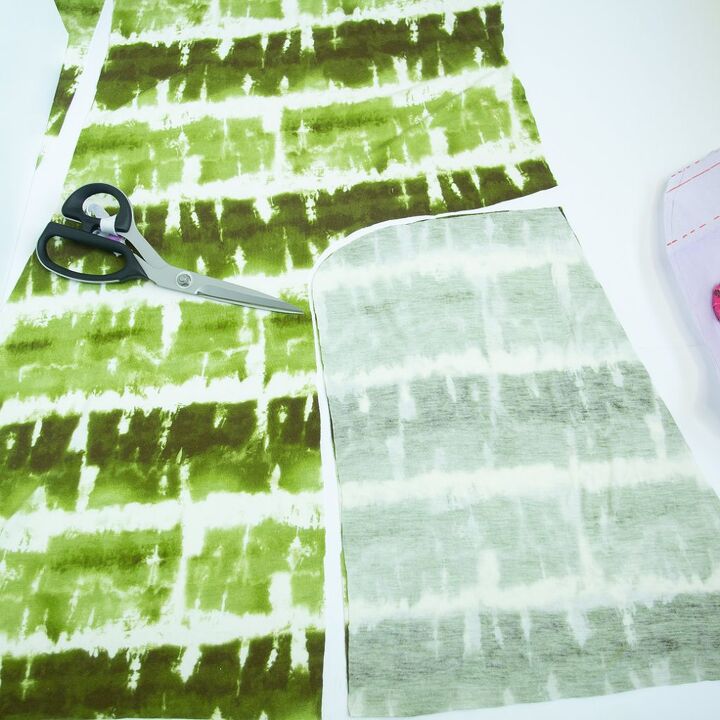
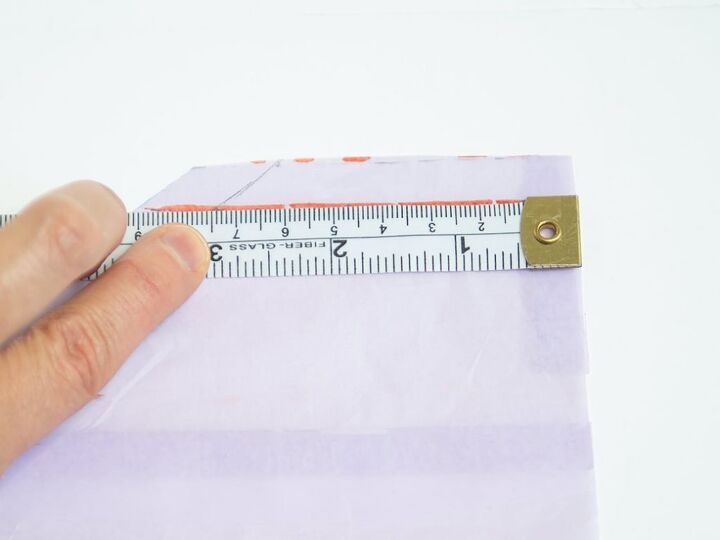
For the back piece, lay the front piece over the back pattern piece. Use the front as your cutting guideline for the side seam extension. Take it off when you get to the back pattern tissue. Continuing cutting around the back pattern piece through both layers of fabric.
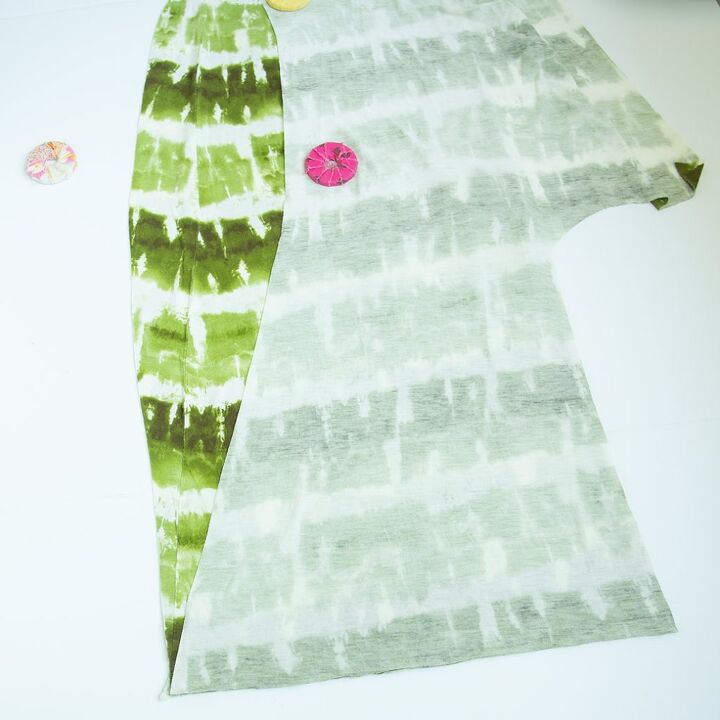
To finish up cutting the back, open up the back and lay the front cutout right sides together. Cut away the jersey from the back. You should now have two mirror images like this:

Cut the armhole binding and neckband
The last things we need to cut for this maxi dress refashion are the armhole and neck bindings.
Because this is a refashion, I’m going to assume that you don’t have enough leftover jersey to cut either without piecing. Don’t worry about that. We’ll hide the seams in the shoulders, and you won’t see any seams on the armholes.
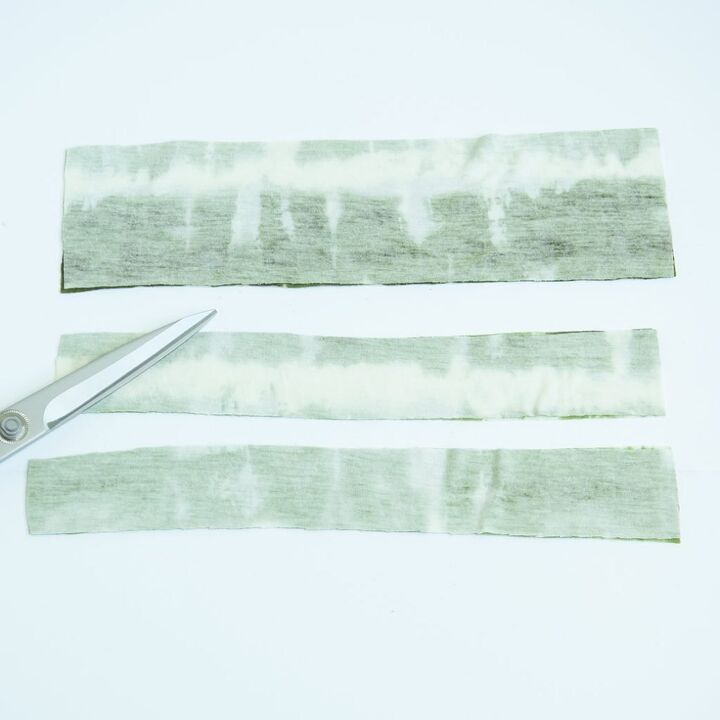
With that in mind, cut 2 neckband pieces so that the stretch goes around the neck. You might want to cut yours wider than a typical neckband. I made mine 3″ wide. Make sure to add a seam allowance on one end since you won’t be cutting this on the fold.
Cut 4 pieces of armhole binding, again making sure the stretch goes around the body. Honestly, just guess at how long this needs to be. You can cut them the same length as the neckband–you won’t need that much, but it’s always better to have extra. Don’t sweat it here!
Now on to the sewing!
First, match the sides of the front and back right sides together. Sew the side seams. I’m using a serger here, but feel free to use a stretch needle in your regular sewing machine with a narrow zigzag stitch (see here about the best stitches for knits).
Bind the armholes
Next, we need to bind the armholes. If you need to, seam two pieces of binding togther. Press the seam open if you needed to do that.
Next, we need to sew the binding to the armholes. We’re doing this the lazy, no-measure method I talk about in 4 pro ways to sew a t-shirt neckline.
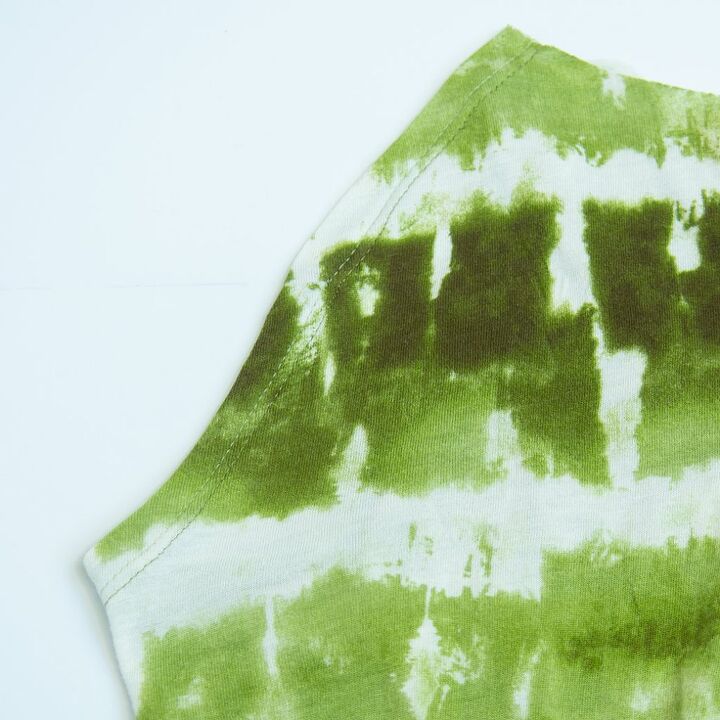
Match the raw edge of the binding to the armhole, right sides together and start stitching it to the armhole. Stretch the binding as you stitch. Make sure that you stretch only the binding, and you need to stretch it until you feel a small tug on the jersey. If you feel like you’re yanking on it, you’re pulling too hard. If you can’t tell, you’ll know you’re pulling too hard if you get little puckers on the armhole from the right side.
Repeat for the second armhole. Cut away any extra binding if you have it.
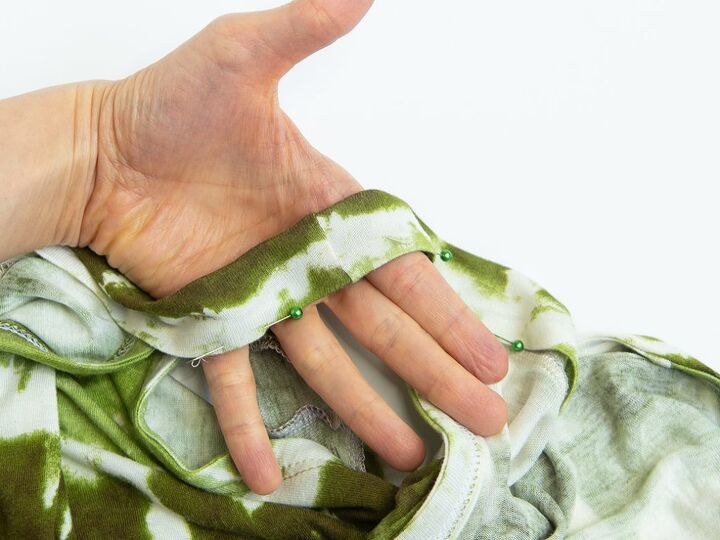
Press the seam towards the raw edge of the binding. Next, fold the raw edge of the binding so that it covers the stitching. Press the fold. Finally we’ll finish this press fest by flipping the binding totally to the inside of the top.
Topstitch the binding down with a twin needle or coverstitch from the right side. Repeat for the second side.
Sew the neckband
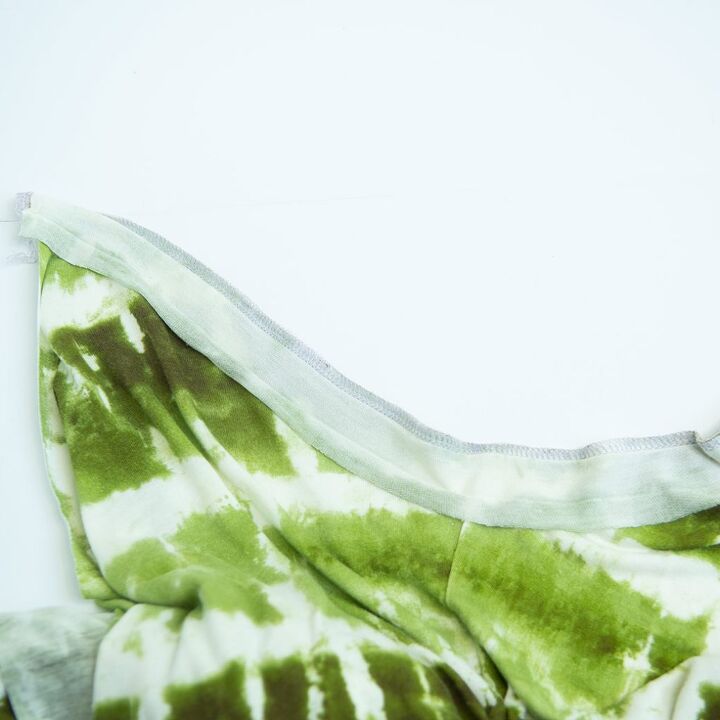
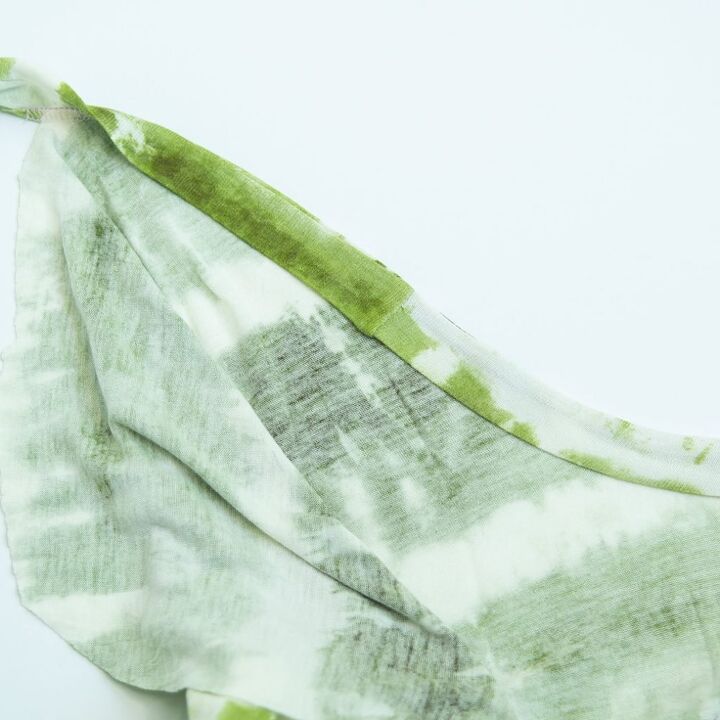
This is a little more advanced neckband. Because this is a raglan top, the neckband would normally cover the top of the sleeve. Since we’re going sleeveless here, we need to calculate where exactly the neckband is going to go. That way it’ll sit evenly between the front and back pieces.
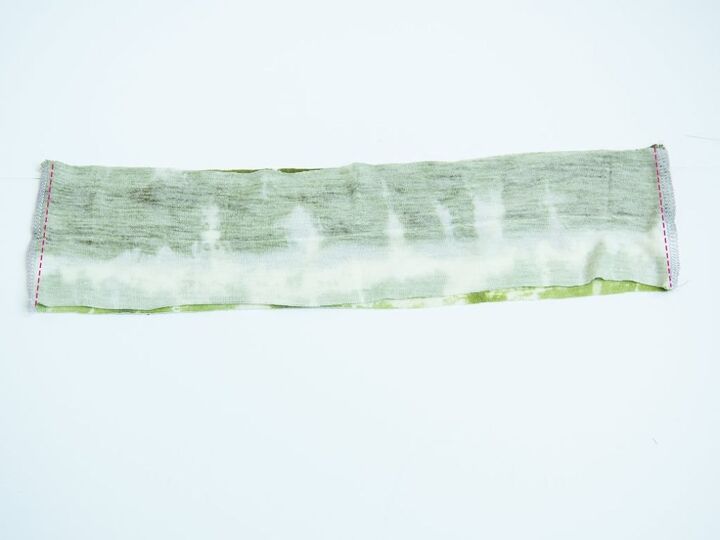
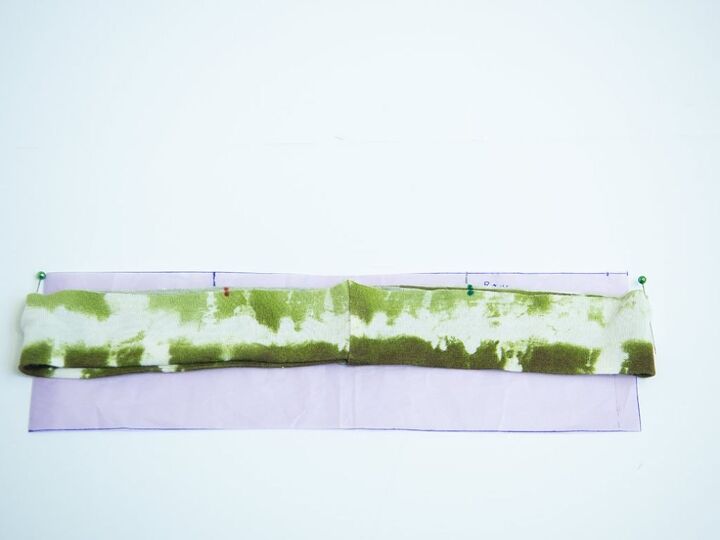
Before we get there, seam the sides of the neckband together. Press the neckband in half widthwise.
Marking the neckband
Next, bring the seams together. These will be the centers of the shoulders. Let’s find that spot on the pattern.
First, measure the length of the neck seam on your front and back pattern piece. I’m measuring in centimeters here to make the next step easier. Multiply each of those numbers by 0.9 (or subtract 10%–whichever is easier for you to think about).
For example, my back neck is 7.5cm. So, I’m subtracting 0.75 cm or 6.75 cm.
Mark your adjusted length away from center front. Do the same for the back. Your neckband should look like this.

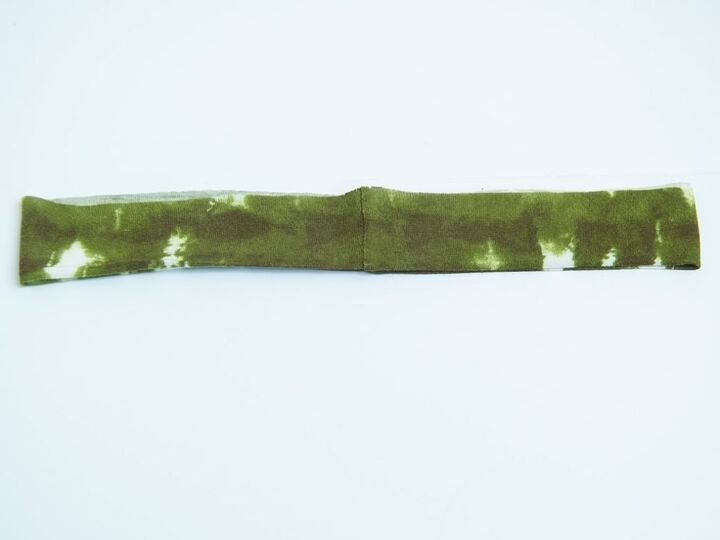
To find the center of the shoulder, fold the pattern piece together at the marks. Now line up the neckband seams with that fold. Mark the front neck and back neck on both sides of the neckband. I used two different colors so I wouldn’t get confused.
Stitch and finish the neckband
With right sides together, match the center front and center back to the neckband. Also match the neck markings to each edge of the front neck and back neck.
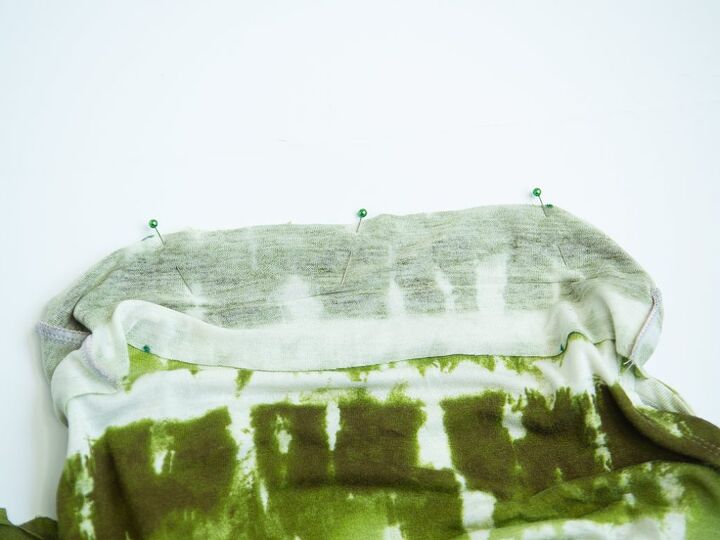
Sew the neckband to the neck. Even though there’s only 1 layer at the sides, still stitch through the neckband with the same seam allowance.
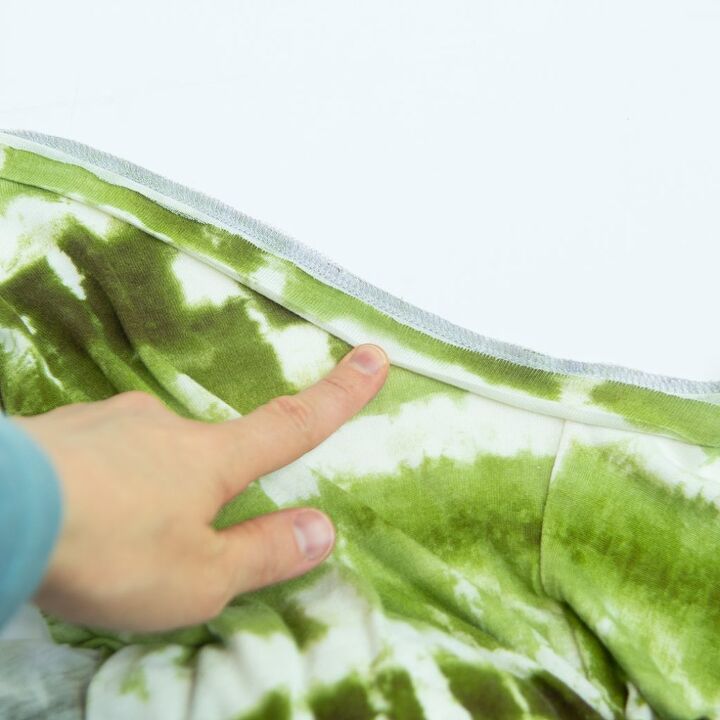
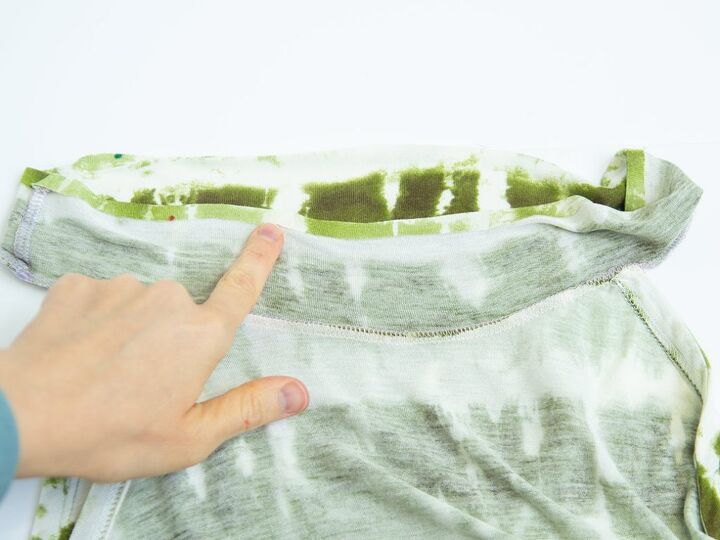
Press the seam towards the neck. Make sure that you press up the same seam allowance on the sides of the neck.
Press up 1/4″ on the raw edge of the neckband. Bring the pressed edge to cover the seam.
Pin the neckband edges together all the way around the neck. Stitch through all layers to secure the neckband and finish it.
On to the hem and making a pair of crispy mitered corners!
Hemming your asymmetric top maxi dress refashion
Prepping the hem
Press a double-turned 1″ hem around the entire hem. So, press 1/2″, and then 1/2″ again.
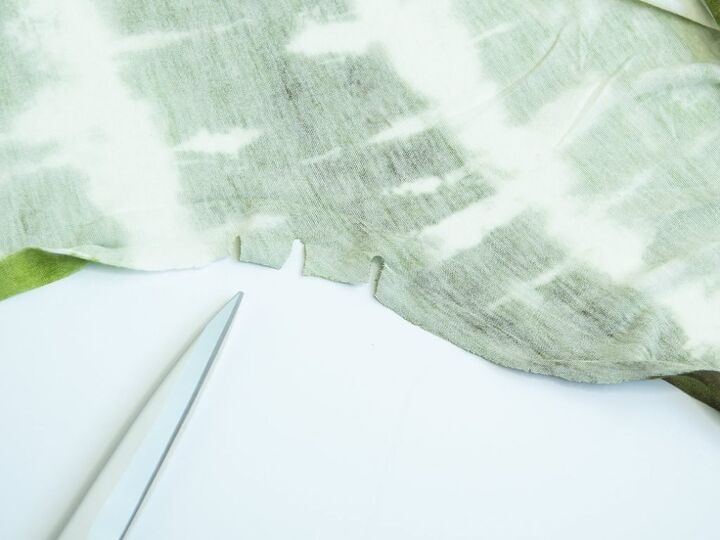
make tiny clips to release the curve less than 1/2″
When you get to the curves on the front and back, you’ll notice you won’t be able to press a nice clean hem there. To get that curve, clip into the hem to release the curve.
Make the clips a little less than 1/2″. From there you should be able to press in 1/2″ and then another 1/2″. I basted the curve by hand because that kind of thing is my jam, but it’s not necessary.
You’ll notice that the bottom front and bottom back come together at a 90 degree angle. You could sew them down just like they are, but then you’d get a lumpy hem.
Don’t sew a lumpy hem! Let’s miter it and make it purty.
Miter the hem corners
Press those front corners really well. Next, open up the folds. Fold a little triangle that ends right at the second set of fold lines. Make sure you line up all the folds so everything is precise.
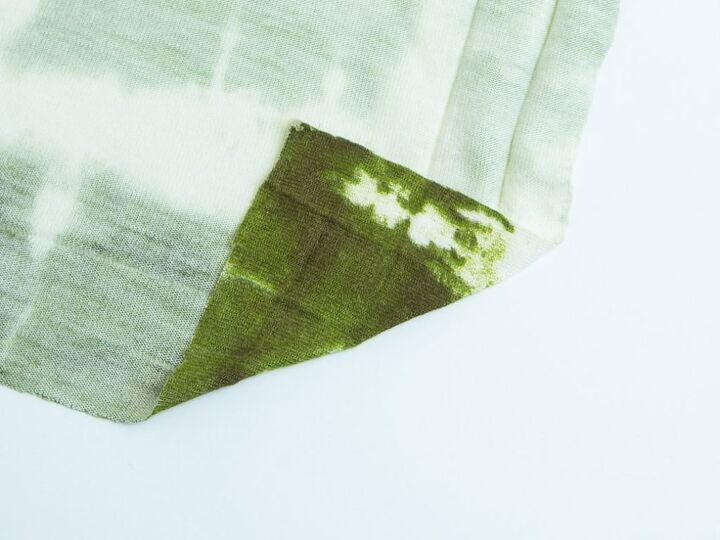
Press that fold really well. Cut away the inside part of the triangle 1/4″ away from the fold.
Next, bring the raw edges of that angled edge right sides together. Sew from the fold to the next pressed point. You could sew the entire seam, but then you won’t be able to fold the pressed hem back in place. We’re going to secure it with a topstitch, so don’t worry about that 1/2″ or so being unstitched.
To finish the miter, flip everything to the inside. All the pressed edges should pop in place and you should have a beautiful miter. Repeat for the second miter.
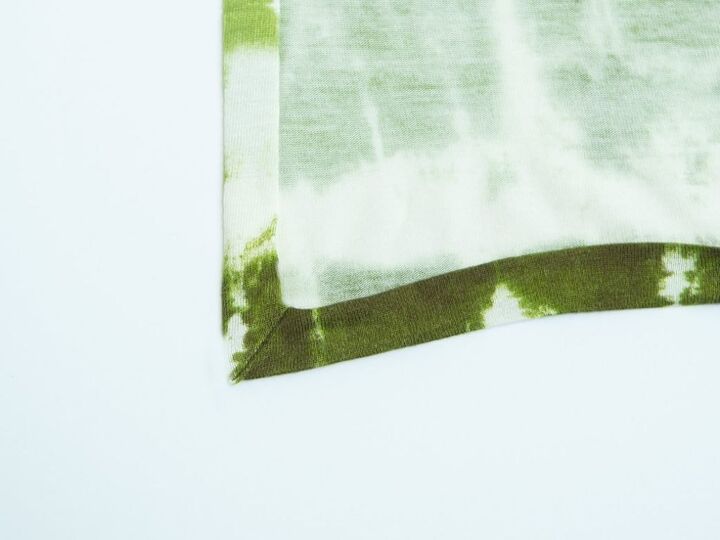
Finish the hem
Finish everything off by stitching down the hem all the way around with a twin needle or coverstitch.
And there you have it! A high drama top from a cast off maxi dress!
Check out other raglan tee projects you can make yourself:
- Sew a lace applique shirt
- DIY sleeveless raglan tee with a scarf neck
- How to sew your own raglan tee
Elizabeth Farr is the writer behind the Elizabeth Made This blog where she shares helpful sewing tips, step by step sewing tutorials and videos to help you explore your creativity through sewing. She has written sewing Eguides and patterns, been a featured teacher at Rebecca Page’s Sewing Summit and Jennifer Maker’s Holiday Maker Fest and her work has appeared in Seamwork and Altered Couture magazines. She also created a line of refashioned garments for SEWN Denver. When her sewing machine isn’t humming, she’s playing and teaching violin, and hanging around a good strategic board game with her husband and 4 kids.

The author may collect a small share of sales from the links on this page.


Comments
Join the conversation
Nice idea, I really like the boots and the purse