Easy Tutorial for Making a Gorgeous Scarf Top

In today's tutorial, I'm going to be showing you guys how to make a cute scarf top without using any sort of pattern. So, if you’d like to learn how to make a scarf into a top, keep reading!
Tools and materials:
- Silk scarf
- Fabric scissors
- Sewing machine
- Safety pin
1. Make scarf top template
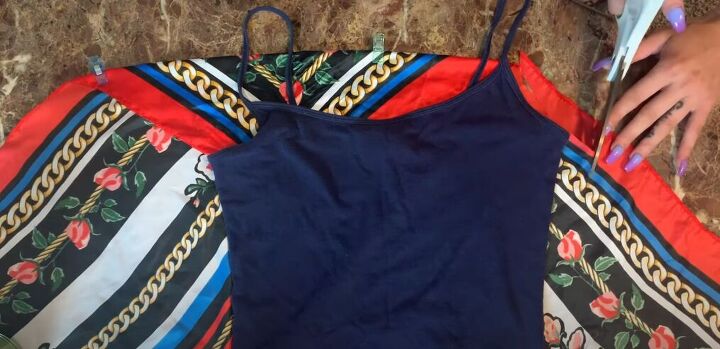
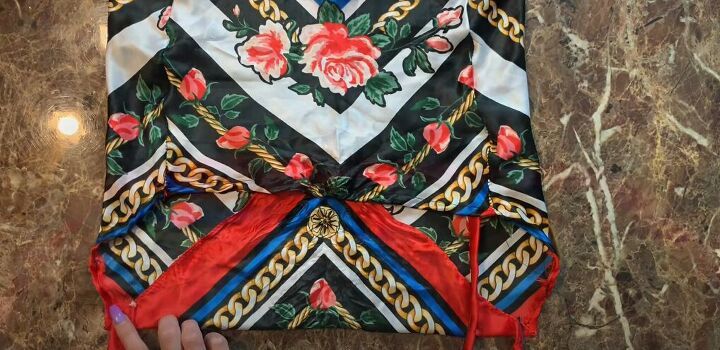
First, I turned my silk scarf on the diagonal, and I folded over the corner piece to mimic that inside lining piece on the breast of cowl neck tops. I took my fabric and draped it across my body about shoulder width to shoulder width length.
Then, I grabbed a tank top and aligned it along the edge. I used that as my template to cut out my armhole and then down the side of my body, leaving a little bit of room for seam allowance.
Once one side was cut out, I folded the fabric over to the other side so I could make an identical cut on the left side as well.
Then I cut the bottom of the shirt. Once the front of the shirt is cut, take the tank top that we had used previously and use it as the template to cut the back of the shirt.
Make sure your pattern is facing the same direction as it's going in the front so that it all flows smoothly.
2. Attach pieces
Now, we're ready to start attaching everything so take your back piece and align it with your front piece. The front piece should be way wider than the back piece. That’s normal!
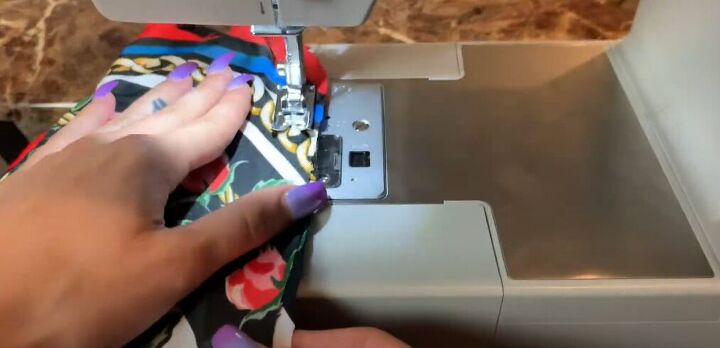
Just align them right sides facing together and line up the side seam. Then, we're going to do a zigzag stitch all the way down.
Once the one side is nice and sewn up, we're just going to bunch it up a little bit. Match it up to the other end and then do the same thing with a zigzag stitch just going all the way down.
3. Hem
Now comes the worst part which is hemming. I don't think anybody really likes to do this, but it does make a difference.
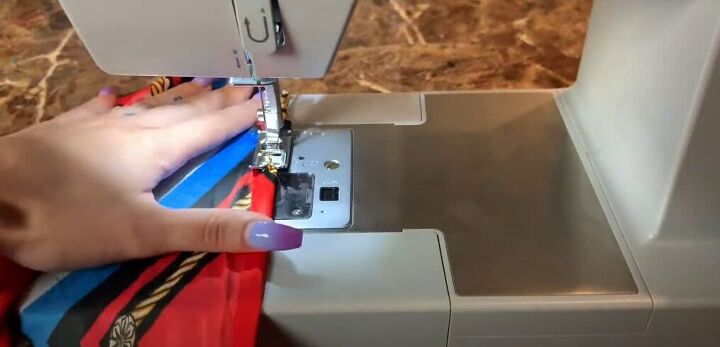
Fold over your fabric on the wrong side and do a straight stitch going all around the bottom.
Do the same thing for the top. Fold it over and do the straight stitch all the way across. Now we have our nice professional hem!
4. Cut straps
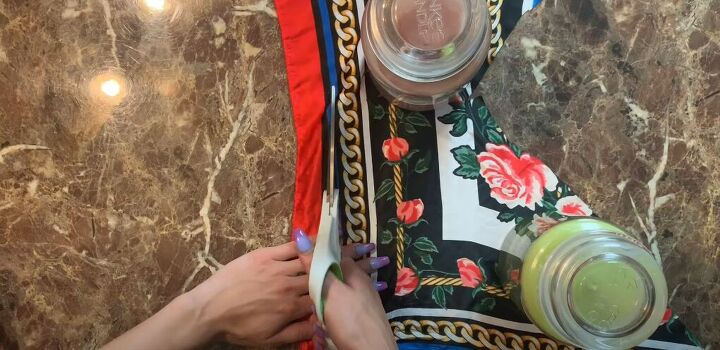
The last thing we have to do now is just cut our straps. I just cut along the edge of the fabric, making the width twice the amount I wanted it to be. I did this because we have to fold it right sides facing together and sew a straight stitch all the way down the edge.
Then, I had to flip it right sides out, so I used the safety pin to push it all the way through to the other side.
Once I had that lying flat, I did a top stitch so that everything would lay nicely.
5. Attach straps
Now, all we have to do is just attach our strap to the shirt. I made sure that that front piece was folded over and I aligned the two edges of the strap to the two edges of the top. Then, I sewed each side with straight stitches.
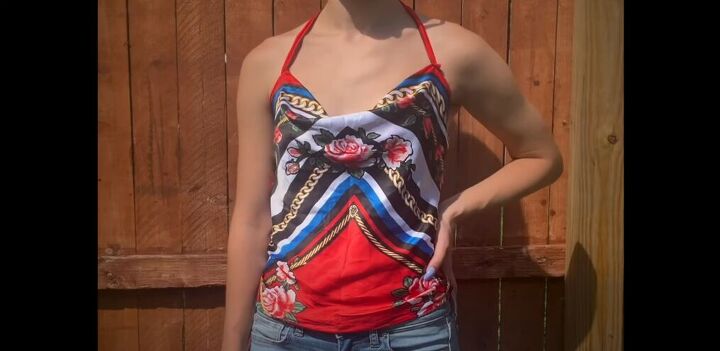
Scarf top
And boom here is the finished product! How gorgeous is this silk cowl neck top? If you enjoyed this tutorial, leave a comment down below.
The author may collect a small share of sales from the links on this page.


Comments
Join the conversation
I would like to know what size approx this top ends up being. If it is a size 6 and I'm a size 12 there is no point making it. Size would be helpful.-