Creepy Butterflies-in-stomach X-ray T-shirt Tutorial

In this tutorial, I’ll show you how to create an X-ray t-shirt.
This ribcage butterfly t-shirt is great if you’re looking for simple t-shirt Halloween costumes. This design is to represent the feeling of when you’re in love and there are butterflies in your stomach. It’s super interesting and creative.
Let’s get started!
Tools and materials:
- Black t-shirt
- Fabric paint
- Paintbrushes
- Carbon paper
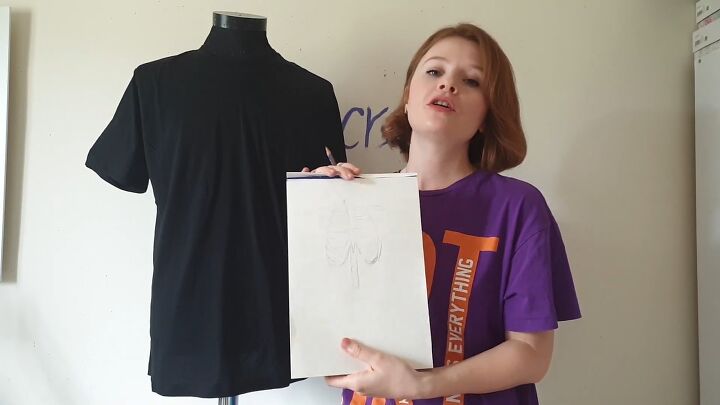
1. Sketch out the design and transfer it to the t-shirt
I’m going to be free handing my butterflies in stomach X-ray design. However, I recommend you take a piece of paper and pencil and sketch out the design on paper first and then transfer it to the t-shirt.
The painting should be about the size of a real ribcage. If you’re using a black t-shirt, you’ll need white carbon paper and vice versa.
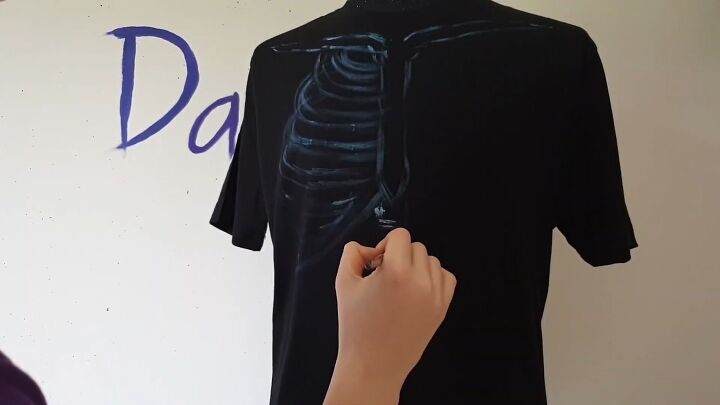
2. Trace over the transferred picture
Once you’ve transferred the design over to the t-shirt, begin to outline the lines with paint.
I’ll be using blue, green, and white fabric paint. You don’t need a mannequin to paint. You can paint on a table, just remember to put cardboard between the front and back sides of your t-shirt.
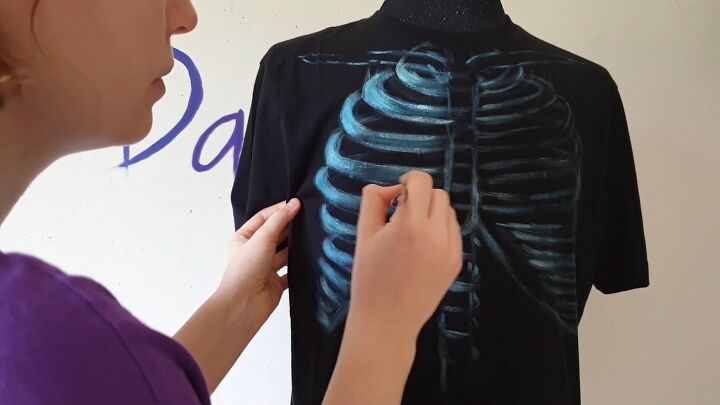
3. Layer paint on the edges of the ribcage
Paint two or three layers of paint on the edges of the ribcage, because they have intense color on the X-ray images.
You’ll only need one layer of paint on the other parts of the rib because the color isn’t as intense there.
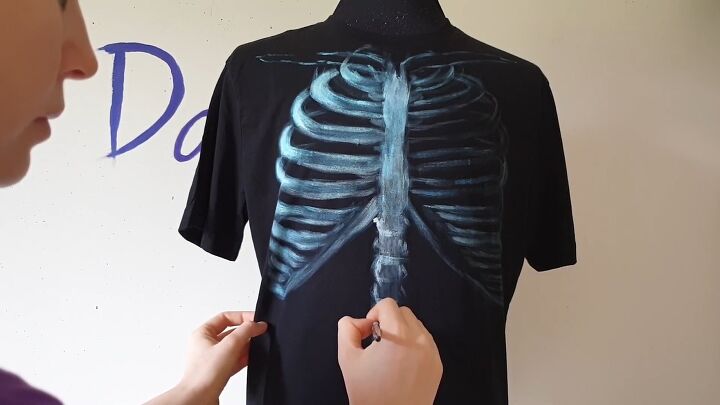
4. Layer paint on the spine
Paint two or three layers of paint on the central part of the ribcage, or the spine, since it also has intense color on the X-ray images.
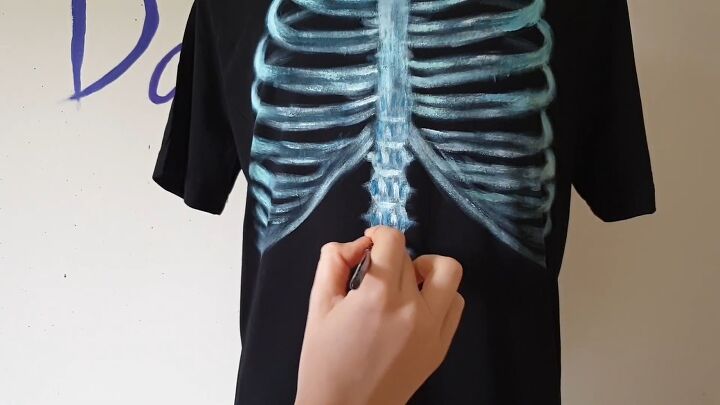
5. Add detail to the vertebrae
Paint more detail on the vertebrae because they have a pattern on X-ray images. It’s not a necessary step, but I’m trying to make it more realistic.

6. Paint shine around the ribcage
Dip your brush into the paint and use a cloth to remove the excess paint from a large brush. Then, use brushstrokes to create shine around the ribcage.
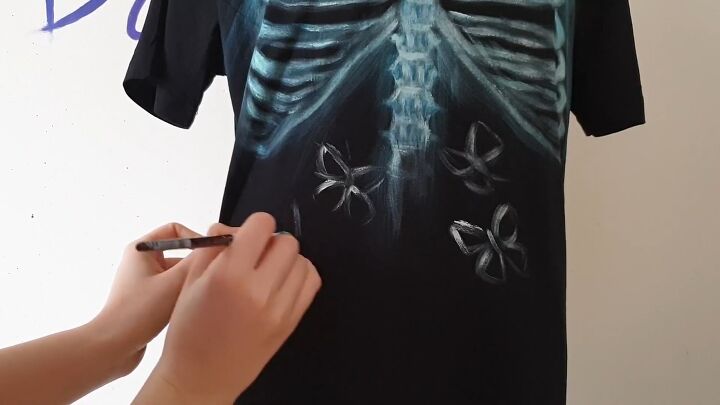
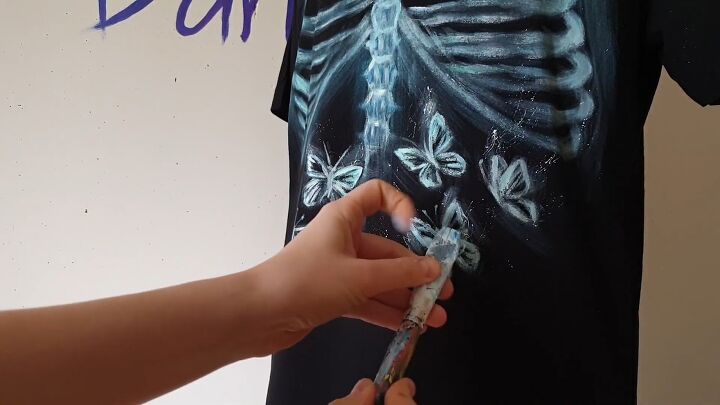
7. Paint the outline of the butterflies
Now, paint butterflies under the ribcage. You can also first paint butterflies on paper and then transfer them to the t-shirt.
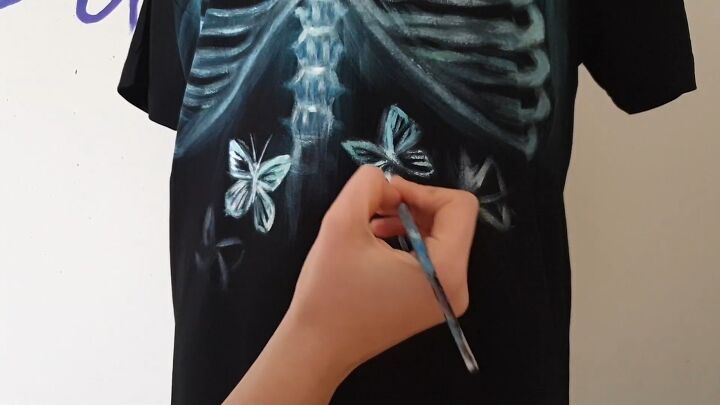
8. Add detail to the butterflies
Paint the edges of the butterfly wings and the body as well.
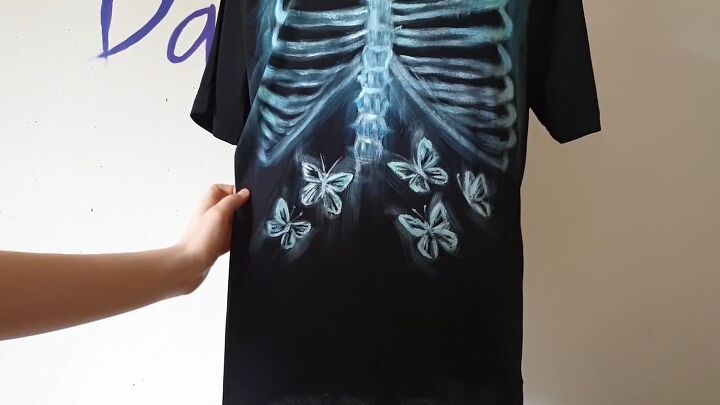
9. Paint on a flying effect
Similar to how you added shine to the ribcage, use brushstrokes near the butterflies to create a flying effect.
10. Splatter paint on the t-shirt
Use a hard brush or a toothbrush to splatter paint onto the t-shirt.
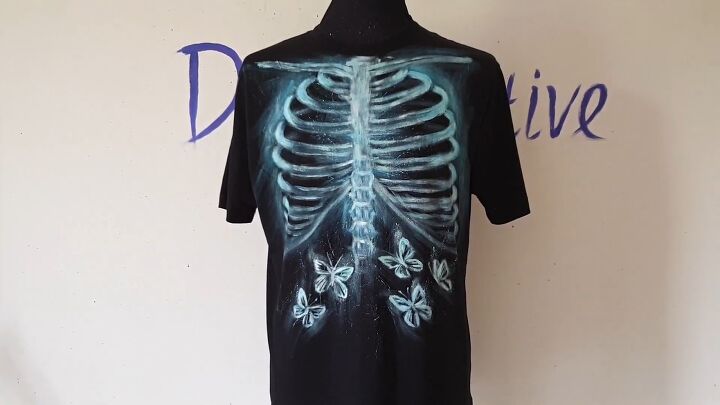
Here’s the finished X-ray t-shirt!
This t-shirt is so cool and so interesting, and if you need Halloween t-shirt ideas, this is the one to get all of the attention when you go outside. Let me know what you think down below.
If you enjoyed this tutorial, check out my post on How to Paint a Spooky Spiderweb Shirt for Halloween!
The author may collect a small share of sales from the links on this page.


Comments
Join the conversation
I love this. I would wear it year round, not just at Halloween. I think I might just give it a go, so thank you for the great tutorial!
Too cute! I love it and would definitely wear not just in Halloween! But it's more like butterflies all over the abdomen, not just the stomach! 😉