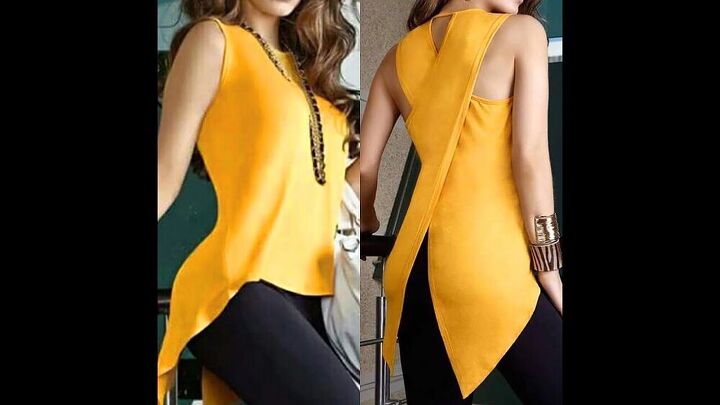
DIY a Cute Cross Back Blouse

The cross back design is so trendy right now! In my tutorial, I show you how to make a cross back blouse in just a few simple steps. With a couple of adjustments to a basic bodice pattern, you will be wearing this gorgeous blouse in no time.
Tools and materials:
- Measuring tape
- Ruler
- Hip curve
- Marker
- Scissors
- Pins
- Sewing machine
- Fabric
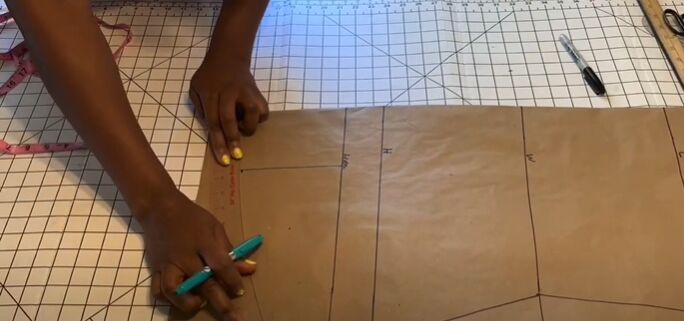
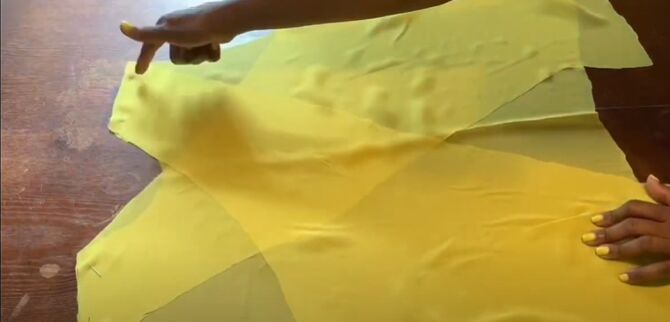
Adjust the pattern
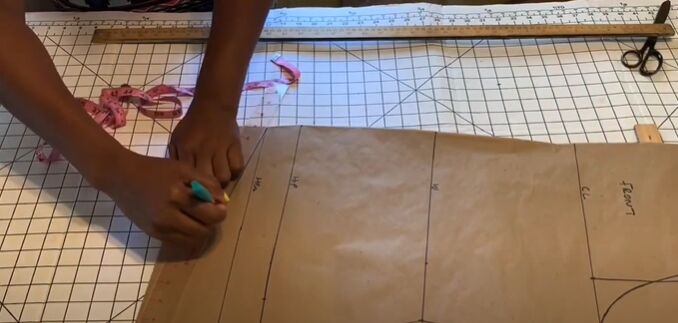
For the first adjustment that I made to my front bodice pattern, I added 2 inches to the bottom of the side seam. I then took my hip curve and connected that new point to the center front.
Once I had connected the line, I cut it out.
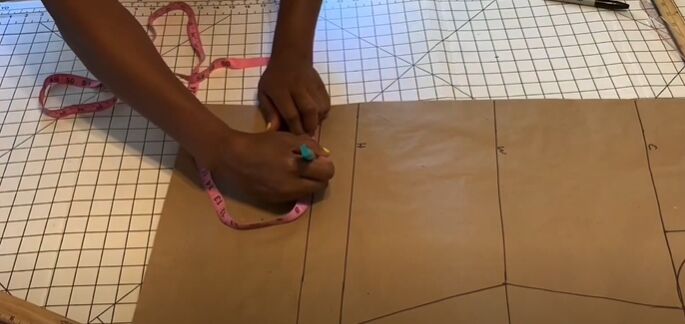
For the back bodice pattern piece, I once again, extended the side seam by 2 inches. I then moved to the bottom center back and made a marking 4 inches from the edge.
From that four-inch marking, I came down by 5 inches and made another marking.
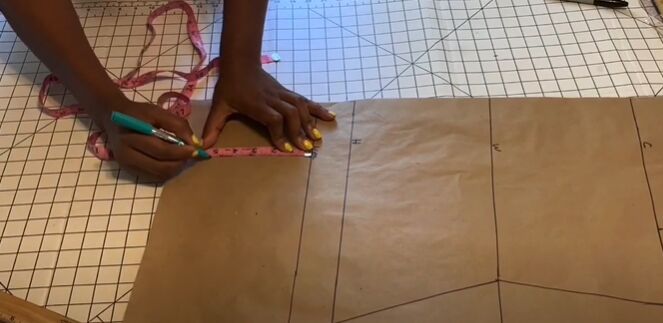
I connected my two new markings with a straight line and then used my hip curve to connect the 5 Inch marking to my 2-inch side seam extension.
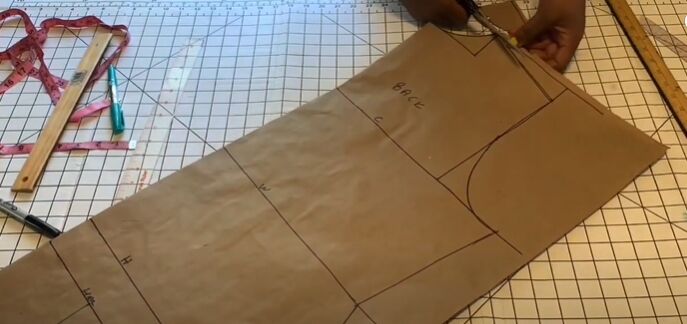
Before making any more adjustments, I cut out the pattern.
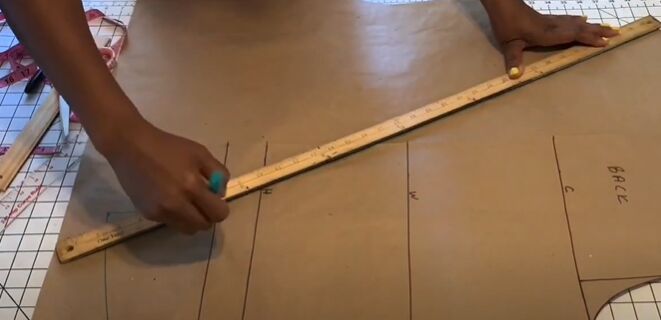
Once I had cut out the back pattern, I took a ruler and connected the shoulder to the 4-inch marking I made before.
From the center back neckline, I marked 1 inch down, I then used my hip curve to draw a line from the shoulder seam to the opposite armhole cutting through the 1-inch marking I had just made.
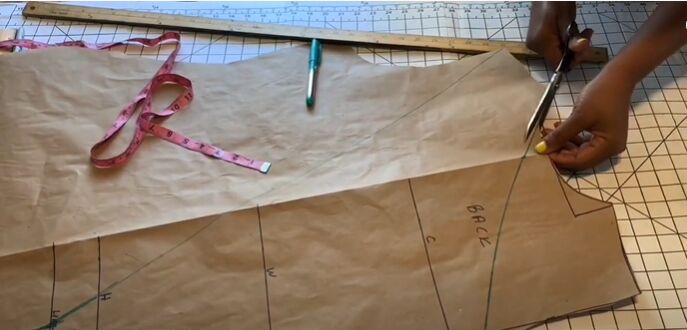
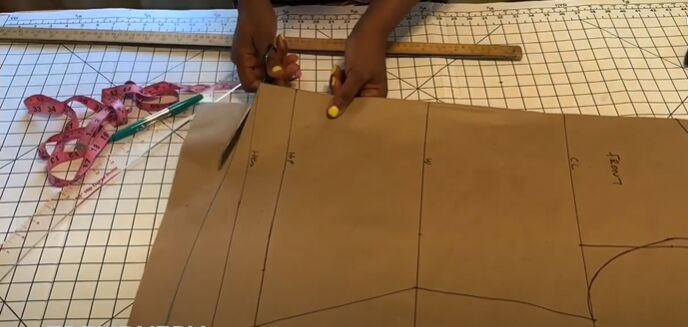
Cut out the pattern
I grabbed my pair of scissors and cut along that curved line to create a new neckline.
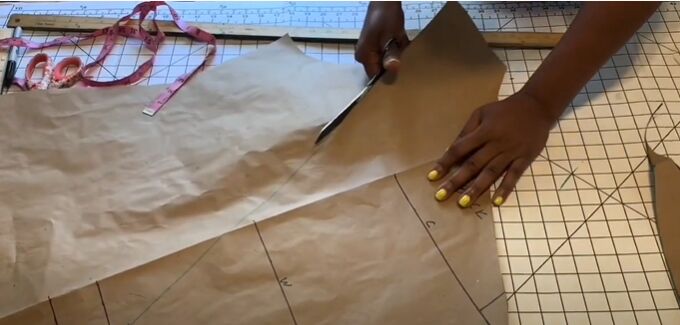
While I was cutting I also cut the line I had extended earlier and the new curve on the hemline.
Sew the blouse
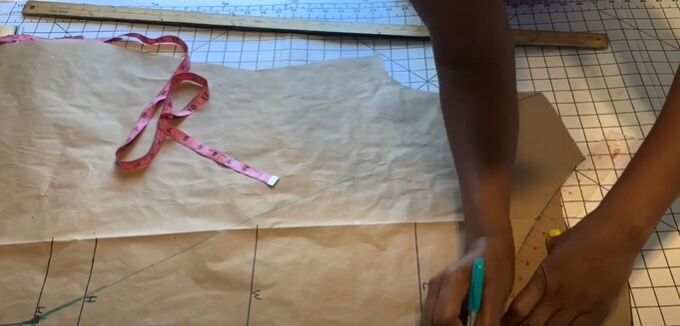
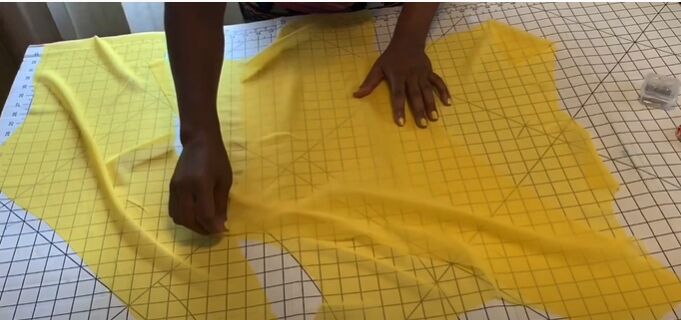
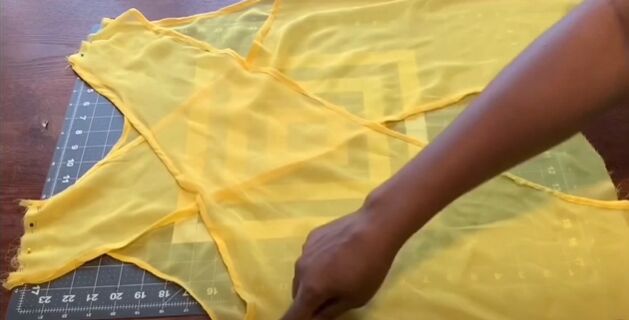
I decided to use a very soft, yellow chiffon fabric. I cut the front piece on the fold and two back pieces. I laid out the front piece and placed one of the back pieces on it.
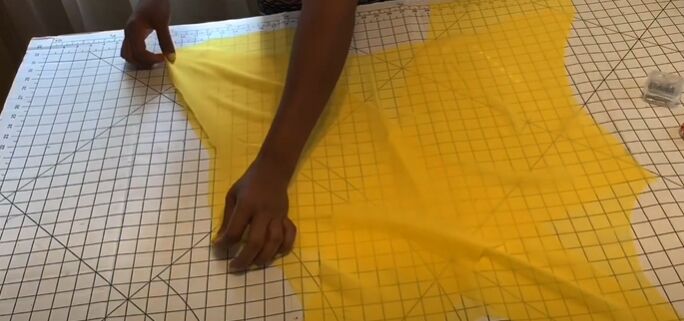
I then took the other back piece and crossed it over creating the perfect cross back that I wanted for the new blouse. Working with chiffon can be a little difficult because it is so light so if you choose to work with a different fabric it might be a little easier.
I pinned the shoulder and side seams in preparation for sewing.
To finish off the raw edges of the blouse, I decided to add some fabric as a binding to the edges of the blouse. I sewed it on and then turned the shirt right side out and topstitched. All that was left to do was sew where I had pinned and hem the bottom to get a nice, clean finish.
There you have it! A gorgeous cross back blouse in just a few simple steps! What fabric would you use for this project?
The author may collect a small share of sales from the links on this page.


Comments
Join the conversation
This is fabulous, many wows to you!
I have 5 bolts of chiffon fabric in different colors. Now I know what to do with it all.
Very pretty top !! I love it but I don't care to sew with chiffon or any other kind of silky type of material ...you did an awesome job on the top.....thanks for sharing your sewing skills with us !!!