How to Sew a Beginner-Friendly DIY Ankara Top

This simple DIY Ankara top is perfect for a beginner. Classic, slightly tailored, and elegant, this Ankara top pattern is lovely to wear at any time. You’ll use your own measurements to make it fit you just right. Let’s get started with sewing an Ankara top you can wear today.
Tools and materials:
- 2 yards Ankara fabric
- Measuring tape
- Ruler
- Tailor’s chalk
- Scissors
- Sewing machine
1. Make the pattern
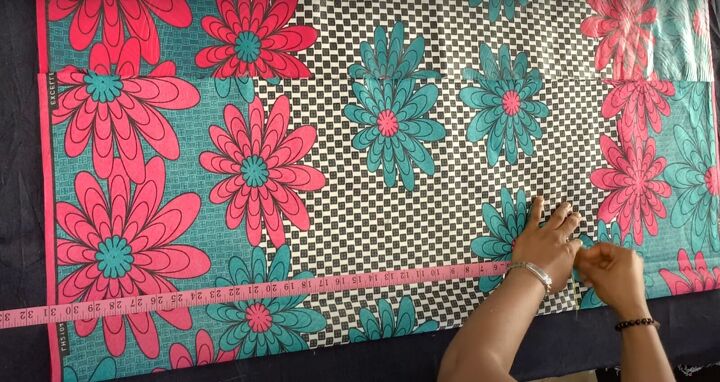
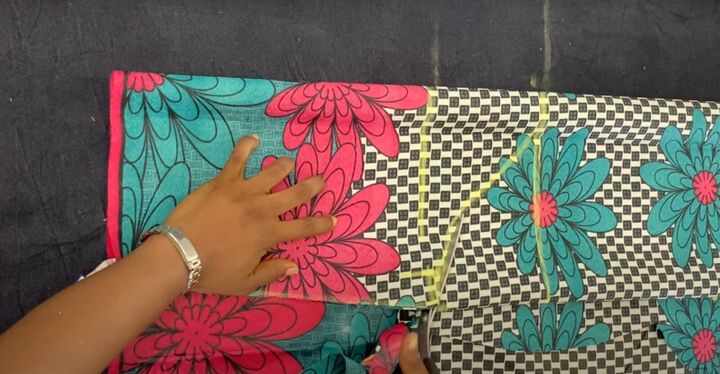
Fold the fabric in half. Please note in this tutorial I am measuring and marking from the center of the fabric down to the edge (aka selvage). Mark the length by measuring along the fold line. Add 1 inch seam allowance.
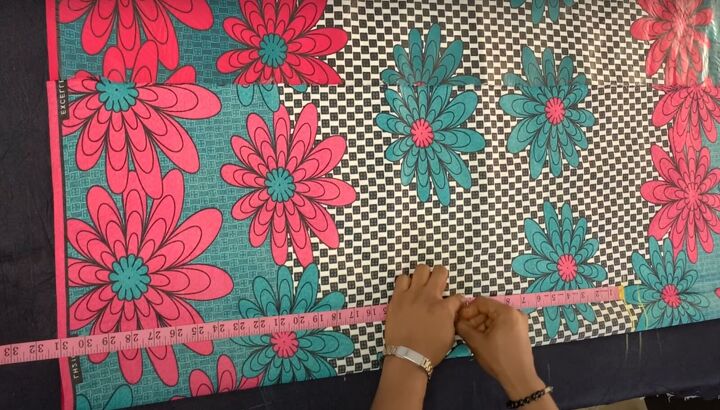
Mark the bust line from the original length mark. You’ll measure down from the top of your shoulder to the fullest part of your bust line. Here it’s about 11 inches.
Mark the underbust line. For many people, that’s about 3 inches below the bust line. Mark the horizontal measurement across.
Mark the hip line. Here it is about 9 inches from the underbust measurement.
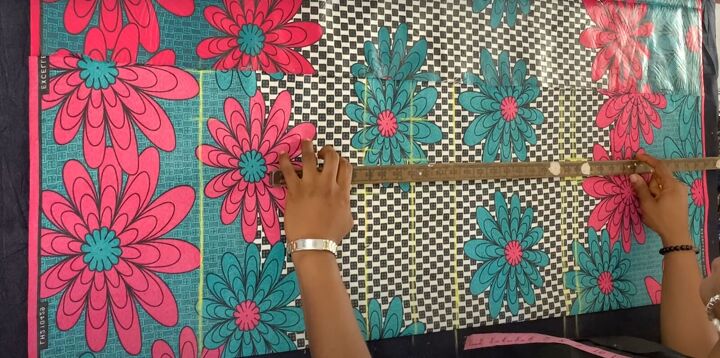
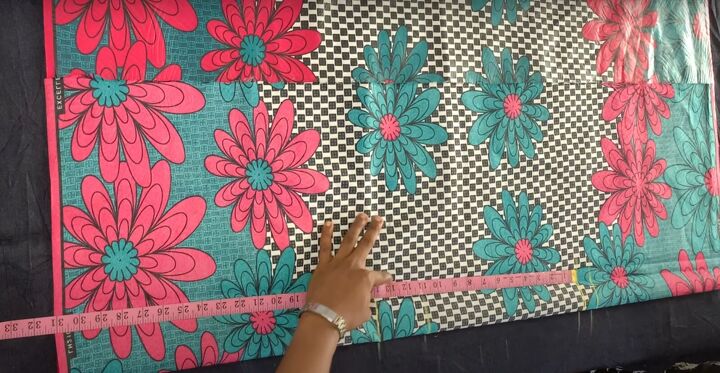
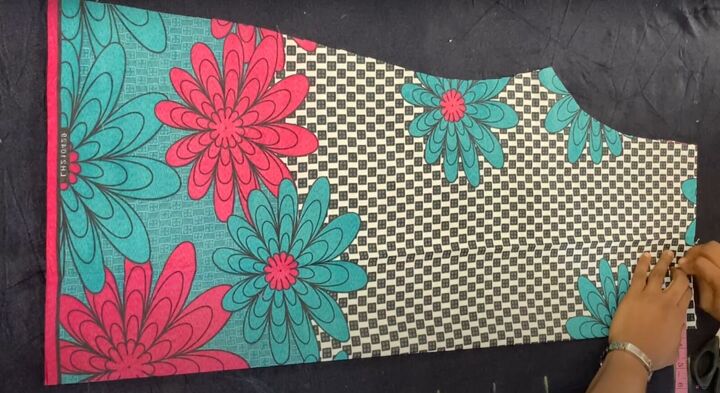
Divide your shoulder circumference by 2 and mark across the fabric. Add 1 inch seam allowance. Divide your bust and hip measurements by 4 and mark on their lines. Add 2 inches seam allowance to both measurements. Mark the armhole line. For many people, the standard shoulder to armhole measurement is 8 inches. Here you may want to add an extra inch for a looser fit.
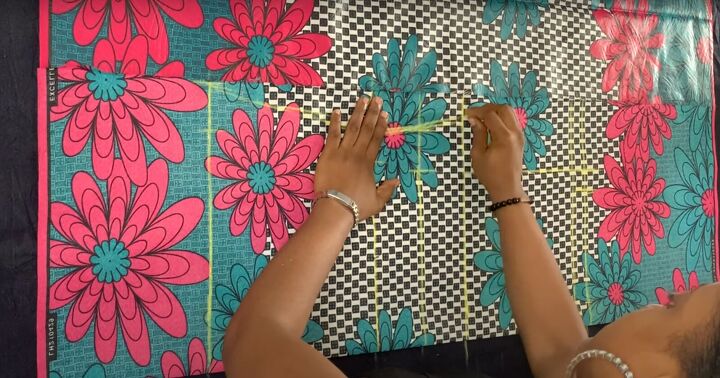
Connect the hip line to the bust line with a curve.

Draw a small line from the top line and connect the bust line to draw the curve for the armhole.
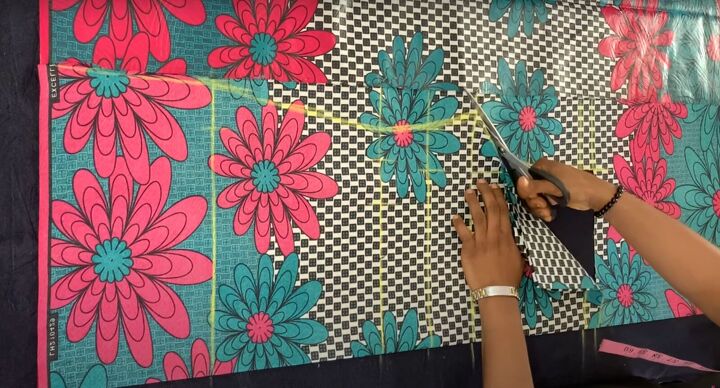
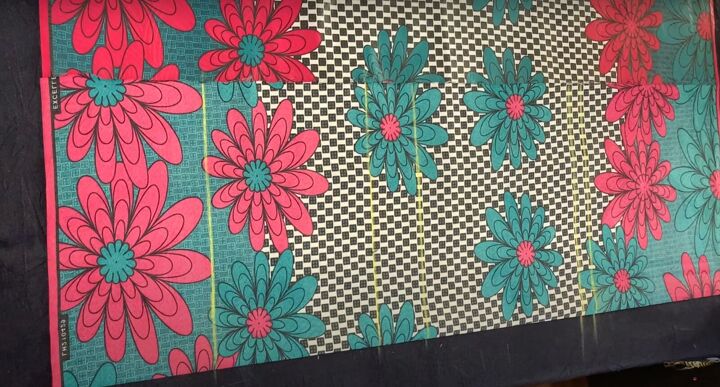
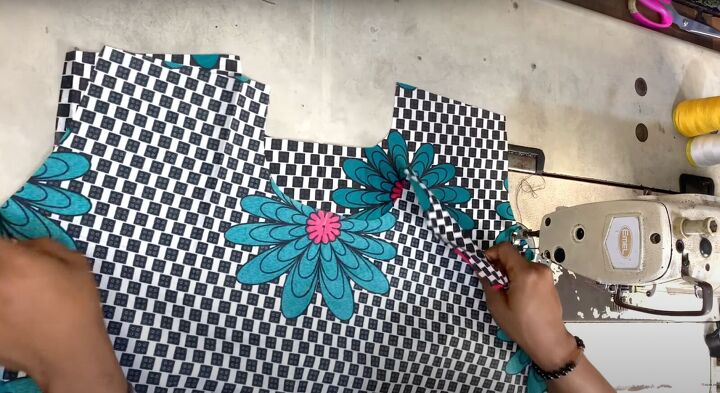
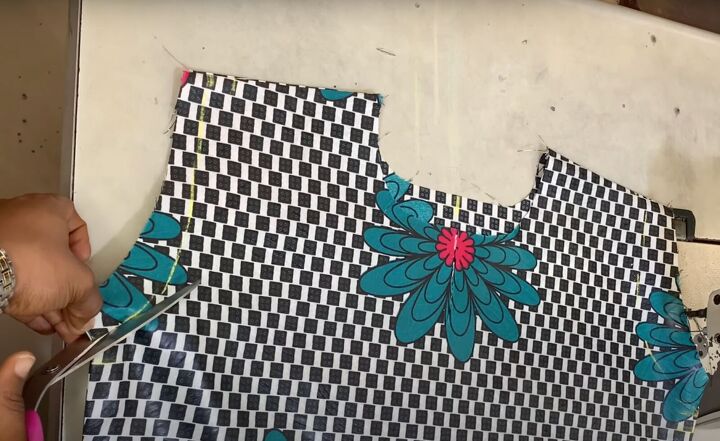
Cut the pattern out.
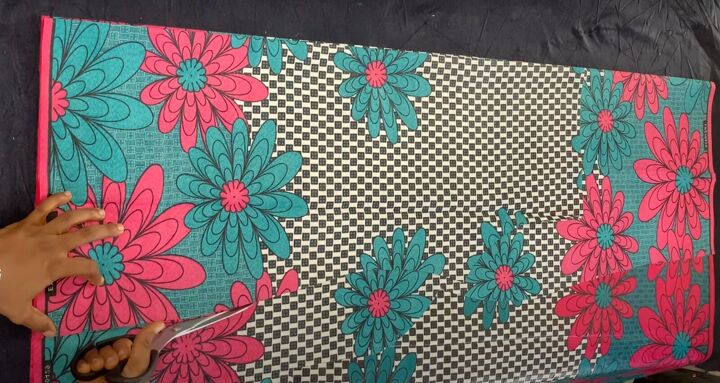
Fold the fabric again and lay the front panel on top to use as a template. Cut the back piece out.
While the two pieces are still together, mark the neckline across both panels at 3 inches.
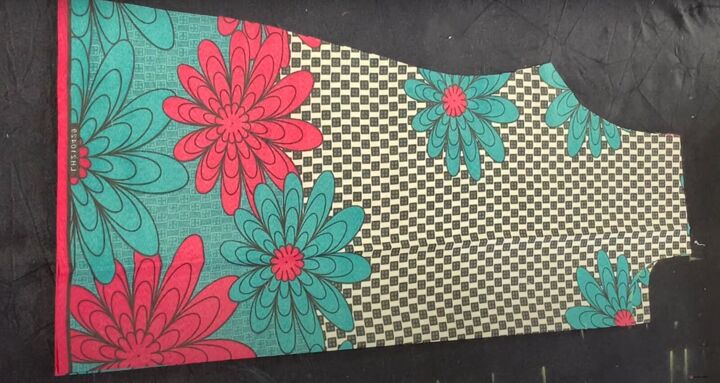
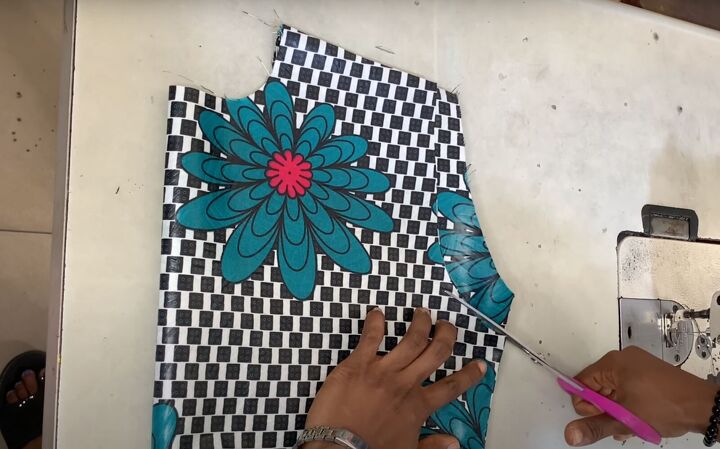
On the top panel (or the front), mark the depth at 3 inches. On the back panel, mark the depth at 2 inches. Cut out the necklines. On the front panel, mark down an additional 2 to 3 inches for a V-neck. Cut.
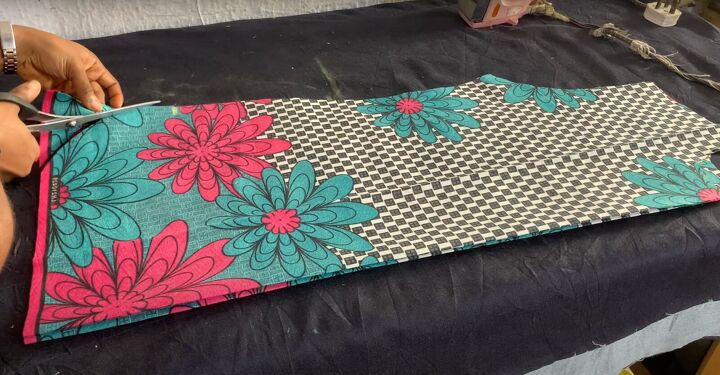
To curve out the bottom, mark up 5 inches from the bottom and freehand round up to the mark. Cut out the sides.
2. Make the sleeve pattern
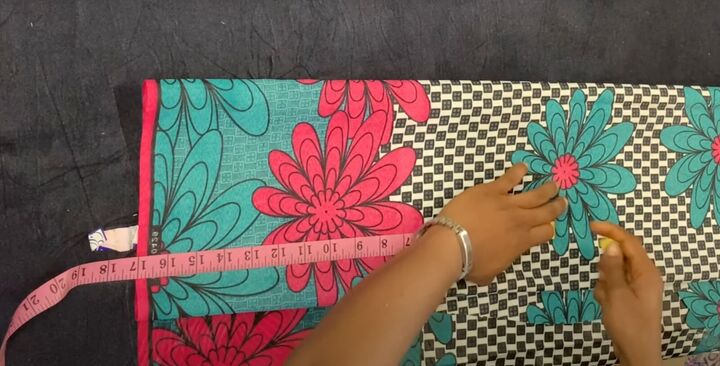
Fold the fabric into quarters. Mark your preferred length with a 1-inch seam allowance.
Measure and mark the fullest part of your arm (bicep) and narrow it down toward the elbow. Curve out the top of the sleeve and cut it out, adding a 1-inch seam allowance at the bottom.
3. Sew the Ankara top
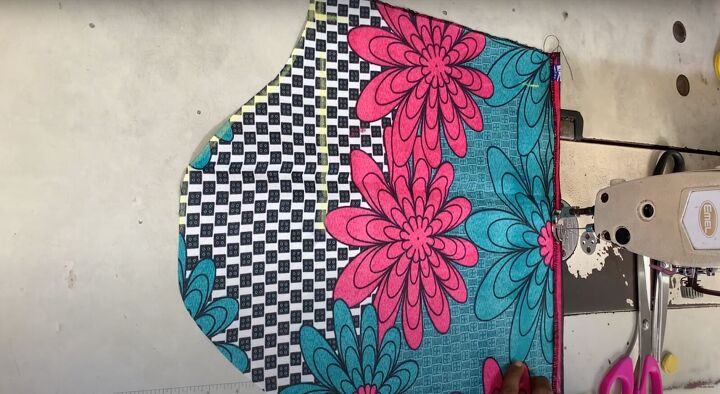
Lay the front and back pieces right sides together.

Sew the shoulders together using a straight stitch and leaving ½ inch seam allowance.
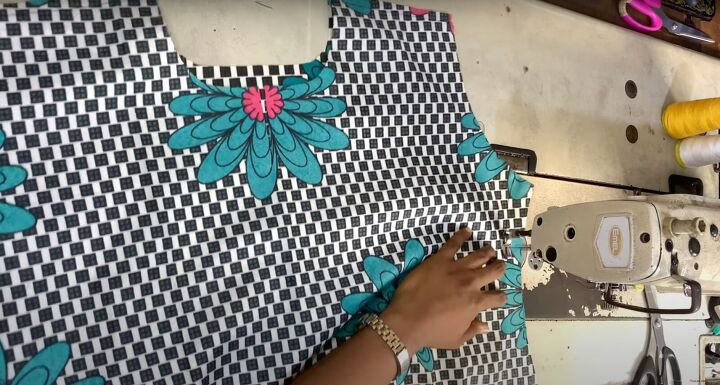
Join the side seams with 1 inch seam allowance. Stop at the 5-inch mark you made for the rounded edges. Make sure to backstitch or tack when sewing this area.
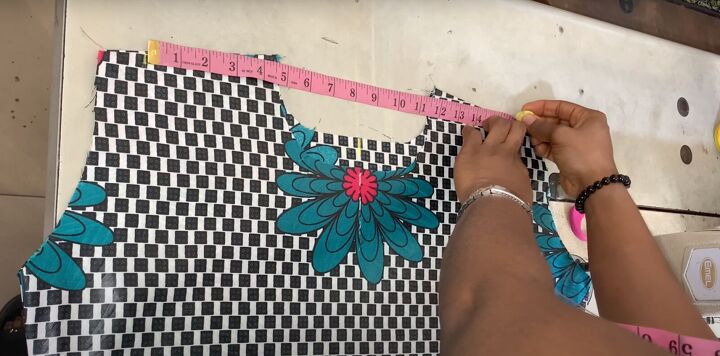
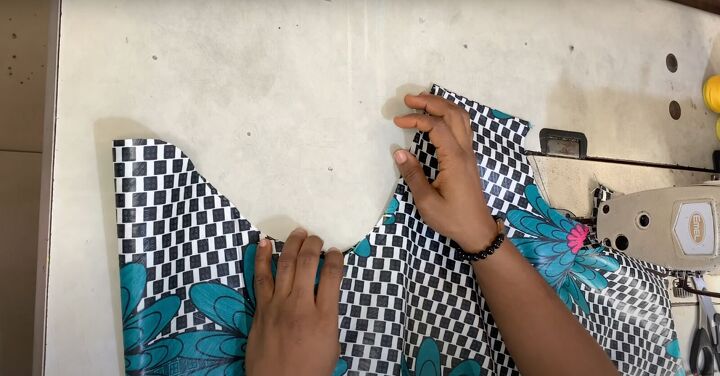
4. Streamline the shoulder measurements
Turn the top right side out. Mark your half shoulder measurement across by finding the center point and measuring outward from there.
Mark ½ inch seam allowance on either side. Mark your armhole depth from the shoulder down at 8 or 9 inches depending on how loose you want it. Cut the excess on the side you marked.
Fold the top over along the center to use the new measurements as a template. Cut the second armhole to match. Make sure both sides are even.
5. Attach the sleeve
Hem the sleeve bottom. Recheck the measurement of the sleeve.

Sew the sleeve side seam. Repeat for the second sleeve.
Make sure your sleeve and armhole align.
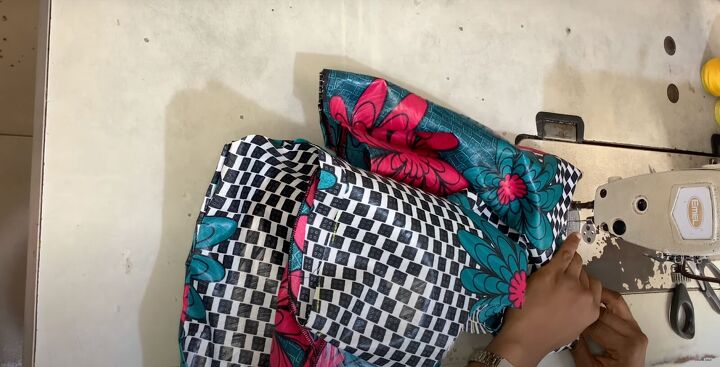
Have your sleeve with the right sides showing and your top inside out. With their right sides together, match up the sleeve seam with the side seam and sew the sleeve into place.
The top is almost done! I don’t show in this tutorial how to add bias tape to the V-neck but that’s the very last step.
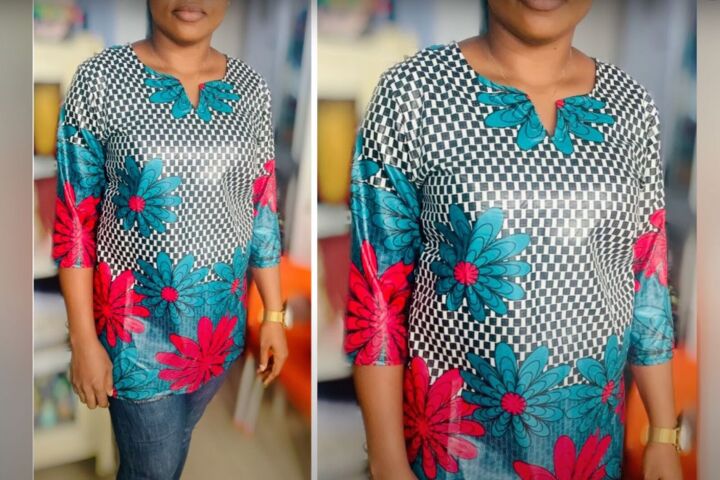
DIY Ankara top
Once you’ve done that, your beautiful DIY Ankara top is ready to wear literally anywhere. Let me know in the comments if you made this top and how many compliments you got.
The author may collect a small share of sales from the links on this page.


Comments
Join the conversation
Wow, this is brilliant. I have been sewing 50 years but always with a pattern