How to Sew a DIY Bardot Top With Cute Puff Sleeves

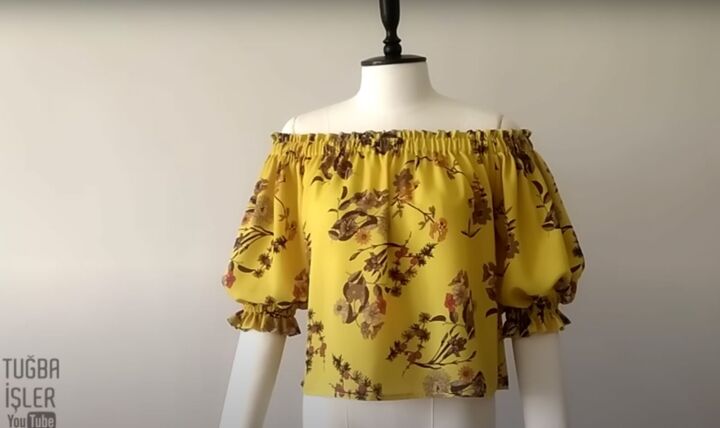
Bardot tops are named for the French beauty and fashion icon, Brigitte Bardot. She made the off-shoulder look popular. While some Bardot tops look a bit awkward, this floral Bardot top looks gorgeous.
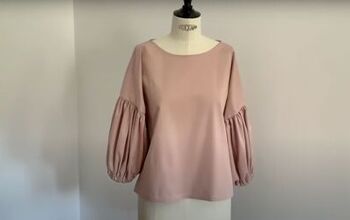
This lightly frilled off-the-shoulder top is an absolute fashion essential. Let me show you how to sew a Bardot puff sleeve top you can wear today.
Tools and materials:
- 1 yard polyester jersey fabric - floral preferred
- 1 inch elastic
- ¼ inch elastic
- Pins
- Safety pin
- Ruler
- Measuring tape
- Scissors
- Serger
- Sewing machine
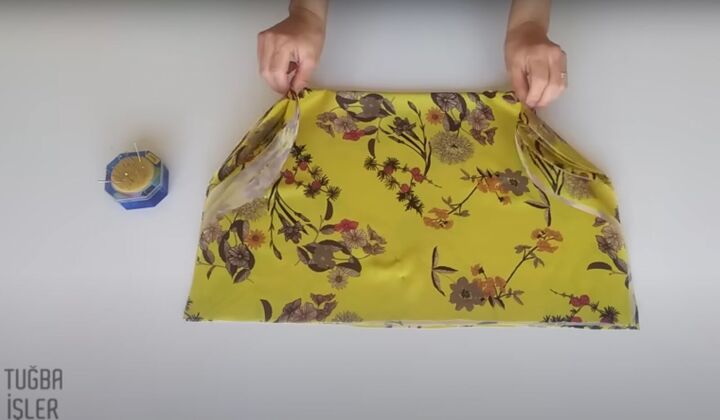
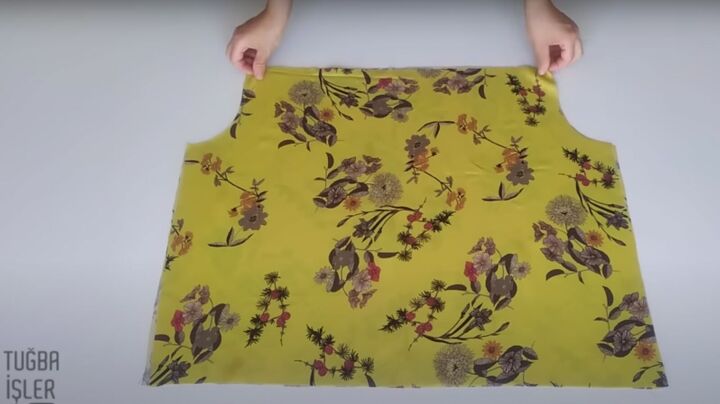
1. Make the pattern
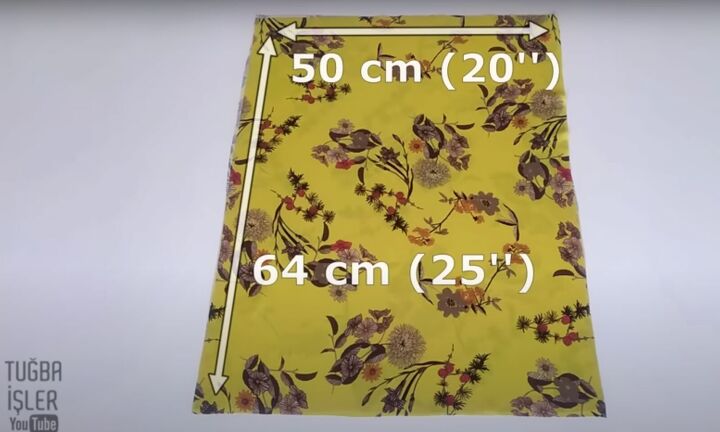
Fold the fabric in half and mark a 20 by 25 inch (50 X 64 cm) rectangle. Cut the fold in half so you have two pieces.
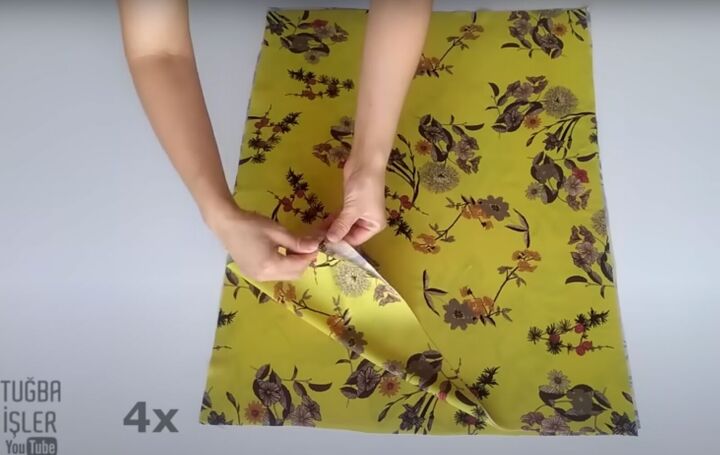
Cut another two 20 X 25 inch pieces for a total of four pieces.
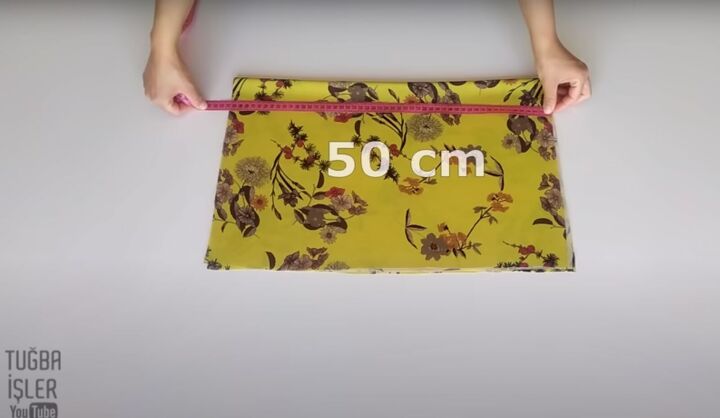
Fold all 4 pieces in half. The new measurements should be 20 inches (50 cm) across.
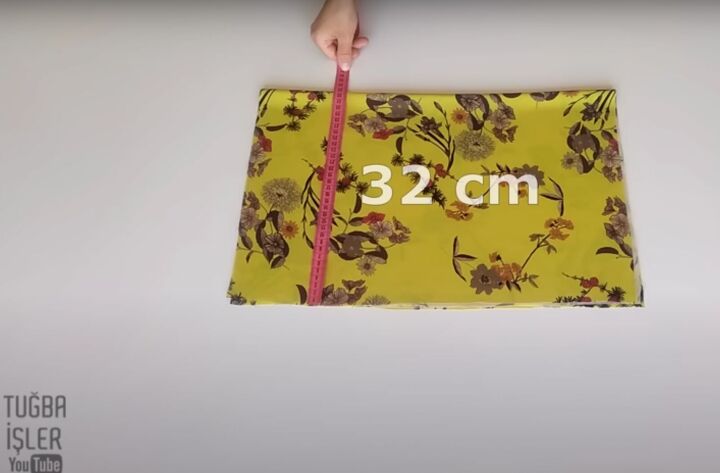
It should measure 12 ½ inches (32 cm) down. Pin the fabric layers together so they don’t move.
You should have 8 layers.

On the right side along the unfolded bottom edge mark 6 inches (15 cm) from the end inward.
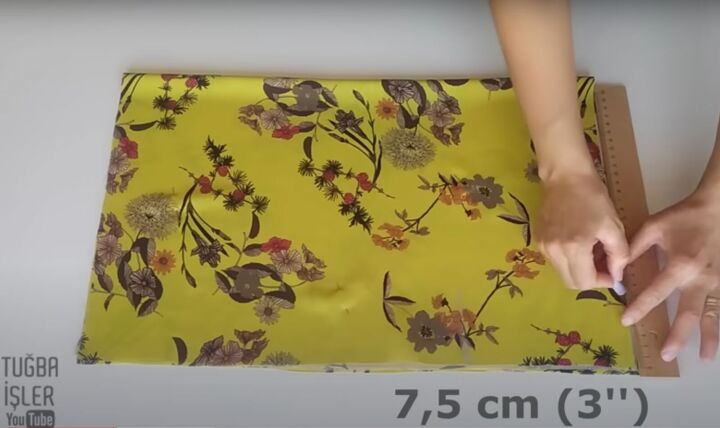
Measure and mark on the right along the length from the edge up 3 inches (7.5 cm).
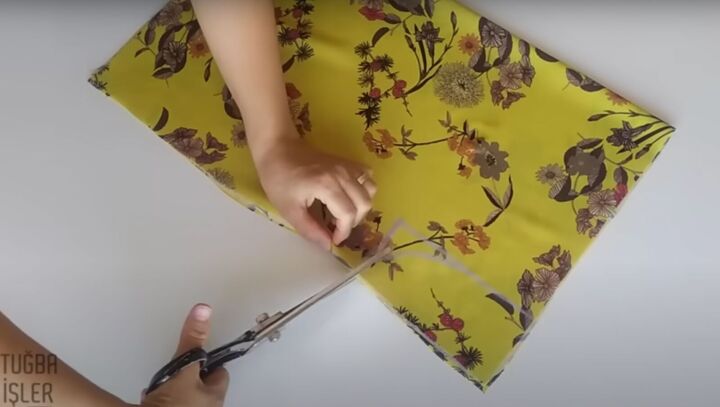
Join these two points together on a curve.
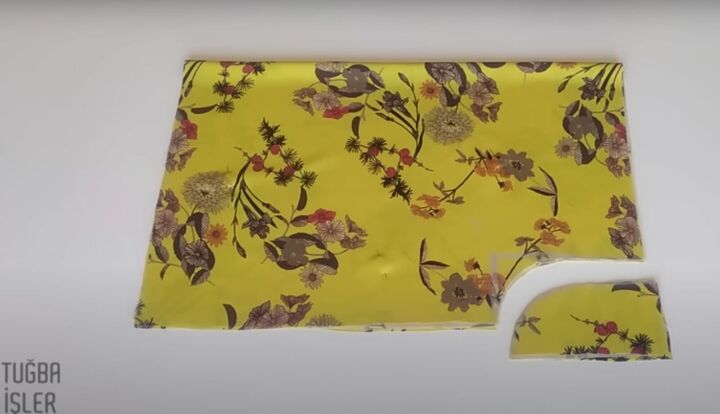
Cut out the curve. Remove the pins.
Unfold the fabric. You should have 4 pieces and 2 curves on either side at the top. Remove the top layer and set aside.
2. Sew the pattern
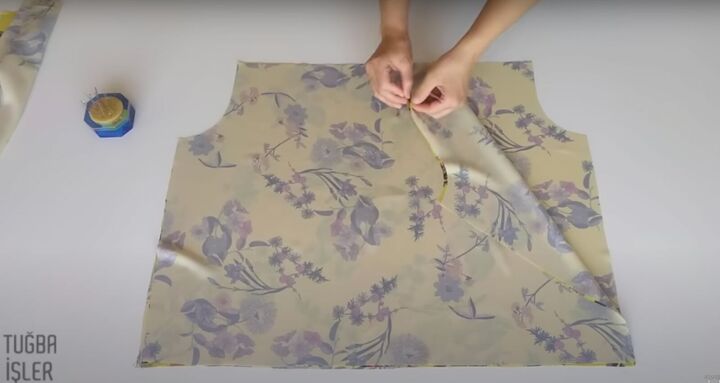
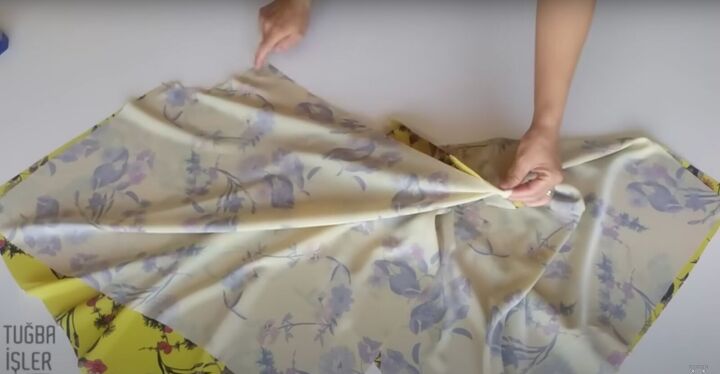
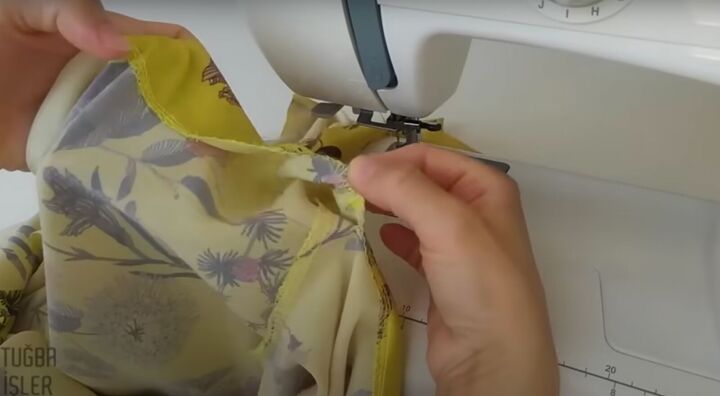
Join the two middle pieces right sides together. Set aside the fourth layer for now. Pin along the curve on the right and sew it together.
Take the top layer and fourth layer right sides together and pin along the curve on the right. Sew the curve together.

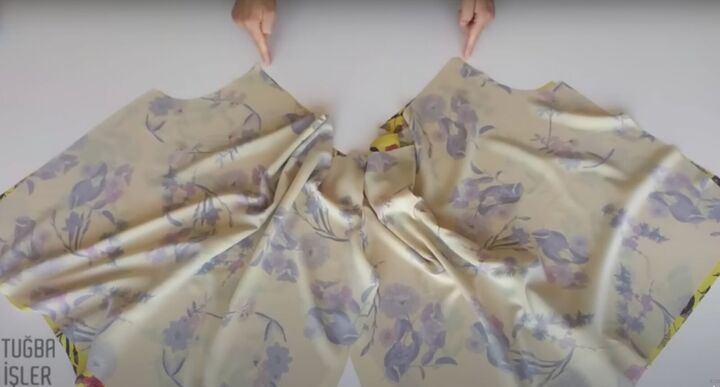
This is what they should look like.
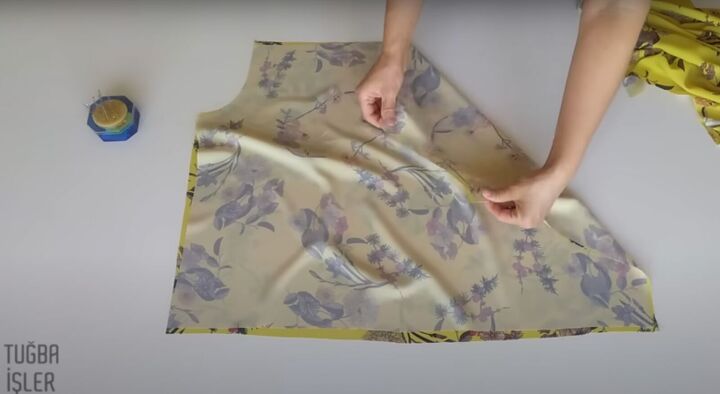
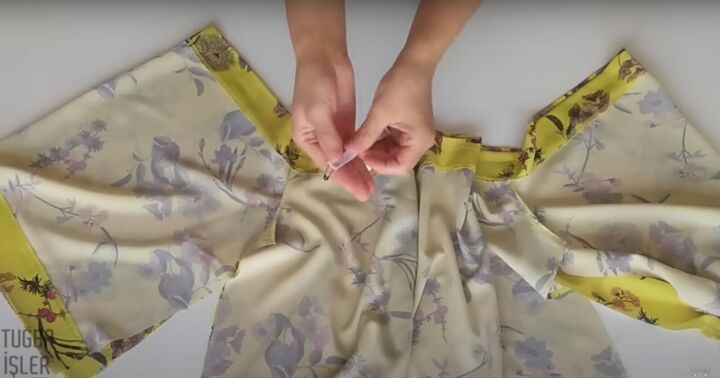
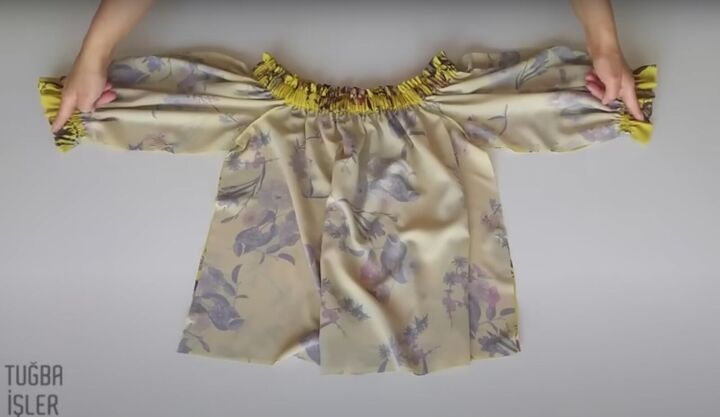
Lay the two pieces right sides together with the sewn curves in the center. Pin and sew the two small curves at the top.
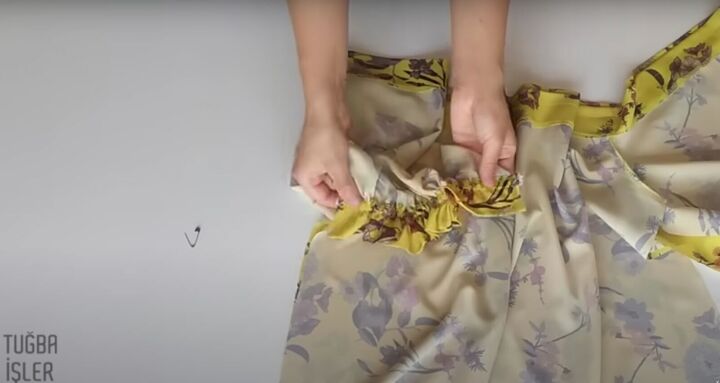
Once those are sewn, gather in the two corners on the right to each other.
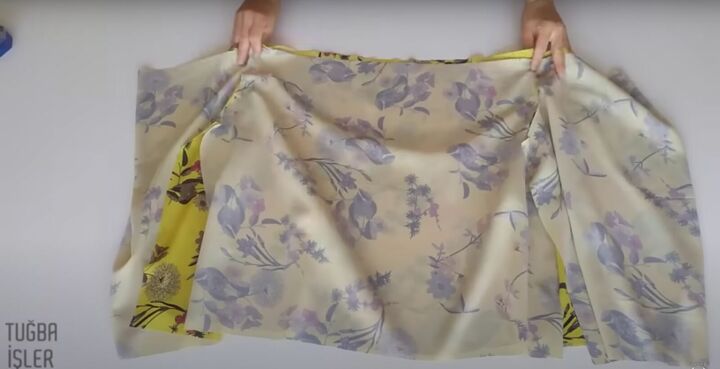
Gather in the left side.
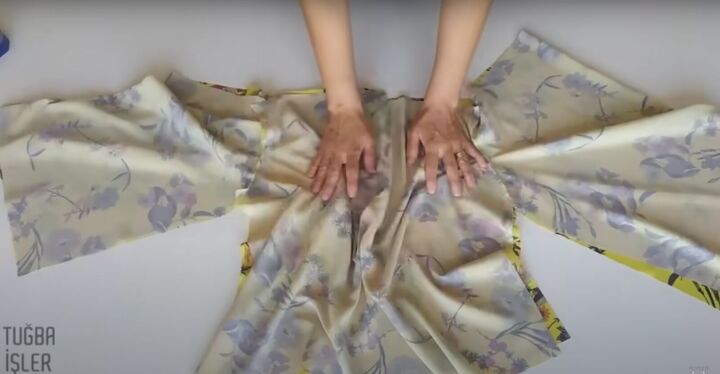
It will look like a blouse. Serge all the raw edges.
3. Cut the elastics
Cut a piece of 1-inch elastic to match your shoulder circumference less 2 inches. Cut two pieces of ¼-inch elastic to match your arm circumference less 2 inches.
4. Make the sleeve casings
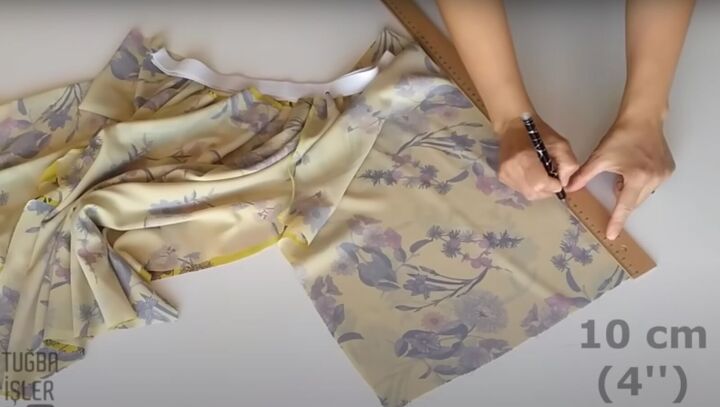
Lay a sleeve flat. Mark and measure 4 inches (10 cm) up from the sleeve cuff.
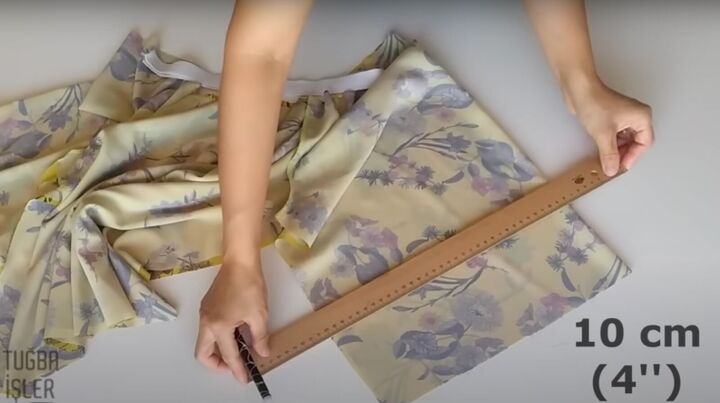
Place the ruler across to mark a horizontal line. Repeat for the other sleeve.
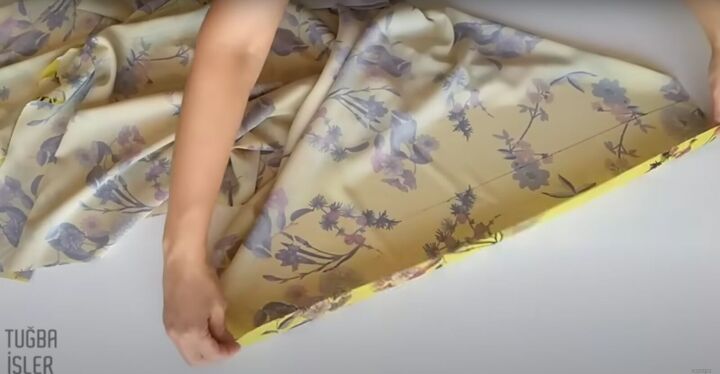
Fold the sleeve up to mark. Sew across at the marking.
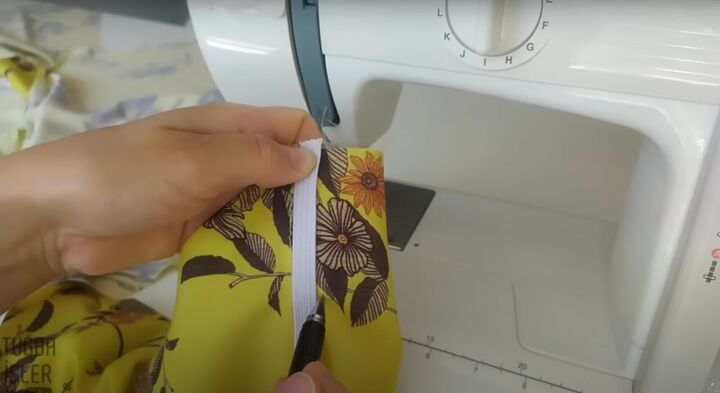
Lay the ¼ inch elastic right at the sewn seam. Mark the elastic’s width on the fabric. Sew a parallel seam along the mark to make the sleeve casing. Repeat for the other sleeve.
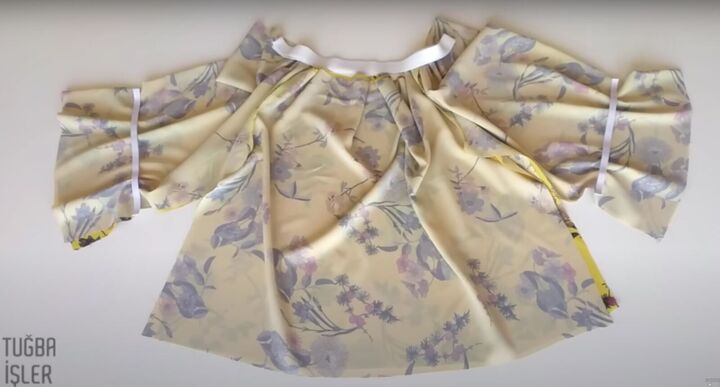
5. Make the Bardot top casing
Repeat the technique with the sleeve. Measure 4 inches down along the entire neckline. Mark with a horizontal line. Fold the fabric in and sew across to secure. Leave a 2-inch space unsewn.
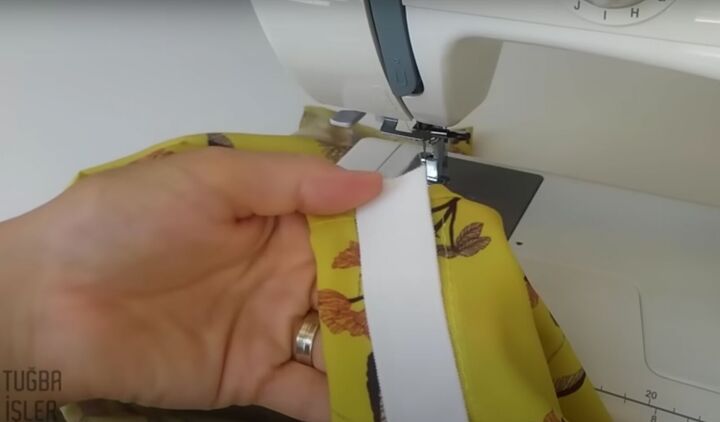
Lay the 1 inch elastic right at the seam. Mark the width on the casing. Sew a parallel seam along the mark to make the Bardot top casing.
6. Insert the elastics
Start with the sleeves. Use a safety pin to insert the ¼-inch cuff elastic. As you advance the elastic through, pin the end of the elastic to the entry point.
Pull the elastic through the casing, remove the safety pin, and pin the other elastic end in place. Repeat for the second sleeve.
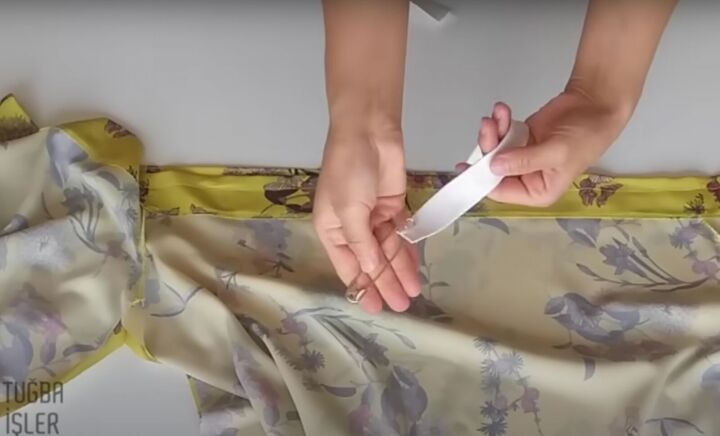
To insert the elastic for the drop shoulder top, place a safety pin on the 1 inch elastic. Insert through the unsewn space you left.
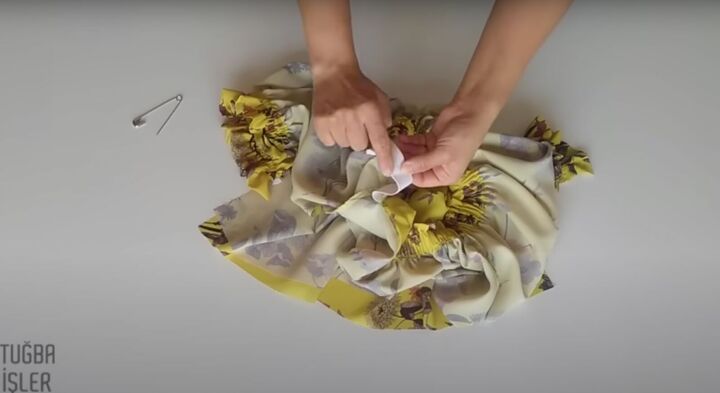
Pull the elastic through until you can join the two elastic ends together. Sew to secure them.
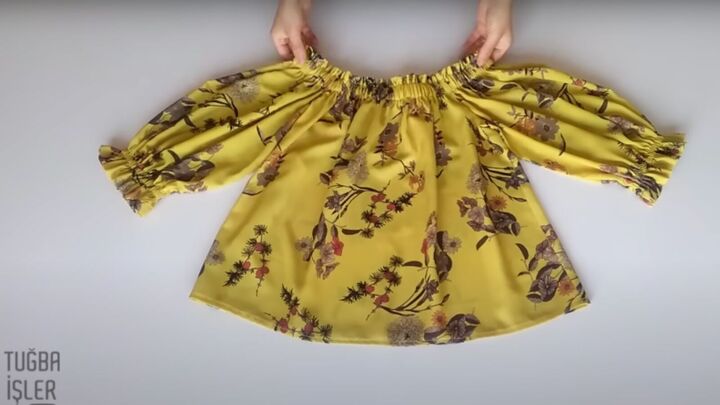
Tuck the elastic back in. Distribute the gathers evenly and sew the gap to close.
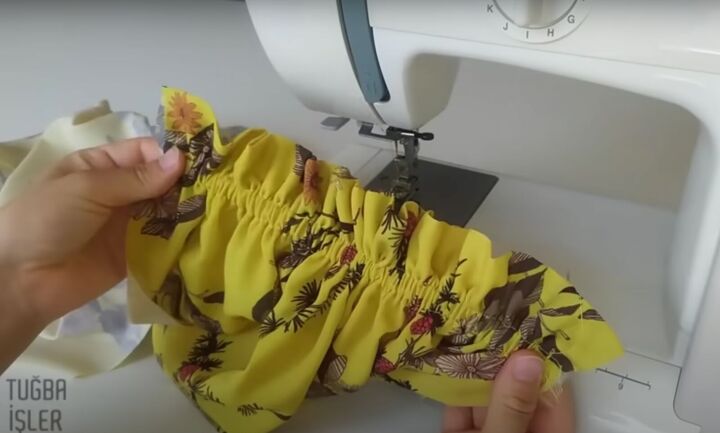
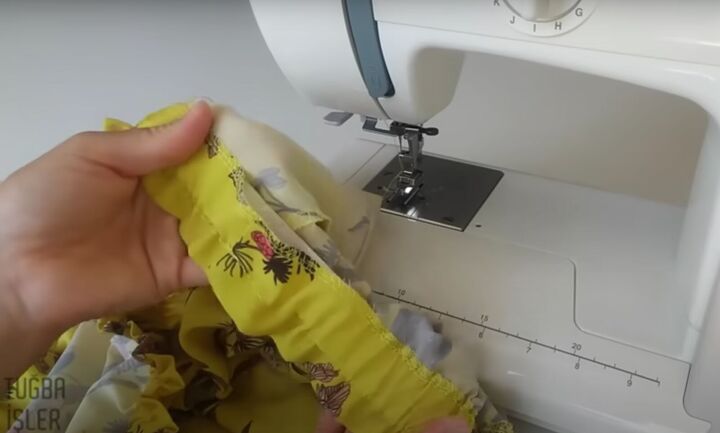
Hold the cuff elastic in place. Remove the pins one at a time, sewing to secure the elastic in place. Do for all four edges.
7. Complete the Bardot top
Flip the top so the right sides are together. Sew the inner sleeve and side seams.
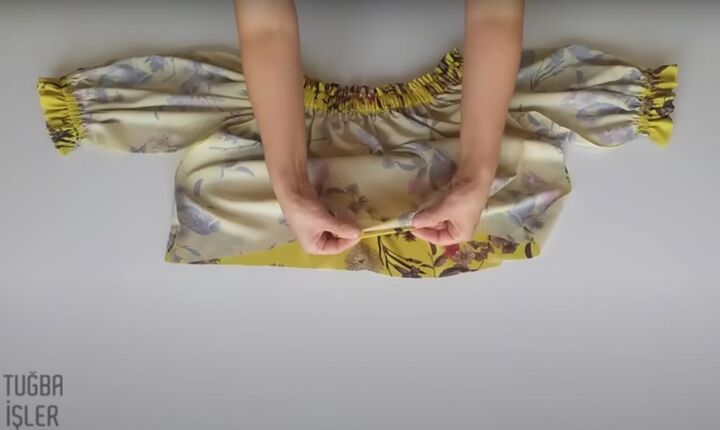
Hem the bottom with a single fold.
DIY Bardot top
I love beautiful Bardot tops and I hope you do too.
Please let me know in the comments if you made this classic stylish top.
To see more of my tutorials, follow me on TikTok @tugbaisler.
The author may collect a small share of sales from the links on this page.


Comments
Join the conversation
Hi Tuba, Beautifully made! I had found when I was younger and wore this type of top that when I moved a certain way with my arm the elastic would ride up and no longer sit below my shoulders. Have you found this to be true with your pattern or did you make the elastic a bit looser to not do this?