How to DIY a Beautiful Blouse for Beginners

Here, I'm going to show you how to make a simple but beautiful DIY blouse with a few basic stitches.
We're going to draw the blouse pattern directly on to the fabric to make it super quick and easy for everyone, even a new sewist.
I used 32 inch (80 cm) crepe fabric and the measurements are for European size 38. Almost any lightweight fabric with drape would look amazing.
Tools and materials:
- 32 inch (80 cm) wide fabric
- 1/2 inch wide elastic
- Safety pin or kirby grip
- Tailor's chalk
- Ruler
- Measuring tape
- Pins
- Scissors
- Sewing machine
- Serger (optional)
1. Cut the blouse body
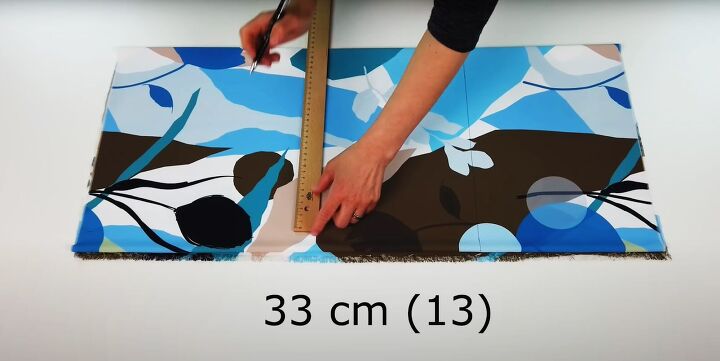
Fold your fabric in half widthways and in half again. Place it down with the folded edge towards you.
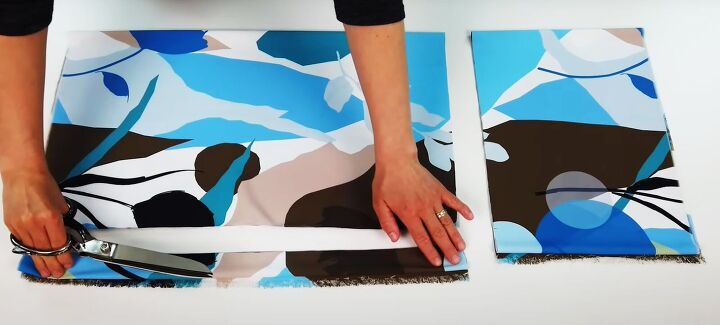
Draw a rectangle 22 inches (56 cm) from one side edge and 13 inches (33 cm) from the folded edge, and cut it out.
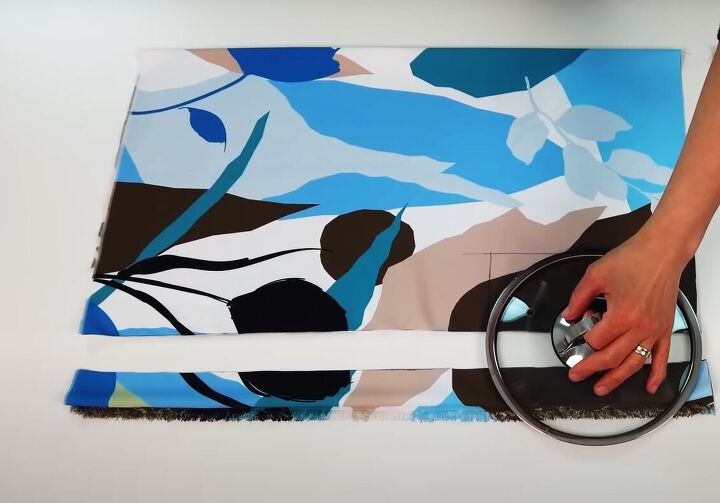
Measure 7.5 inches (19 cm) along the top edge of the cut section from the left side and make another mark 3 inches (8 cm) from the top left corner.
Join these points to make another rectangle and use a lid or plate to create a curve where the lines meet.
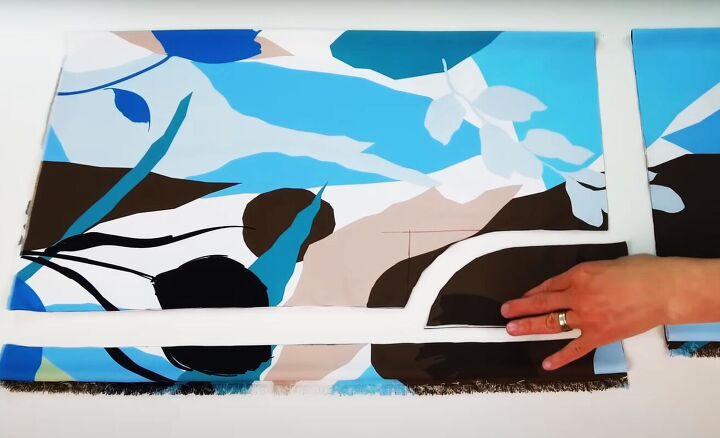
Cut along the curve to create the armhole.
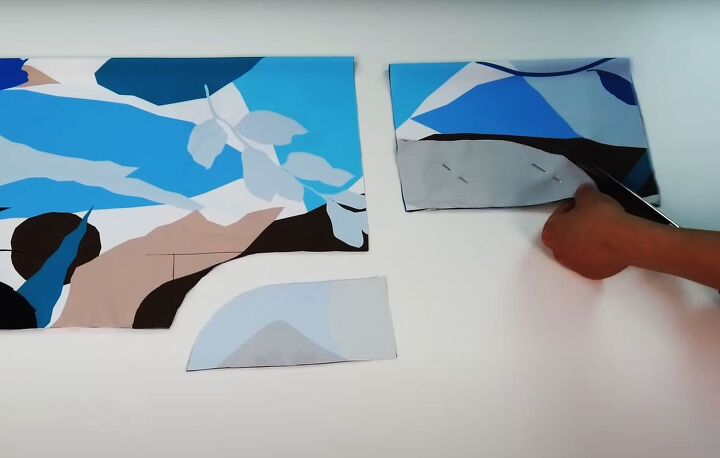
2. Cut out the sleeves
From the remaining large piece of fabric, measure 8 inches (20 cm) up from the folded edge and cut straight across.
Pin one of the curved pieces you cut out from the armhole to the top right edge of this piece and cut around it.
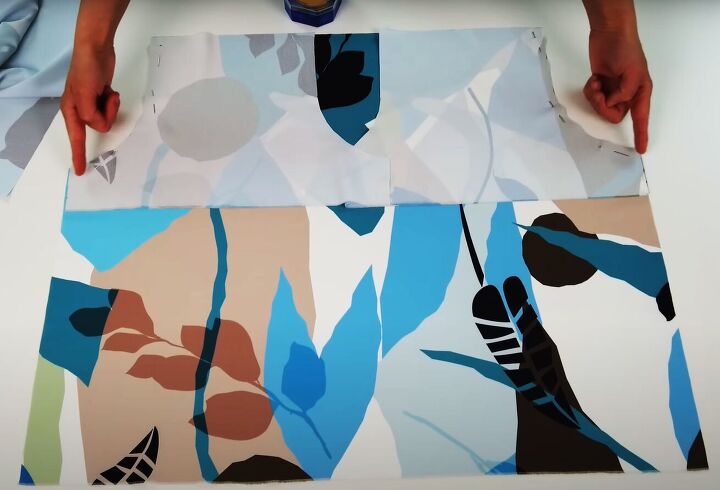
3. Attach the sleeves
Open up one of the large pieces of fabric with the right side facing you.
Pin the sleeves to the body on each side along the curved edges, with the right sides together.

Place the second body piece face down on top of the first section.
Pin the remaining curved edge of each sleeve to the body.
4. Assembly
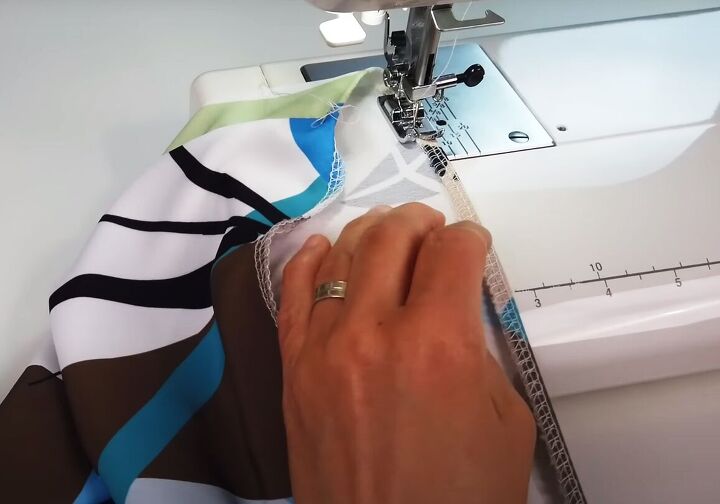
Sew the four armhole seams.
Join the sleeve and side seams, matching the armhole seams.
Finish the raw edges of the neckline, sleeves and blouse hem.
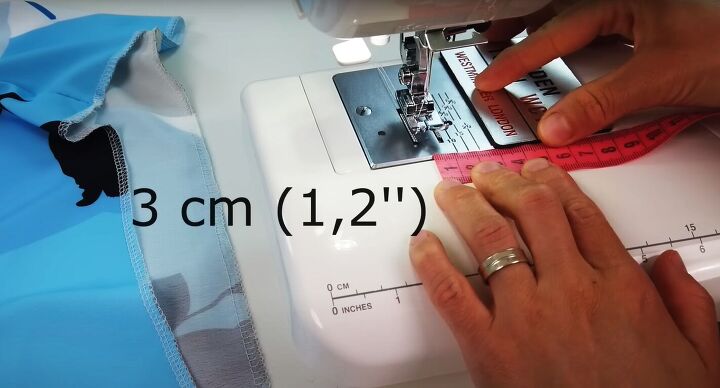
5. Neckline
Turn the neck edge to the wrong side by 1.2 inches (3 cm) and sew it in place along the lower edge, leaving a small opening at the end.
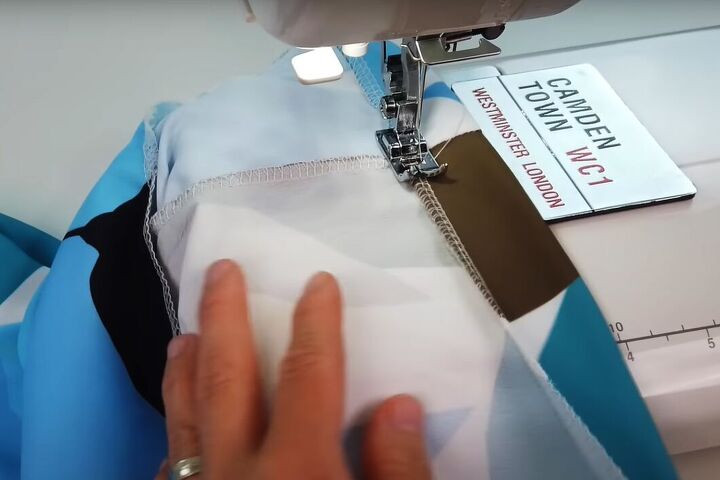
A little trick I use is to attach a straight edged magnet to my sewing machine the correct distance from my needle position, to help me keep the edge even.
Cut the elastic so it fits comfortably around your collarbone, with an overlap.
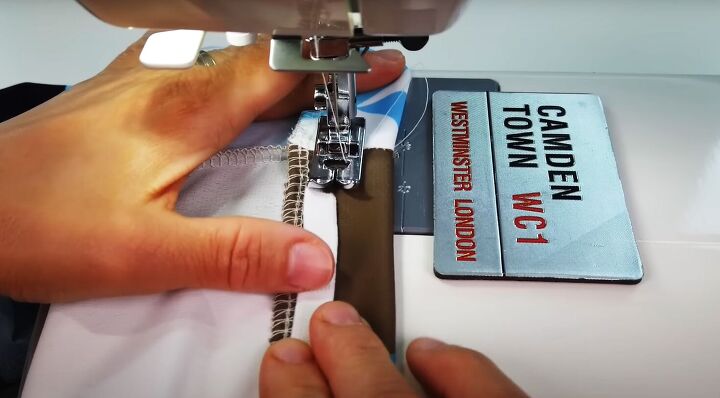
Place your elastic against the stitched edge to check the width. Sew a line around the neckline just above the elastic.
Use a safety pin or Kirby grip to thread the elastic through the casing. Overlap the ends and sew them securely together.
Sew the opening closed.
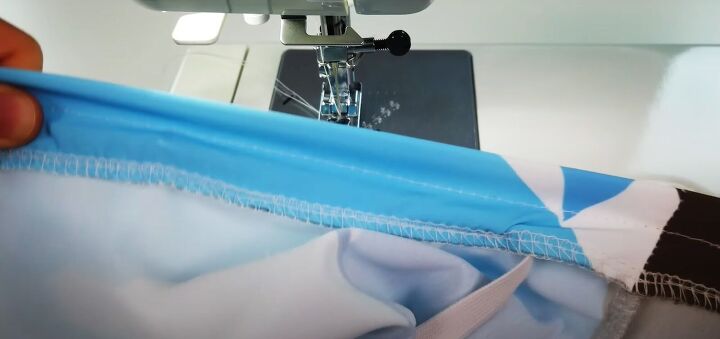
6. Finishing
Turn up and sew a narrow hem around each sleeve and the lower edge of the blouse.
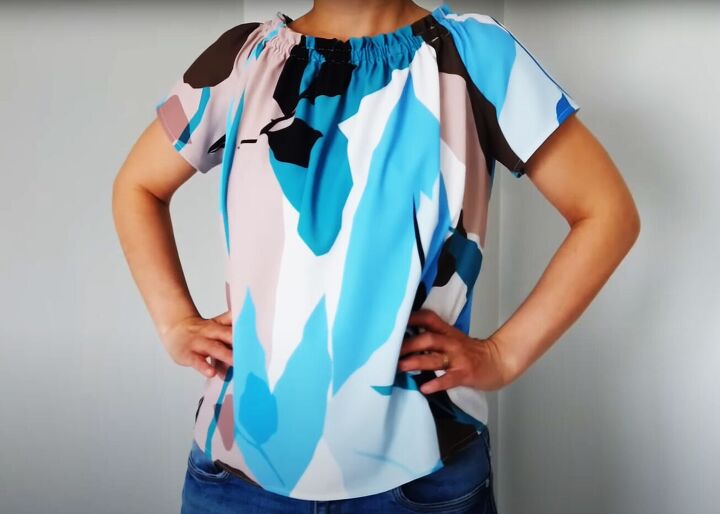
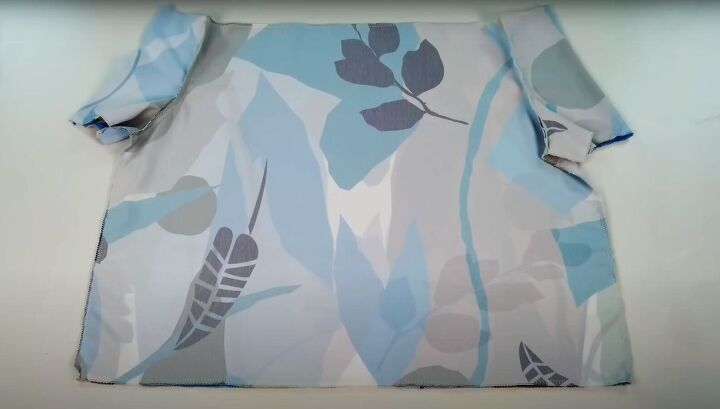
DIY blouse
This is a light and comfortable blouse to wear in summer. If you prefer a wider or narrower neckline, adjust the length of the elastic accordingly.
You can even make it an off-the-shoulder top and add a wide belt for a completely different look.
Please let me know how you get on with this and follow me on TikTok for lots more quick sewing tips and hacks: @tugbaisler
The author may collect a small share of sales from the links on this page.


Comments
Join the conversation