How to Copy a Shirt

Have you ever wondered how to make a pattern so you can copy a shirt and sew it? If so, I have the answer! Have you ever asked yourself (or Google, of course) the following questions?
- How do you duplicate shirts?
- How to copy a shirt design
- How do you copy a pattern?
- Copy your favorite T-shirt
- How to copy a shirt pattern
Do you have a favorite shirt or piece of clothing and wish that you had more of them? Or maybe your favorite shirt is wearing out and you really want another one? For me, I just wanted my favorite shirt in another color! This is how I copied my shirt!
***For more details and videos, please visit How to Copy a Shirt.***
I used stretch velvet fabric. You can make this shirt from practically any fabric-- being stretchy helps it slide over your head. *** Here is a great selection of fabrics.***
This is one of my favorite shirts. When I saw one for sale in silver, I knew I wanted one! And I thought I could make it myself.
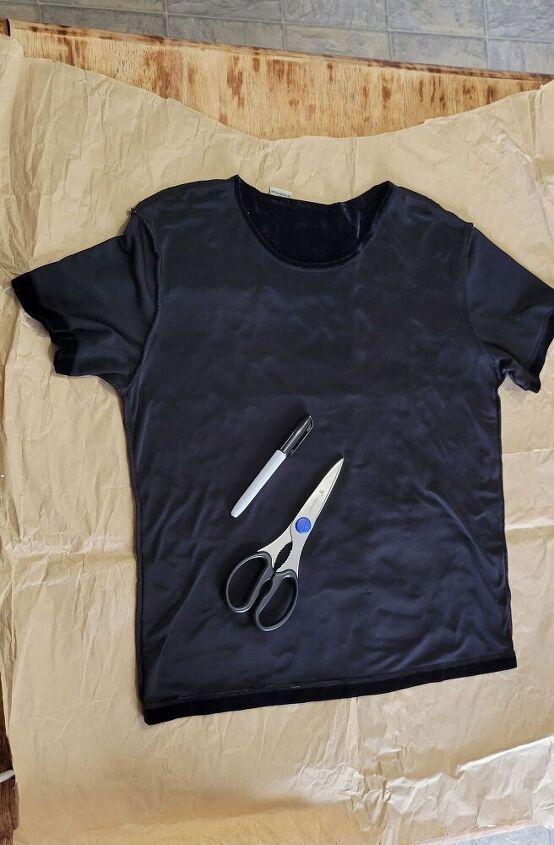
- I saved brown packing paper from boxes I received in the mail. It was perfect for making a pattern! First, I smoothed out the shirt fabric to trace.
- I used a black marker to trace around the back of the shirt, making it a little bigger to allow for a seam.
- Then I cut it out.
- I labeled it "Shirt Back." Then I laid out the shirt with the pattern on top to see if it matched.
- I folded the pattern in half and trimmed it so both sides would be symmetrical.
- I marked and cut notches to mark the neck opening, and drew the seam allowance just for fun.
- I used the same method to cut the Shirt Front.
- Be sure to draw past the shoulders to allow for the seam. Did you notice that the shirt is inside out on purpose, to better trace the pieces?
- Since it needs to be symmetrical, fold it in half. I decided to just tear my pattern in half and cut it on a fold just like a regular pattern would do. It is easier than cutting the entire shirt flat.
- Lastly, I traced a sleeve on a folded paper. I could have traced the shirt front and back this way.
- Cutting the shirt sleeve on a fold in the paper made it a lot easier than trying to figure out the sleeve shape unfolded!!
- Measure the folded fabric to make sure it is folded evenly.
- Pin the pattern to the folded fabric.
- Make sure your velvet runs soft when you rub your hand on it, the same direction for all your pieces. (Notice these are my fabric scissors!)
- Pin the Shirt Back on a fold.
- Then cut it out.
- Pin the sleeve piece on two layers of fabric. This is a great beginner sewing project. It doesn't get much easier than 4 pieces to make a shirt with sleeves! (1. Copy Shirt onto paper. 2. Cut new fabric from pattern. 3. Sew shirt.)
- Pin the side and shoulder seams.
- Pin the shoulder seam.
- Pin the other shoulder seam.
- Begin by sewing the side seams. Finish the side seam.
- Sew the shoulder seams next. Finish the second shoulder seam. At this point I tried it on. It fit great! It's easier to make cutting/sewing adjustments now, before adding sleeves.
- Fold the sleeve piece and sew its short seam.
- Then hem each sleeve.
- With velvet, it's better to go darker rather than lighter with the thread color.
- More sleeve hemming…
- This is the hardest part (besides hemming the neck)…. attaching the sleeve to the body.
- Pin the seams together, then find the center top of the sleeve to pin to the shoulder seam. Clip the curves a little to help it fit.
- The first sleeve turned out so well!
- I decided to hem the neck by doing a rolled hem but in two steps. Fold over once, sew all around. Fold over again, sew all around again.
- The neckline is the most vulnerable area. If you make any sewing mistakes, they will be seen unless you wear a scarf!
- Sewing around the neck.
- Finishing the neckline.
- Lastly, sew a wide rolled hem around the bottom.
***For more details and videos, please visit How to Copy a Shirt.***
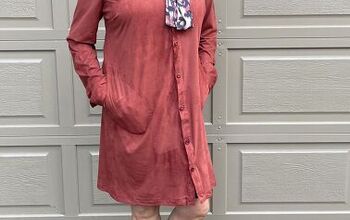
If you would rather just purchase a new top than make one yourself, then I would recommend this one! 
Three pieces-- that's all you need!
The new shirt fits just like my old one did!
I'm so happy with how it turned out! ***For more great projects, please visit me at my blog, B4 and Afters.***
Enjoyed the project?
Suggested materials:
- An old shirt (my closet)
- Velvet fabric (Fabric Wholesale Direct)
- Scissors (Hobby Lobby)
- Brown paper (a box mailed to me)
- Marker (Walmart)
The author may collect a small share of sales from the links on this page.


Comments
Join the conversation
I'm glad you liked it, Miriam!
I'm a new sewer and I appreciate your clear directions. Thanks!