How to Make a Blouse Without a Pattern in 6 Simple Steps

If you’ve been wanting to learn how to make a blouse without a pattern, this is the tutorial for you! Here I’ll show you how to make a blouse, pattern-free!
All you’ll need are some basic sewing materials and you are good to go. As an extra bonus, I’ve made matching pants that you can make also without a pattern.
I also made a tutorial on how to sew pants without a pattern. So, you can use both of these guides to sew a matching set.
Let’s get started on making a blouse without a pattern.
Tools and materials:
- 1 to 1½ yards of jersey knit fabric - must be 60 inches wide
- Pen or tailor’s chalk
- Measuring tape
- Scissors
- Pins
- Sewing machine
Please use fabric that’s got lots of stretch to it. This blouse is pull-on and pull-off only.
1. Make the pattern
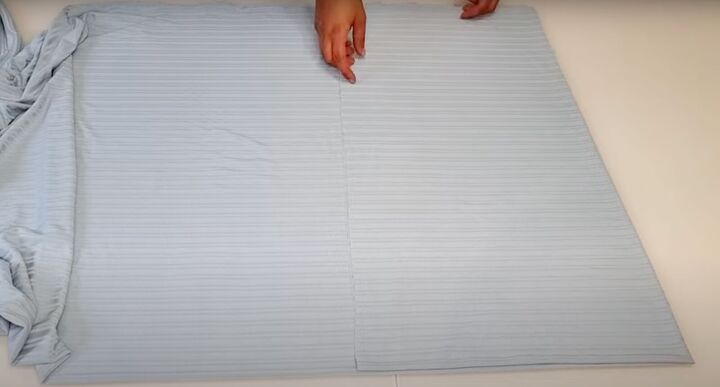
Fold the fabric in half in one direction. Then fold it in half in the other direction.
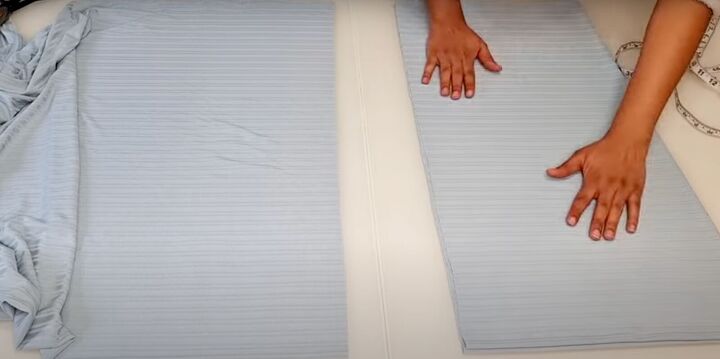
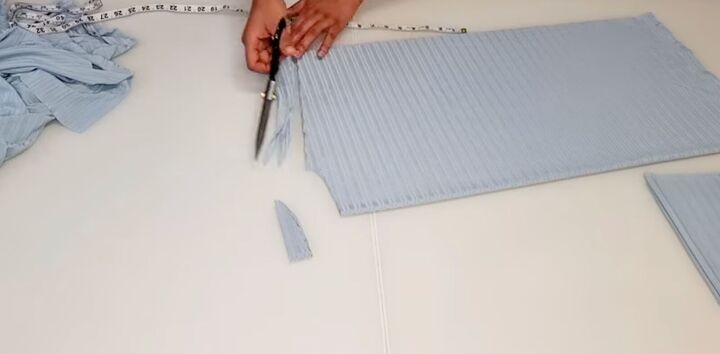
Measure a piece that is 15 X 28 inches. Carefully cut this piece out. You should have 4 layers of fabric.
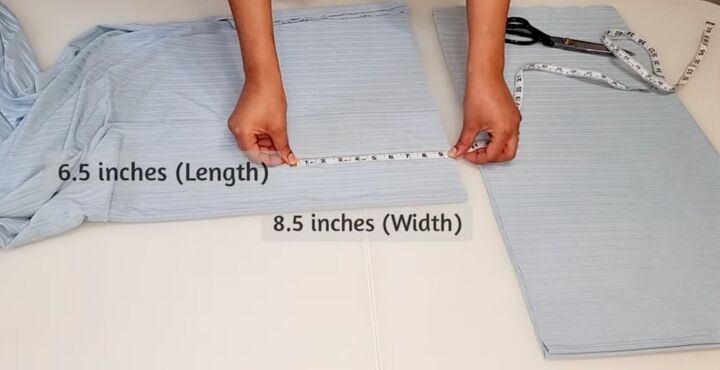
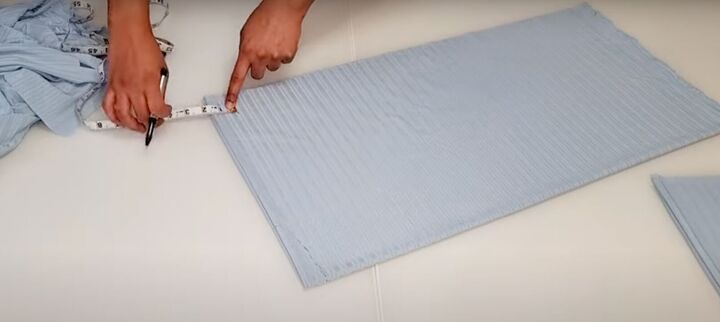
On another piece of folded fabric, measure 8½ X 6½ inches. Cut this piece out. Then cut open the folded edge. These smaller pieces are your sleeves.

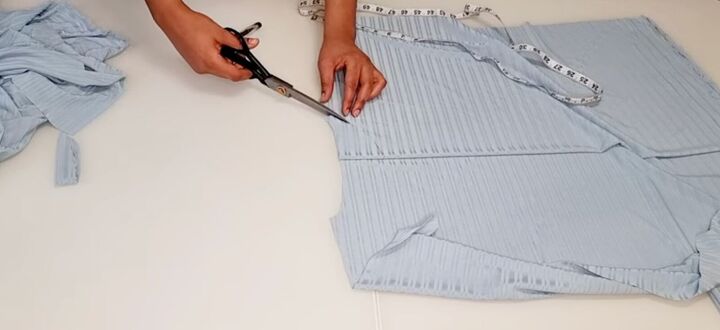
Mark 4 inches down on the folded edge of the larger cut piece of fabric for the neckline. Then mark 1 inch on the other side for the back depth. Join these two points.
On the open edge, measure and mark down 2 inches for the shoulder slope. Join to the neckline.
Cut these two pieces out.
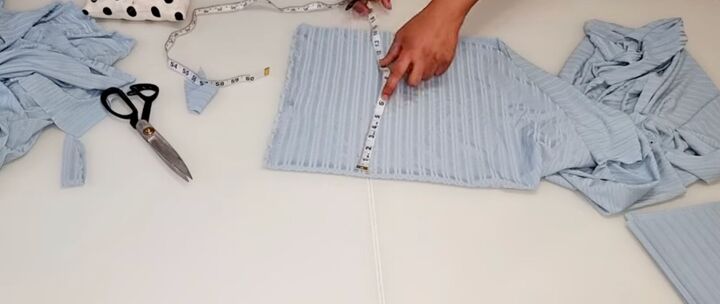
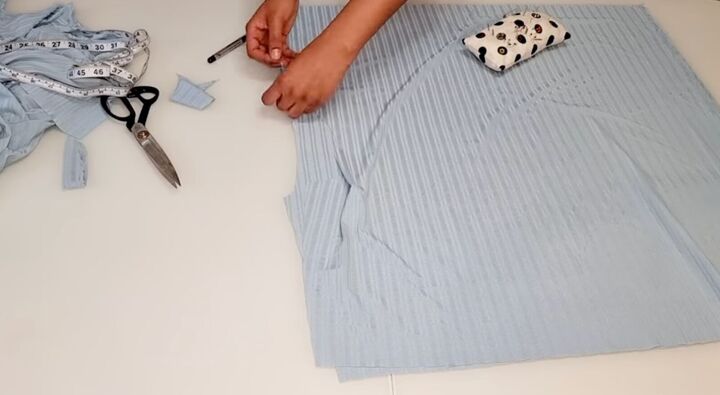
Open the top layer of the bodice. On the inner layer only, mark down 2½ inches for the front neckline. Join that line to shoulder slope by drawing a curve.
Carefully cut this out only for those 2 layers.
2. Make the top hi-lo (optional)
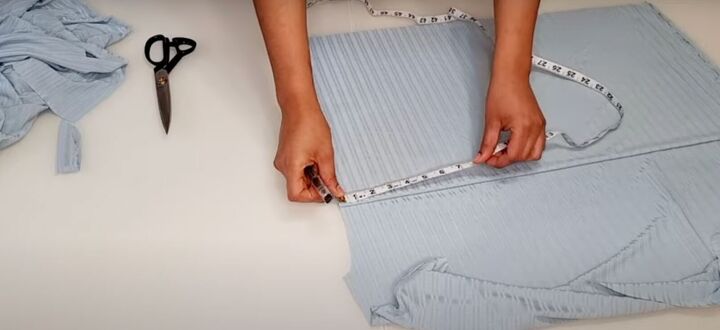
On the front part of the bodice, measure down 24 inches. Mark this spot and cut off the 4 inches from the front part only.
In this tutorial, I also cut off an additional inch from the back. This creates the trendy hi-lo effect where the front is shorter than the back.
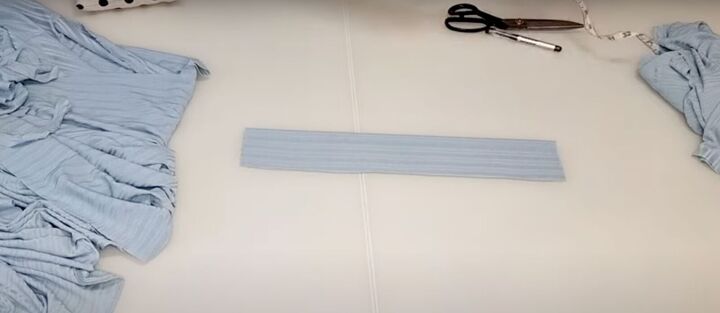
3. Make the neckband
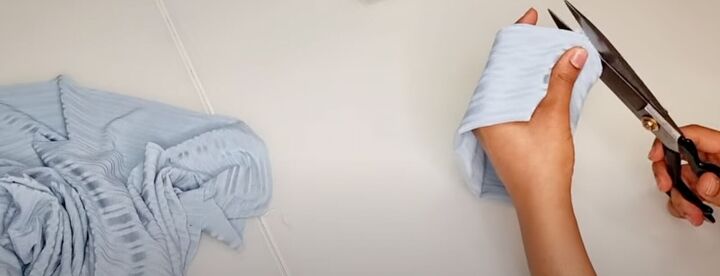
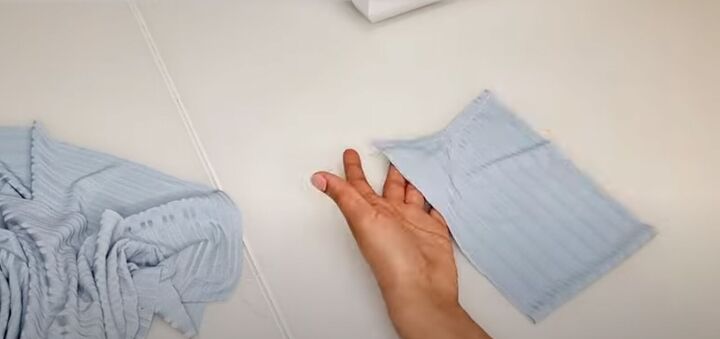
Measure and mark on folded fabric 18 X 3 inches. Cut this piece out. Fold the strip in half so the short ends are together.
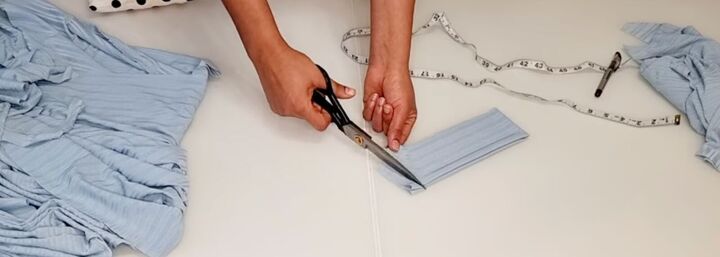
Measure in 1 inch at the bottom and cut from that point to the corner, creating an angled edge.
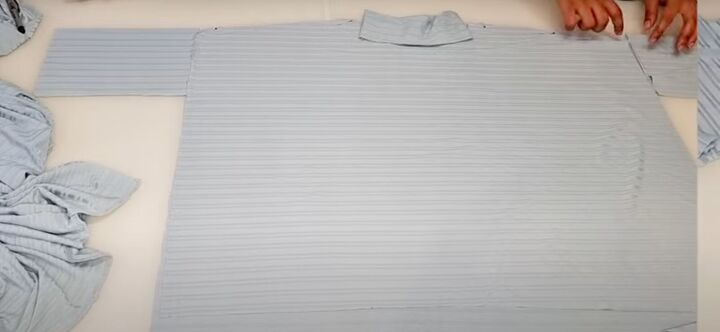
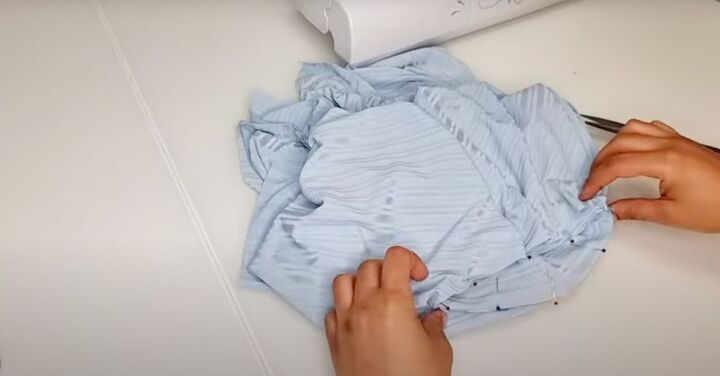
4. Start sewing
Open up the layers to reveal the front and back bodices. Place them right sides together. Pin them at the shoulders. Stitch the pinned shoulders with a zigzag stitch.
Open up the top so the right sides are facing. Fold a sleeve piece in half to determine the center point. Notch this measurement.
Then, open up the sleeve and lay it down on top of the bodice so the right sides are together. Make sure the center notch is right at the shoulder seam. Pin in place. Sew the sleeve across.
Do the same for the other sleeve.
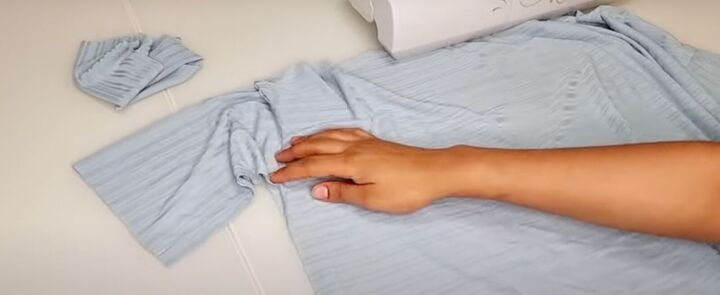
Once the sleeve is sewn, place the sleeves themselves right sides together, pin up the side seams and stitch together. Sew the side seams as well.
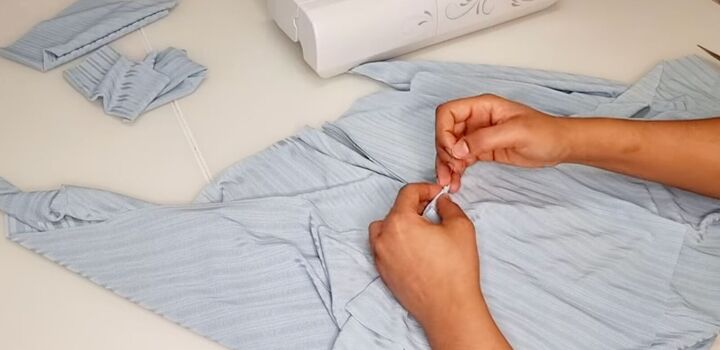
5. Insert the neckband
Fold the neckband right sides together and sew on the short side. Then turn it right side facing out. Fold in half. Trim any excess.
Place the neckband seam at the center back of the blouse. Make sure the open edge of the fold and the raw edge of the blouse are together.
Slip the top of the blouse into the neckband and pin it in place all around. Sew with a zigzag stitch.
6. Finishing touches
This type of fabric doesn’t fray so you can choose to hem the bottom and sleeves or just to leave them as is. In this tutorial, I left them as is!
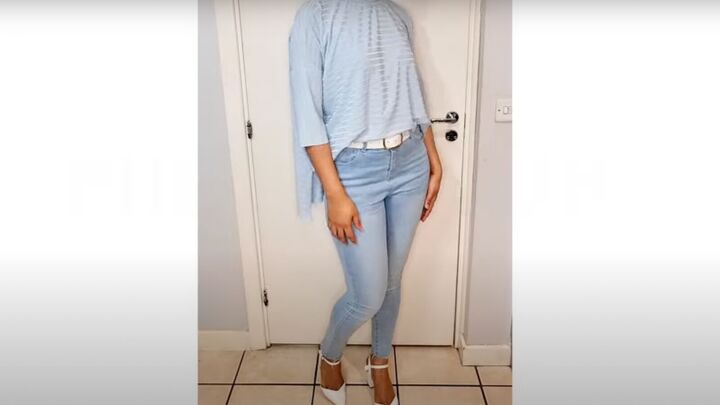
You’re done! How beautiful is this blouse?
How to make a blouse without a pattern
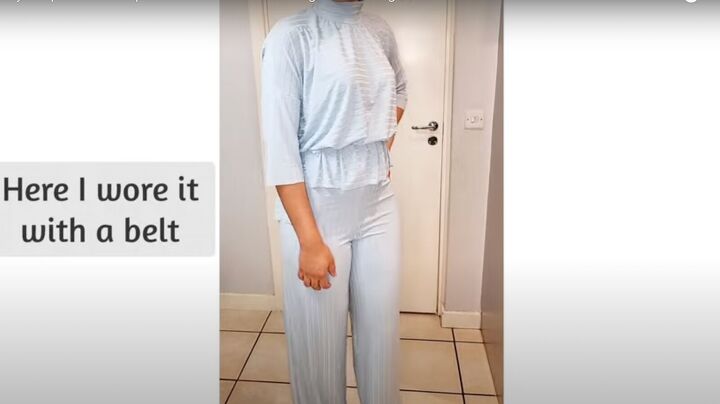
You can wear it as is or belted. Please let me know in the comments if you enjoyed this tutorial on how to make a blouse without a pattern.
Even better, share photos of your creations! I love seeing your creativity.
The author may collect a small share of sales from the links on this page.


Comments
Join the conversation
Looks good ! Well done .