How to Sew a Puff Sleeve Top Step by Step, Using a Free Pattern

Learn how to sew a puff sleeve top in this DIY tutorial. Follow the link to download the free sewing pattern for the base top, and then all you’ll have to do is add the puff sleeves. Let’s get started.
Tools and materials:
- Base pattern
- Fabric
- Scissors
- Ruler
- Fabric chalk
- ¼-inch elastic
- Sewing pins
- Thread
- Sewing machine
- Iron
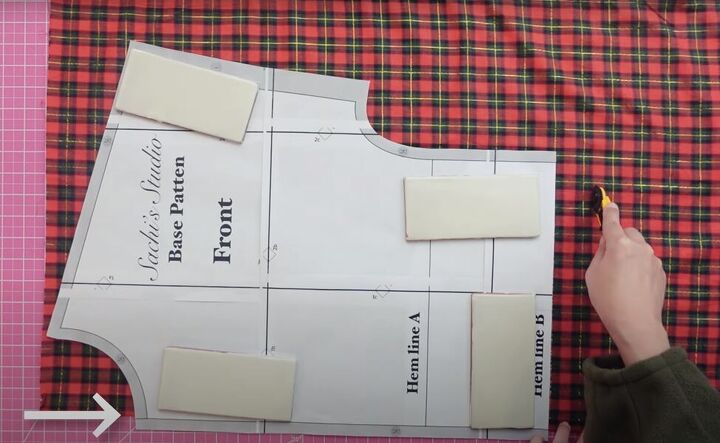
1. Make the base pattern
Download and print the base pattern. Tape the pattern pieces together, using Hemline B.
Fold your fabric in half and place the pattern front on the fold, disregarding the center seam allowance.
Cut out the pattern adding a bottom seam allowance.
Repeat with the pattern back.
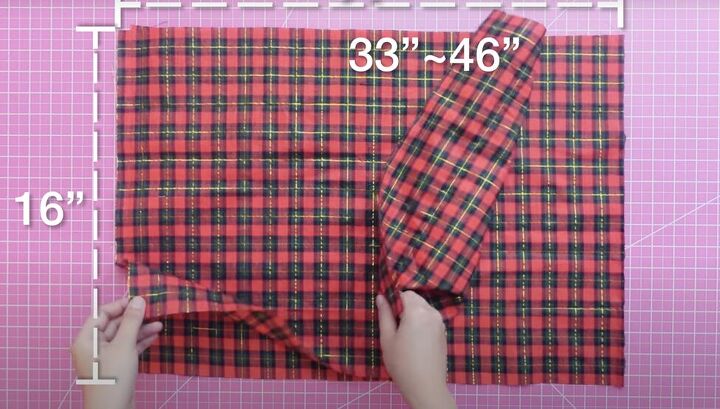
2. Cut the sleeves and bias strips
Cut two rectangles of fabric measuring 16 inches x 33-46 inches, depending on the length you need for your sleeves.
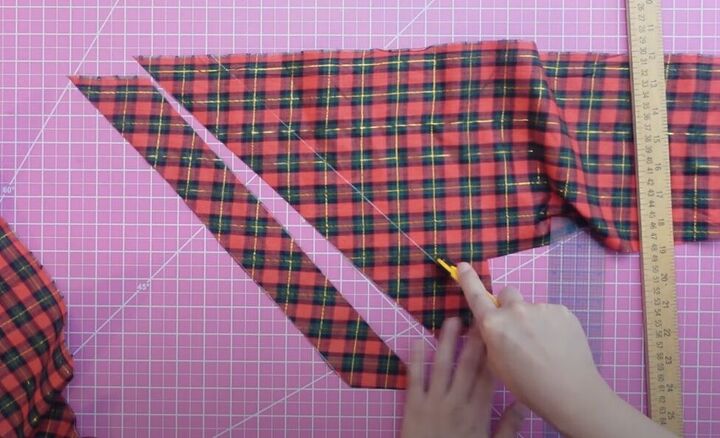
From the remaining fabric cut out 2-inch bias strips for the neckline.
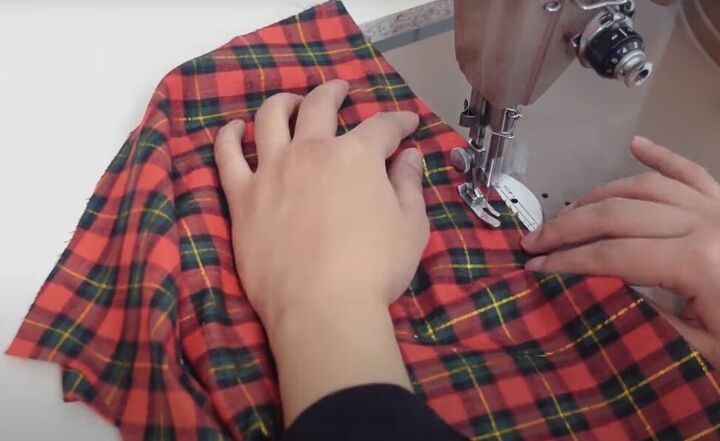
3. Sew the shoulder seams
With right sides facing in, sew the front and back pieces together at the shoulders, using a serger or a zigzag stitch.
4. Attach the neckline bias
Sew the two bias strips together so you have one long strip. With right sides facing in, sew the bias strip to the neckline, all the way around, sewing a half-inch from the raw edge.
Stop sewing a couple of inches before the end.
Overlap the ends of the bias strip and mark where they should be attached.
Cut off the excess fabric and sew the bias strip ends together.
Open the bias end seam and finish attaching the bias strip to the neckline.
Trim the bias seam allowance to a quarter inch.
Then, fold the seam allowance to the bias strip and edgestitch on the front of the bias.
Mark a line on the bias strip ⅝ of an inch from the seam and cut the bias strip on that line.
Fold the bias strip over the trimmed seam allowance and then fold it over again. Edgestitch it in place.
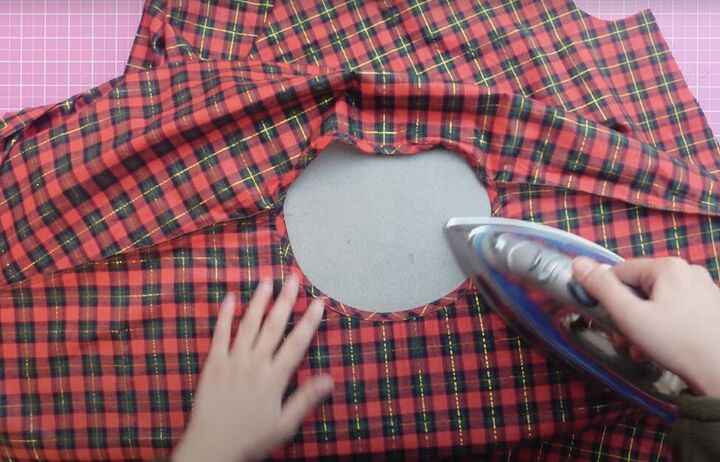
Iron the neckline.
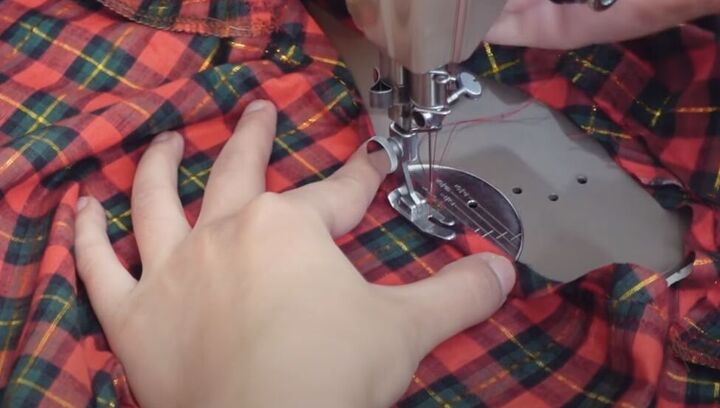
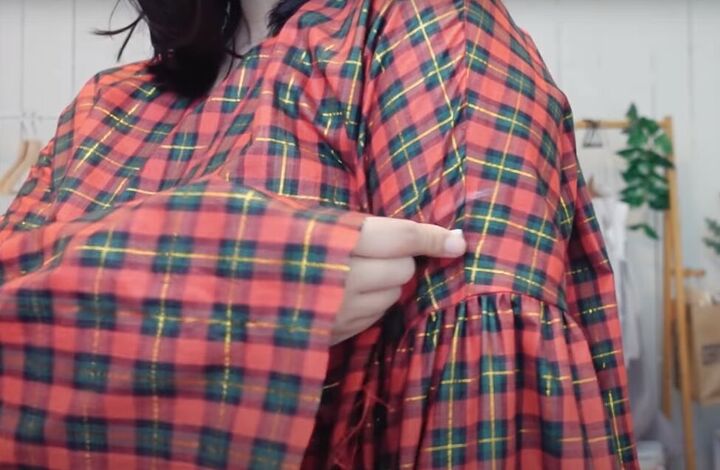
5. Attach the gathered sleeves
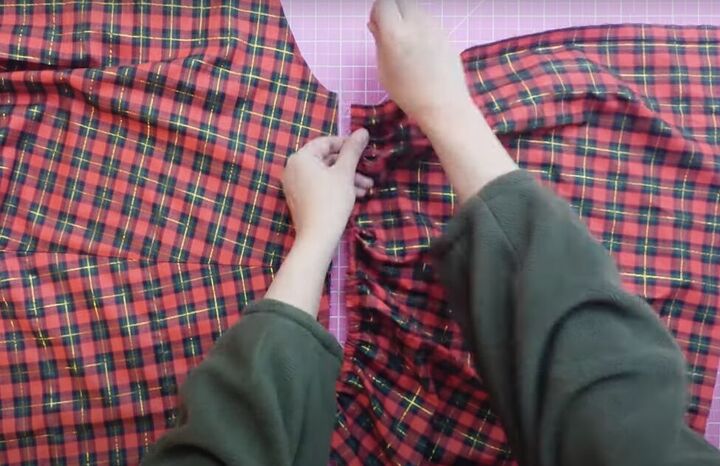
Baste two rows on the top end of the sleeve. Pull the basting thread to gather the sleeve to fit the sleeve opening on the bodice.
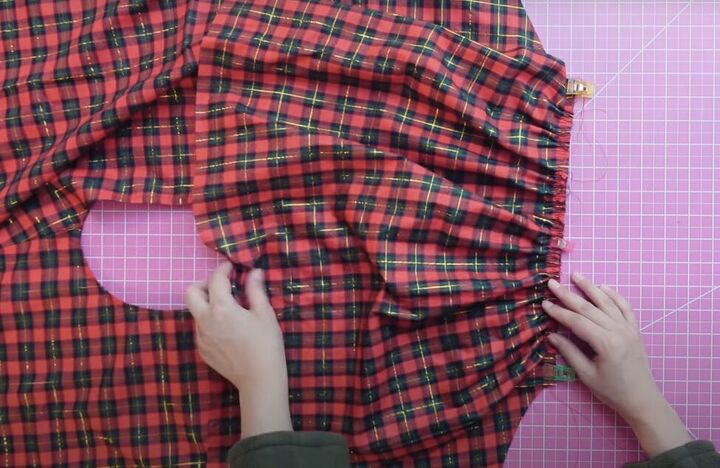
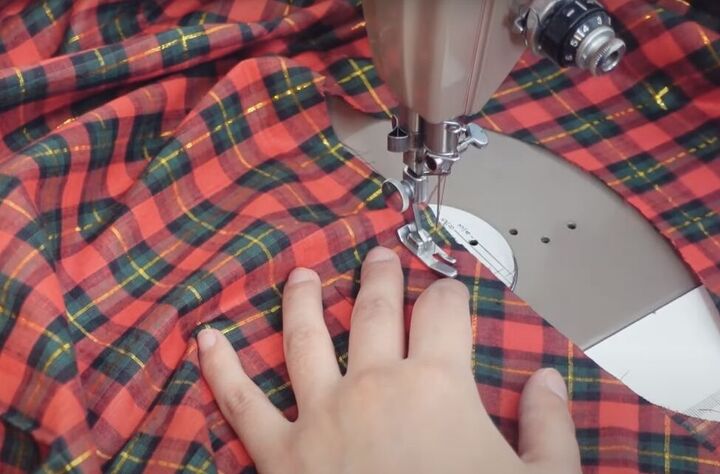
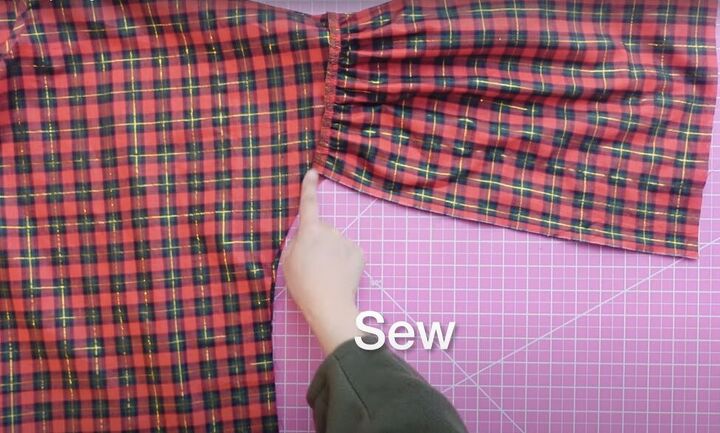
With right sides facing in, pin and sew the sleeve to the bodice.
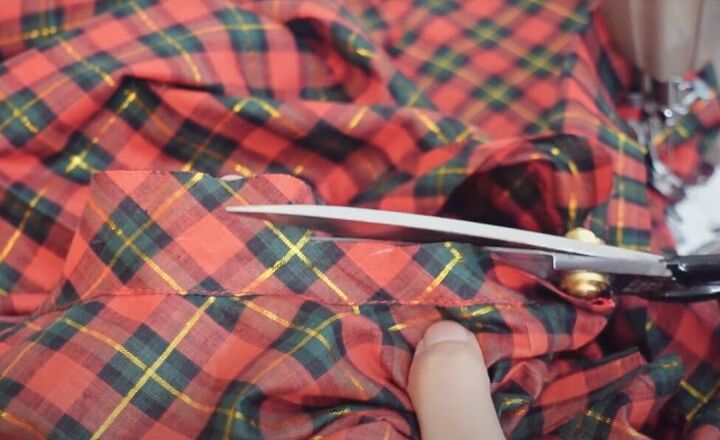
6. Sew the sleeve and side seams
Position the top with right sides facing in and sew the inside sleeve seam and the side seam.
Repeat with the second sleeve and side.
Try on the top to make sure you are happy with where the sleeve gathering is. If you don’t like it, mark where you would like it to start. Add a half-inch seam allowance, cut the sleeve at that line and redo that seam.
Watch the video from 6:51 to 7:30 to see how I fixed the sleeve gathering position.
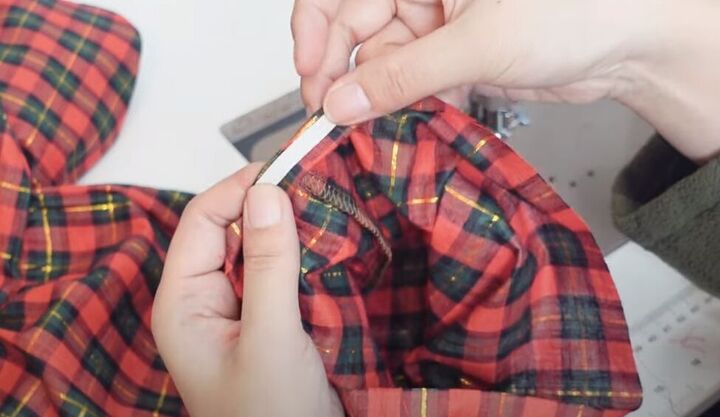
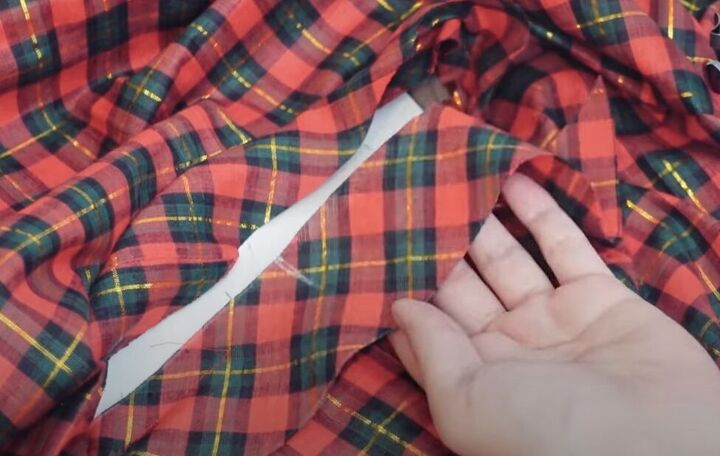
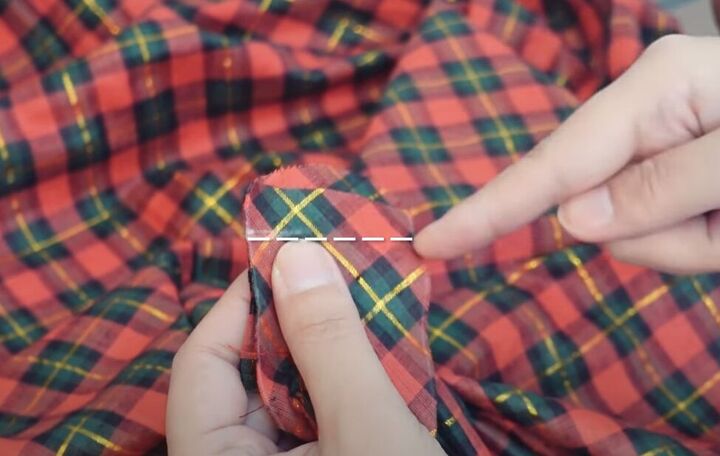
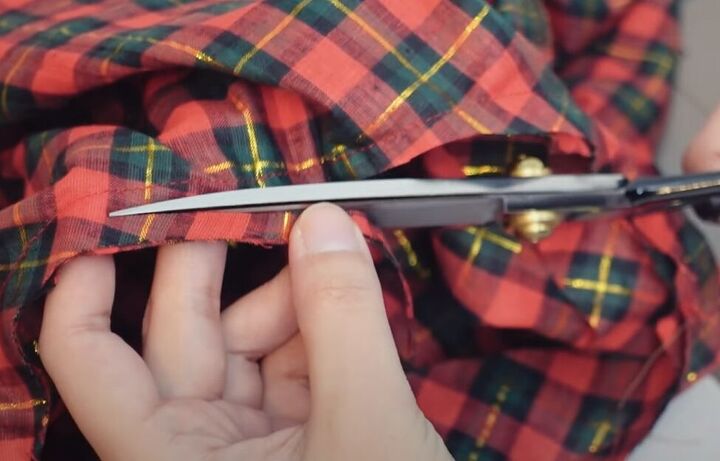
7. Make elasticized wrists
Cut ¼-inch elastic a bit bigger than your wrist size. Make a casing at the bottom of the sleeve a bit wider than the elastic.
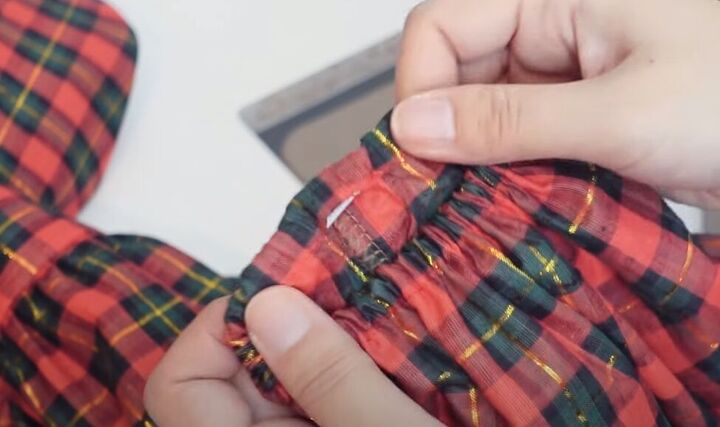
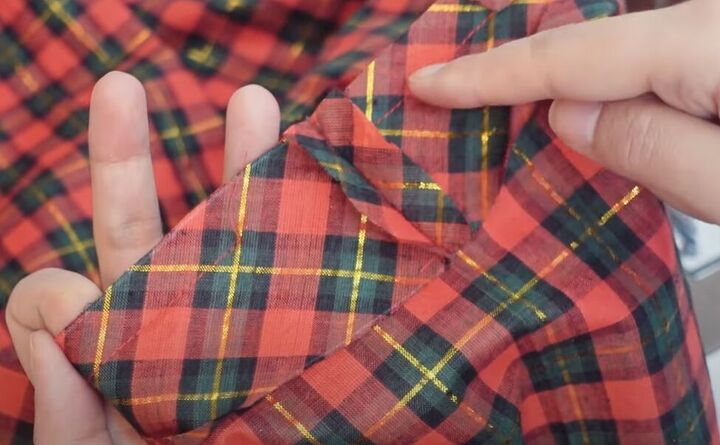
Insert the elastic in the casing, sew the ends closed at the tension you want and then close then sew the casing opening closed.
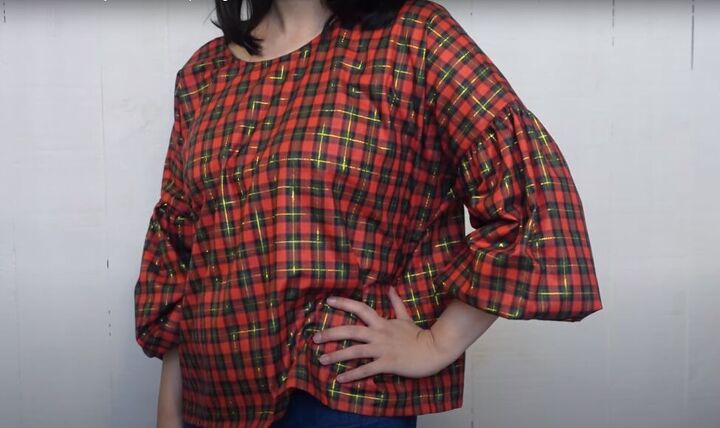
How to sew a puff sleeve top
Hem the bottom and you’re all done! I love how flowy this top is, and the elastic at the wrists lets me push up the sleeves.
Try sewing this DIY puff sleeve top for yourself, and then leave a comment to let me know how it turned out.
The author may collect a small share of sales from the links on this page.


Comments
Join the conversation