Metallic Faux Embroidery Blouse Tutorial
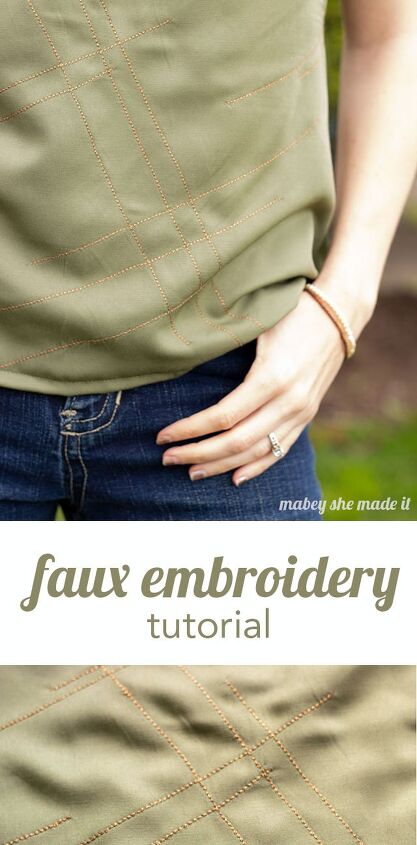
This metallic faux embroidery blouse started as an idea last summer, and has come to life in more than one iteration now. If you love the look of embroidery but don’t like handwork, this tutorial is for you. Faux embroidery is quick but provides a big visual impact. You don’t even need a special machine–just use your regular sewing machine!
Faux Embroidery Inspiration
Last summer when I was participating in Project Run & Play, one of our week’s themes was stripes. After looking through inspiration photos, I created a linear design on a simple white background with contrasting thread to create my own “stripes.” Remember this Week 3 beauty? I lamented then that I wanted it for myself, so it only made sense to make it happen.
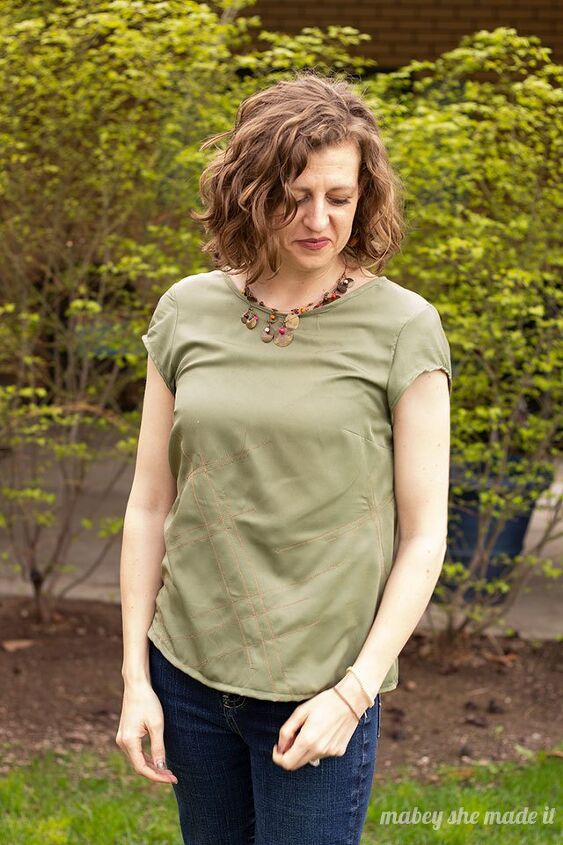
It turned out so perfect that I wanted to recreate my favorite aspects of that blouse for myself. So I got out some beautiful solid olive woven fabric, some bronze metallic thread, and the Classic Shell pattern from Winter Wear Designs and got started.
Let’s walk through the steps of creating your own.
Faux Embroidery Supplies
- Solid fabric (find similar to mine here)
- Classic Shell Pattern
- Washable fabric marker/pen or tailor’s chalk
- Ruler
- Metallic thread
Instructions
- Cut out your blouse front.
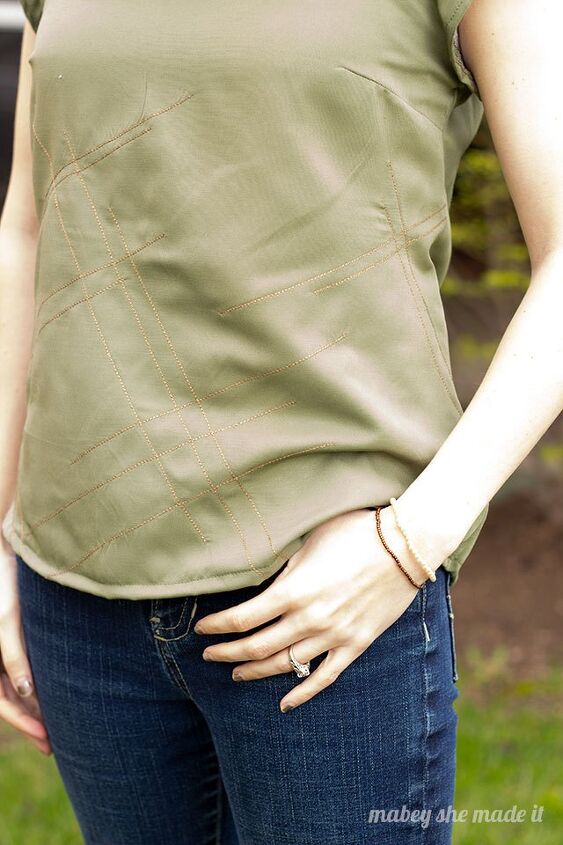
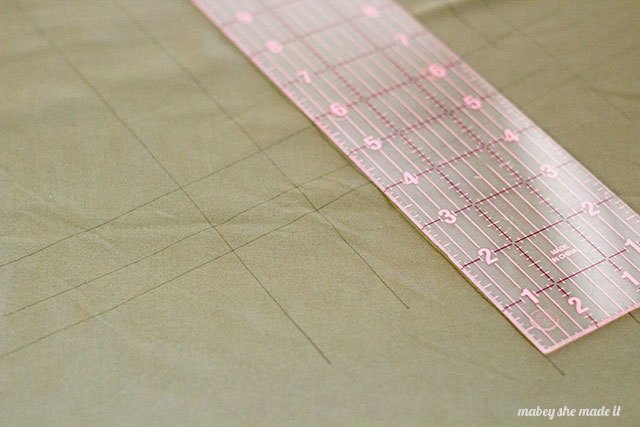
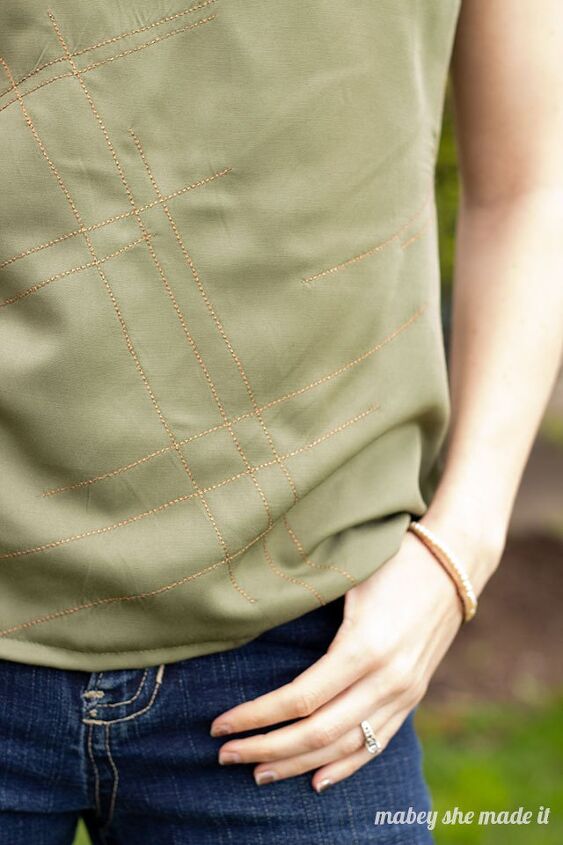
- Start marking out your design. I wanted all my lines to be either parallel to each other (so they didn’t run into each other) or perpendicular (so they intersected each other at a right angle).
- Draw your lines, varying the length, starting point, and distance between parallel lines to create interest.
- Sew along your marked lines using the triple stitch on your machine (it looks like three lines right next to each other on your selector). Make sure you’re going slow and keeping your sewing straight. You may also need to adjust your tension. I moved mine from 4 (normal) to 5 for this project after testing my tension on scrap fabric to see what worked best.
- When you get to the end of a line, turn your fabric over and pull gently on the bobbin thread. This will pull a little loop of the top thread to the back. Pull all the top thread to the back, and knot them together. Trim.
- Once all your lines are sewn, follow the pattern instructions to finish your blouse.

The copper metallic faux embroidery details are more subtle on the olive than on my original white background, but that works for me. I tend to go for more classic and understated clothing for myself. I love that it’s still a basic and neutral shirt but it’s also dressed up just a bit.

I’m also part of a great blog tour again this month, so go ahead and check out some of these other links as the week progresses.
Don’t miss out on any of the stops on the All Dressed Up Blog Tour: Monday 4/22Lisa of Mabey She Made It Suzanne of Winter Wear Designs Tuesday 4/23Gwen of Crafty Curly Couture Wednesday 4/24Patricia of Sew Far North Laura of Custom Made By Laura Thursday 4/25Alyssa of The Sewing Goatherd Rachel of Violets and Jewels Friday 4/26Aurelie of Maglice and So Laurie of The Bear and The Pea Atelier
The author may collect a small share of sales from the links on this page.


Comments
Join the conversation
Thank you for sharing this idea. Your instructions are very clear and the shirt you made is lovely! It has inspired me to use this idea for different applications in my wardrobe :)