How to Make a Cute Tie Front Crop Top

In this tutorial, I’m going to show you how to make a tie front crop top. This gingham crop top is so cute and so simple to make and all you need is some cotton fabric and a sewing machine! Let’s get started.
Tools and materials:
- Cotton fabric
- Sewing machine
- Pins and clips
- Bias binding
- Scissors
- Ruler
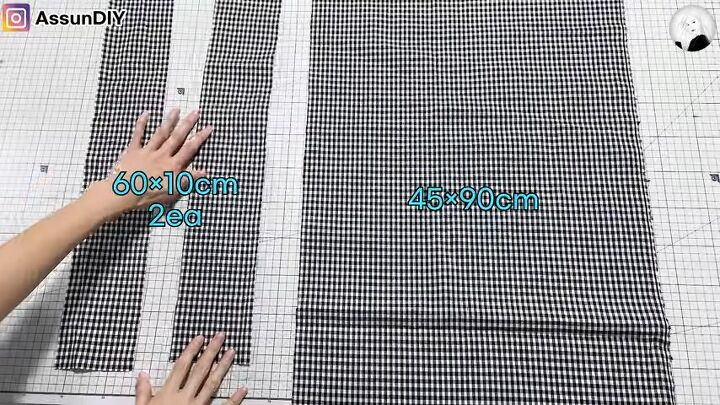
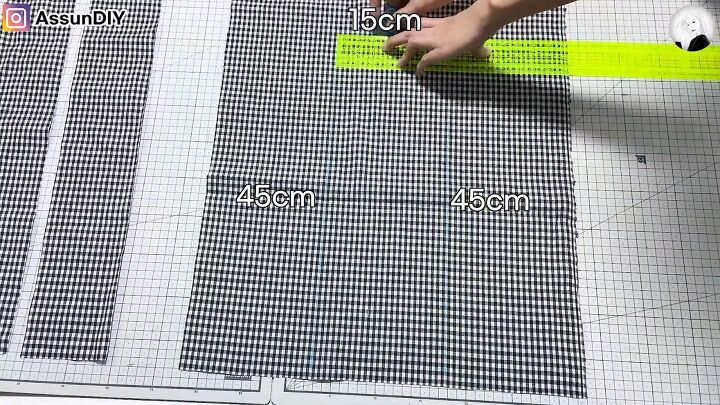
1. Cut your fabric to size
For this DIY crop top, you need three pieces of gingham, cotton fabric. One large piece that is 18x35.5 inches and two strips that are 24x4 inches.
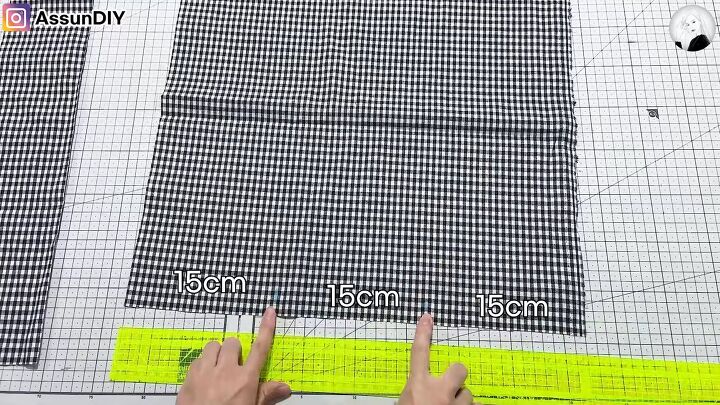
2. Divide the fabric into three sections
Mark the large piece of fabric into three sections that are each 6in wide using two marks.
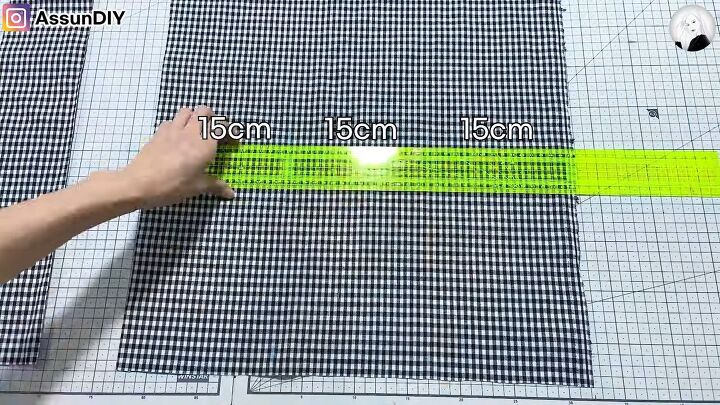
Repeat in the middle of the fabric.
3. Draw a line through the marks
Draw a line through the middle and bottom marks that is 18in length.
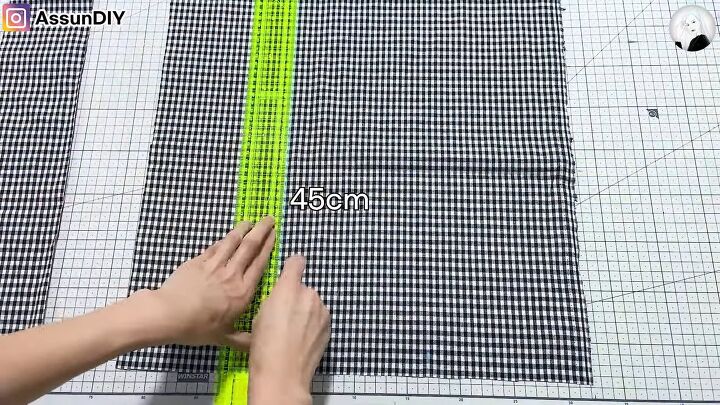
4. Connect the middle section
Draw a line across the middle section to form a rectangle. It should be 6 inches in width.
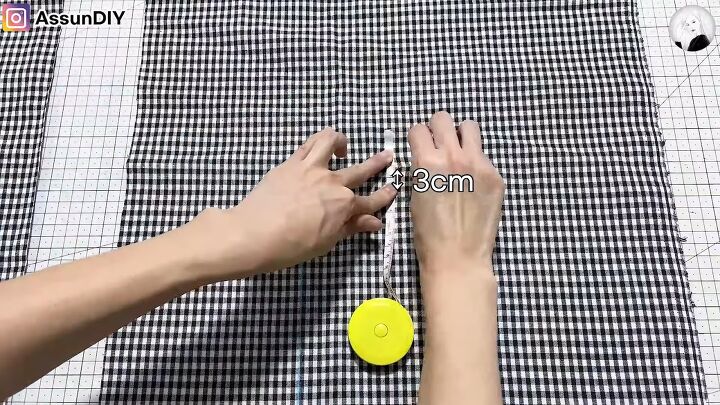
5. Draw a 1-inch line
Draw a 1-inch line in the middle of the top line of the rectangle.
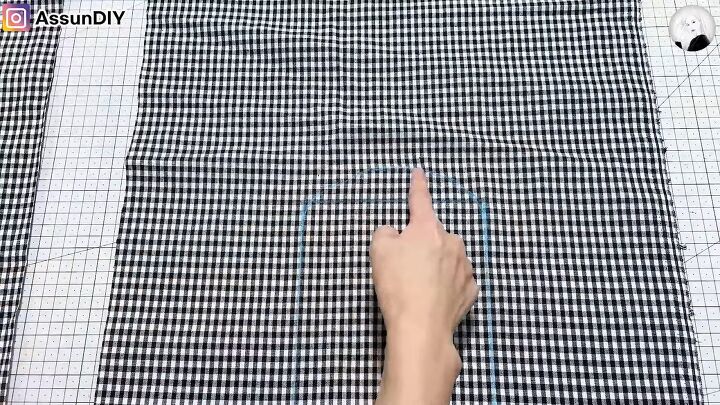
6. Connect the two sides
Connect the two sides of the rectangle to the top of the 1-inch mark. It should form a rounded triangle.
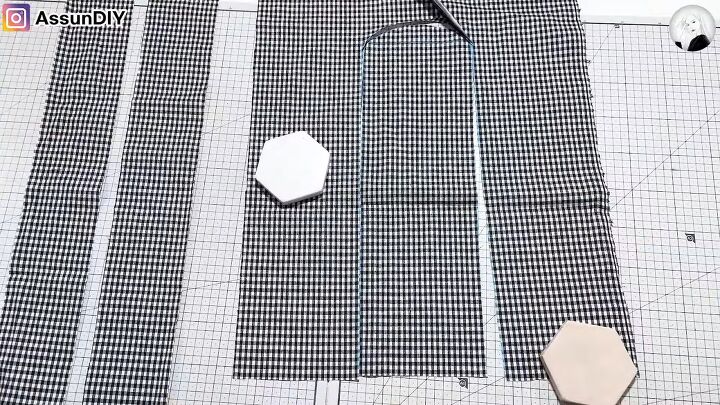
7. Cut it out
Cut out the rounded rectangle, then set it aside.
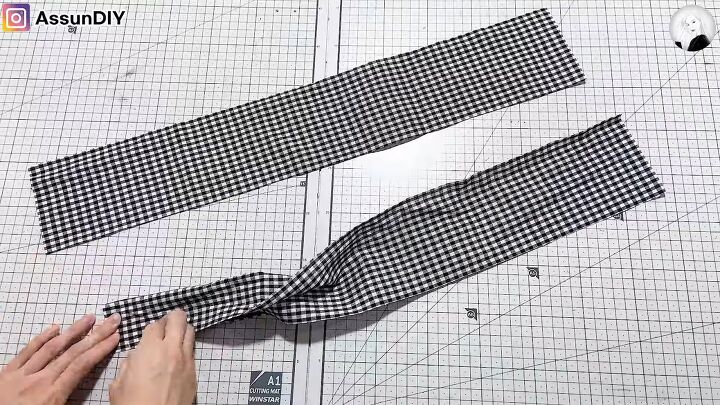
8. Fold the strips in half
Fold and pin the two strips of fabric in half.
9. Sew the ends
Sew the short ends of the folded strips closed.
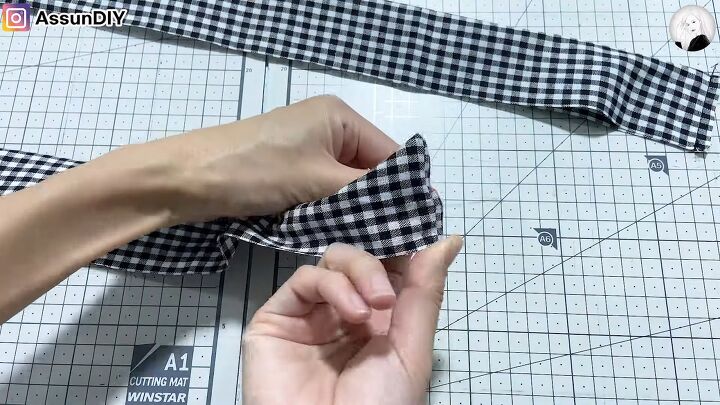
Fold the strips right side out. You can use something sharp like the end of a pair of scissors to sharpen the corner.
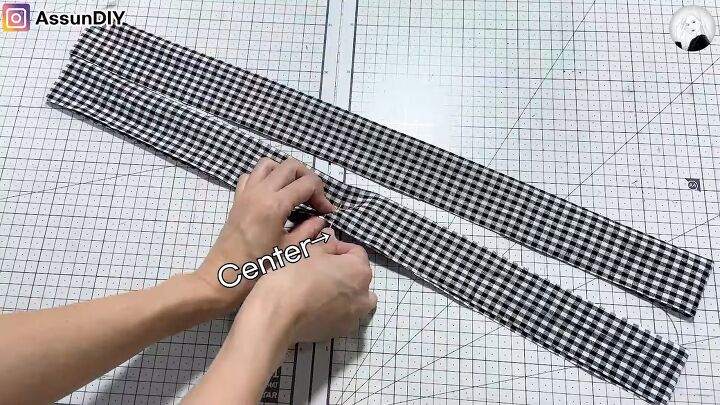
10. Pin the center
Fold the strips in half to find the center and then pin.
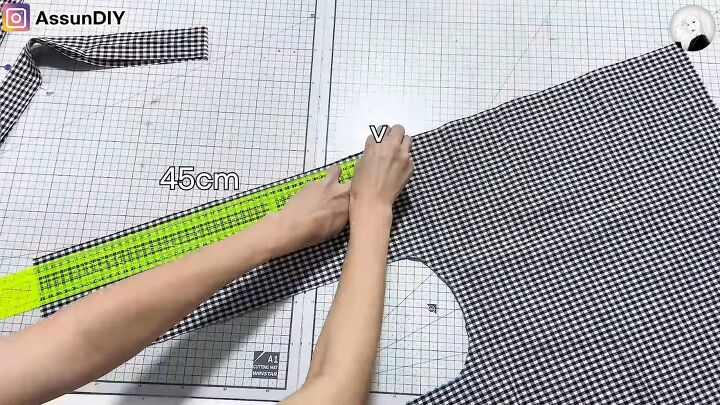
11. Pin the strips to the larger fabric
Mark 18in height of the large fabric, then place the center of the strip at that point.
Pin both ends.
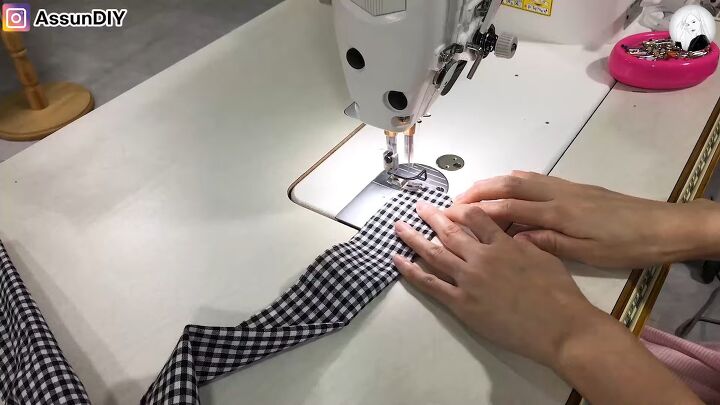
12. Sew
Sew the open end of the strips to the large fabric using a zigzag stitch. Then sew along the entire side.

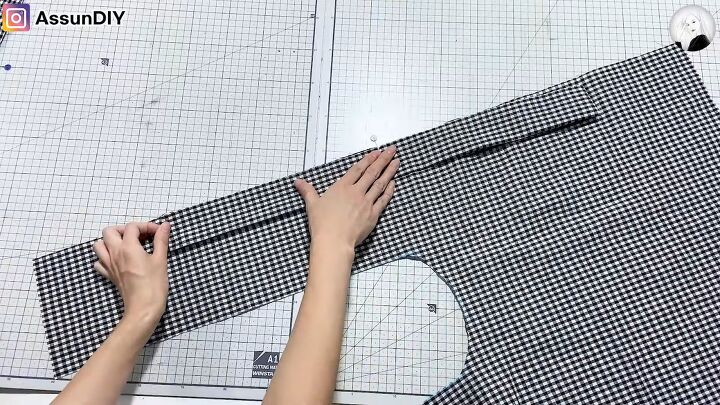
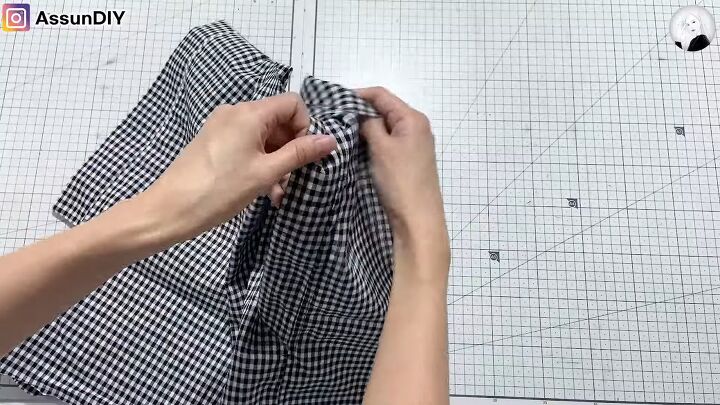
13. Fold and sew the shirt together
Fold the shirt in half, ensuring the ends of the strips line up together.
Sew together the fabric from the ends of the strips to the bottom of the shirt.
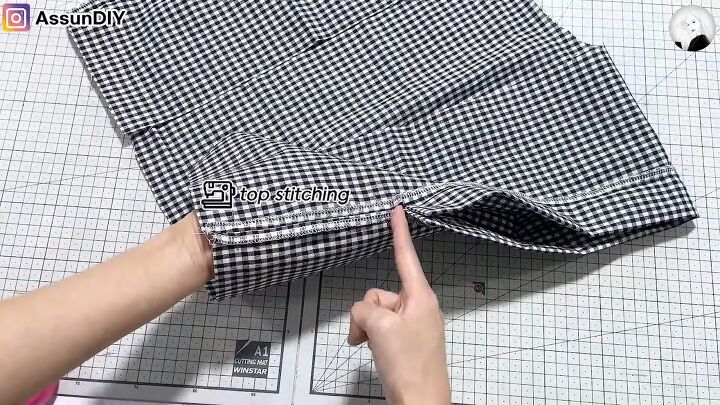
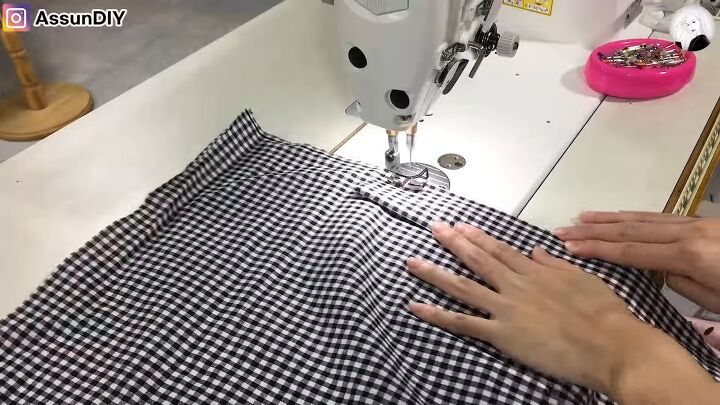
14. Top stitch the seam
Fold out the strips (now sleeves) and unfold the seam. Top stitch the seam along the side of the shirt and the top and bottom of each sleeve.
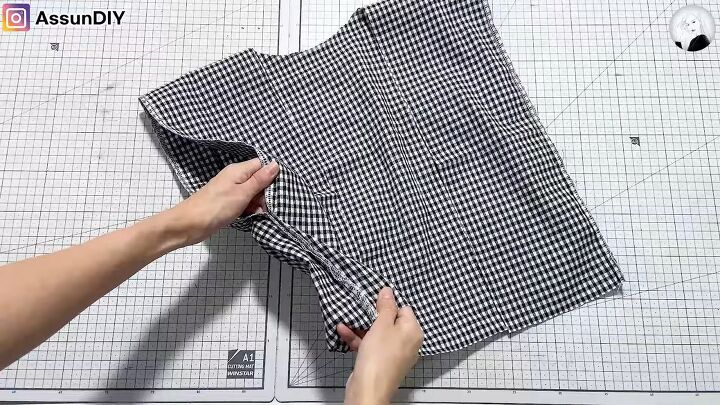
Fold the shirt right side out.
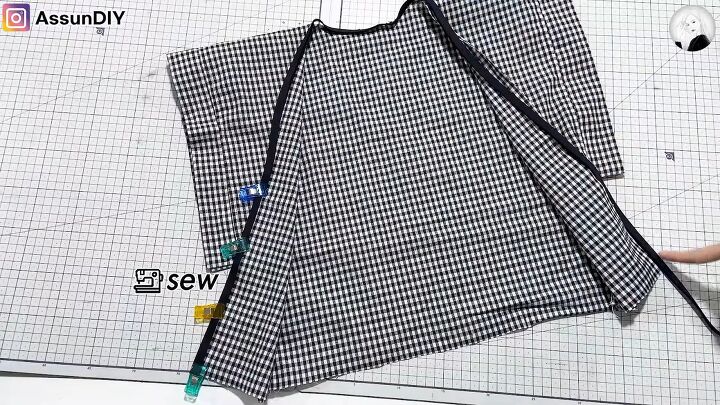
15. Clip and sew bias binding to the front of the shirt
Clip and sew bias binding to the open flaps and the collar of the shirt.
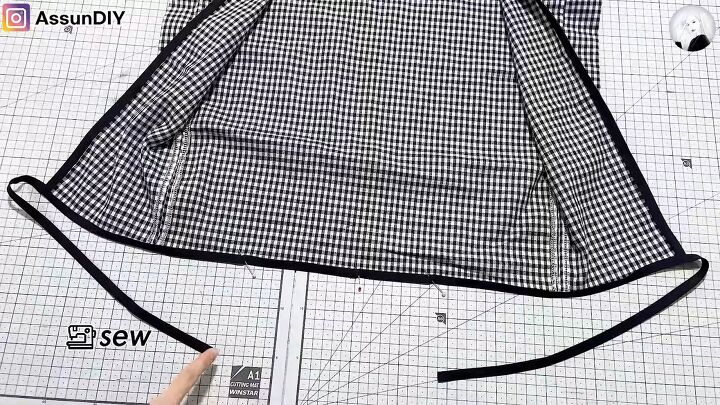
16. Pin and sew bias binding to the bottom of the shirt
Pin the center of the 55-in long bias binding to the center of the back of the shirt. Then, pin along the edge. Leave the ends to hang off and sew them together.
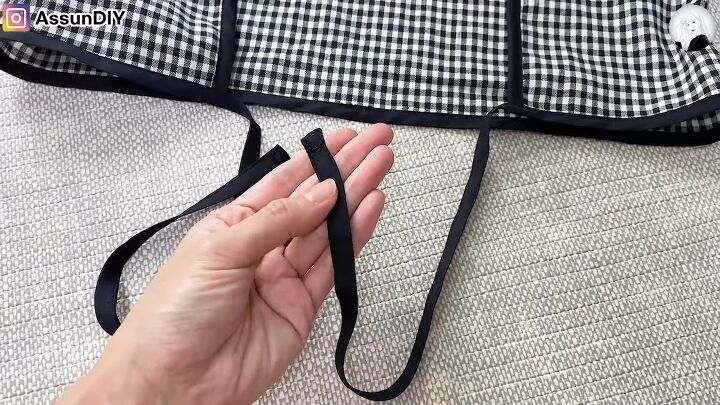
Sew a square to the ends of the bias binding.

DIY tie front crop top
Tie the bias binding and here’s your finished front tie crop top! This gingham cropped top is so cute and doesn’t take much to make it!
Let me know what you think about this tutorial on how to sew a crop top below!
The author may collect a small share of sales from the links on this page.


Comments
Join the conversation