Easy Blue Leopard Nails Tutorial

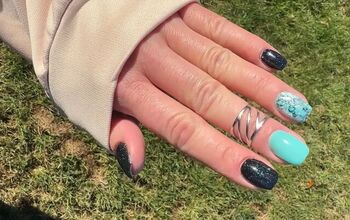
Hey guys! I am so excited about how my amazing blue leopard nails came out looking. I’m going to show you how I did a quick gel polish and transfer foil design to create this look.
I love experimenting and got to try some line work in addition to adding the fun pattern from the transfer foil.
Tools and materials:
- Topcoat
- Blue gel
- Gold gel
- Nail tips
- Foil base
- Liner brush
1. Prep your nails
You can use square tips to create the nail bed and then you can adhere your tips. Start with a base coat on three of the nails.
You don’t need to do it on all of them because you’re going to be using transfer foil on two of them.
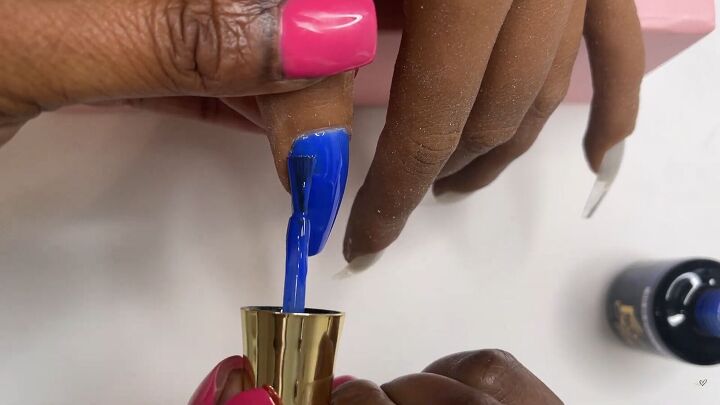
Then, if you’re looking to recreate my look, use an electric blue and paint on two coats. If you’re creating your own look, use two coats of your preferred color.
2. Glue and press
I’m using a glue that takes 30 seconds to dry because I didn’t want to have to do any extra curing. However, different glues require different amounts of time so follow the instructions.
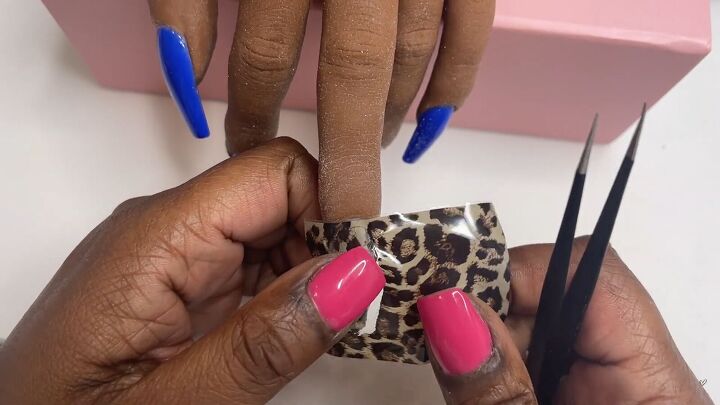
Place the transfer foil on the nail and press down making sure you’re applying it to the entire nail.
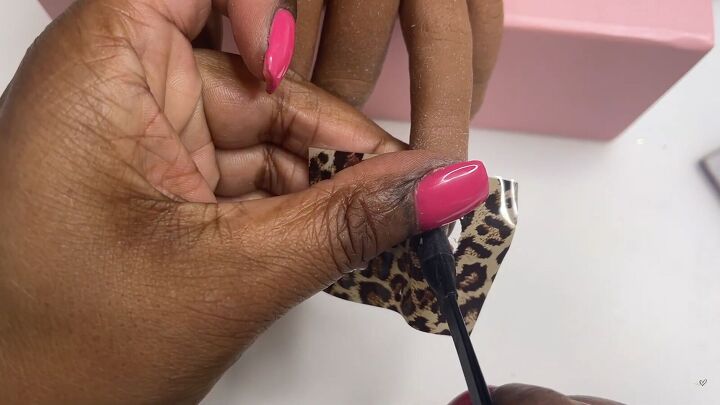
Be careful not to pull out your tips when you’re pressing on the transfer foil. The tool I used to apply the transfer foil is a silicon tipped tool.
You are going to need to really push down and make sure you get it really pressed down all over the nail.
When you start to remove the foil you can see if there are spots where it didn’t stick. Just go back in and press in those areas before fully removing the foil.

Once you’re sure everything is pressed, you can remove the tape.
If you have any foil hanging over, go in there with a file and remove any extra pieces. I typically work really slowly, and I recommend you take your time so you really get it right.
Focus on getting the design that you want and get it done as neatly as possible.
3. Add your lines
After I finished with the transfer foil, I decided to add some detailing with the electric blue and gold.
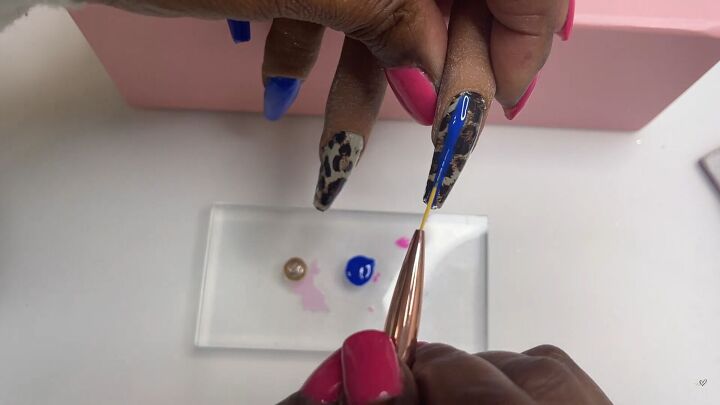
Before you add your detailing, cover the nails with a base coat and cure. Put some of the gel polish on your palette and use a liner brush to create your design.
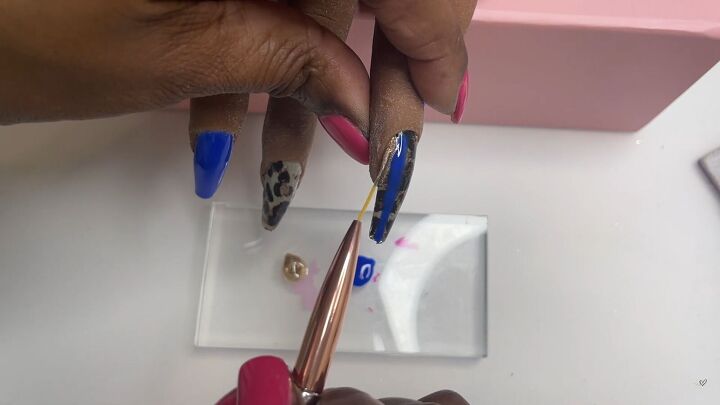
Flash cure each line of the design for about 10 seconds to prevent colors from spreading into each other and to keep the lines clean.
I painted a blue line on the side of the nail and after flash curing it I painted a gold line next to it.
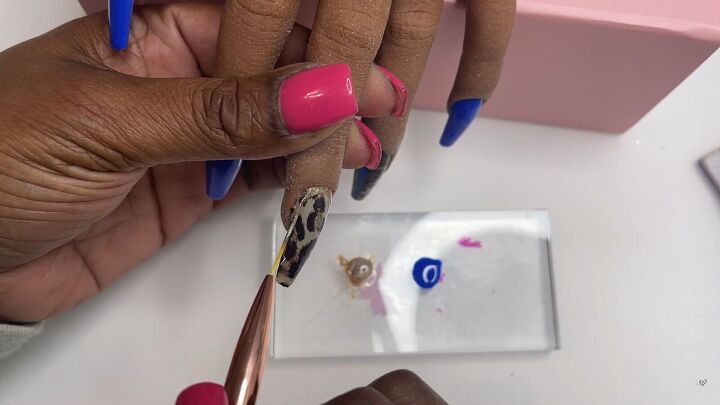
For the design on the other nail, I went around the border of the nail with the gold gel.
My lining did get a little messy here, but considering this was one of the first times I tried using the liner brush, I’m pretty pleased with the results.
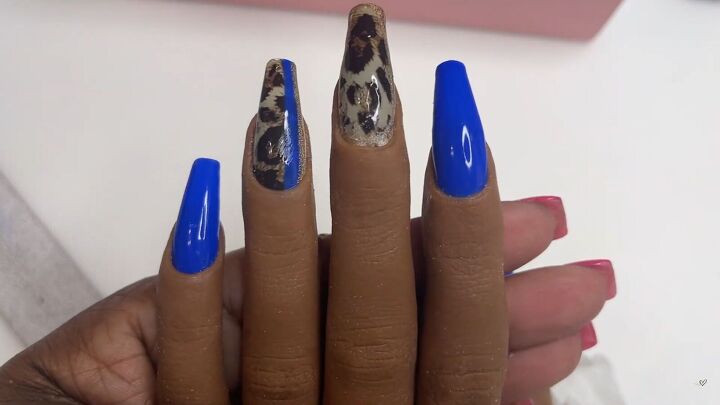
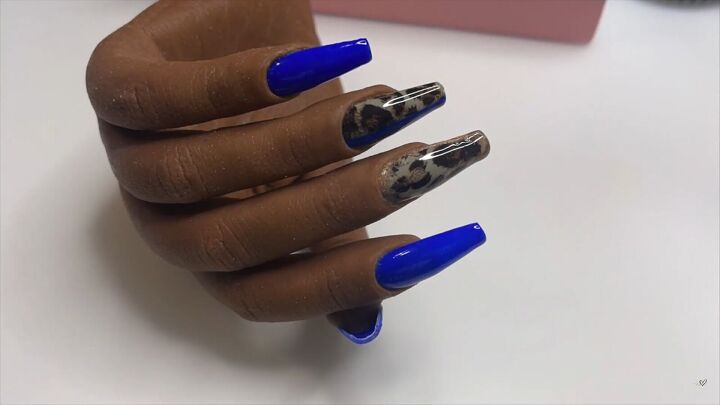
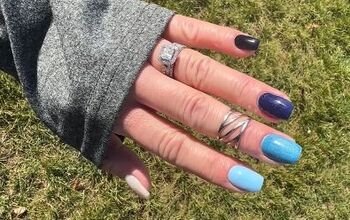
DIY blue leopard nails
There you have it. I am very excited with how my blue leopard nails came out.
I can’t wait to hear about how it went for you. Leave me a comment and let me know.
Check out my post on How to DIY Cute and Easy Pop Art Nails.
The author may collect a small share of sales from the links on this page.


Comments
Join the conversation