How to DIY Stunning Blue Moon Nails

Hi everyone! In this tutorial, I’m going to show you how to do these blue moon nails. Let’s get started.
Tools and materials:
- Dark blue nail polish
- Midnight blue nail polish
- White nail polish
- Yellow nail polish
- Brushes
- Top coat
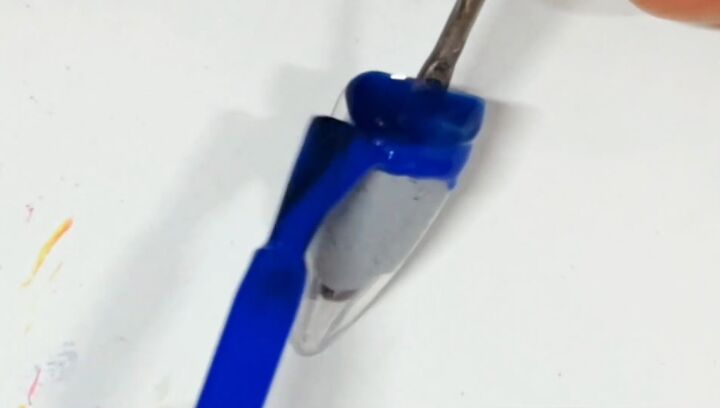
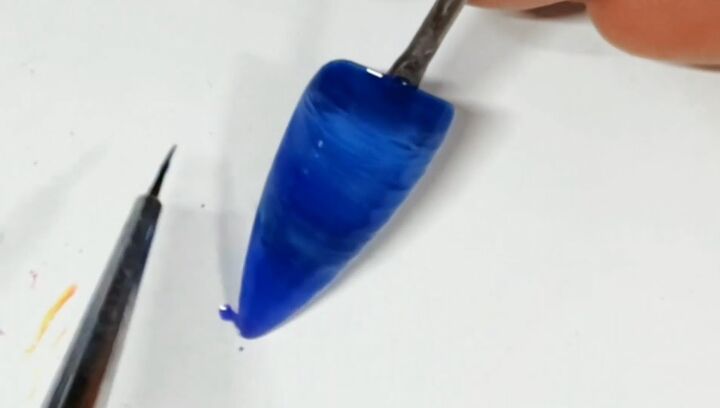
1. Apply dark blue nail polishes to the nail
Apply two different shades (a blue and a midnight blue) of dark blue nail polish to the very top of the nail.
2. Blend
Use a thin brush to roughly blend them in to give the appearance of brushstrokes.
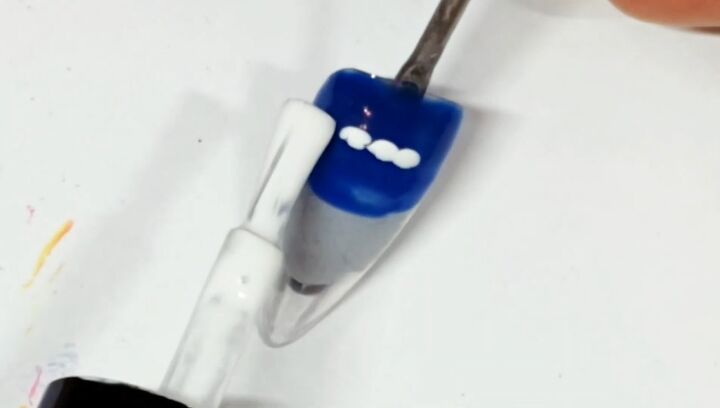
3. Apply white nail polish
Apply a few dots of white nail polish across the middle of the blue polish.
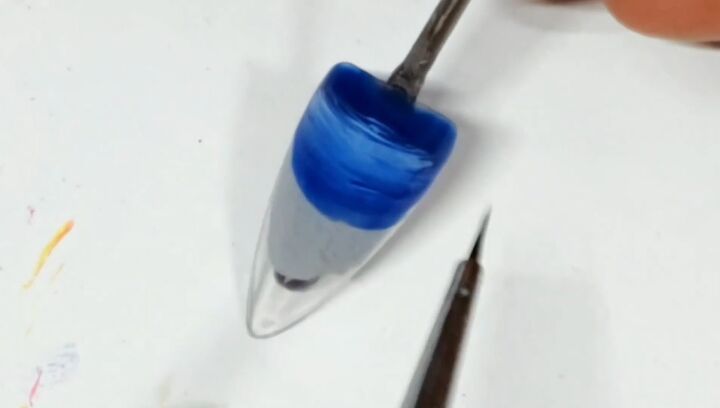
4. Blend
Blend the white nail polish into the blue polish.
Again, you don’t want this to be a seamless blend so there should be brushstrokes as it’s going to be the sky and sea.
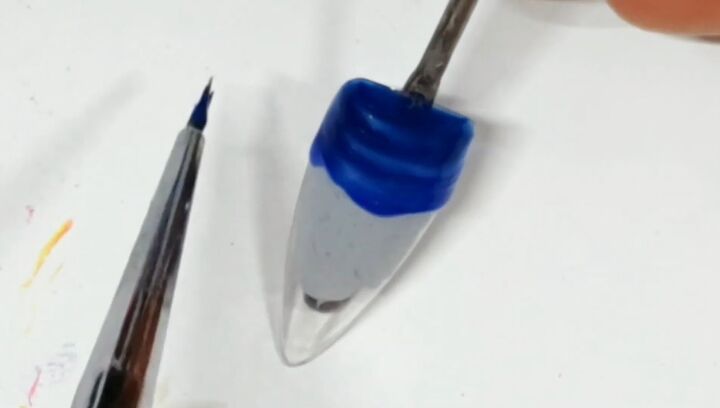
5. Add more blue nail polish
Add more of both shades of blue nail polish to finish off the bottom of the nail.
I also added a purple-blue at the bottom, but it gets lost in it all. Blend it all together, then cure.
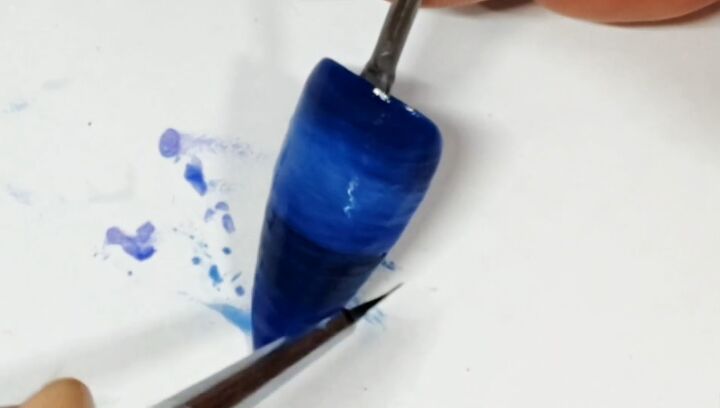
6. Continue painting the nail until you’re satisfied
Go over the nail with a second layer of polishes and add color where necessary, keeping in mind where you want the sea and the horizon to start.
Repeat until you’re satisfied with the background, curing between each layer.

Some things I did include using a lot more white where I wanted the glow of the moon to appear.
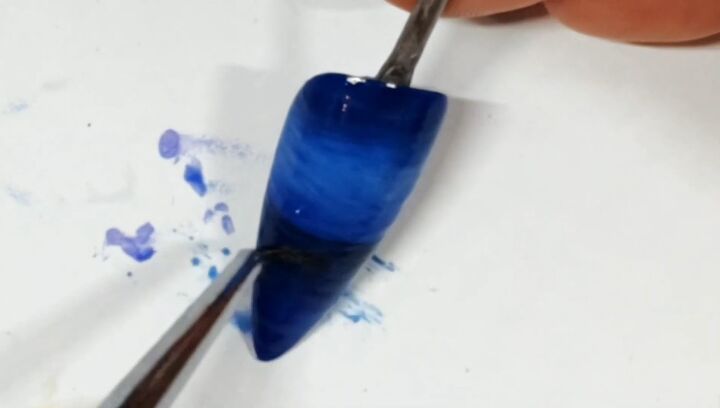
I also used black nail polish to draw out the horizon line and faded it down a bit.
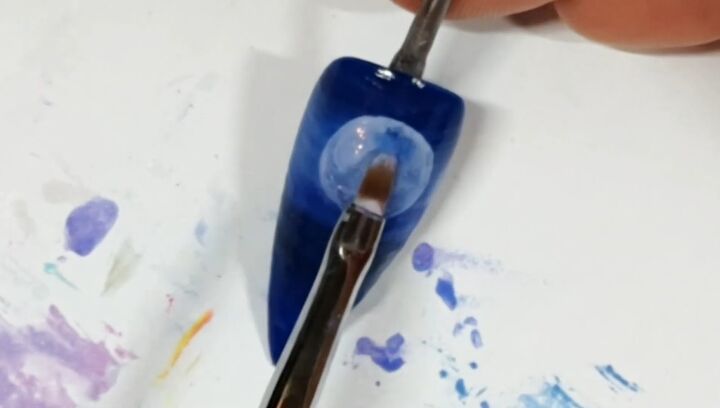
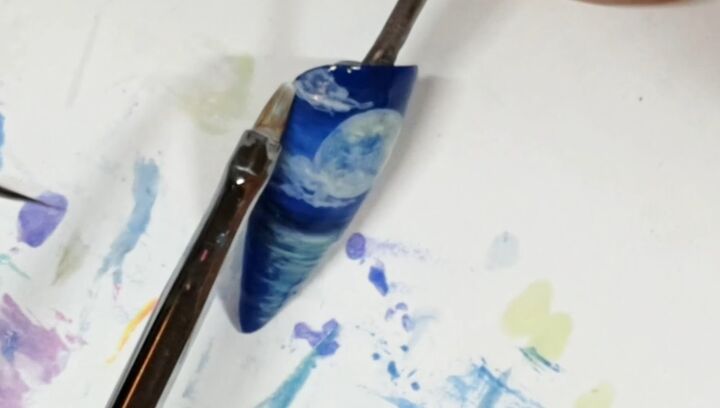
7. Paint the moon
Use white nail polish to draw out the moon. Don’t add too much polish to the brush since you want it to look sheer.

8. Add detail to the moon
Cure, then go in with both the blue and the white to add more patches and detail to the moon.

9. Add yellow polish to the moon
I mixed a few different colors to get this pale yellow polish and I went over the moon with it.
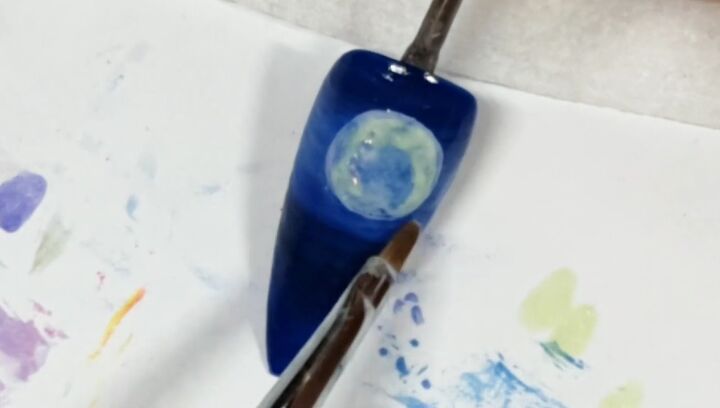
Halfway through, I added isopropyl alcohol to water it down a bit to push away the color so we can see more of the detail we added previously.
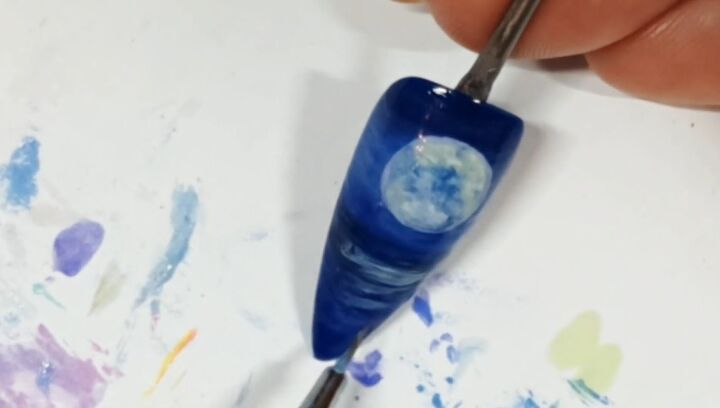
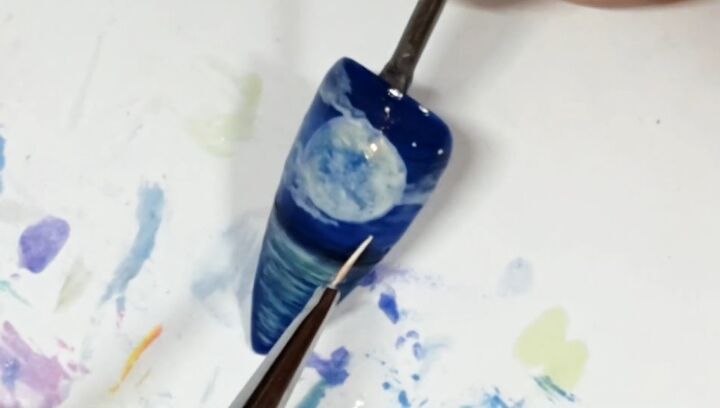
10. Add the reflection on the water with white polish
Use white polish to dry brush the reflection of the moon on the water. Pop some lines on and swipe back and forth quite firmly.
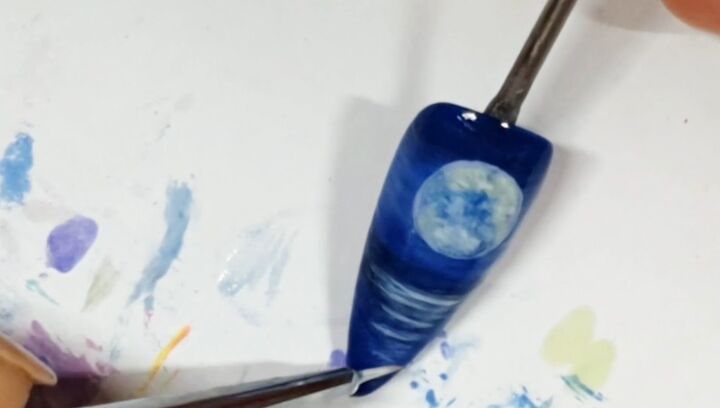
Just keep going until you’re satisfied. The lines shouldn’t get too thick since you’re brushing them.
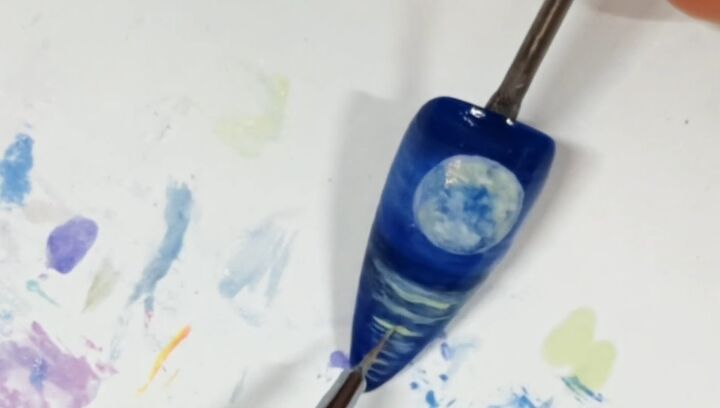
You can also go in with some yellow and blue until it looks like rippling water in the moonlight.
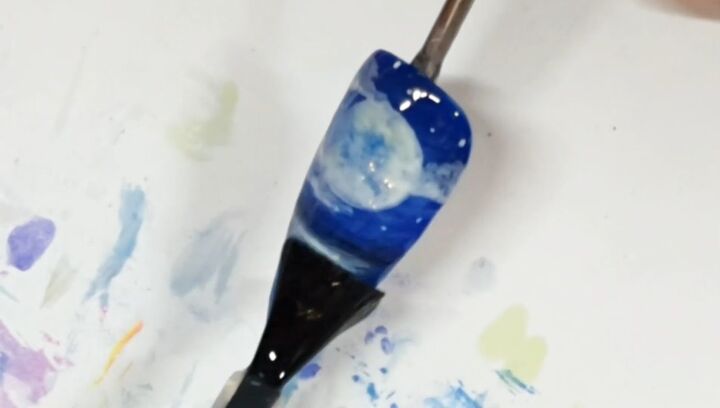
11. Add clouds with white polish
Use white polish to add clouds around the moon. Don’t put a lot of product on the brush. Instead, pat it on and spread it out.
12. Add stars
Add stars with tiny white dots.
13. Apply a top coat
Apply a top coat after curing.
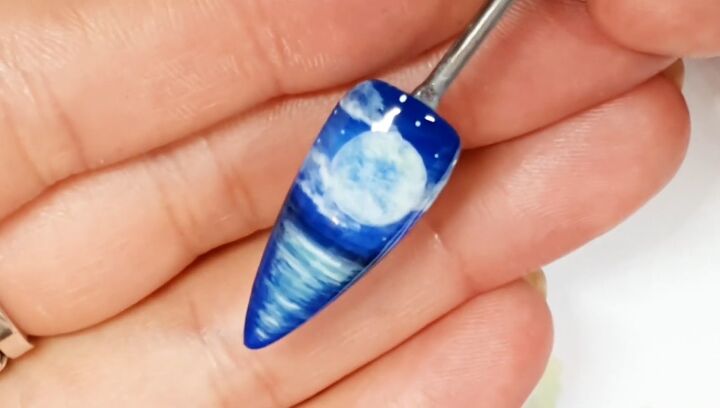
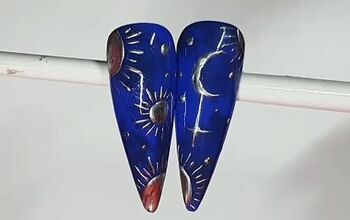
Blue moon nails
Here’s the finished sailor moon nails-inspired design! This is a great tutorial to try out if you’re in the mood for some sea blue nails.
Let me know what you think down below!
For more nail content, check out my Easy Galaxy Nail Art Tutorial.
The author may collect a small share of sales from the links on this page.


Comments
Join the conversation