How to DIY Cute Bow Scrunchies

When you have scraps of fabric that just need a project, think about turning them into these DIY bow scrunchies. Even if you don’t have enough scrap fabric for the bow, you can still make the scrunchie part!
You’ll see bow scrunchies in stores, but once you follow this tutorial, you’ll never have to buy one again.
Tools and materials:
- Scrap fabric
- Sewing elastic
- Ruler
- Scissors
- Hook or loop-pull
- Sewing needle
- Thread
- Sewing machine
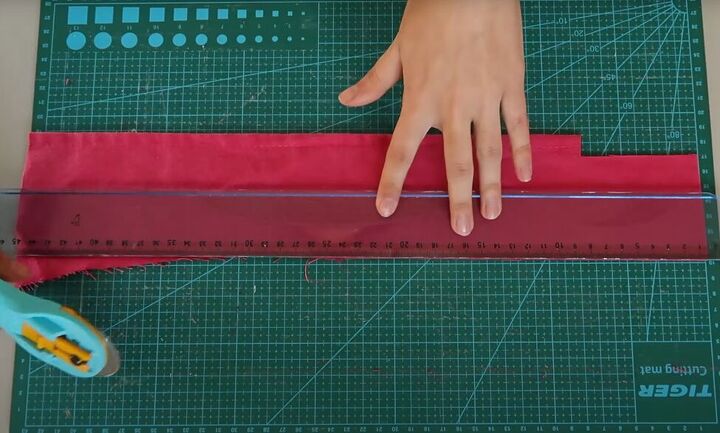
1. Cut your scrap fabric
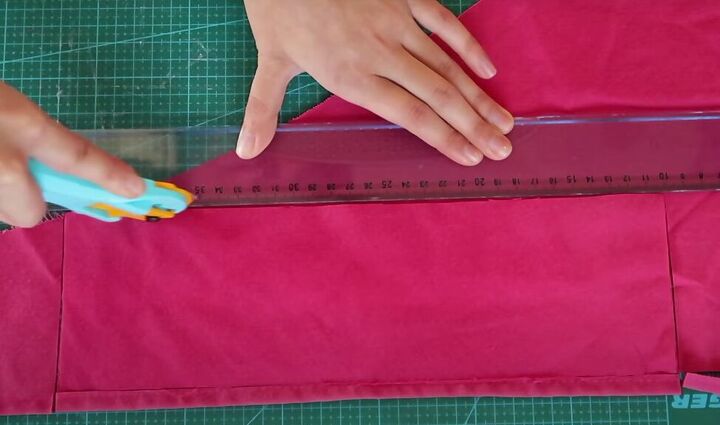
Cut a piece of scrap fabric into a 9 x 45-centimeter (3.5 x 17.7-inch) rectangle.
Don’t use fabric that is too stiff, because it won’t hang nicely.
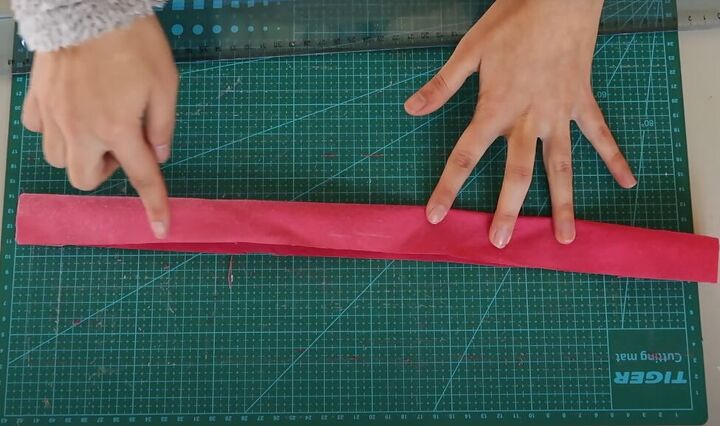
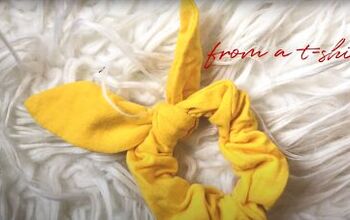
2. Sew the scrunchie
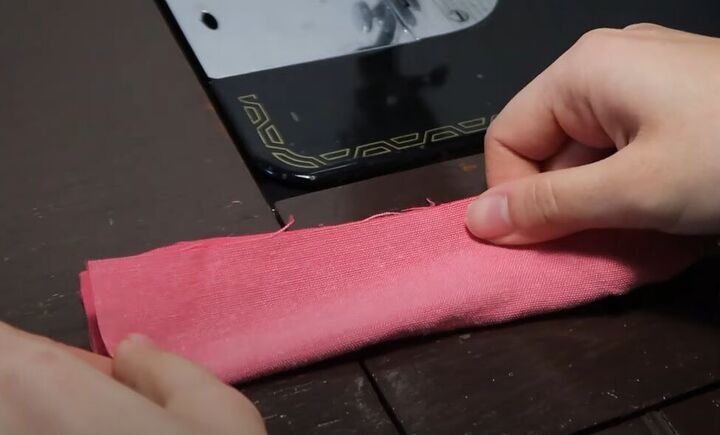
Fold the rectangle in half lengthwise, with the right side facing in, and sew the long open edge.
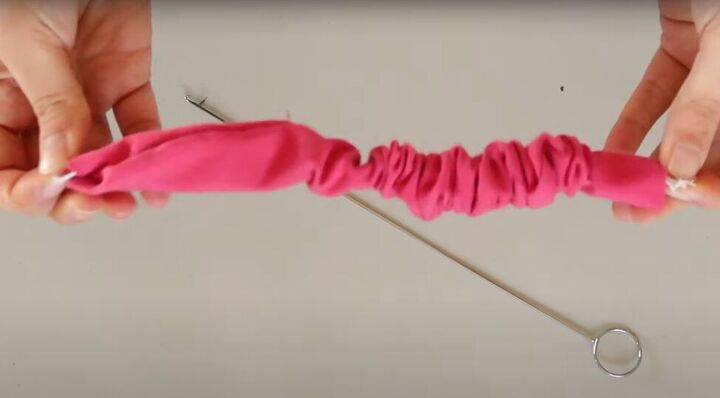
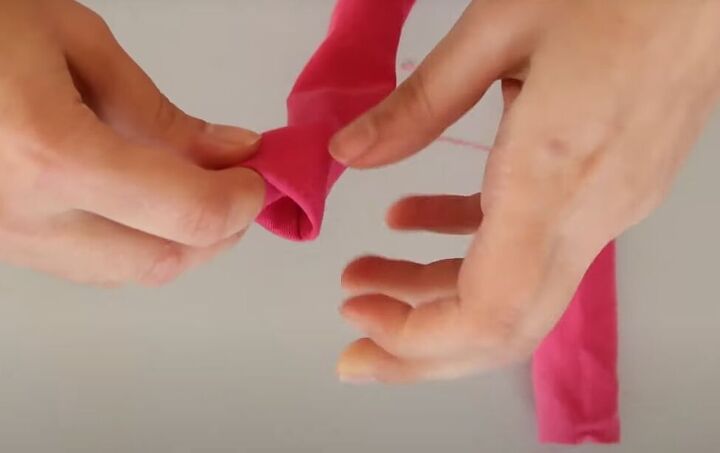
Use a hook or loop-turner to turn your rectangle tube right-side out.
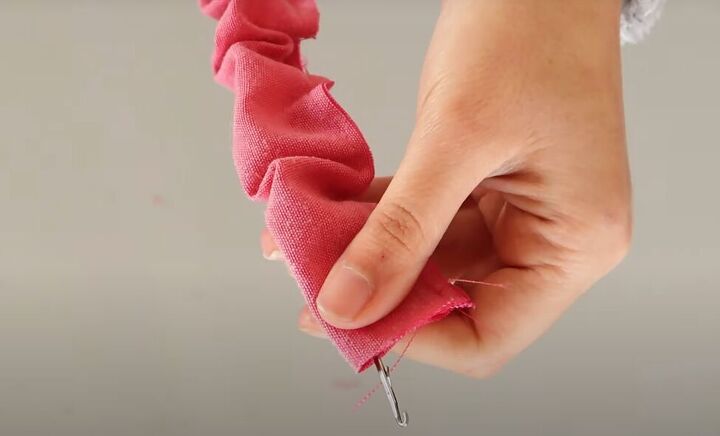
3. Insert elastic in scrunchie casing
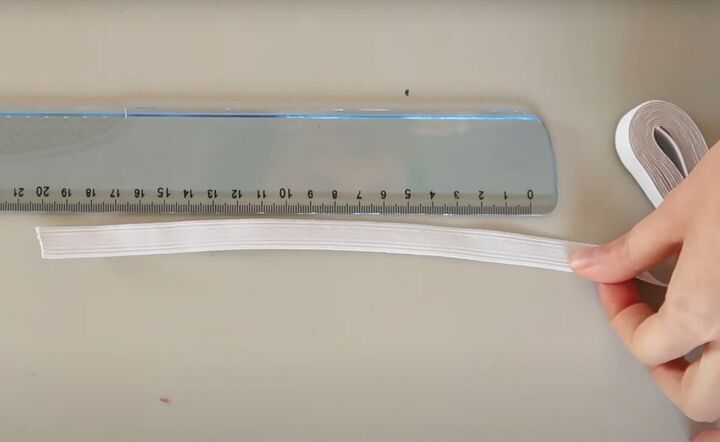
Cut 20 centimeters (7.9 inches) of elastic.
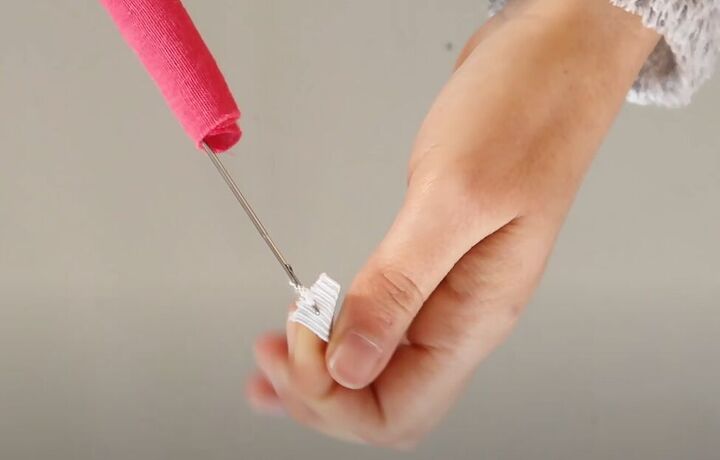
Use your hook to pull the elastic inside the scrunchie casing.
Hold the unhooked end of elastic in place and make sure the elastic doesn’t get twisted as you pull it through.
Sew the ends of the elastic together, outside of the casing, in two parallel lines.
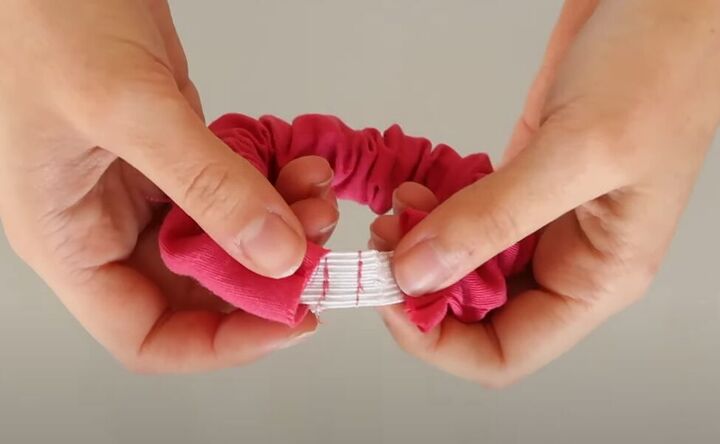
Fold in the raw edge of one of the ends of the scrunchie, and tuck the other end inside the folded end.
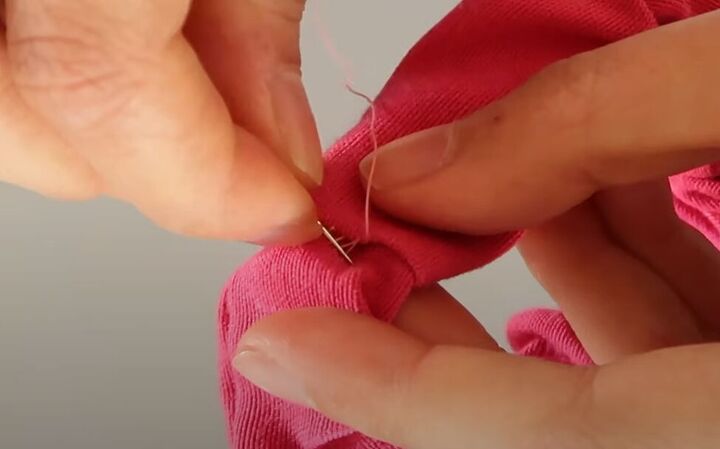
Then, hand-sew the tube closed.
If you prefer, you can use a sewing machine for this if you don’t mind a visible seam. If you are planning to make a bow, it will cover the seam anyway.
4. Make the bow
Cut a 9 x 65-centimeter (3.5 x 25.6-inch) rectangle.
If you are using scraps, and don’t have that length of fabric available, just cut two and sew them together to get the length you need.
Fold the rectangle in half lengthwise, with the right side facing in, and sew the long open edge.
Turn the tube right-side out, and push the raw ends on both sides to the inside.
Give the ends a slight angle, and then sew them closed.
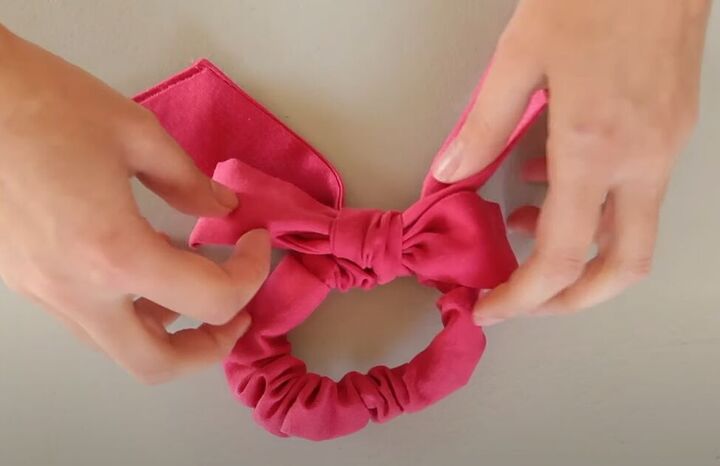
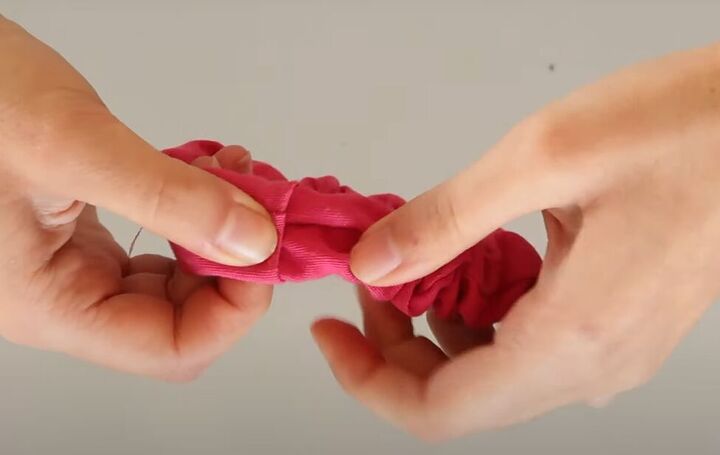
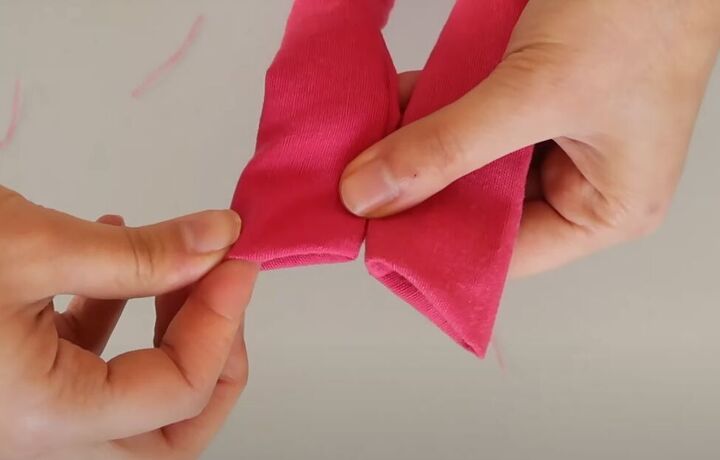
5. Attach the bow to the scrunchie
Simply tie the bow onto the scrunchie. If your fabric is a bit stiff, go straight to the bow, and don’t make a knot first.
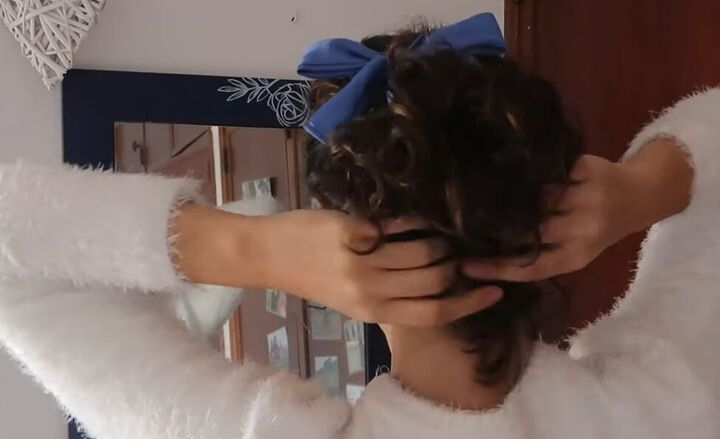
6. Three ways to wear your scrunchie
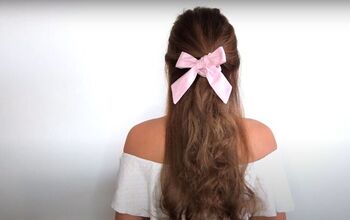
The most basic way to wear your bow scrunchie is to simply wrap the scrunchie around your ponytail twice, placing the bow at the top.
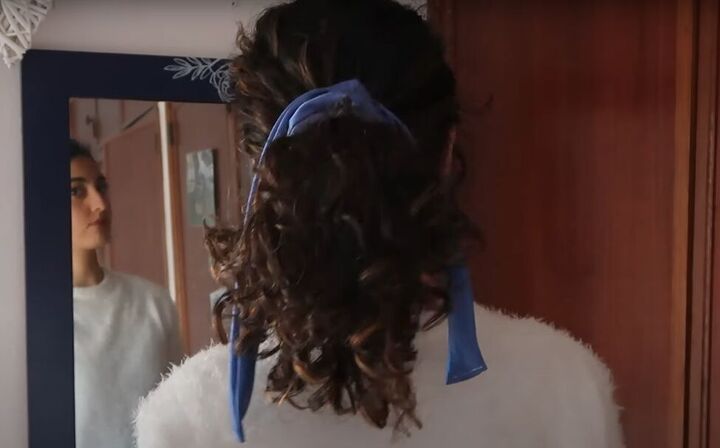
If you are not so into bows, untie the bow and make a knot instead, letting the tail of the bow fabric hang down.
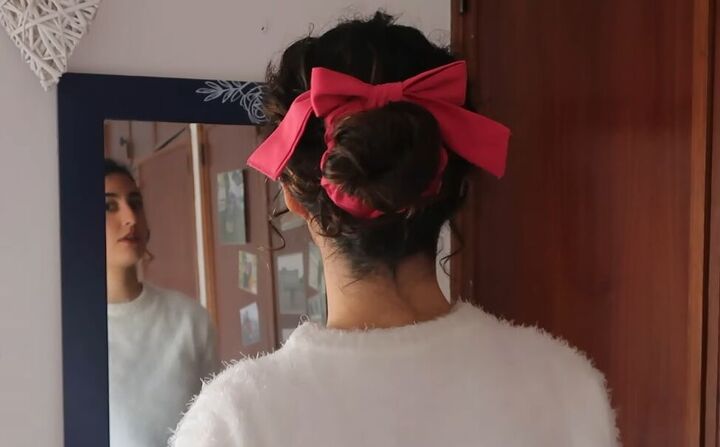
For a ballerina look, put your hair in a bun using a few pins, and then place the bow scrunchie around it to hold it all in place.
Bow scrunchies
Of course, you can mix and match your scrap fabrics for all styles of plain and bow scrunchies. So, let your imagination run wild, and your wardrobe and personal style dictate your bow hair scrunchie choices.
Please leave a comment to let me know how you liked this bow hair scrunchie tutorial.
The author may collect a small share of sales from the links on this page.


Comments
Join the conversation