Easy Brown Smokey Eye Makeup Tutorial

Today, I'm going to show you how I create my famous intense brown smokey-eyed look.
Many people are fearful of creating a smokey eye look because they think that it might just end up looking messy and smudged. They also aren’t sure which shades of brown eyeshadow to place where.
Here, I’m going to take you through the process step-by-step so that you know exactly how to achieve a gorgeous clean finish.
Tools and materials:
- Concealer
- Setting powder
- Foundation
- Assorted eyeshadow colors
- Eyeshadow brush
- Eyeliner
- Q-tip
- Highlighter
- Eyelash curlers
- Mascara
- False eyelashes (optional)
- Lip liner
- Lipstick
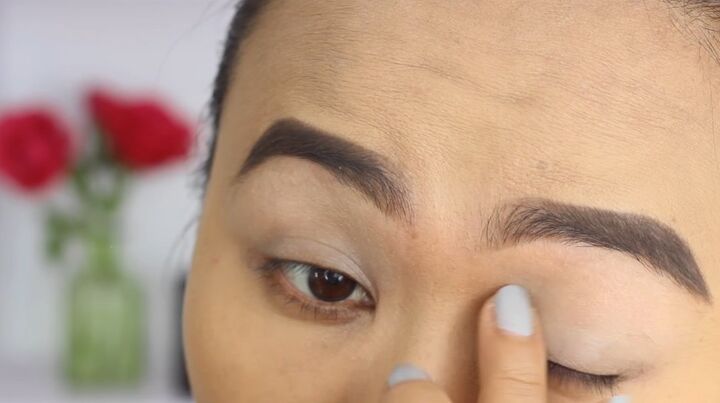
1. Prep the eyelids
First, take some concealer and apply it all over your eyelids as the primer.
This is going to give a base to your eye shadows. It's also going to even out the skin on your eyelids. Also, apply foundation to your face.
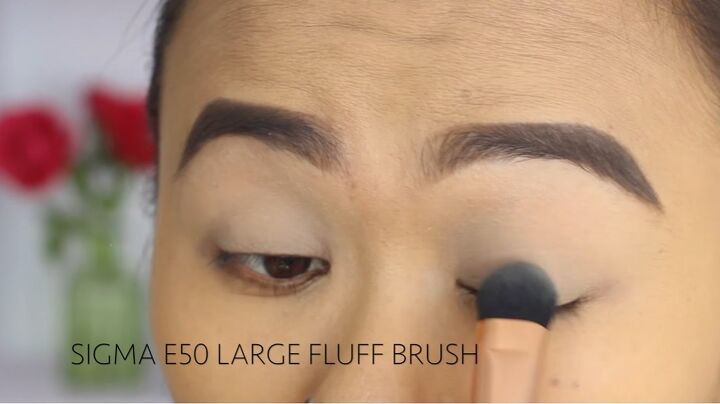
2. Apply eyeshadow
Next, apply a beige eyeshadow all over your eyelids to set the concealer.
It will also give a smooth base for the rest of the eyeshadows.
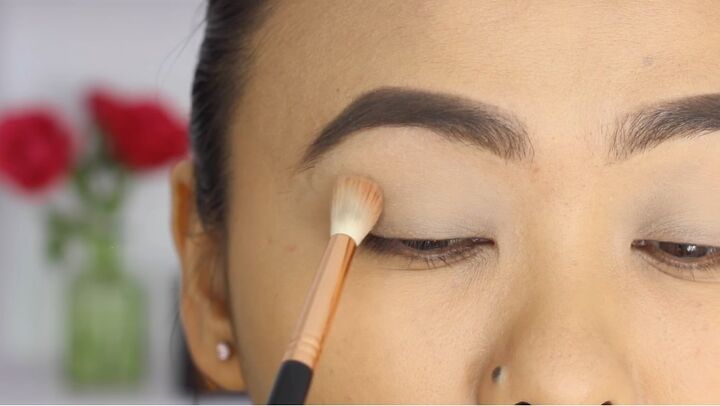
Then take a pinkish brown shade and apply it all over your crease area and blend it out.
It might not look like a lot, but it's going to make a big difference later on as it acts as a transition shade.
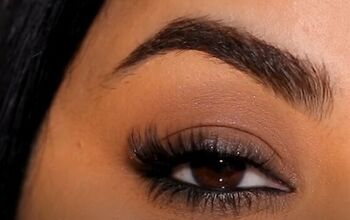
Once done, take a very soft neutral brown shade and go right over your crease and blend it out slightly into the previous shade.
Smokey eyes are all about blending, you want to take your time and just blend, blend, blend.
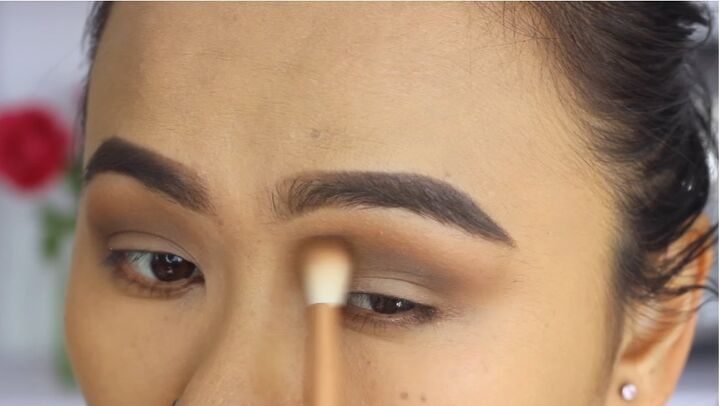
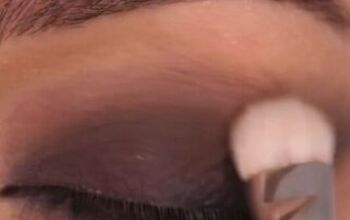
Next, take a warm dark brown shade and apply it right on top of your crease and also slightly soften out the edges.
You want to keep blending till the edges look seamless and they just melt into the previous shade.
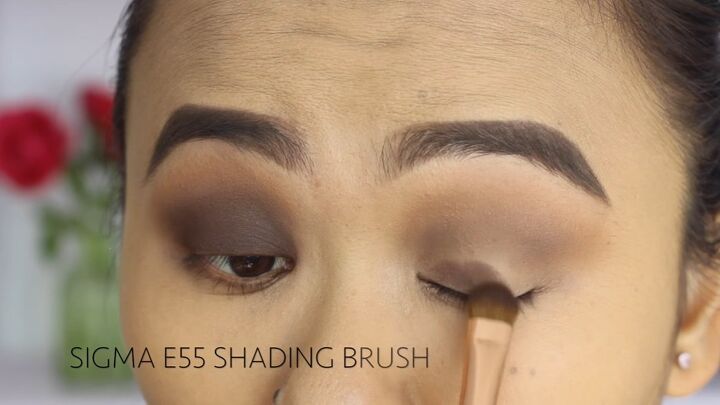
Now take a dark brown shade and pack it on all over your eyelids using a flat brush.
Then, take a very fine pointed blending brush and blend out the edges. The pointed brush helps to not over blend the eyeshadows.
If you feel like you want more intensity, you can go ahead and keep packing on more of the eyeshadow.
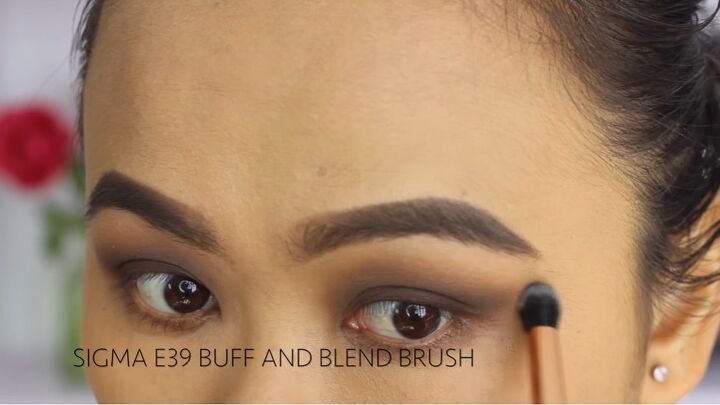
Take the beige shade that you used before and apply it under your eyebrows.
This is going to soften out the previous shadows, and it's also going to highlight your brow bone.
3. Apply eyeliner
Take a black eyeliner and tight line both your lower and upper waterline with it.
Also, roughly go over your lash line, and then, with an angled brush, smudge the liner out to give it a very soft sort of effect. We don’t want any harsh eyeliner for this look.

4. Smoke out the eyeliner
Then take more of the dark brown eye shadow and go over the black liner that we just applied.
Once done, take a fluffy blending brush and blend out everything one more time.
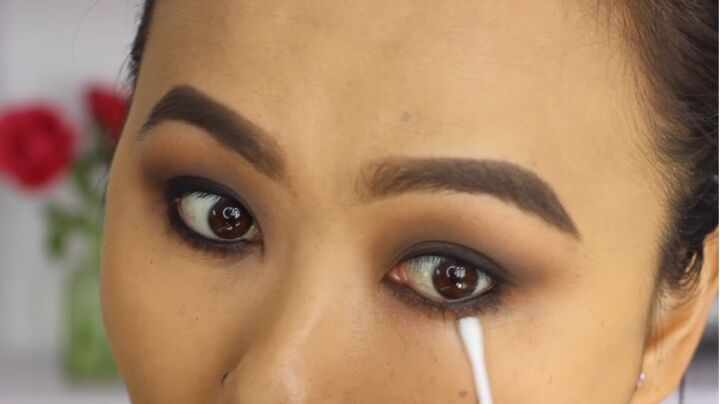
5. Clean up under the eyes
Dip some cotton buds into micellar water to clean up any smudges under your eyes

6. Apply concealer
Now that the eye makeup is complete and the under-eye area is nice and clean, apply some concealer under your eyes.
Then, bake it using some setting powder.
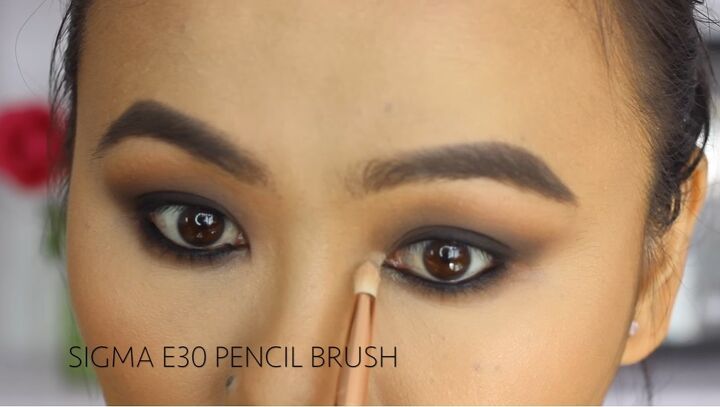
7. Smoke out lower lash line
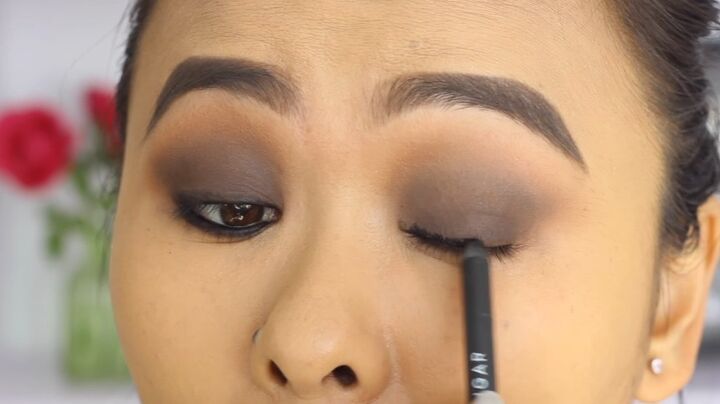
Take the warm brown shade eyeshadow on a super tiny blending brush and smoke out your lower lash line to blend out the black a bit.
Then, take your eyeliner again and darken your lower lash line.
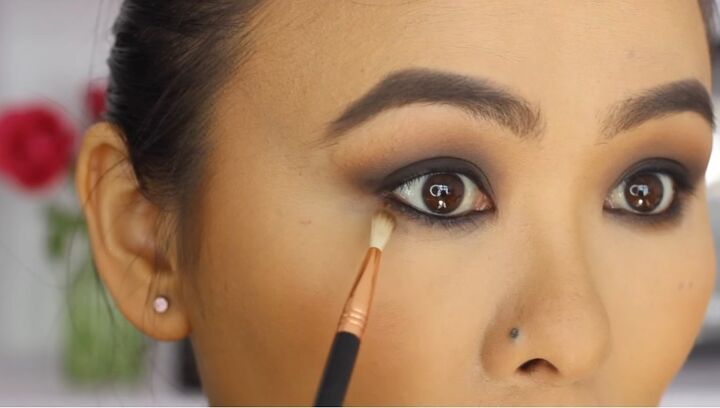
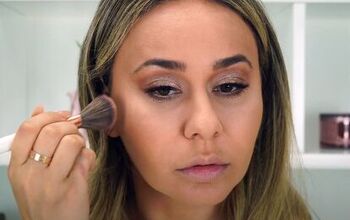
8. Apply highlighter
Apply some highlighter to the inner corners of your eyes. This will add some light to the eyes.
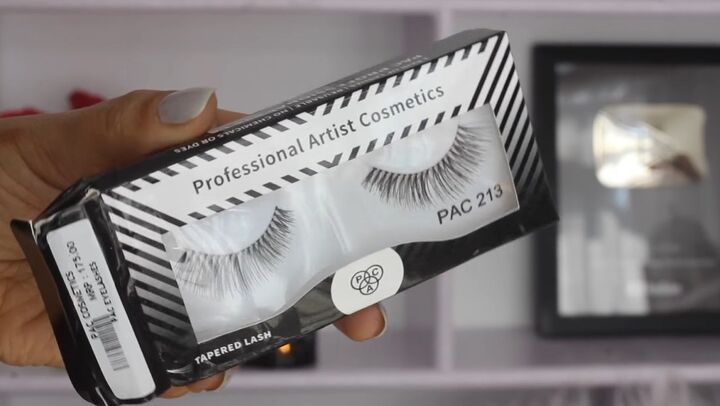
9. Add false lashes
Next, curl your lashes and add some mascara.
A smokey-eyed look is always incomplete without false lashes, so apply a pair of false lashes so a more intense look.
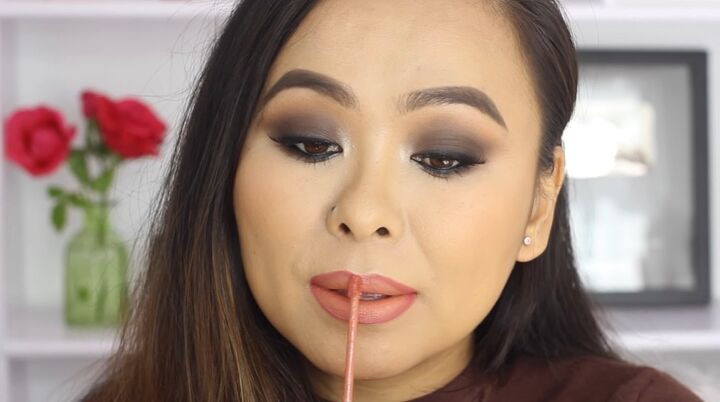
10. Paint lips
Finish the look off by lining your lips and applying a peachy nude lipstick.
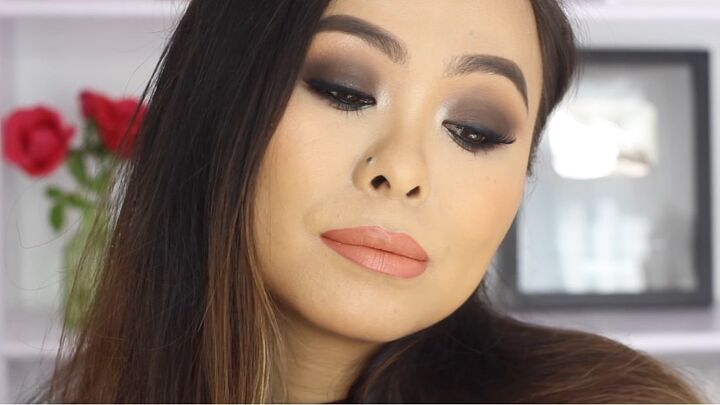
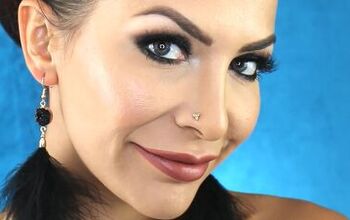
Brown smokey eye makeup
Here is the finished smokey brown eyes makeup look. The makeup is bold and intense, and the different shades of brown all blend seamlessly into one another.
When it's cold outside, go for warm tones on your eyes for a gorgeous winter look.
If you enjoyed this tutorial, leave a comment down below!
Products used:
- LA Girl Pro Concealer - Light Ivory
- Tarte Tartelette Palette
- Sugar Smudge Me Not Eye Pencil
- Maybelline Falsies Push Up Drama Mascara
- PAC lashes 213
- The Balm Mary Loumanizer
- Maybelline Age Rewind Concealer - Light
- RCMA No Color Powder
- Makeup Revolution Luxury Banana Powder
- Kiko Creamy Comfort Lip Liner -
- Colourpop Lipstick - Screenshot
The author may collect a small share of sales from the links on this page.


Comments
Join the conversation