How to Make an Off-the-Shoulder Crop Top in 5 Simple Steps

There’s nothing quite as romantic to wear in the summer as an off-the-shoulder crop top. Sexy yet innocent, this DIY crop top is a perfect addition to your summer wardrobe.
In this tutorial, I’ll show you my super simple off-the-shoulder crop top sewing pattern that uses your own measurements. This DIY crop top is totally customizable, from the length of the top to the ruffle size.
Let’s get started with how to make an off-the-shoulder crop right now!
Tools and materials:
- 1-yard fabric (you may need more depending on how much ruffle you want for your top)
- ¼- or ½-inch elastic
- Measuring tape
- French curve ruler (optional but handy)
- Tailor’s chalk or washable marking pen
- Pins
- Scissors
- Sewing machine
- Safety pin
- Iron

1. Make the pattern
You’ll need to take 3 measurements to get the perfect fit for your top. First, measure the length you want your top to be from just below your shoulders to above your waist.
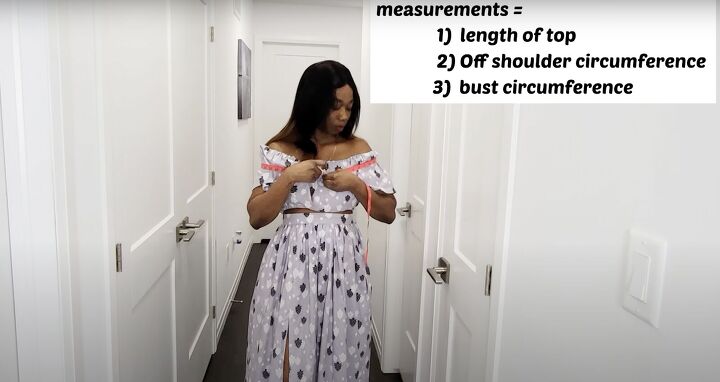
Second, measure your shoulder circumference or the measurement from one side all the way around to the other.
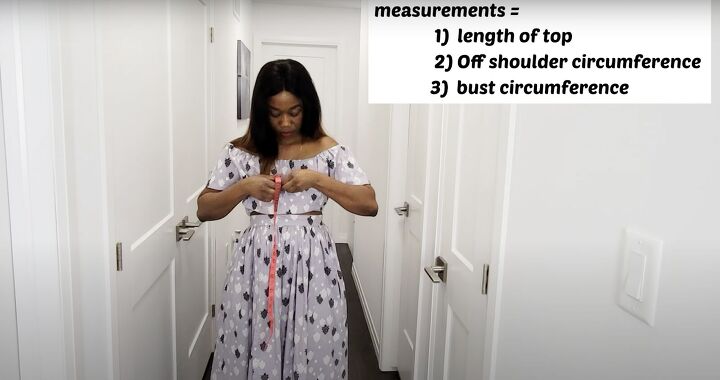
Third, measure your bust measurement. You’ll transfer these measurements to the fabric.

Lay the fabric down and fold it in half. Measure your desired length measurement from the top of the fold downward adding 2 inches for hemming and seam allowance. Mark across the fabric.
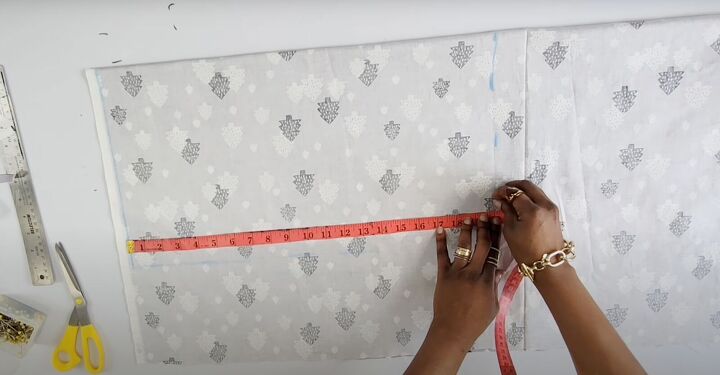
Mark your bust measurement, divided by 2, close to the fold. Add 3 inches to this measurement for the elastic casing.
If your fabric has selvage or the hard edge at the end, measure past that end as you’ll cut it off. Mark all the measurements on the fabric itself.
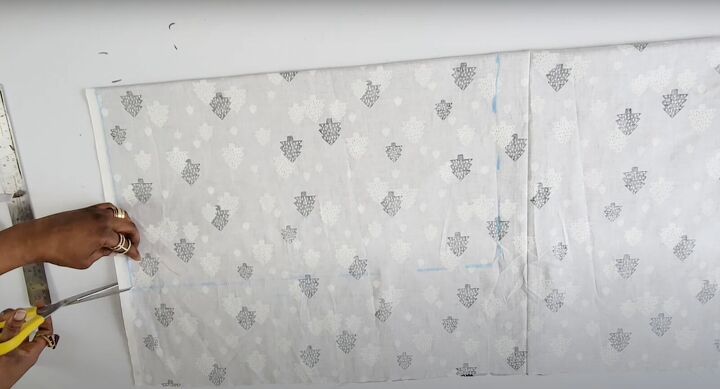
2. Cut out the pattern
Once you’ve measured and marked, cut the fabric out.
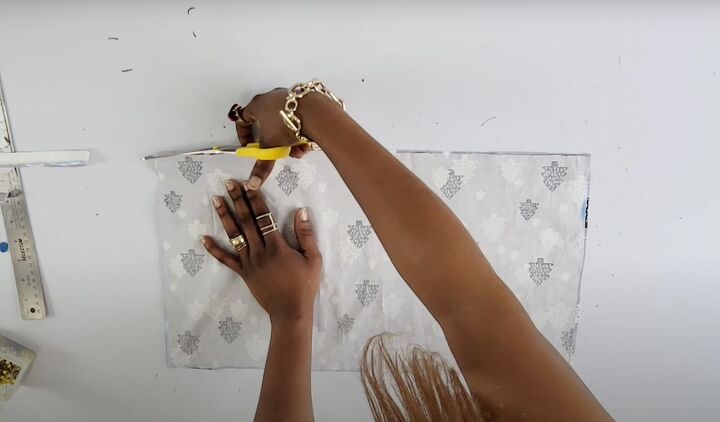
Then cut along the fold to make 2 rectangles: one for the front and the other for the back. Pin them right sides together.
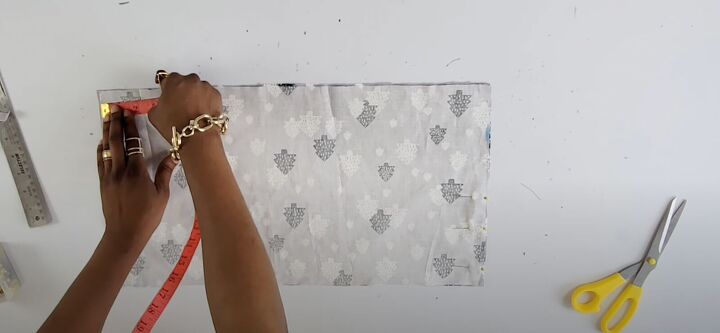
You’ll need to measure and mark the armholes on either side of the top. Mark 3 inches in at the top.
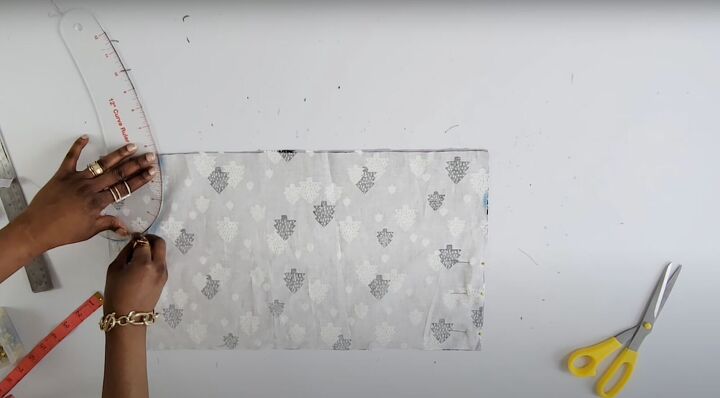
Mark 4½ inches down the side seam. Use a French curved ruler or freehand draw a curve to join these two points together. Repeat for the other side. Cut out both armholes.
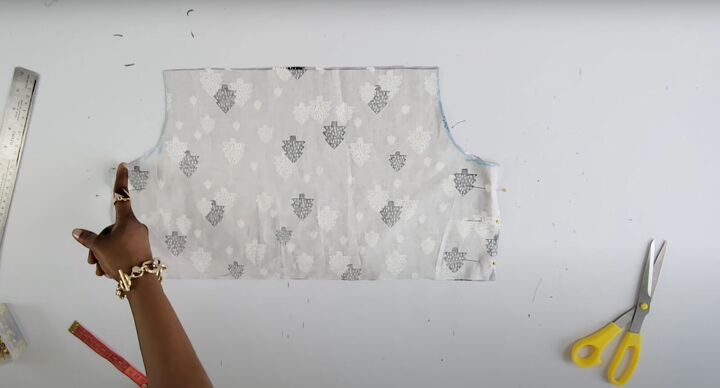
3. Start sewing
Sew the side seams of the top with the right sides touching from the armhole down to the hem
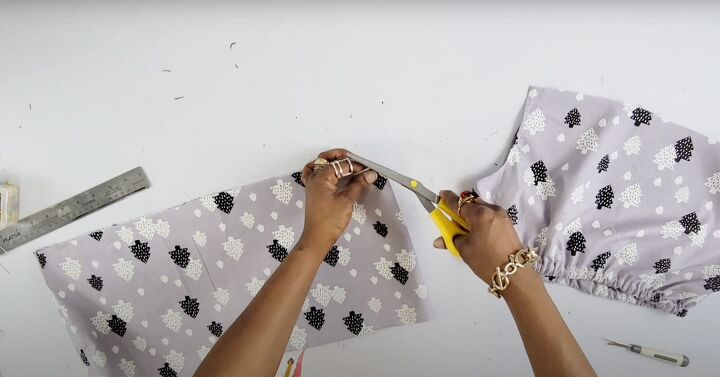
4. Make the ruffle
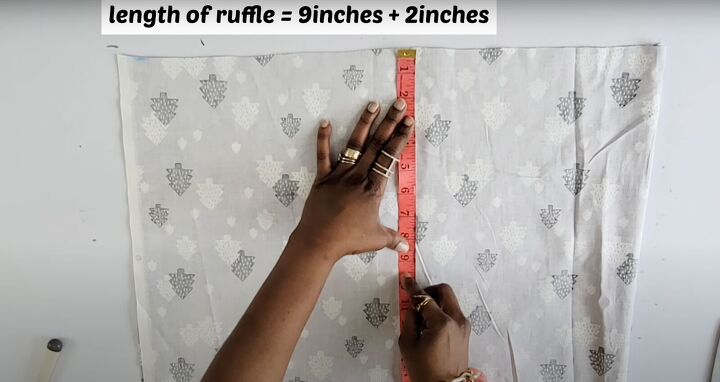
Fold the rest of the fabric in half. Measure your desired ruffle length on the fabric. In this tutorial, I made it 9 inches.
Add 2 inches to the length measurement with 1 inch for seam allowance and the other inch for hemming and the elastic casing. The width of the ruffle is based on your shoulder circumference.
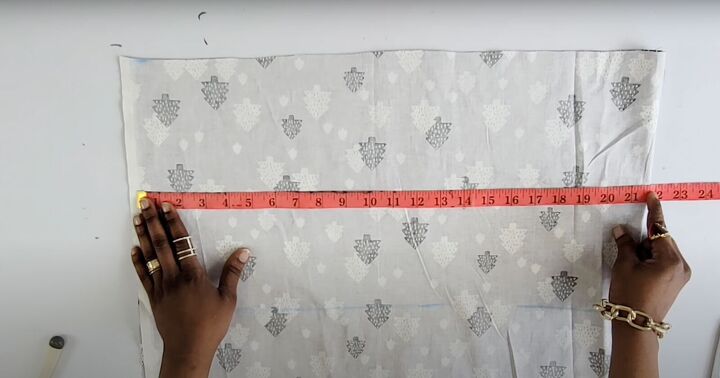
Measure on the folded fabric. Cut this piece out.
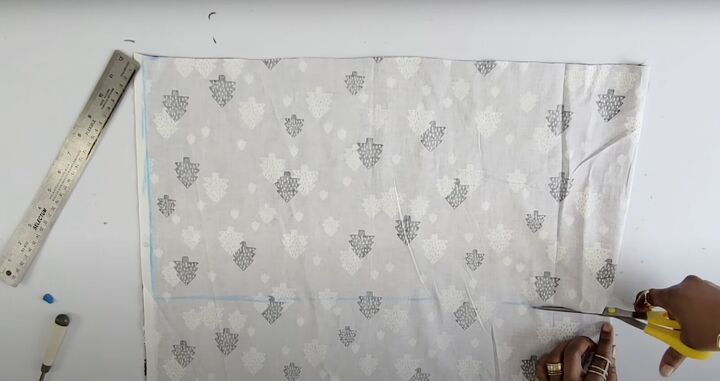
Use this piece as a template to cut out a second identical piece.
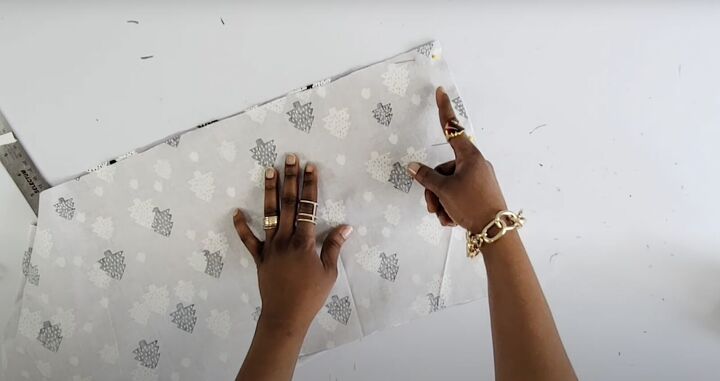
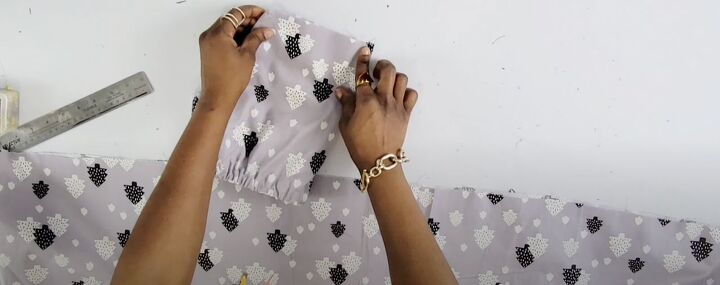
Join these 2 pieces right sides together with a straight stitch on either side, with a ½-inch seam allowance. You’ll have a very large loop.
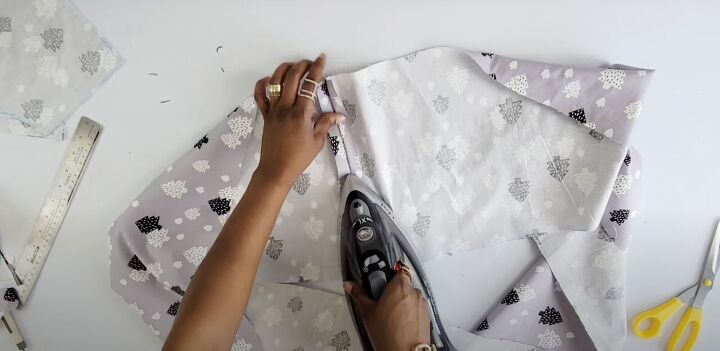
Press the ruffle seam allowances flat.
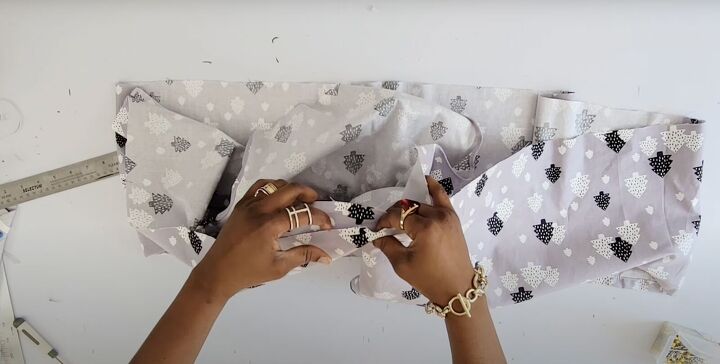
Double fold one end of the fabric, pressing the fabric flat at each fold for a smooth finish. Sew with a straight stitch.
Put the ruffle to the side.
5. Finish the top
Recall your desired length measurement of the top. Wherever the top ends whether it is just above your waist or below your bust line, measure across your body.
Remove 3 inches from that number and cut the elastic to match that measurement.
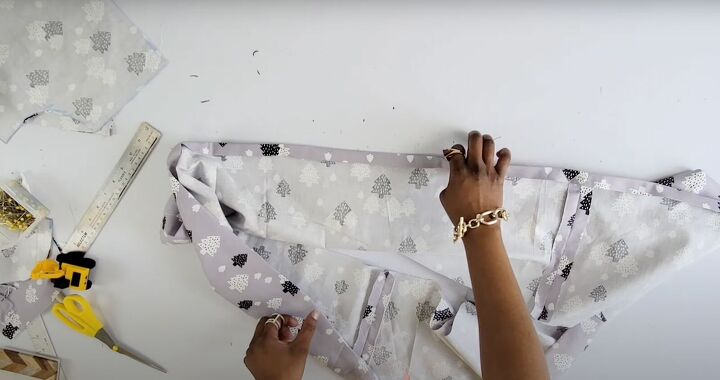
Double fold the bottom of the top upward with enough space to fit your elastic. Pin in place and sew at the edge of the fold to make a casing or a tunnel to feed the elastic through.
Leave a 1-inch space unsewn to insert the elastic into.
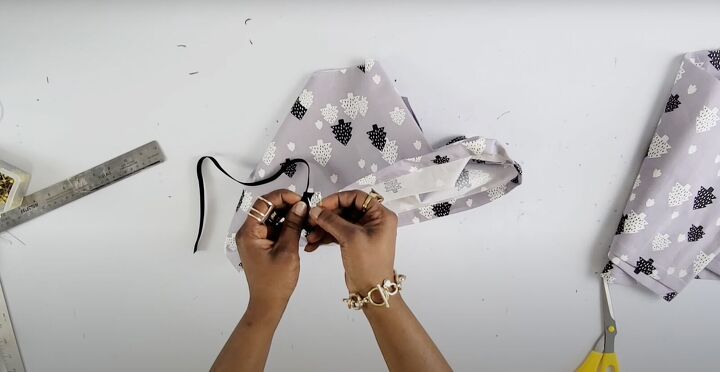
Attach a safety pin to the elastic and insert it into the space of the casing at the bottom of the top. Tunnel the elastic through until the ends meet. Sew the elastics securely together.
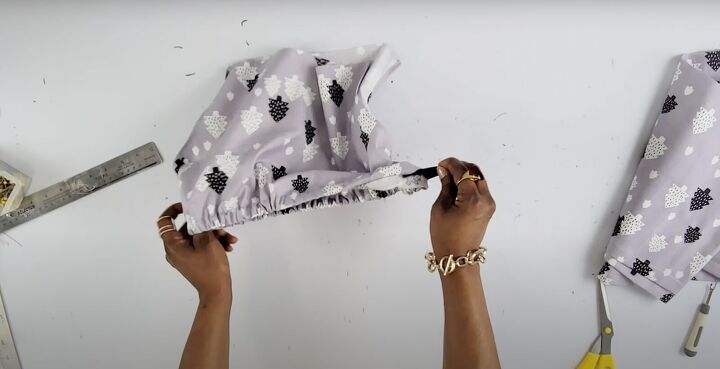
Reinsert the elastic and sew the space closed. Distribute the gathers evenly.
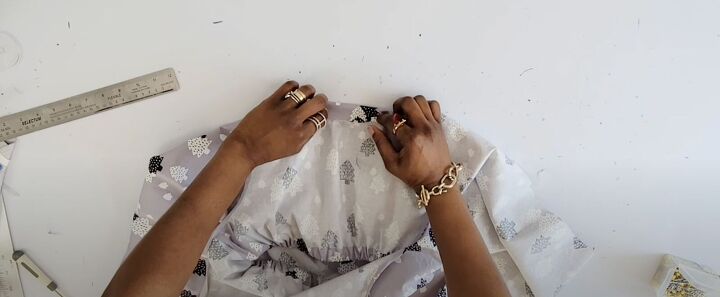
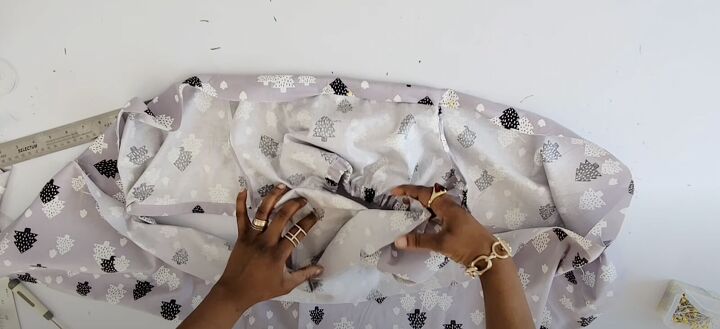
Fold the ruffle in half to find the center. Snip a tiny notch at the center on the unhemmed side.
Fold the top in half so the armholes lay on top of each other and snip a tiny notch in the center as well.
Insert the top inside of the ruffle loop, matching the center notches on one side together. Pin in place at the center and on either side of the top. Pin the other side, matching the center notches together.
Fold the pinned fabric inward about an inch, based on the allowance you left to insert the elastic.
Pin the casing all around the large ruffle loop. Sew the casing, leaving a 1-inch space to insert the elastic through.
Use your shoulder circumference measurement less 3 inches to cut a piece of elastic. Insert the elastic, using the same method as before.
Securely sew the elastics together. Stitch the space closed. Distribute the gathers evenly.
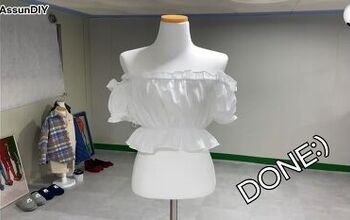
You’re done!

How to make an off-the-shoulder crop top
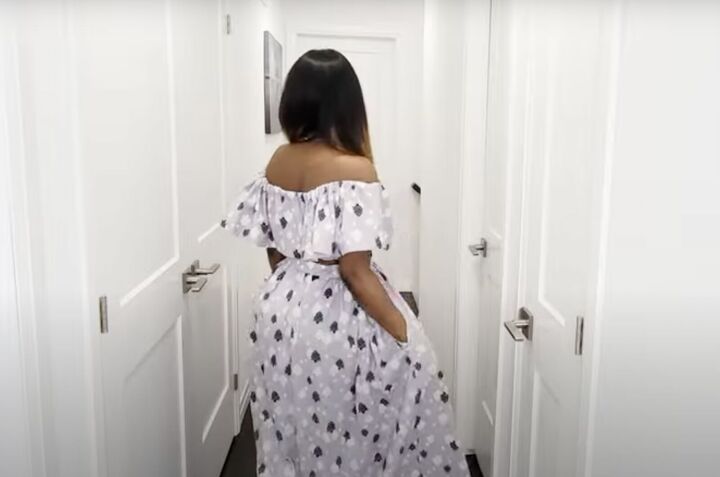
How gorgeous is this DIY off-the-shoulder crop top? Let me know in the comments if you made it and be sure to share your photos.
To see how I made the matching skirt, see my other tutorial on how to make a maxi skirt with slits.
The author may collect a small share of sales from the links on this page.


Comments
Join the conversation