Sewing Hack: Add a Faux Hip Band and Sleeve Bands to a T-Shirt

In this tutorial I will show you a clever way to achieve a sleeve band and hip band look using an overlock machine (also known as a serger). If you don’t have an overlock machine, you can still achieve this look using a regular sewing machine. Let’s get started!
Tools and materials:
- Shirt
- Pins or clips
- Measuring tape
- Overlocker or sewing machine
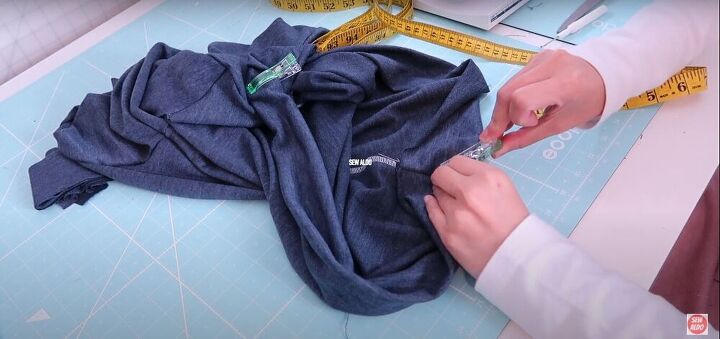
Fold the hem of the hip band
I folded the hem of the shirt inward about three inches, and clipped the hem into place.
Once I made sure the hem was straight, I made another fold, outward this time, and clipped the hem at the side seams. Make sure you’ve left enough allowance at the hem of the shirt to do this, so it will not end up being too short.
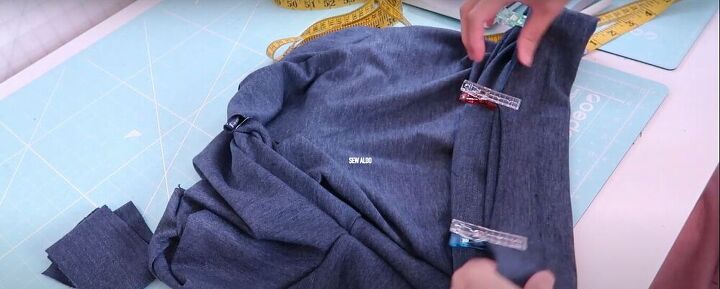
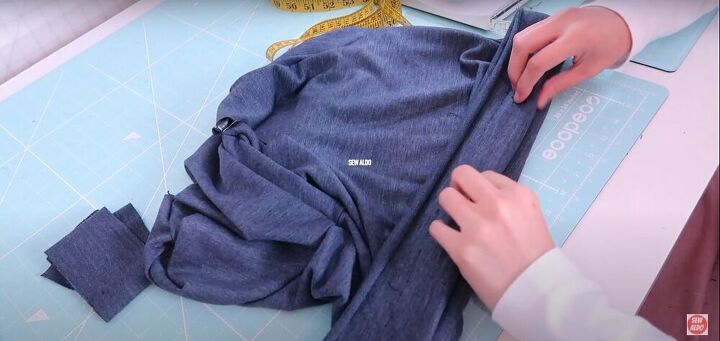
Add more clips or pins
I added more clips along the hemband because the edges of the material were curling inward a bit, and the clips helped keep everything straight and smooth.
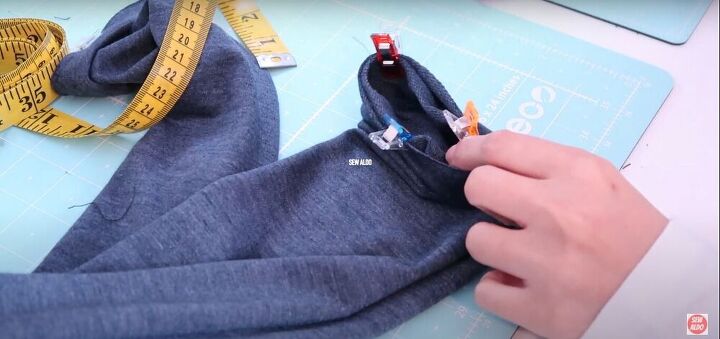
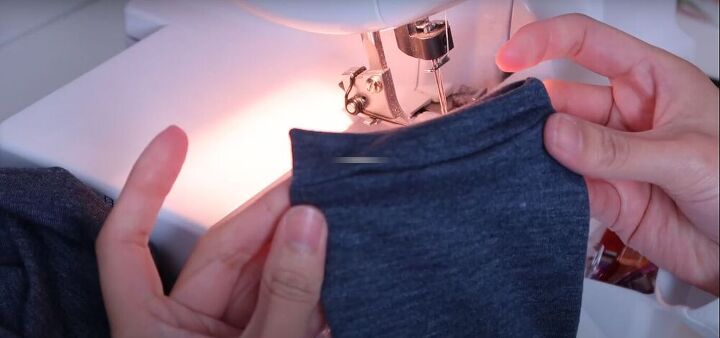
Fold the hem of the sleeve
The process to fold the sleeve band is almost the same as for the hip band. I folded the ends of the sleeve inward one inch, and then folded it again outwards, and used clips to hold the fabric in place.
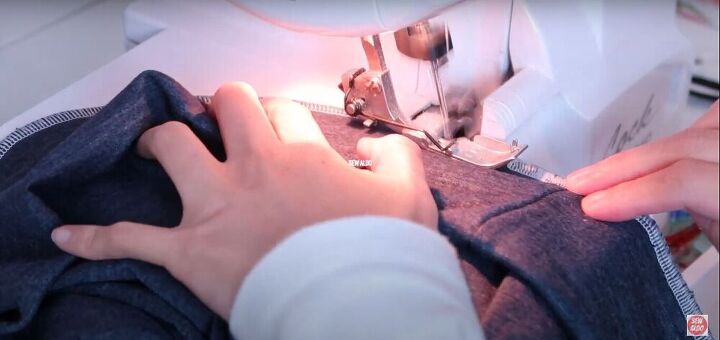
Serge the hemlines
I then used my overlock machine to serge the hemline all the way around the bottom of the shirt to create the hip band, and around the ends of the sleeves, to create the arm bands. This can also be done on a regular sewing machine with a narrow zigzag stitch.
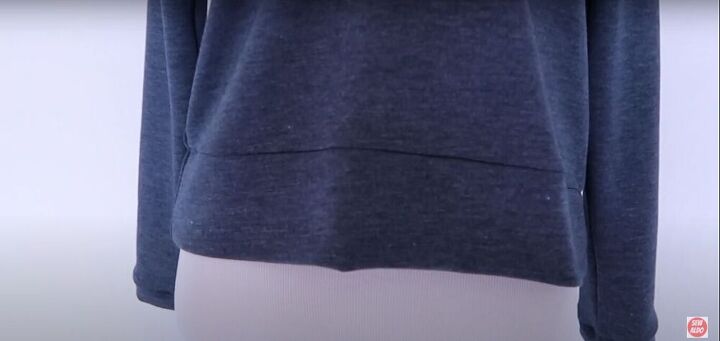
By following these steps, you can sew a hip band and sleeve bands without having to cut and attach separate pieces to the shirt. Let me know if this tutorial was helpful to you!
The author may collect a small share of sales from the links on this page.


Comments
Join the conversation
Love that you don't have to cut the shirt to do this!