How To Apply and Use Kam Snaps the Easy Way

When you have a sewing or craft project that requires a snap, these Kam snaps are the best! They are durable, easy to apply and come in so many fun colors. In this tutorial, I show you how easy they are to apply and some ways that you can use them.
Snap application can be a little intimidating for some, but there really is nothing to it, especially when you use this Kam snaps kit. Over the years I’ve used different snaps and different application methods, and this is by far my favorite so far.
You do need the little pliers, but the kit is very reasonably priced and the kit I recommend comes with some snaps as well.
How to Use Kam Snaps
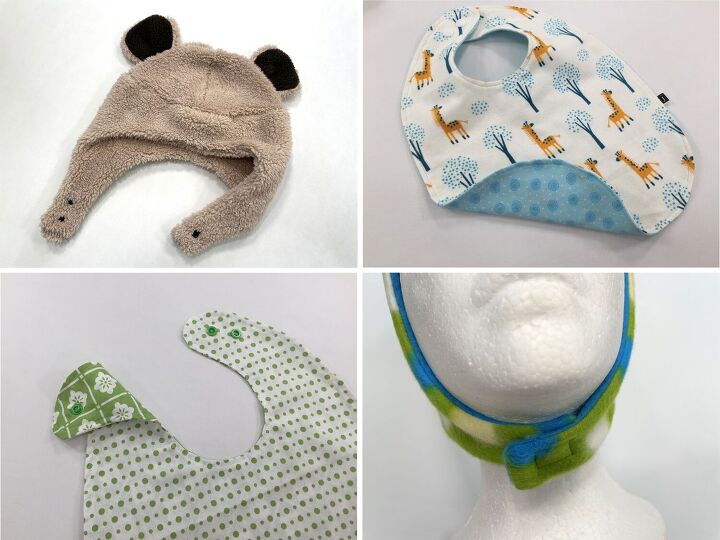
Here are a few ideas and ways to use these snaps.
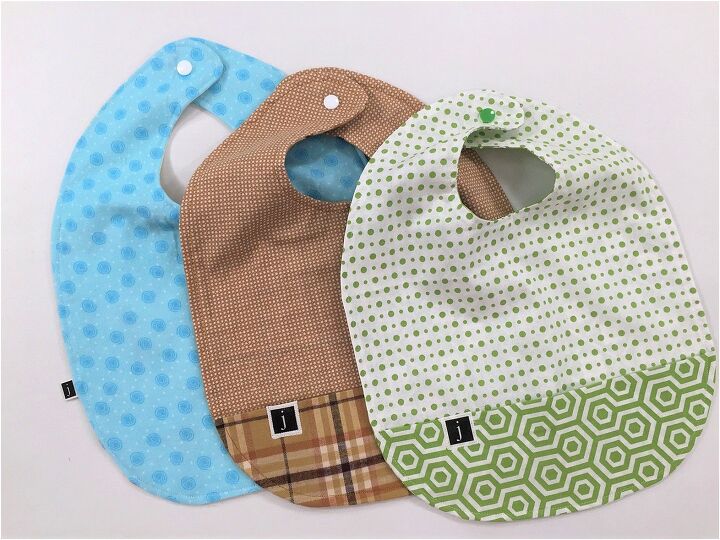
- Baby bibs
- Hats
- Homemade cloth diapers
- Shirts
- Homemade wallets
- Jackets
- Baby pajamas
- and really anywhere else where you need two pieces of fabric to connect
I find the Kam snap application is a lot easier than sewing around Velcro. I will admit, however, there are times when Velcro is more appropriate for certain applications.
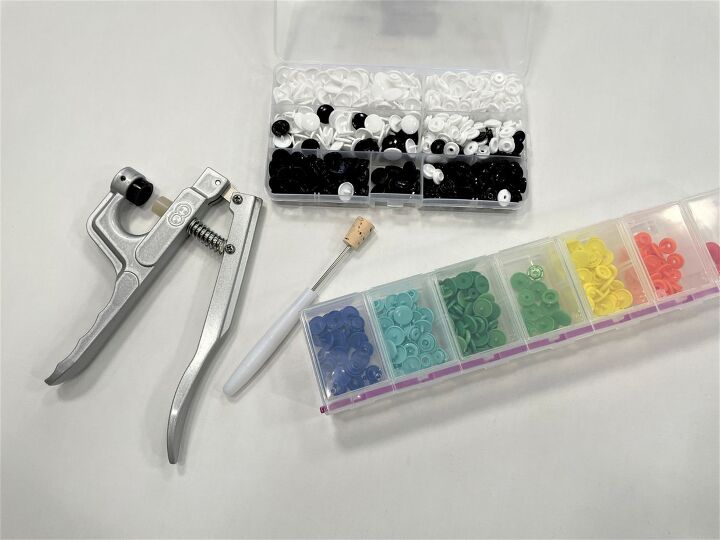
Kam Snap Parts & Tools Needed
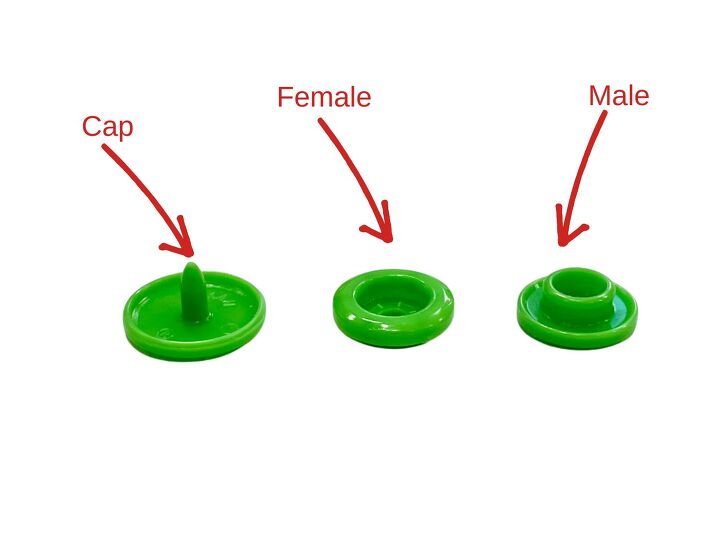
Kam snaps come with three different pieces: a thumbtack-looking piece, and a male & female piece.
For each snap you’ll need:
- 2 cap pieces
- 1 male piece
- 1 female
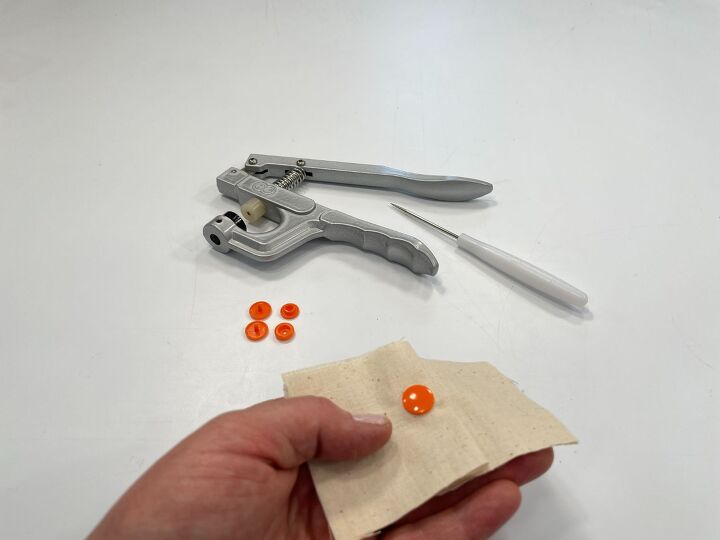
- Kam snap pliers & awl

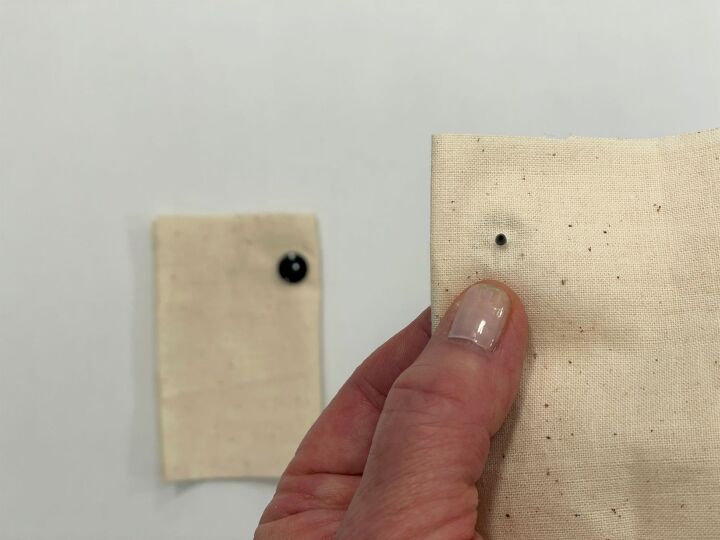
How to Apply Kam Snaps1- Locate the spot where you need to apply a snap.
Take the sharp awl that the kit comes with and poke it through both layers of fabric. Wiggle the awl around a bit to make the hole more distinct.
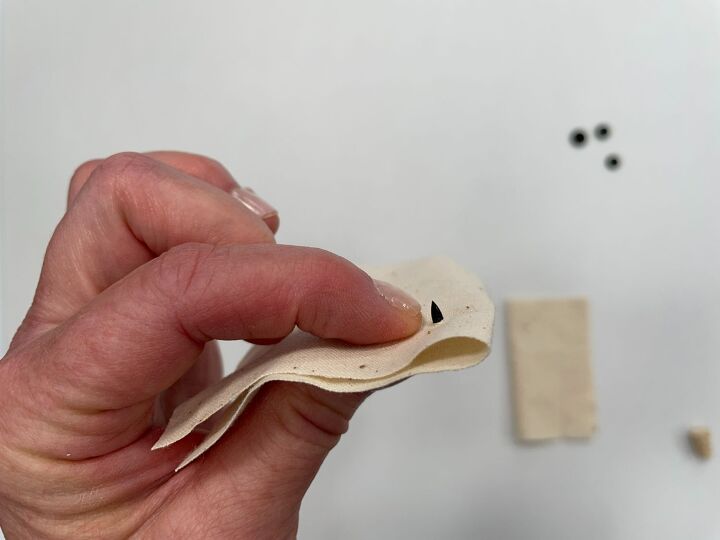
2- Take one of the THUMBTACK pieces and poke it through the fabric from the RIGHT SIDE to the WRONG SIDE.
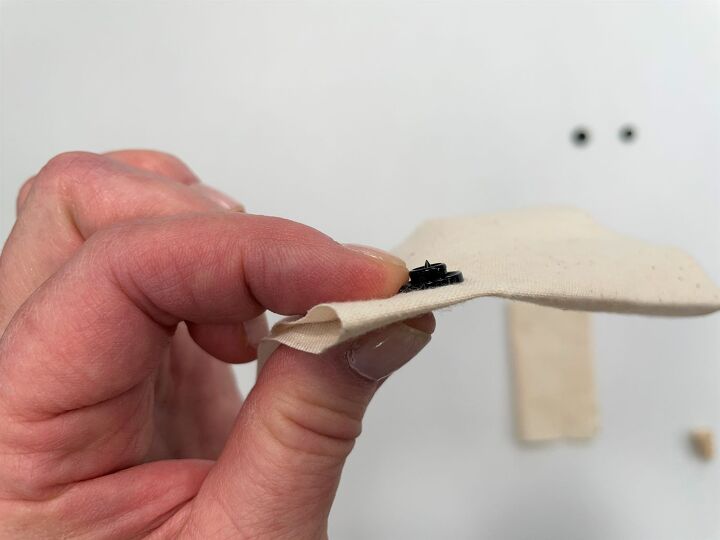
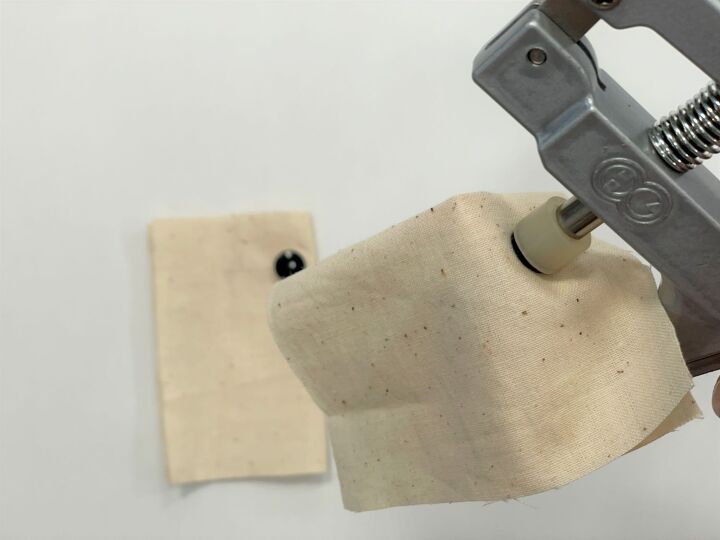
3- Place MALE PIECE on top of the thumbtack with the HAT-LOOKING side facing away from the fabric.
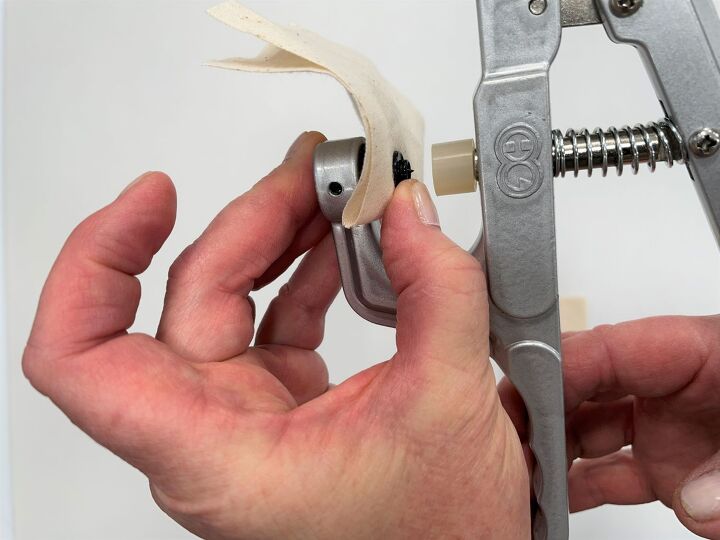
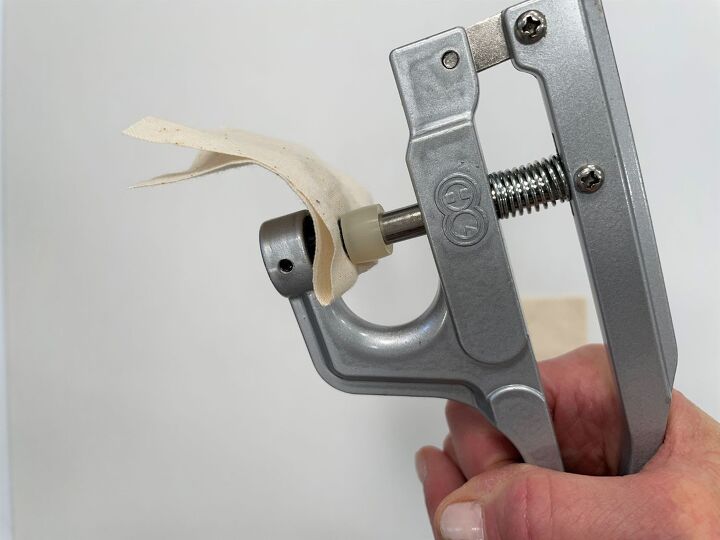
4- Hold these items together and place them inside the pliers with the back of the THUMBTACK piece set into the little black holder on the pliers.
Make sure it is in place before squeezing the pliers. (If you listen, most times you can hear a little click when the tack is in place).
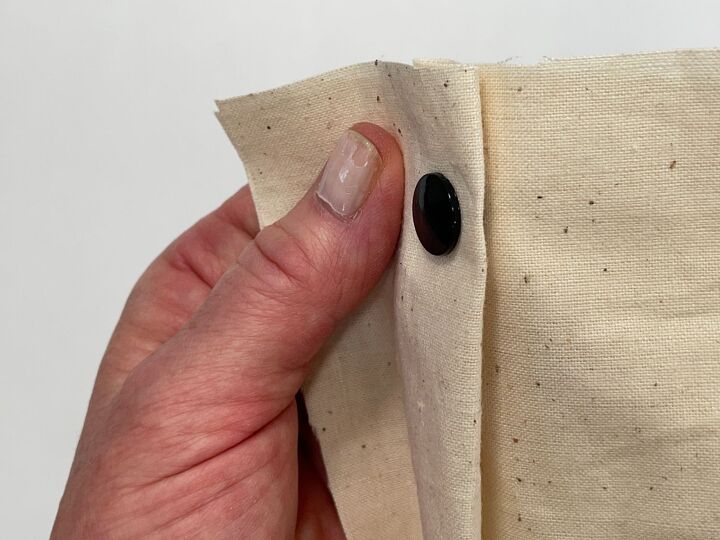
5- To apply the other snap, take a THUMBTACK piece and insert it into the other hole from the BACKSIDE of the fabric to the front.

6- Take the FEMALE PIECE and place it on top of the fabric and proceed as you did before using the pliers.
That’s it. So simple and so quick.
I hope this was helpful and that you’ll feel comfortable and inspired to give snaps a whirl in some of your next projects.
CHECK OUT MY SEWING PATTERNS HERE
Have fun creating!
Here are some project tutorials you may be interested in:


DIY Baby Bib Tutorial | Reversible
/
Baby, Clothing and Accessories, SEWING, Sewing Videos, VIDEO AND AUDIO LIBRARY
/
/
CRAFTS, Recycling, Sewing Videos, Tutorials, Upcycled Sweater Videos, Upcycling, VIDEO AND AUDIO LIBRARY
/
The author may collect a small share of sales from the links on this page.


Comments
Join the conversation