How to Embroider Clothes By Hand Using 3 Basic Stitches

Follow this tutorial to learn how to embroider clothes by hand with three basic stitches. With these three stitches and a rainbow of color options, the possibilities are endless for your own custom embroidered clothes.
Tools and materials:
- Assorted clothing
- Scissors
- Embroidery needle
- Embroidery thread
- Pen or pencil
- Embroidery hoop
1. Split stitch
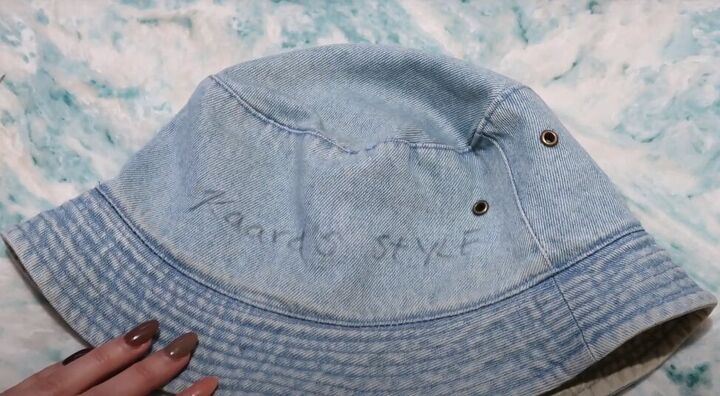
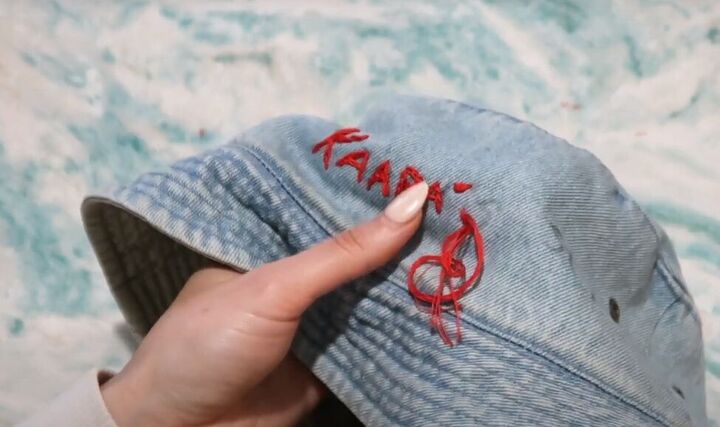
Use a pen or pencil to write your name, or other simple design, on your hat. Do not use a marker, because it will bleed on the fabric.
A pen or pencil will make thin lines that will be easily covered by your stitches.
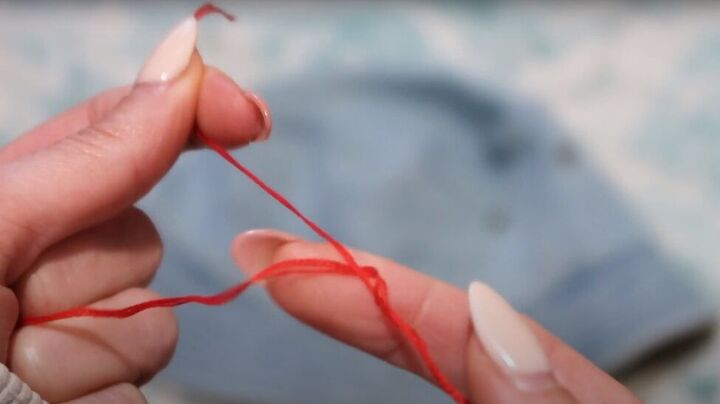
Embroidery thread is usually 6 strands, but for this project you only want 3 strands.
The easiest way to separate your embroidery thread is to spiral it around your finger as you separate it. That way it won’t get tangled.
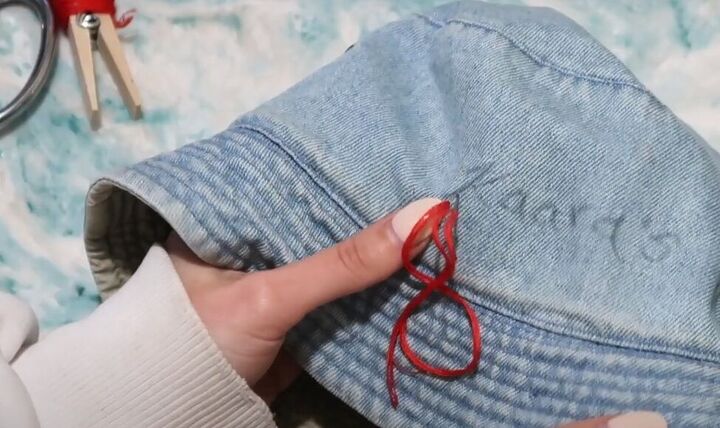
Thread your needle with the 3-stranded embroidery thread. Start your first stitch from the inside of your hat to the outside, at the bottom left corner of your first letter.
Tip: Don’t make a knot in your embroidery thread. Instead, when you come back down from the outside to the inside, make a little loop in the thread on the inside and pass your needle through the loop.
Effectively, you now have a knot but without the bulk, and it's more secure.
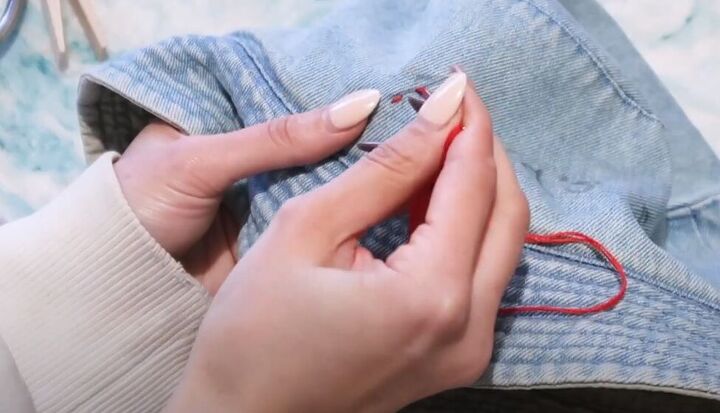
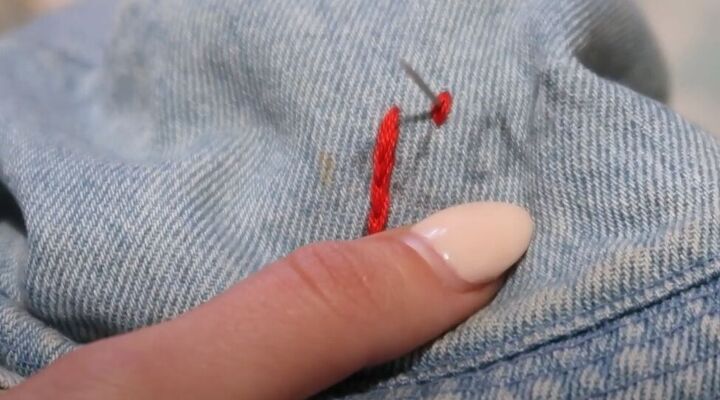
Now, bring your needle and thread up from the bottom again, just beyond where your last stitch went down. Bring the needle back down in the middle of your last stitch.
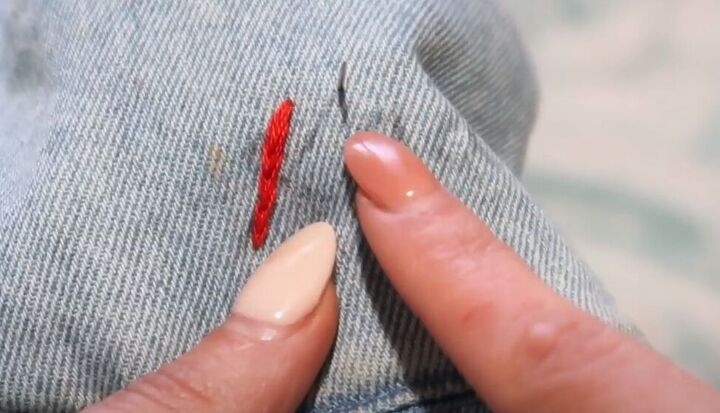
Your finished stitch length will be about the length of a grain of rice.
Now continue going up a half-stitch length beyond your last stitch, and down in the middle of your last stitch.
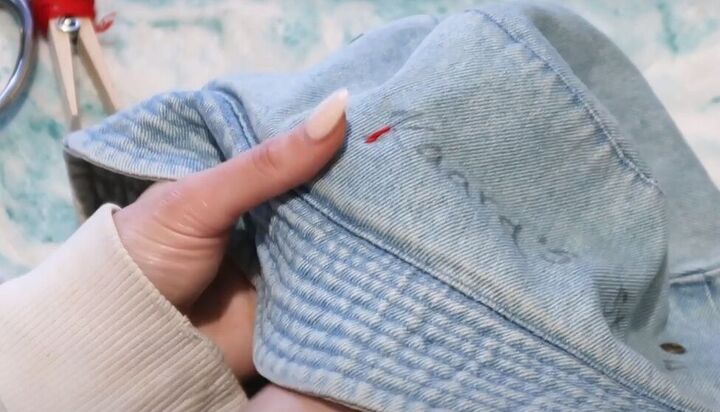
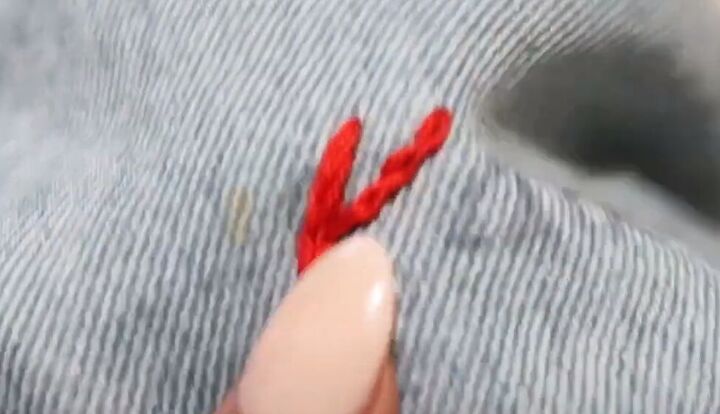
You can see how the stitching resembles a chain now. When you have completed one line of stitches, you are ready to start the next part of the letter.
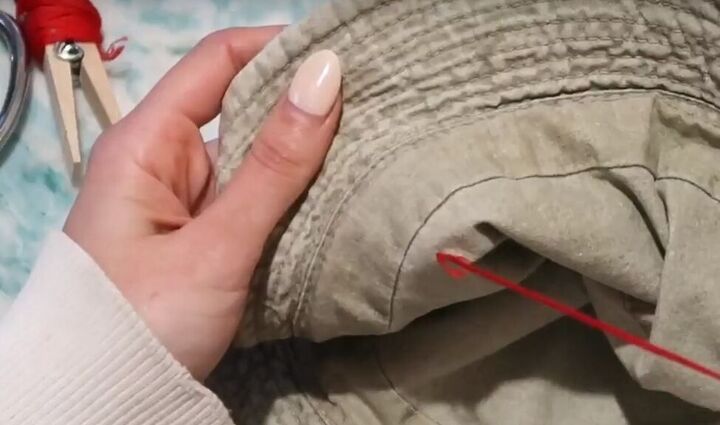
If there is a space, move your needle and thread across on the inside of the hat so you can come up at the beginning of the next set of stitches.
In this example, I finished the left arm of the letter K at the top and need to move to the top of the first angle line one the K. So, I stitched from bottom to top before and now I’ll be stitching from top to bottom.
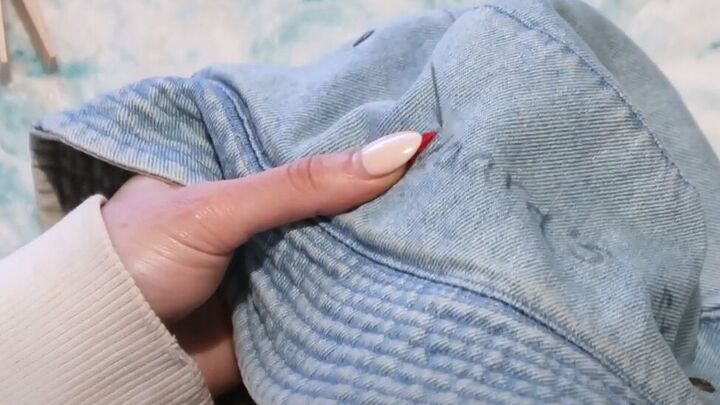
To stitch from top to bottom, bring your need up in the middle of the last stitch and take your stitch down a rice-length below.
Now you have another row of split stitches.
Continue with the split stitch until you have completed your design.
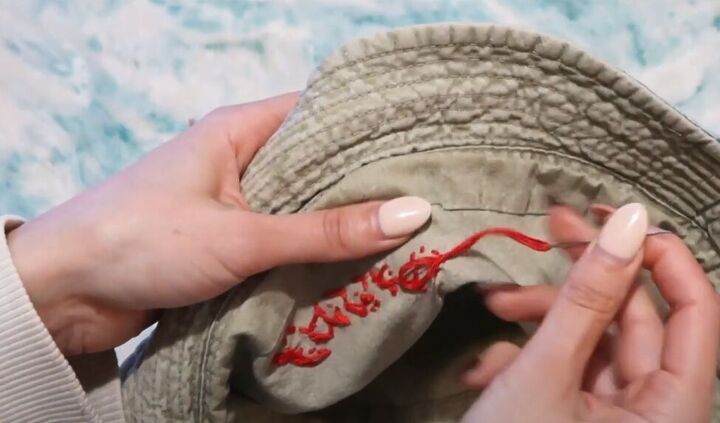
Finish at the back and secure the thread by passing the needle twice through the last stitch.
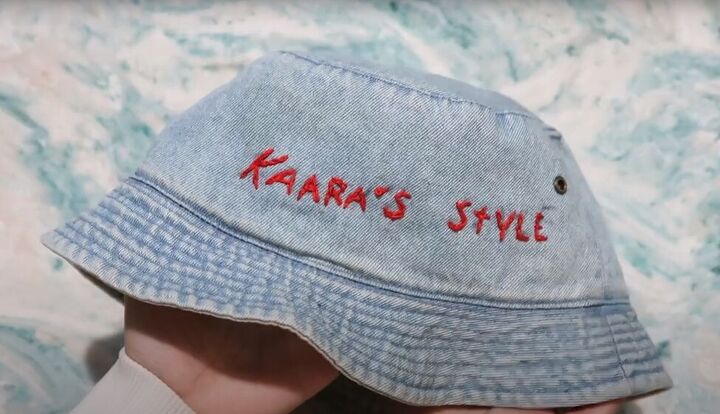
Trim the loose end of the thread and you’re done!
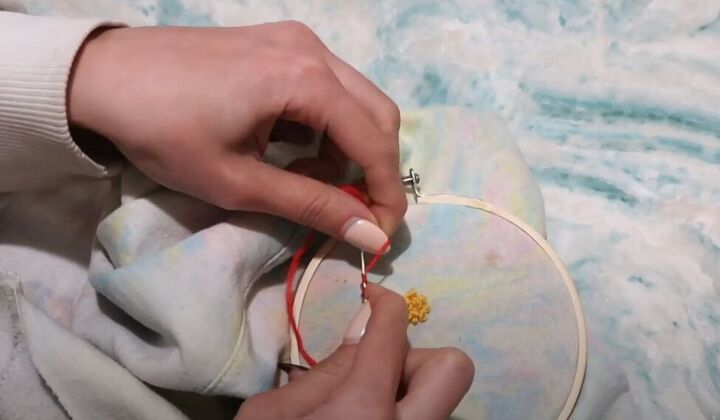
2. French knot
You will need all 6 strands of your embroidery thread for this stitch. Alternatively, you can use 3 strands but double the thread as you go.
For the French knot stitch, you begin by winding the thread around your needle 3 times, and then inserting it into the fabric from outside to inside.
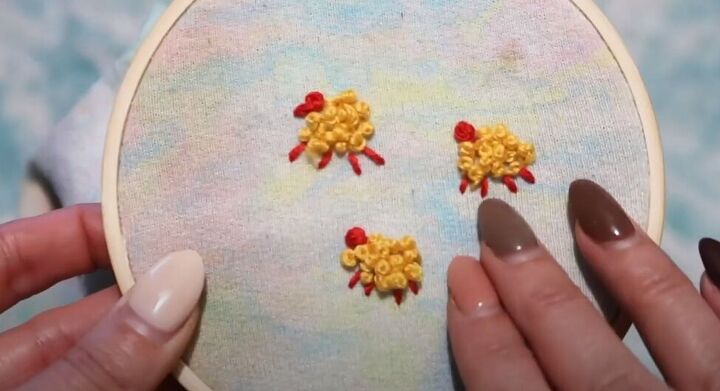
These are three little sheep. The body and head are done in French knot. The legs are a regular straight stitch. The French knot stitch provides texture to the design.
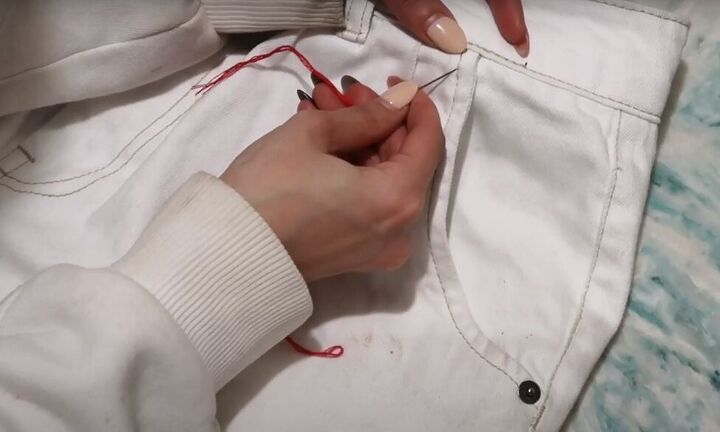
3. Cross-stitch
I am using a cross-stitch to embellish a double row of stitches that are already on these pants.
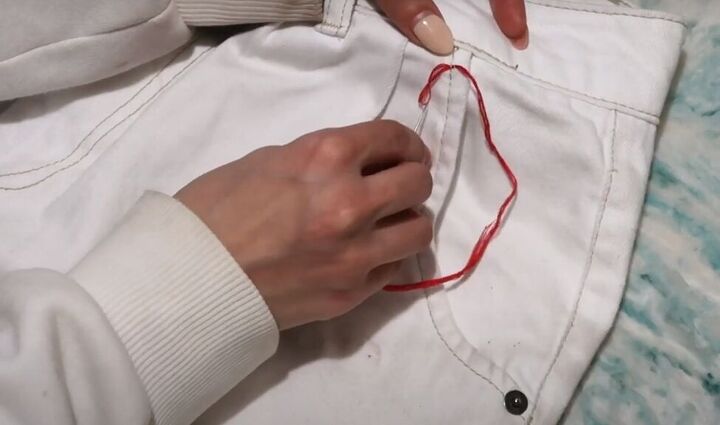
Working on the outside of the pants, pass your needle and thread through the loop of the second existing stitch on the left row. Use the same looped knotting method you used in the other stitches.
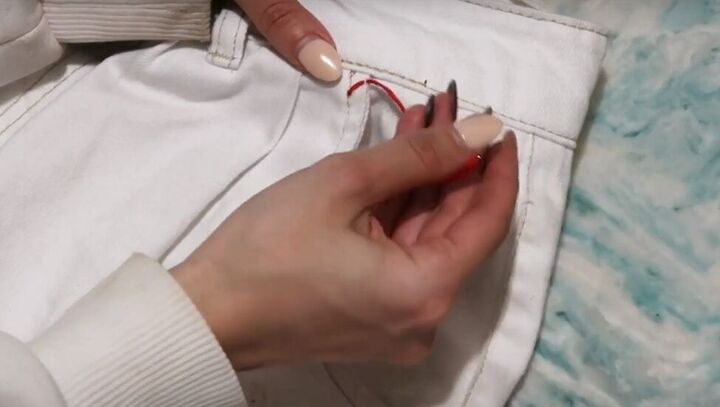
To make the first part of the cross, or X, pass your needle through the loop of the first stitch on the right row.
Then go through the second stitch on the right, from right to left, and up across the outside to the first stitch on the left, passing the needle from left to right.
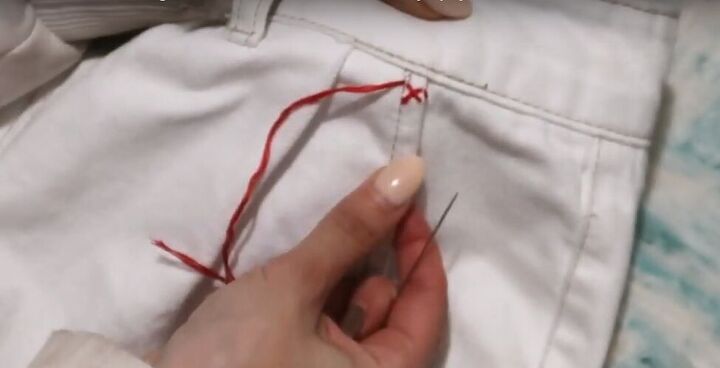
Notice how this stitch also creates small vertical lines on the side of the X.
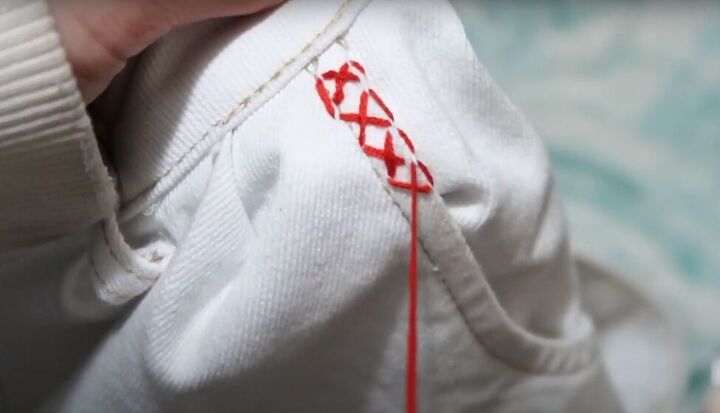
Continue with this pattern until you complete the full area you want to stitch.
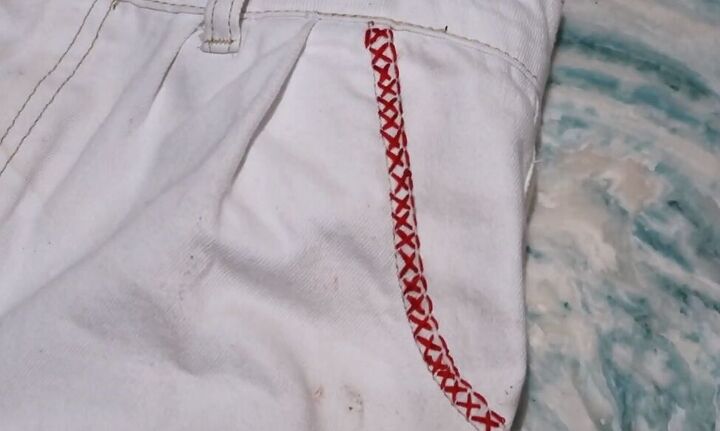
Here’s a look at the final pocket detail I created.
How to embroider clothes tutorial
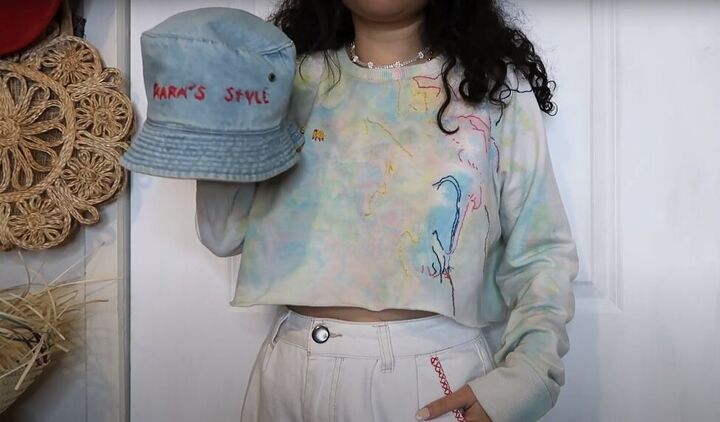
Three pieces of clothing upstyled with three kinds of stitches! What a simple way to make your favorite clothes even better. Custom embroider your own clothing and make something for a friend.
Leave a comment to let me know which pattern you embroidered and what clothes you upstyled.
The author may collect a small share of sales from the links on this page.


Comments
Join the conversation
👍️
That is not chain stitch; it’s split stitch.