How to Install an Invisible Zipper: Step-by-Step Sewing Tutorial

Zippers come in different styles. A concealed zipper is where you can’t see the teeth of the zipper and it looks like a seam. Certain clothing styles or sewn items look better with an invisible or concealed zipper. Here’s an in-depth tutorial on how to install an invisible zipper. Let’s get started!
If you'd like to know about sewing a regular zip, see my other tutorial on How to Sew a Zipper.
Tools and materials:
- Sewing machine with zip foot and concealed zip foot
- Zipper
- Garment
- Scissors
- Pins
While zippers come in different colors and sizes, try to purchase a longer zipper than you think you need for your garment. It makes sewing one in much easier by giving you a bit of leeway to position the zipper, especially if you’re new to installing zippers.
A longer zipper also helps save your sewing machine needle because it stops you from hitting the end stop!

1. Install the zipper
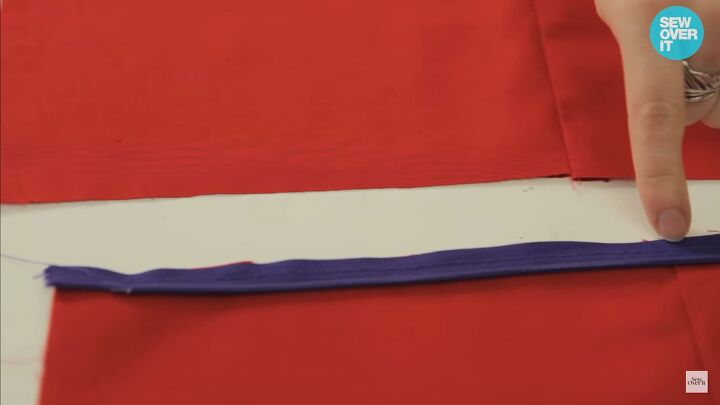
Open the zipper and place it right side up on the side of the fabric.
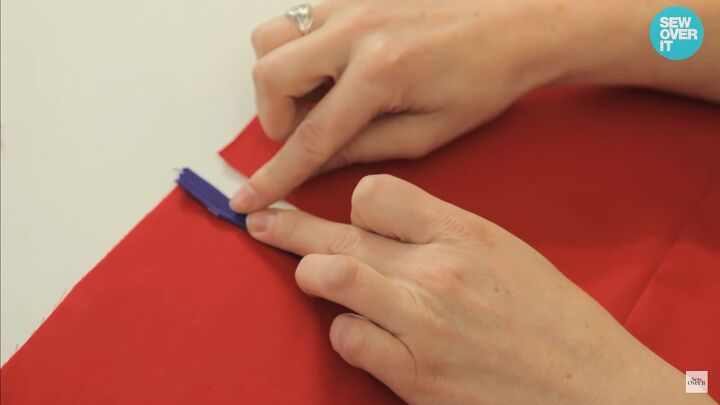
Make sure that the top of the zipper is not at the very top of the garment because you will need seam allowance to finish the top edge. It doesn’t matter if the zipper is at the neckline or the waistline - you will definitely need some seam allowance!
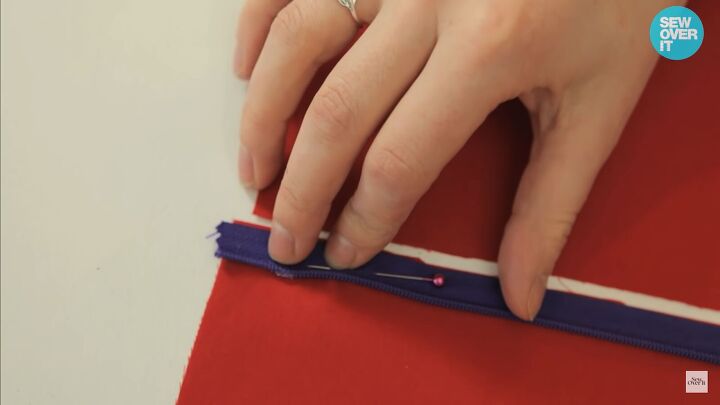
Pin with the pins facing up toward the top of the zipper parallel to the zipper tape and the fabric. The tape should line up at the raw edge of the fabric. The zipper teeth should face the center of the fabric. Check to make sure your seam allowance is accurate.
2. Sew the zipper in
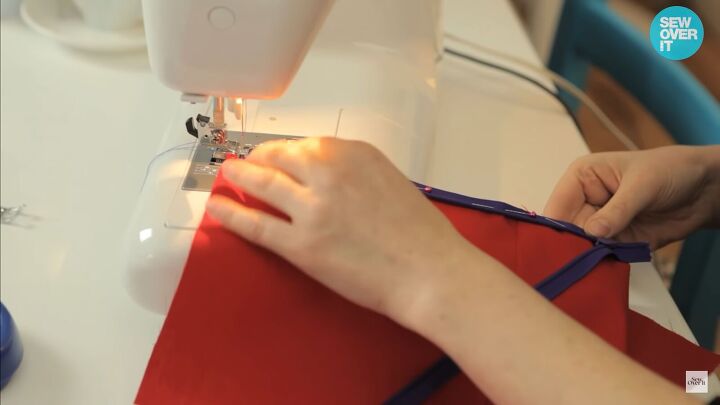
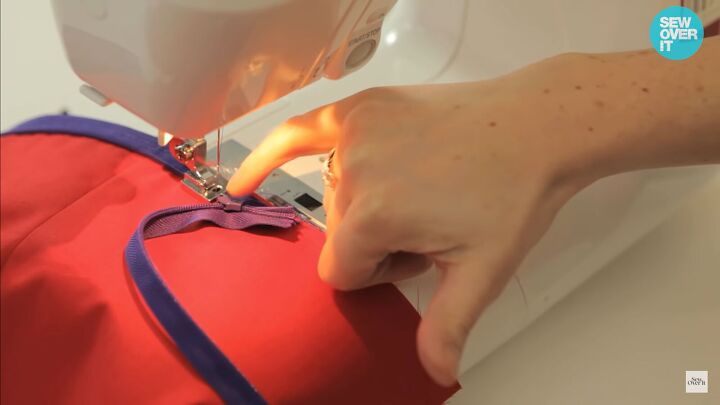
Put the regular zip foot in the machine. Make sure the left edge is open.
Run the stitch down the center of the tape, down the length of it, with your stitch length set to 5. This is a temporary stitch and it doesn’t need to be precise, but do try to keep it as straight as possible.
This step anchors the zipper so make sure it doesn’t move.
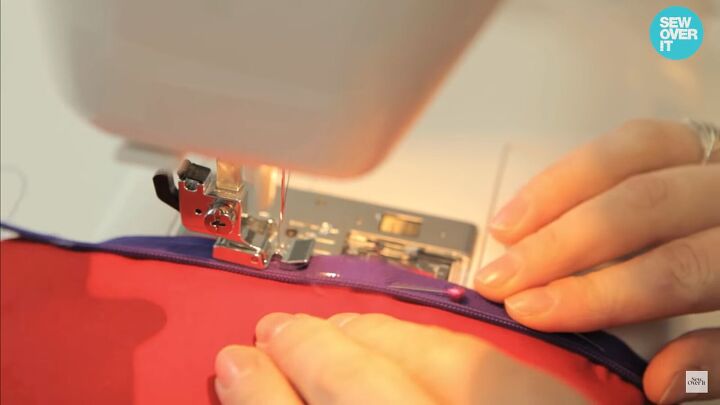
Switch the regular zip foot to the invisible or concealed zip foot.
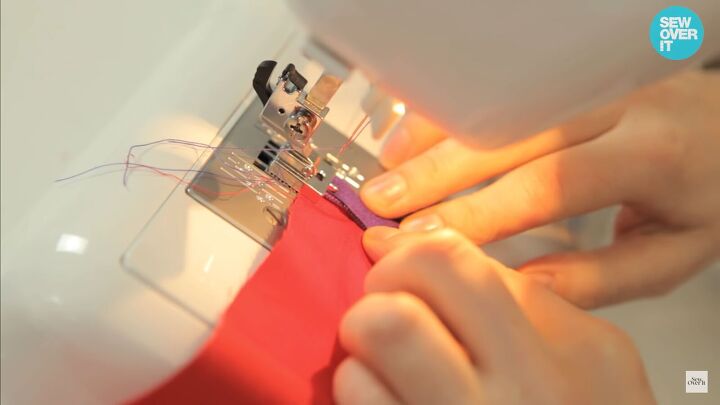
This stitch gets really close to the zipper’s teeth so it stays concealed.
Tuck the teeth into one of the little channels underneath the foot. These channels help you!
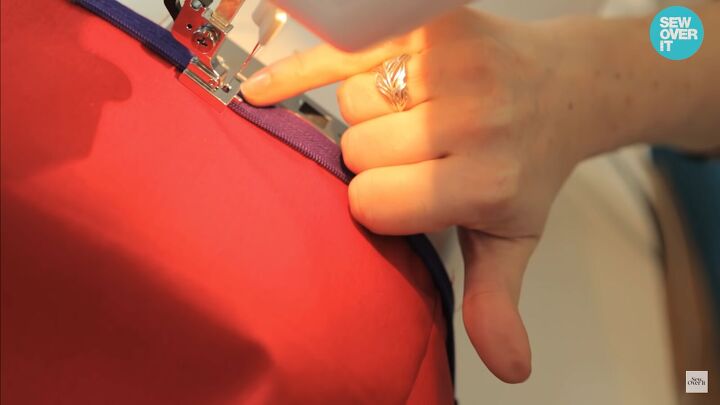
Open up the teeth so they’re open when going into the channel. You can see that little metal “t” at the edge of the teeth.
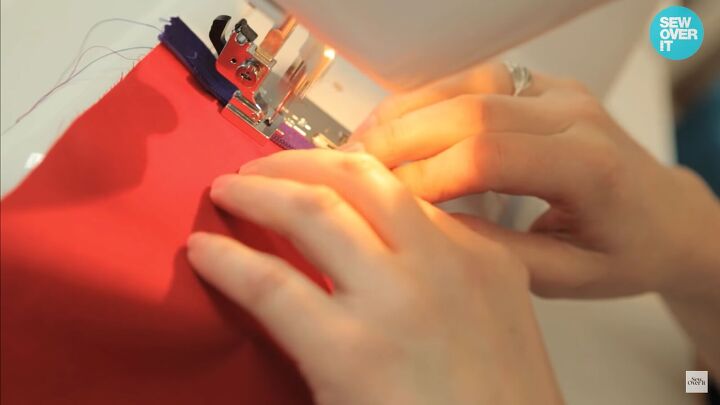
Switch your machine back to regular stitch length and do a backstitch at the beginning. Peel it back for the initial bit so you’re confident it is stitching in the right place. Backstitch the normal way.
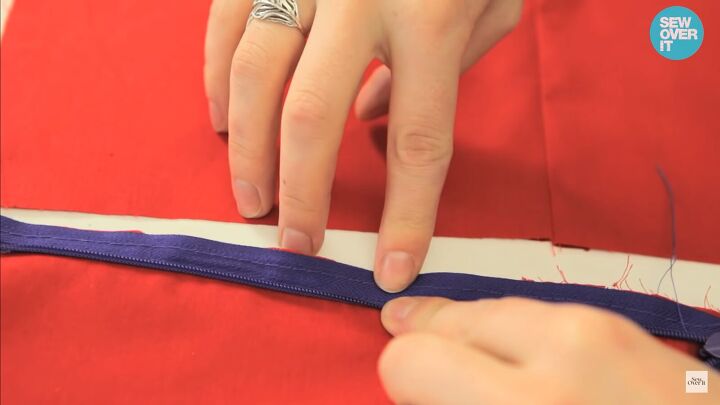
When you open it out, you can see there’s a stitch right in the groove. If you flip the fabric when it’s finished, you can see that the teeth are concealed.

The right side is where a lot of people get confused. Concealed zips look odd when you sew them in. I like to say that if it looks wrong, it’s probably right! You’ll be placing the zipper on the right side of the fabric for this side.
3. Sew up the other side
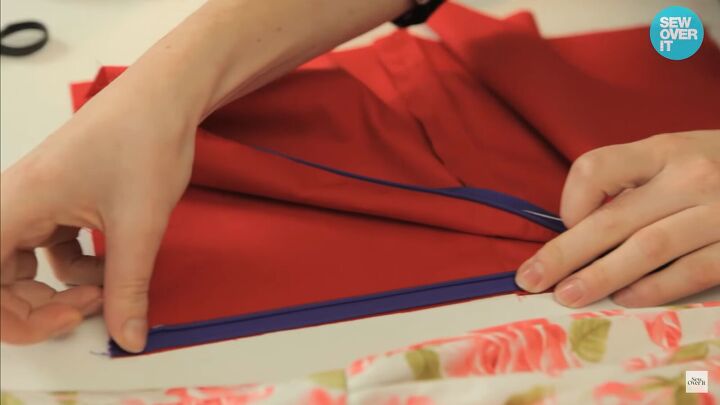
Put the zipper on reverse on the other side of the fabric. The tape should line up with the raw edge. If you remember that, you won’t go wrong! Check to see that your zipper is perfectly straight and not twisted anywhere.
I made this practice piece with the seam at the waist so you see how to line them up.
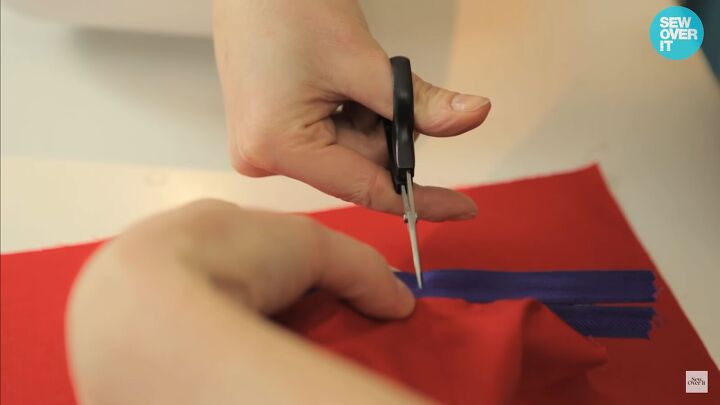
Close the zip. Make a tiny snip on the unstitched side exactly where it is lining up at the waist so it lines up with the seam.
Pin the zipper in the same way, with the pins parallel and facing up to the top. Sew in the same way: regular zip foot first to anchor it and then the concealed zip foot to stitch it in. Make sure you are as close to the teeth as possible but on the other side.
4. Check your work
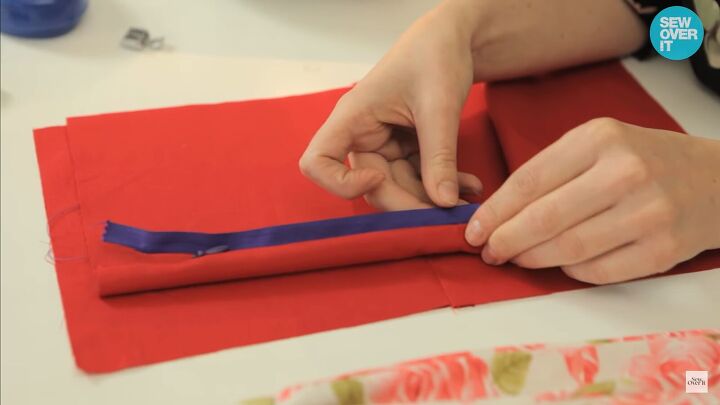
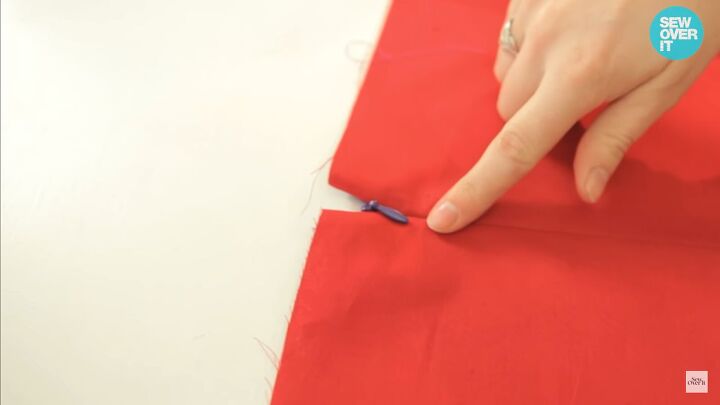
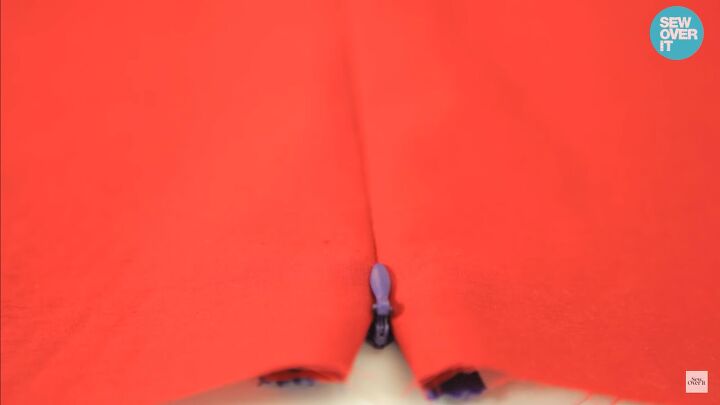
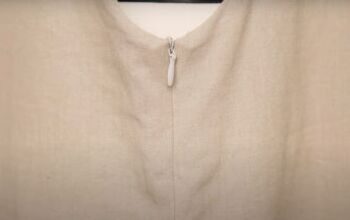
Once the zipper is stitched in on both sides and you close it, you’ll see the seam is lined up and the zipper is invisible!
5. Finishing touches
Give the garment a nice gentle press. You may need to put a piece of cloth in between because a hard press could create ridges in your zipper and garment. There you have a perfectly concealed zip!
How to install an invisible zipper
Although it may seem a bit daunting at first, sewing an invisible zipper isn’t that complicated. Please let me know in the comments if you practiced installing a concealed zipper and even better, what you put it into!
The author may collect a small share of sales from the links on this page.


Comments
Join the conversation