How to Make Patterns From Your Own Clothes in 4 Quick & Easy Steps

If you're looking to learn how to make patterns from your own clothes, this tutorial is for you! While it may seem simple to know how to trace clothes to make a pattern, there are few things you ought to know so your pattern actually works.
For one, the back pattern is almost always different than the front pattern! If you want to learn how to copy clothes and learn how to make patterns for clothes, let’s get started!
Tools and materials:
- Your own well-fitting t-shirt or sweatshirt
- Tracing paper
- Pencil/marker
- Weights to hold the fabric and/or paper
- Measuring tape/ruler
- Tracing wheel
- Scissors
- Pins
- Tailor’s chalk
1. Make the back pattern
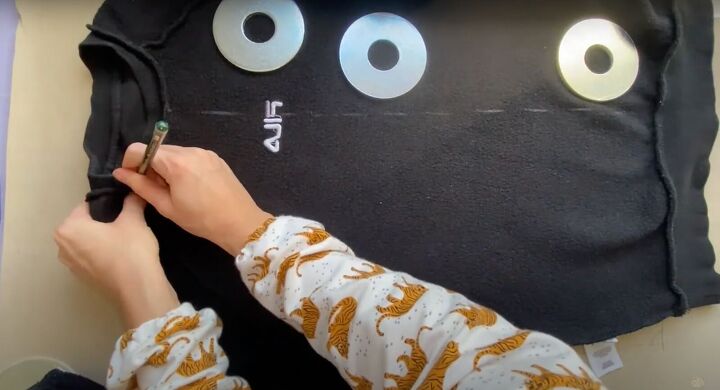
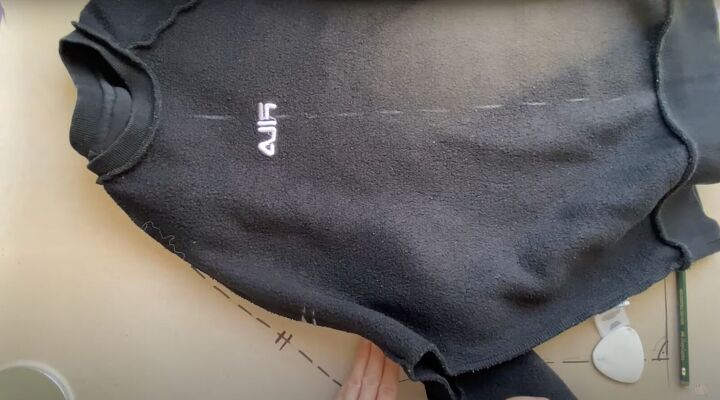
Lay your top down on top of the tracing paper with the wrong side or inside facing you. Have it as flat as possible and with the back facing you.
You may need to use weights to hold down your top or the paper to keep everything flat.
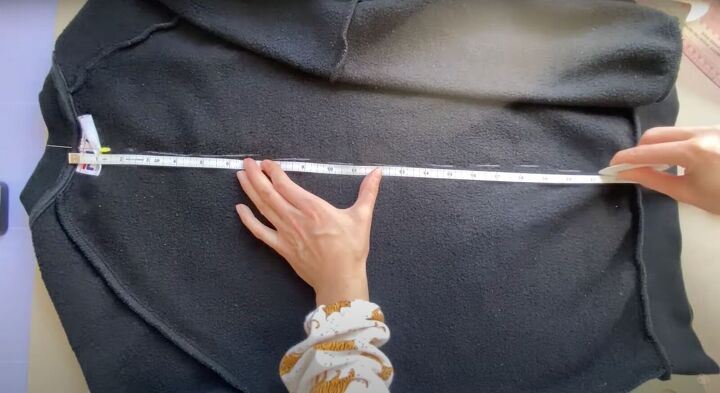
You will only copy one side, rather than the entire back, so mark the fabric down the center with chalk and a measuring tape to make it as straight as possible. Trace the outline of the top directly on the paper.
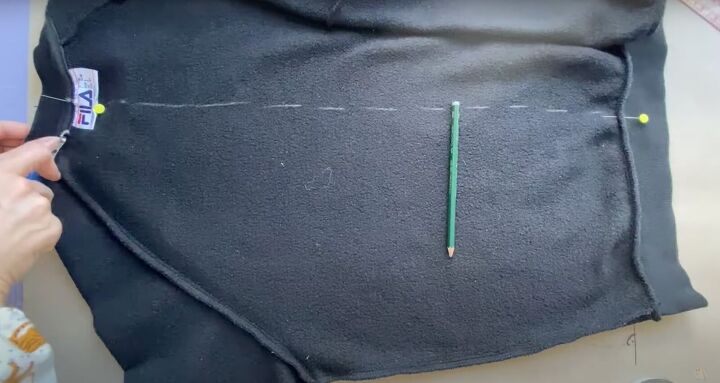
You’ll want to transfer all the visible seams onto the paper too. If the fabric is sturdy enough, use a tracing wheel to mark the seams. This helps make these little dots on the paper that you will be able to connect with your pencil and marker.
The tracing wheel is handy for those seams that are on the inside of the garment. Do not use the tracing wheel on delicate fabrics as it will damage them. Mark the bottom, shoulder, and collar seams.
Once you’ve traced these seams, use your ruler to make the straight lines straighter.
Sometimes hand drawing needs a bit of help to make it more straight!
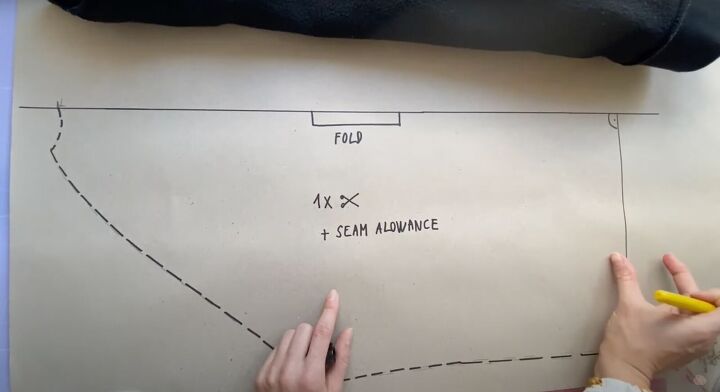
Mark the center with your marker where you will need to fold the fabric. You’ll cut this pattern once. Add a 1¼-inch seam allowance on the bottom and ¼ inch on the other seams.
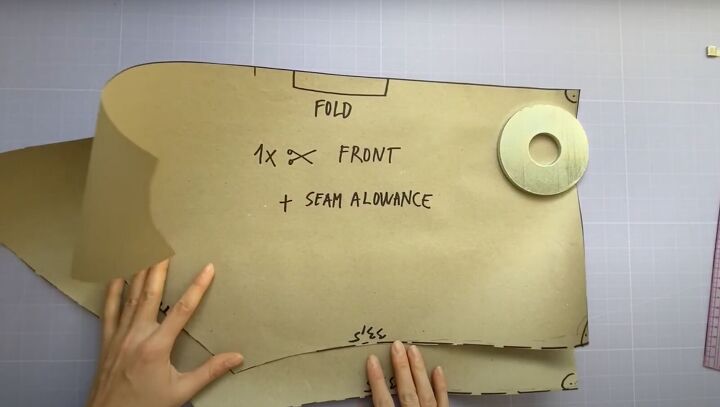
2. Make the front pattern
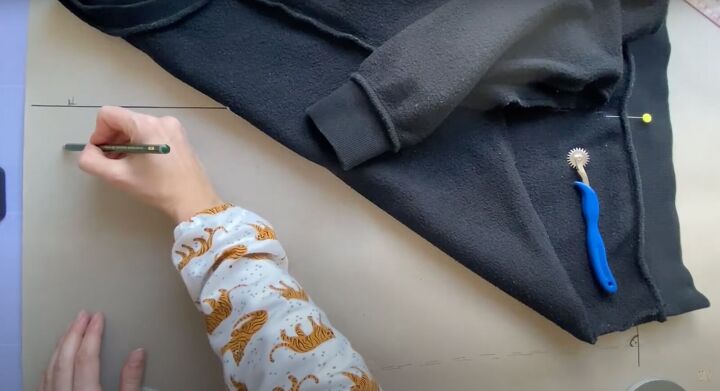
Keeping your top inside out, lay it flat with the front facing up. Repeat what you did for the back by copying the seams.
You may need to use a pin to mark an edge that’s harder to copy. Place the pin at the spot to make a little hole on the paper that you can connect with the pencil or marker.
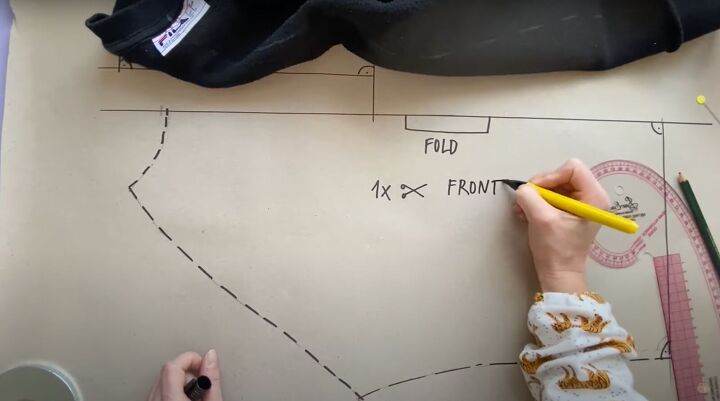
The neck curve on the front is lower than the back. This is an important detail that needs to be on your pattern. Use your marker to make this more visible.
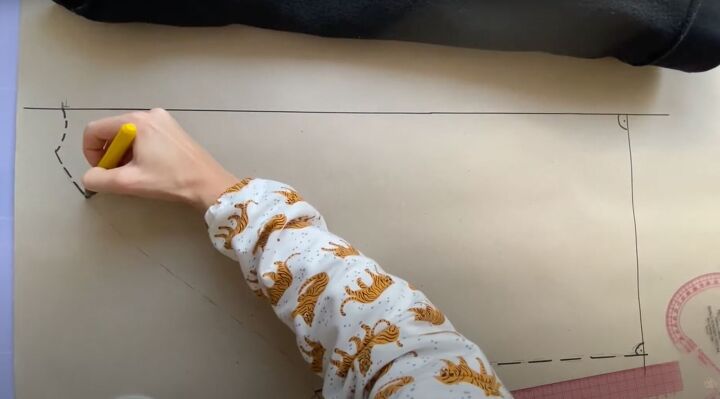
Like the back piece, you’ll cut your fabric on the folded edge when making the front pattern. Add seam allowance.
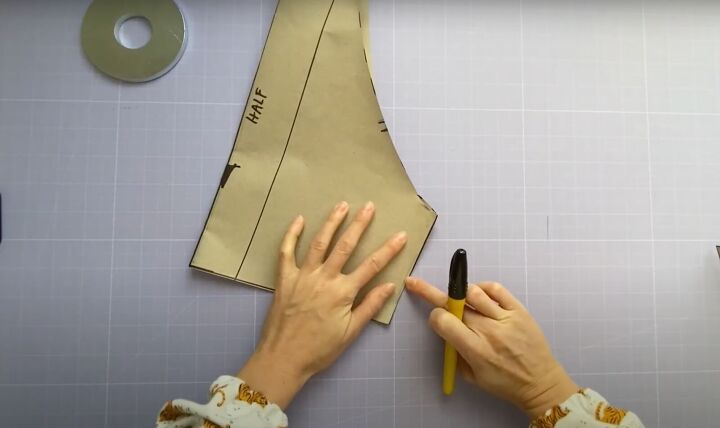
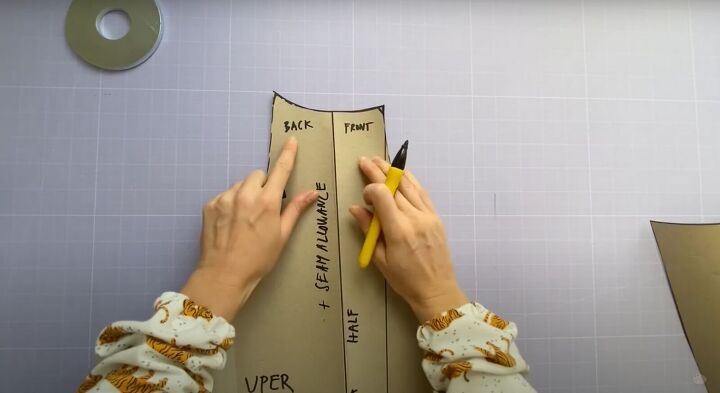
3. Make the drop sleeve pattern
Lay the sleeve as flat as possible. Oftentimes, the front and back sleeve patterns don’t have the same curves. Mark notches on the front part of the sleeve panel.
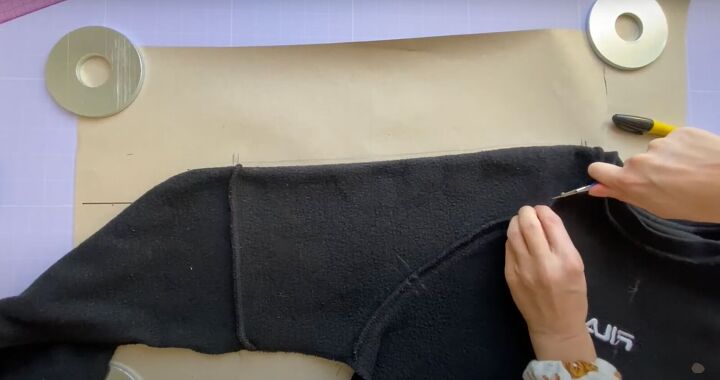
Mark a center line and trace out the sleeve on both the front and back to match.
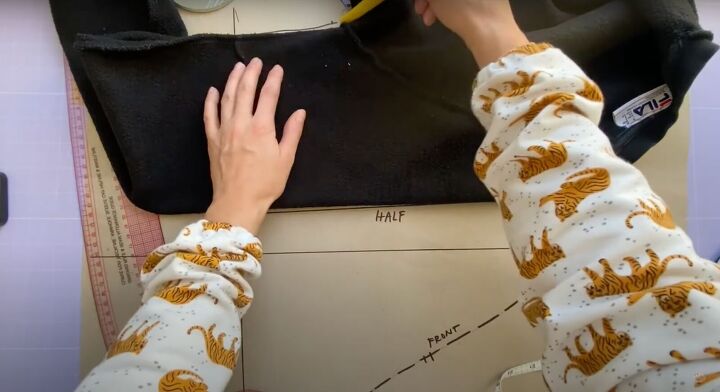
Add seam allowance.
Use your marker to define all the lines.
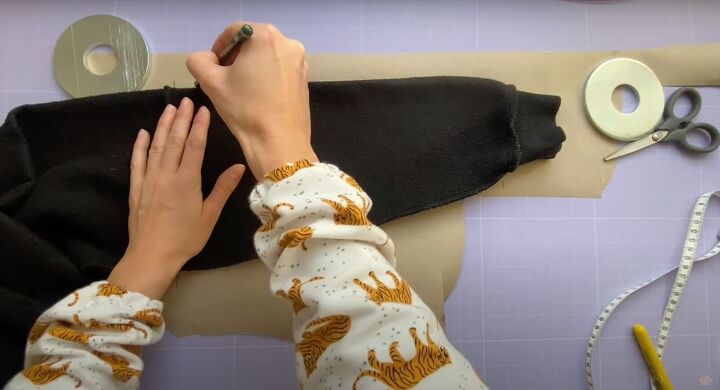
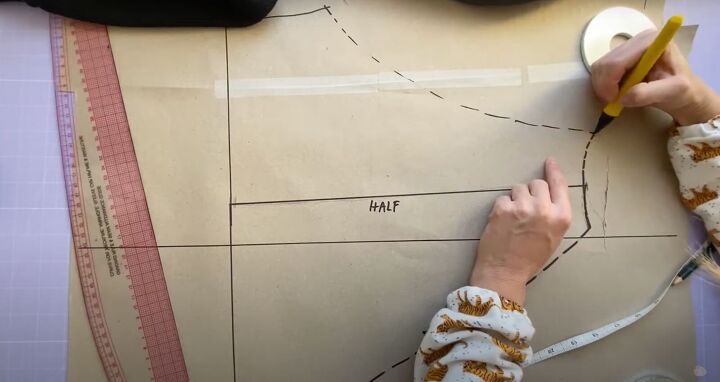
4. Make the sleeve pattern
Lay the sleeve as flat as possible and trace the outline.
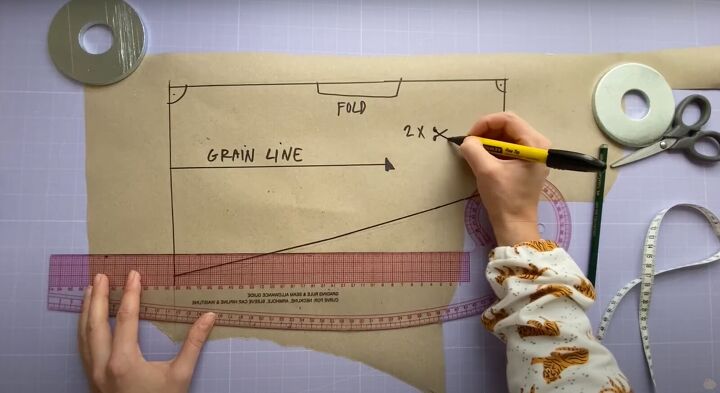
Mark the grain line direction (the way the fabric stretches) and the size.
Because a drop sleeve has two parts, you have to make sure they align and have the same length. Fold the paper in half and make sure the edges are the same.
Recall that the front and back may be different depending on what sort of top you are using as a template.
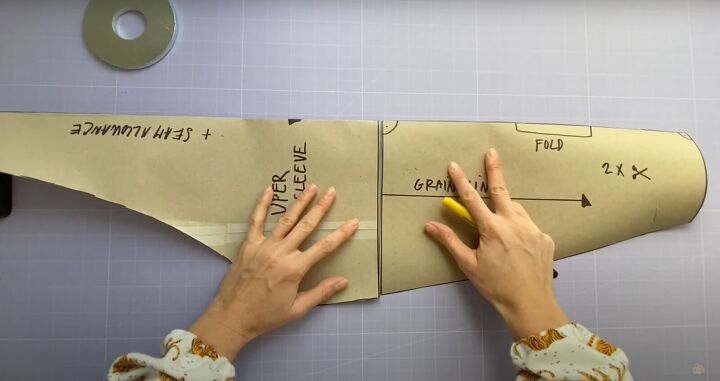
All the other edges should be the same length and the edges to match perfectly. If making a drop sleeve, make sure the upper and lower sleeve patterns align.
How to make patterns from your own clothes
You’ve just learned how to make a pattern from a piece of clothing. Please let me know in the comments if you’ve made your own pattern using my method. I love hearing from you!
The author may collect a small share of sales from the links on this page.


Comments
Join the conversation