Sewing Euro Hem on Jeans | Elise's Sewing Studio

We may earn money or products from the companies mentioned in this post.

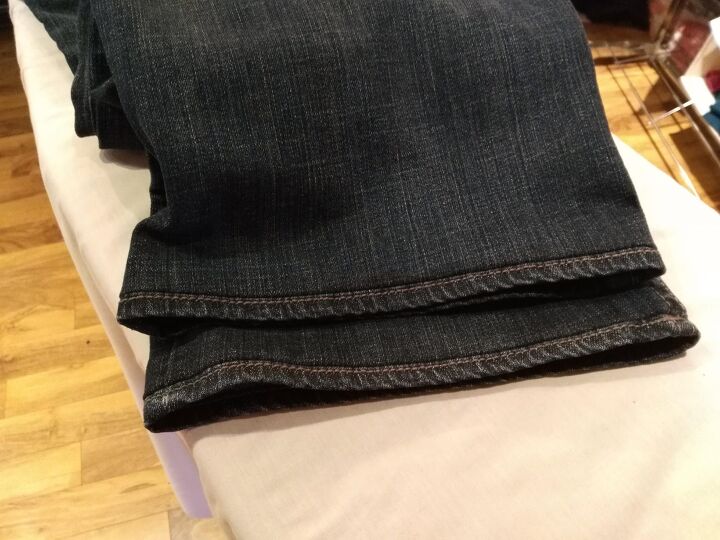
Essentially, a Euro hem is when you cut off the original hem and sew it back on as discreetly as possible, so you can only see the original manufacturers’ stitching.
Sometimes when you hem jeans, a simple double-turned hem is fine. But other times….hey, the stitching on your sewing machine looks nothing like the decorative stitching on the rest of the jeans, making it obvious you hemmed them at home. Using a Euro hem technique keeps the original hem AND shortens your jeans.
Neat huh? And it isn’t as advanced as it might sound.
This post contains affiliate links. Should you click the link and make a purchase, I receive a small commission at no extra cost to you.
YOU WILL NEED:
- safety pins
- straight pins
- Ruler (affiliate link)
- Fabric Scissor (affiliate link)s OR I like to use a rotary cutter (affiliate link) and cutting mat (affiliate link)
- Sewing machine
- Zipper foot (affiliate link)
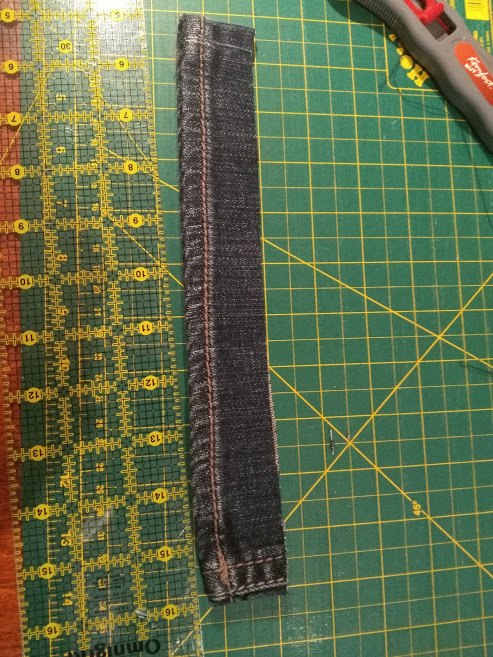
First, mark the finished length of your jeans. Then lay them flat and add a 1″ seam allowance. Cut along the seam allowance.
On the piece you cut off, trim it so it is 1″ wide.
If you are only hemming your pants less than 2″, you can skip cutting off the hem and instead fold the top of the original hem to your desired length, then pin and take to the sewing machine.
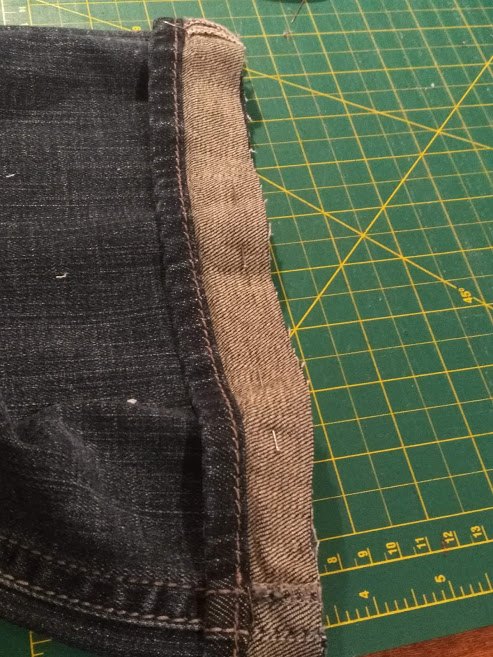
Flip the hem strip inside out, and pin to your jeans. Make sure you match the side seam stitching between the two pieces.
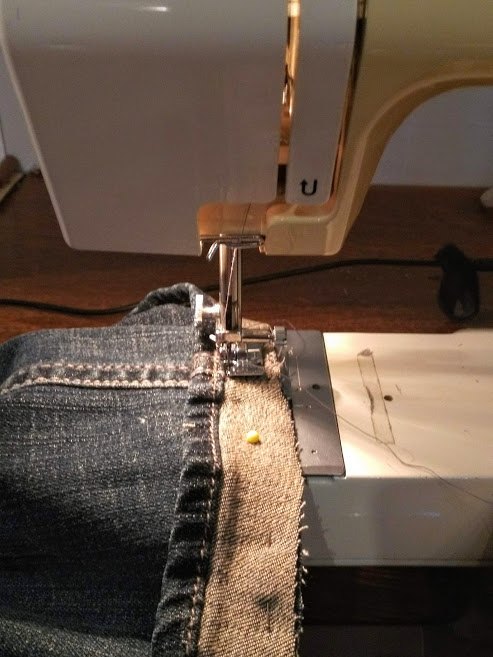
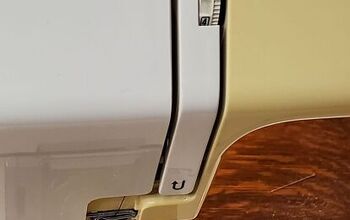
Now take your pants to your sewing machine. Using thread that matches your fabric, sew as close to the original hem as possible.
I find it easier to use a zipper foot for this step, as it allows you to get as close to the original hem as possible. It’s also easiest to start sewing on the bulkiest part, usually where the side seam is, so your machine isn’t fighting to go over a big bump. If you have sewing needles specifically for denim, use them.
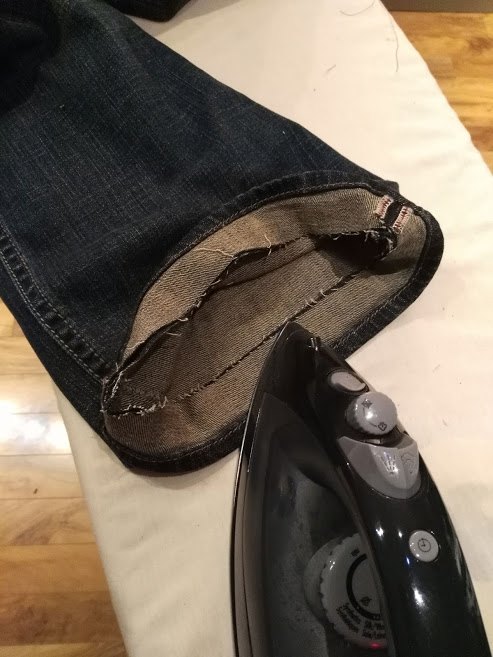
Press your stitches, putting the iron on the inside of the jeans. Then flip the hem down and check your work and press, so the seam allowance is up inside the pant leg.
Trim the seam allowance down to 1/2″. You can stitch the seam allowance in place by stitching in the ditch in the side seams, so the seam allowance is stitched pointing up.
That’s it! Now you have a professional-looking pair of hemmed jeans.
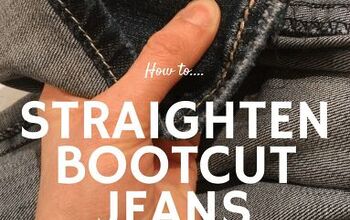
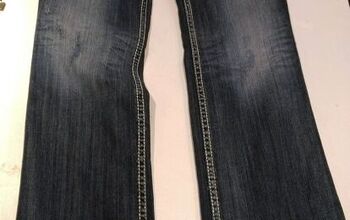
YOU MIGHT ALSO LIKE: How to straighten bootcut jeans
If you liked this tutorial and would like to learn other ways to shorten your clothes, I have a short ebook, The Beginner Sewists Guide to Hemming. It includes this blog post plus the post How to Sew A Cuffed Hem, and two basic hemming techniques in one convenient PDF download. To find out more, click here.
The author may collect a small share of sales from the links on this page.


Comments
Join the conversation
This is huge for petites everywhere. Wonder would it work on sleeves.
Looks great and fantastic directions!!!