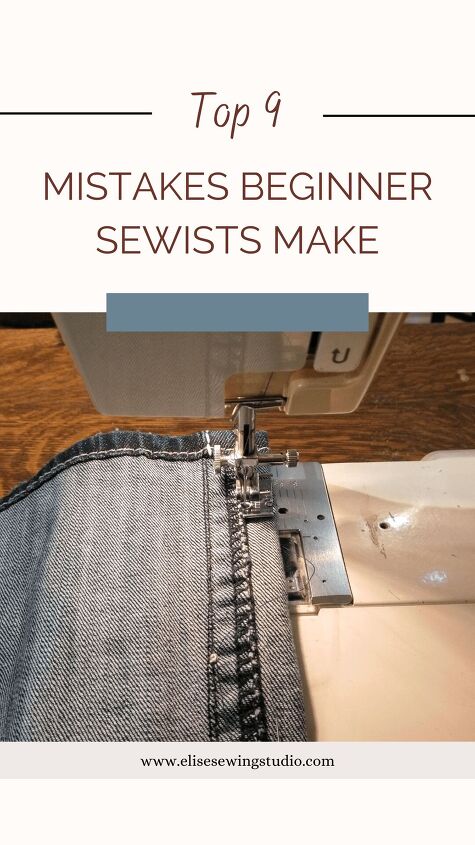
Top 9 Sewing Mistakes Beginners Make | Elise's Sewing Studio

We may earn money or products from the companies mentioned in this post.
Once someone has learned how to set up a machine and sew a straight line, they can start to make small sewing projects. As you build on your skills, you will find different tricks and things you just didn’t know when you started.
Learning to sew is a journey, and there are a lot of small little steps that can elevate your final project. Keep reading to learn about the top 9 sewing mistakes beginners make!
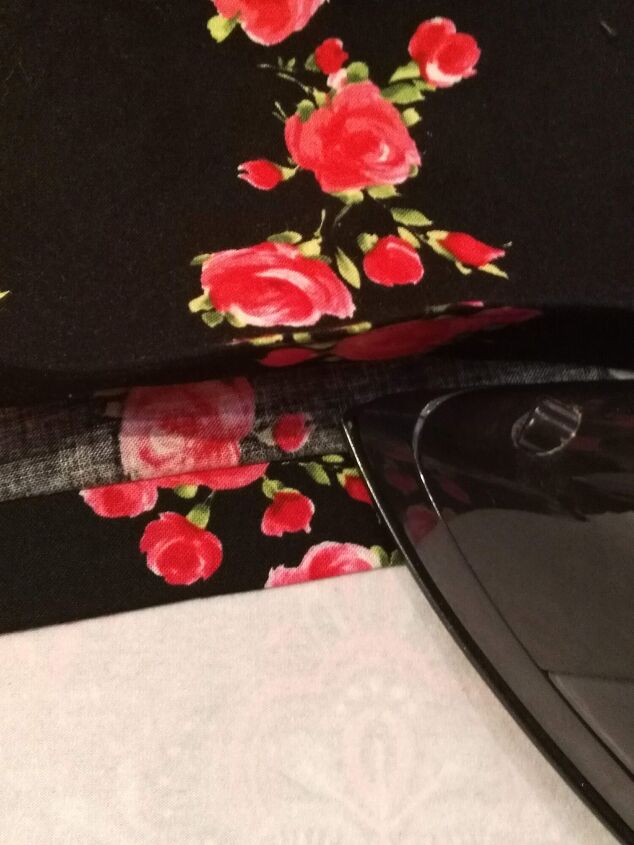
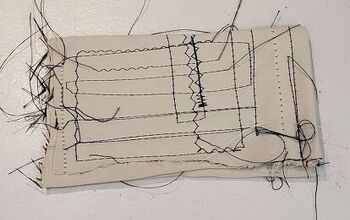
One of the biggest mistakes is one of the easiest to fix. Press your seams!
A lot of sewists will joke that their iron gets used more for pressing while sewing than actually ironing clothes before they wear them. Pressing your seams flat and then either open or to the side gives your sewing a crisp, professional look.
You’ll also notice a big difference before and after pressing a hem. The fabric lays just so much flatter!
For more on pressing, check out the post Pressing and Ironing Tools.
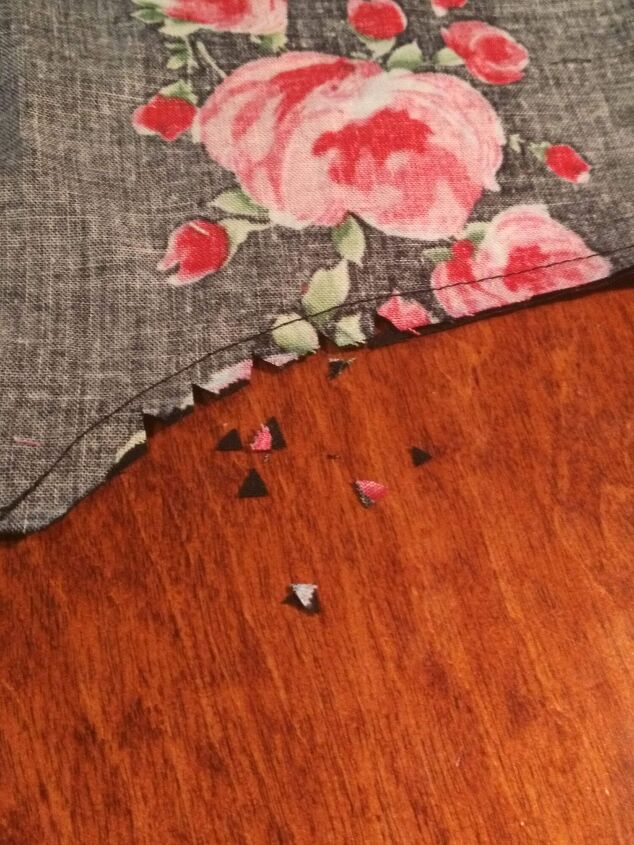
One of the trickiest spots to sew a straight line is going over a seam that is bulky (maybe another seam allowance underneath).
When possible, trim down seam allowances at corners, and seam allowance that ends up in hems. This makes the seam much easier to sew over.
Also clip the seam allowances in curves, as this makes it lay flat instead of pulling.
This is possibly the biggest sewing mistake – and it’s not even at the machine!
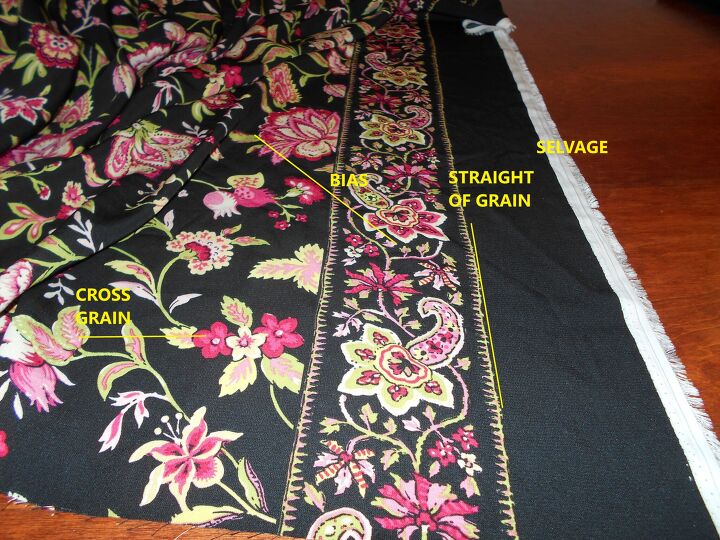
Firstly, if you want to find out more about fabric grain, I cover this in a separate post about sewing terminology. Basically, the fabric is woven with threads going vertically and horizontally, and the arrow on your pattern needs to match the grainline, which runs parallel to the selvage edge.
The danger is if you just put your pattern pieces on the fabric going any which way, the project is more likely to warp, stretch out, or twist is a weird way.
Sewing can become an expensive hobby, but it doesn’t have to be. However, saving less that $5 by buying the cheapest thread isn’t the best way to save money sewing.
Bargain shelf threads are typically not as smooth as the name-brand threads. If you look at a name-brand thread and a discount store thread side by side, you will probably notice that the cheaper one has fibres that stick out of the thread, and the name-brand one has significantly less.
These wayward fibers can cause snags while you sew, and get tangled. Avoid!
If you are on a budget, the best way to save money is to look at ways of repurposing items and fabrics you already have or getting material at thrift stores.
I usually use Gutterman thread, but Coates and Clarke is another popular choice.
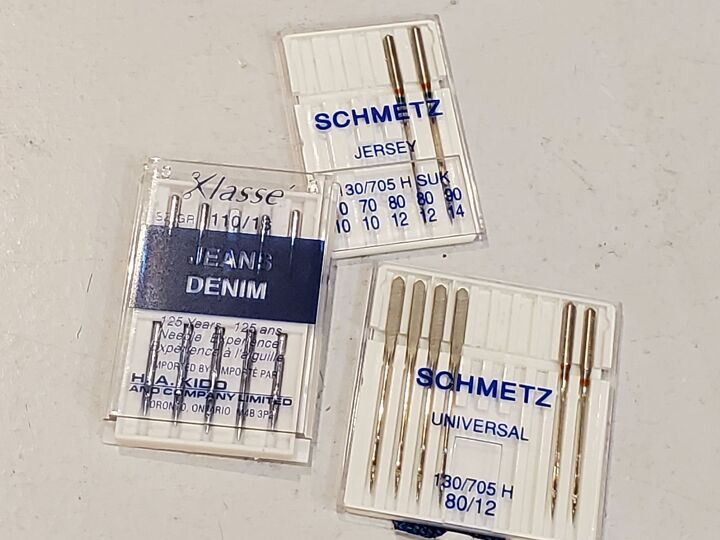
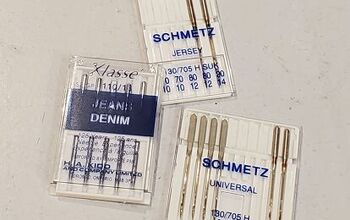
Most of the time, a universal sewing needle is fine. However, you will find that a denim needle really is better at sewing denim (it’s a bit longer, which makes it better at sewing through the thick fabric).
If you are using knit fabric, a jersey or ballpoint needle does give better results than a universal needle. You’ll also want to make sure to change your needle regularly since a dull or bent needle can cause a lot of problems.
If you find yourself with machine needles in your regular pincushion and you don’t know what type it is, you might like this:
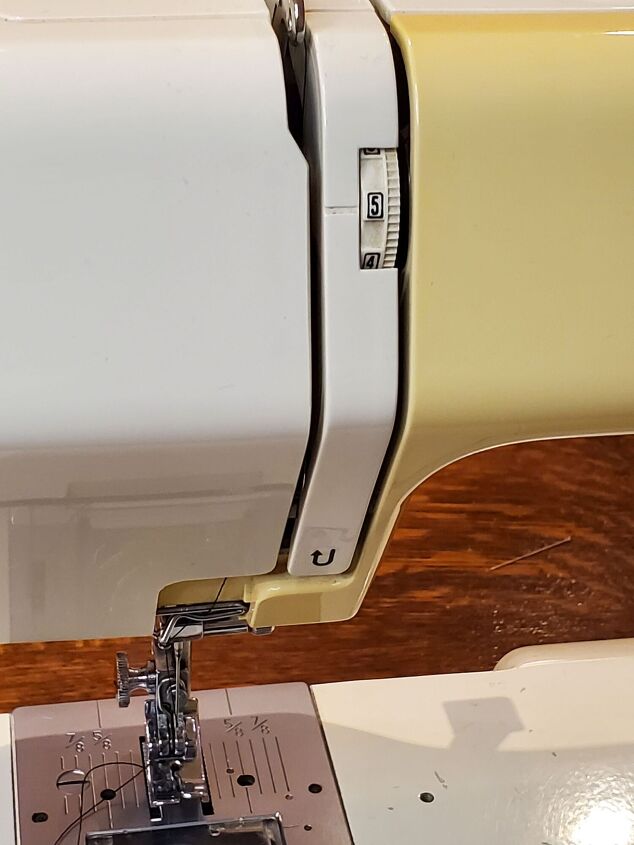
Sometimes you have to change the tension on your machine (especially for thin fabric), but don’t fiddle with your tension if you don’t need to!
Some folks overthink their tension and stitch settings, and this is a case of if ain’t broke don’t fix it. Just sew if the tension is fine!
One tip: Thread your machine with the presser foot raised. The thread fits into the tension discs better this way. Don’t believe me? Try pulling the thread of a threaded machine with the presser foot up versus down to feel the difference.
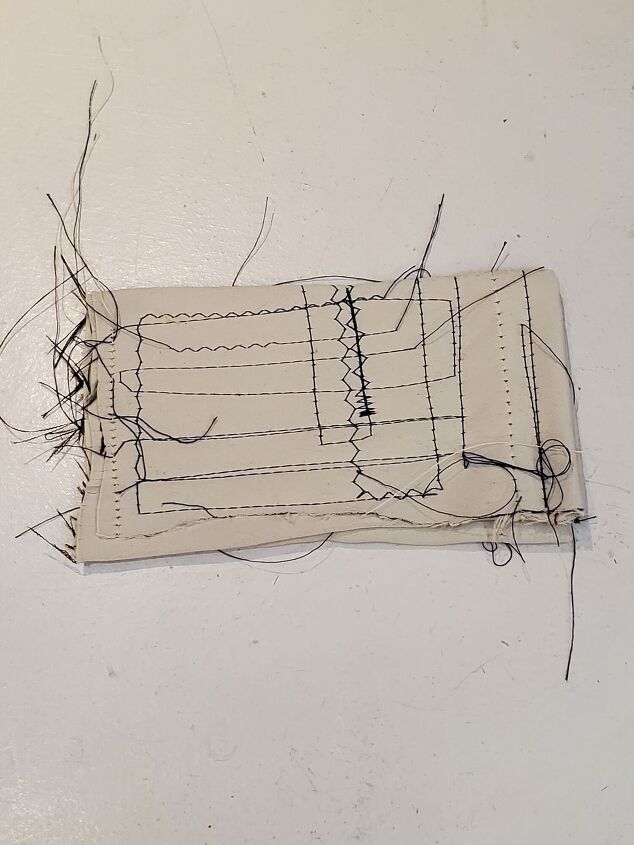
Test your needle and tension on the same fabric you will be sewing with. This allows you to adjust the tension if need be and notice if you are skipping stitches, etc.
It’s just one of those things that takes an extra minute upfront but can save you from picking out a seam later.
When pinning project pieces together, I like to match the top and bottom first, and then any seam lines or junctions.
Fabric can stretch when you pin it, and if you start at the top and then go down to the bottom, it can potentially stretch out of shape and no longer match. This is especially the case with lightweight fabrics.
Hand basting means sewing something by hand with a long running stitch to keep it in place.
This is one of those steps that you don’t always need to do, but it is a good idea for:
- Anything that wants to move when you sew it (I’ll often hand baste velvet, as the pile wants to shift the pieces down).
- Testing how something will look before you machine stitch it.
- Tacking something to test it out how it will work; or hold it steady while you sew.
It can save a lot of headaches in some instances.
I hope that at least one of those tips helps you out on your next sewing project! What is the number one sewing mistake that you see people make (or didn’t know yourself?)
The author may collect a small share of sales from the links on this page.


Comments
Join the conversation
I’ve be
Thank you