Top Tips For Shirring
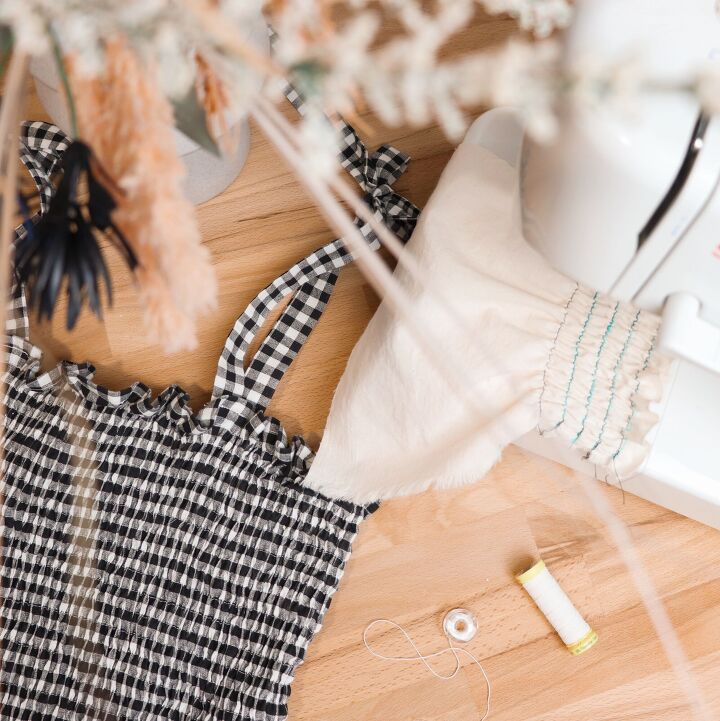
Whether it’s in a home sewing pattern or ready-to-wear garment, shirring details are cropping up all over the place lately. Shirring details can easily be added to your own makes for a completely custom, on-trend look. If you’ve never sewn with elastic before, don’t worry! It’s surprisingly simple to master the technique to level up your sewing game and me-made wardrobe. Just read this post for my top tips for shirring to get started!
Shirring details work best with lighter-weight fabrics such as lightweight linen or quilting cotton. This is because the elastic will be too weak to gather heavier fabrics like flannel or denim. Use a thin elastic in your bobbin case such as this one or this one, with all-purpose thread in your needle. Depending on your fabric, you should still be good to use a universal needle for sewing.
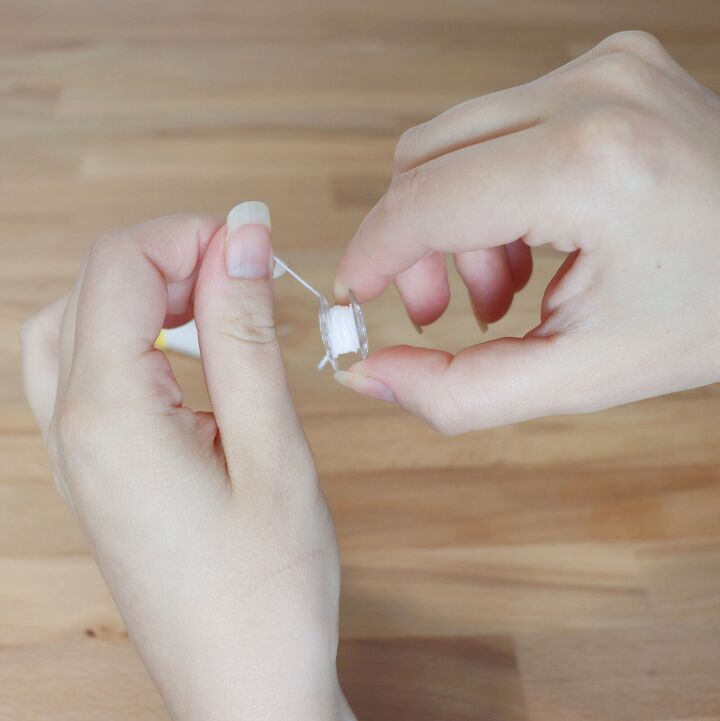
Hand-wind the elastic thread onto your bobbin case, being careful not to stretch the elastic. I have heard from other sewists who like to *slightly* stretch the elastic a bit, but your results will really depend on your machine and it’s tension settings. However, the tension disc will stretch the elastic too much if you use the machine to wind the bobbin, so that’s why it really counts to do this step by hand yourself.

Adjust your machine settings to the longest stitch length. The gathers of the shirring are created between each stitch, so the longer the stitch length the more gathers you’ll have. The shorter the stitch length, the less gathered your garment will look. On most machines, the stitch length will be set somewhere between 3-4 (I set mine to 4).

You may also need to increase your bobbin tension. The tension should be set high enough to completely pull the top thread to the underside of the fabric around the elastic. Do this by turning the screw on your bobbin case slightly to the right until. I ended up turning mine one full revolution to the right. Make sure you remember how far you turn the screw while shirring, and be sure to set it back when you return to your normal sewing so you don’t experience problems with your machine on your next project.
Before diving right into shirring on your sewing project, make sure to test out your machine settings on a scrap piece of your fabric. Make any further adjustments to your machine necessary.
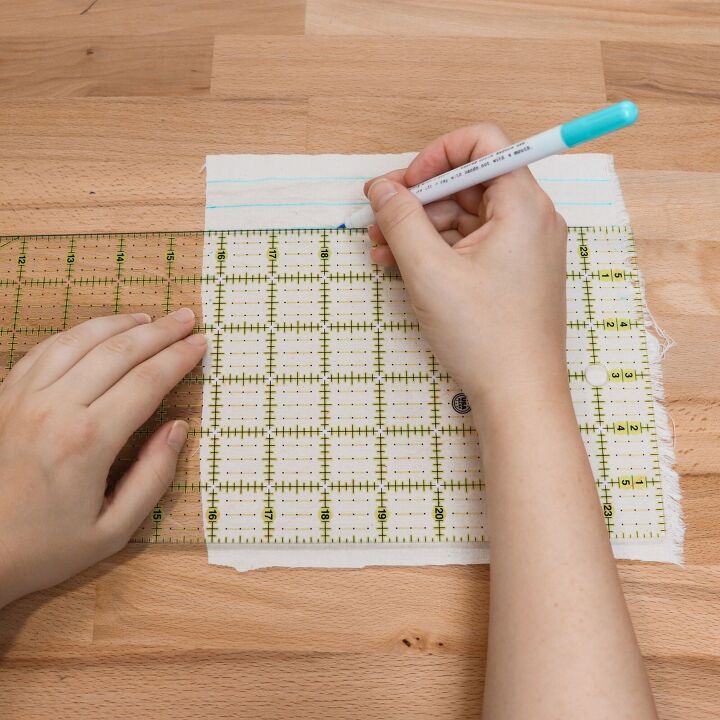
Shirring is created by sewing rows of elastic spaced 1/2″ apart. If you’re still relatively new to the technique, use a water erasable pen or some tailor’s chalk to mark your lines on your fabric. Once you get the hang of shirring, then feel free to skip this step and use your machine’s measurements or the edge of your presser foot as a guide. Another hack is to use gingham or checkered fabric that already has defined lines you can follow.
If you plan to hem the top of your garment or sew shirring lines all around the bodice of a shirred top or dress, make sure to sew your hem and side seams first since the shirring can make standard sewing a bit weird after it’s in.
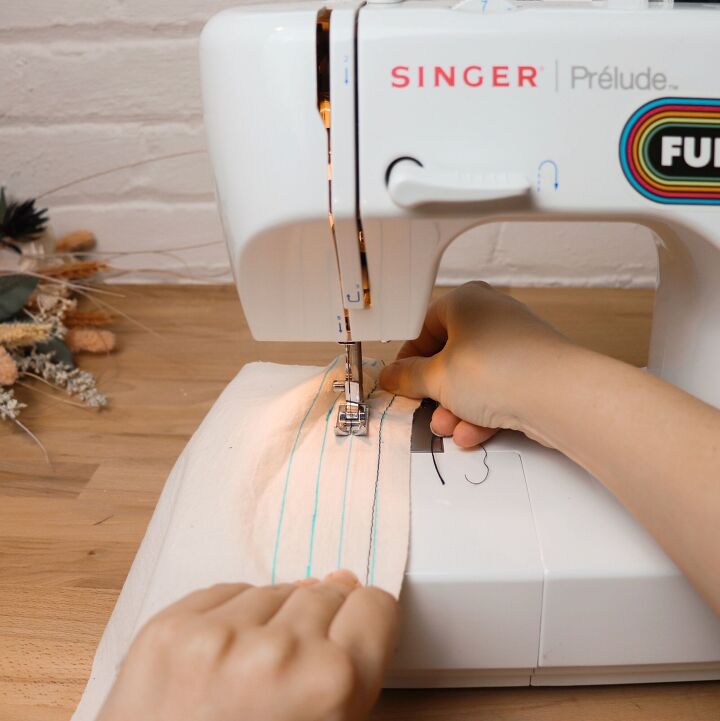
After sewing your first row of shirring, your fabric will start to gather up, which is a good thing! In order to properly shir all your fabric, you’ll need to pull on the fabric to slightly stretch it flat as you go to make sure all your rows of gathering are even.
A walking foot may help your fabric gather more evenly as you sew. However, I sewed my first shirred garment with a regular ol’ presser foot and had no issues, so you can just as easily skip this step.
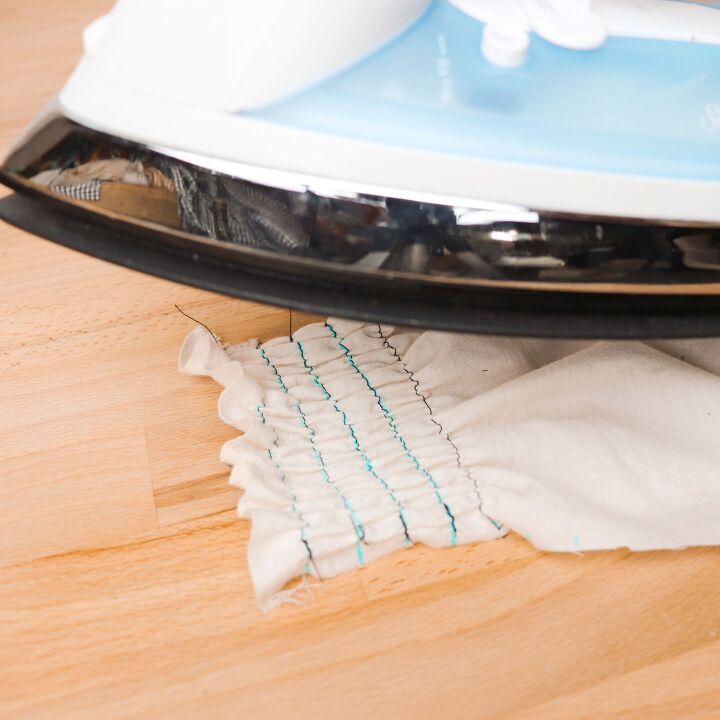
After you’ve sewn all of your shirring rows, lightly steam your project by closely hovering a hot iron over the elastic to shrink it up a bit for a better fit.
Those are my tops tips for shirring! I hope this tutorial helped give you the confidence and know-how you’ve been looking for to finally take the plunge into creating your own DIY shirred garments. This technique is perfect for creating your own shirred dresses or crop tops, and is a great skill to add to your sewing arsenal.
Looking for more sewing tips + tricks? Learn how to source sustainable fabric here, or create your own gathered skirt by following this simple tutorial.
Happy Making!
-XO-
C
**contains affiliate links. learn more here
The author may collect a small share of sales from the links on this page.


Comments
Join the conversation