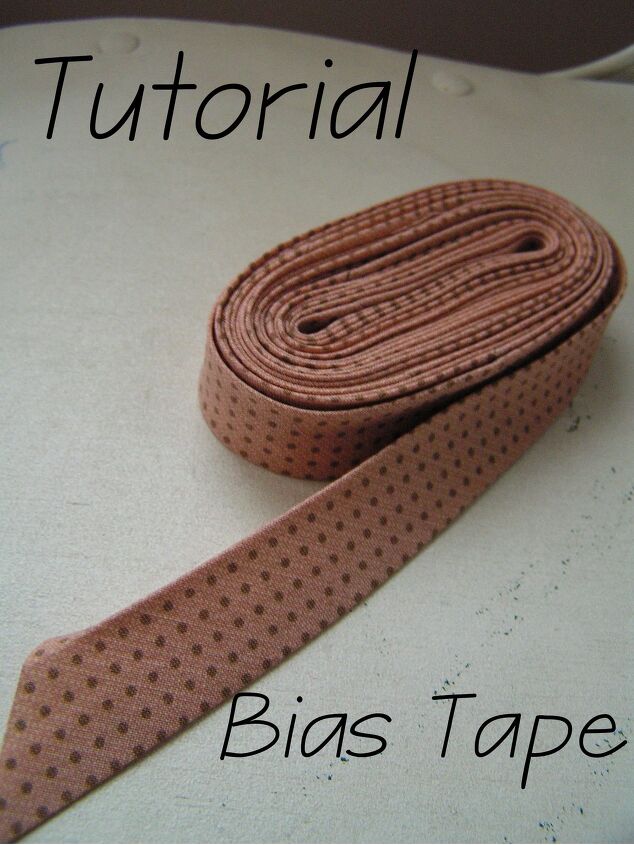
Tutorial- Bias Tape-
I decided to make a tutorial about a project that I have done. I am going to have more tutorials in the future, won't that be fun! That way my blog would be more useful for some of the people visiting here. In this tutorial I want to show a technique that I use to make bias tape. There are several ways to do this; I've tried many, but for me this is the most comfortable and effective way to make bias tape. This is very useful knowledge to have, and I find it fun to do. If you have a fat quarter you can start making bias tape and using it for many different projects. They are used to finish off a quilt. Here goes!
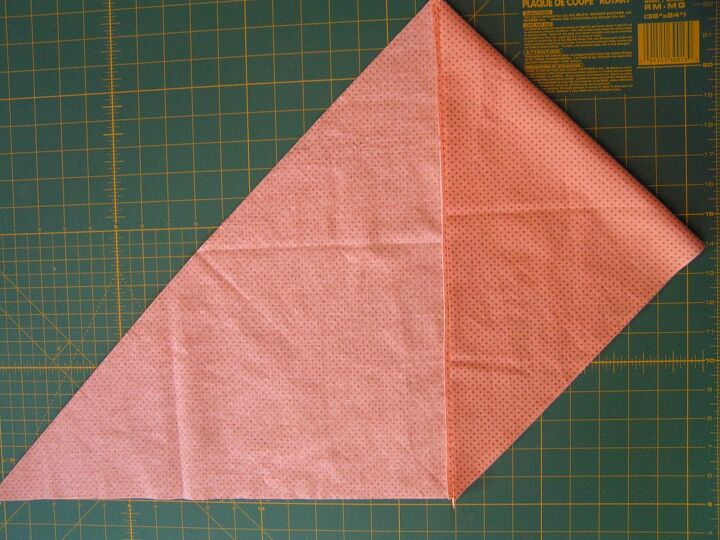
First I make a square out of the fabric. The corners must be 90°. Fold the fabric into a triangle.
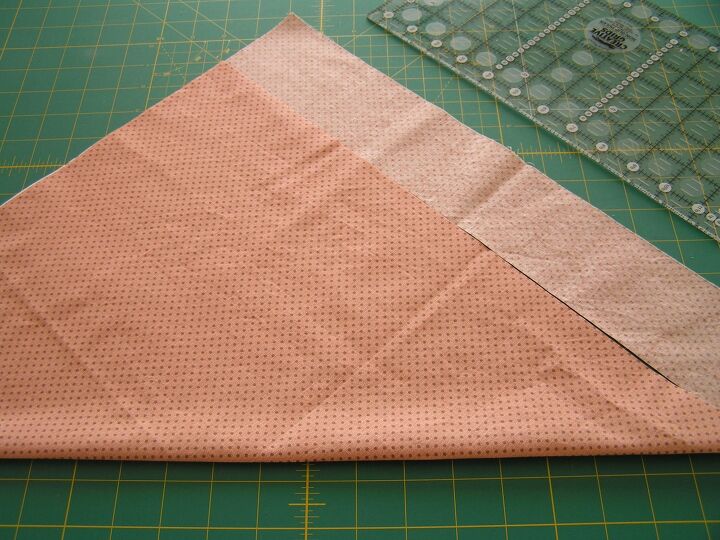
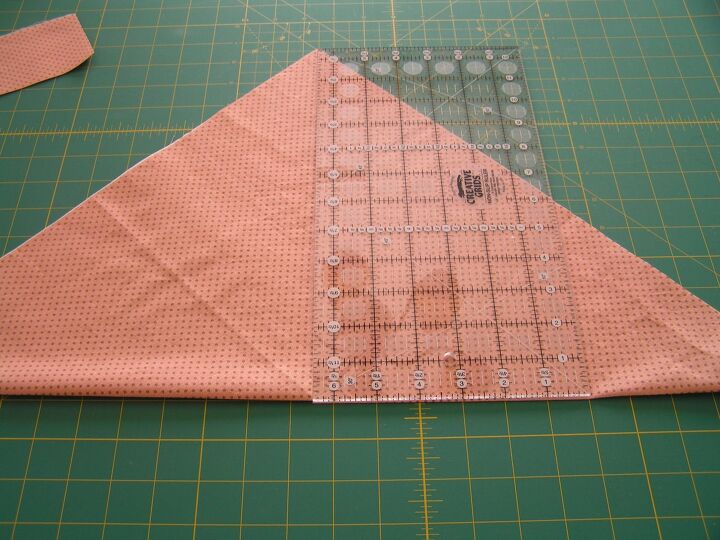
Cut away the excess.
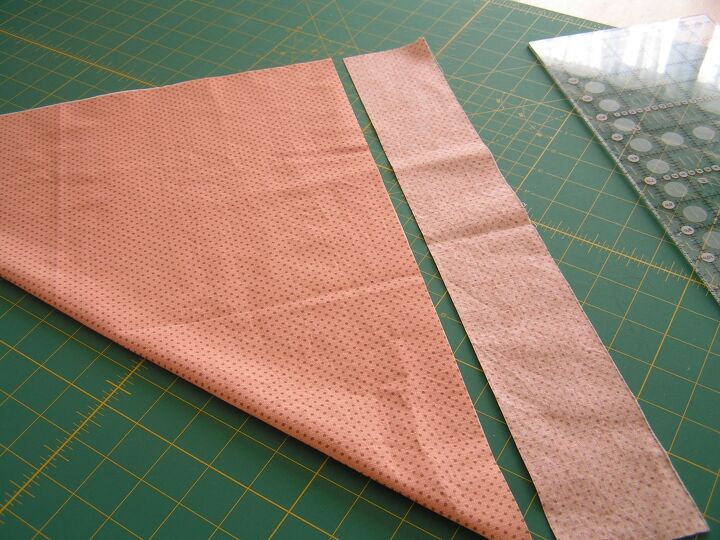
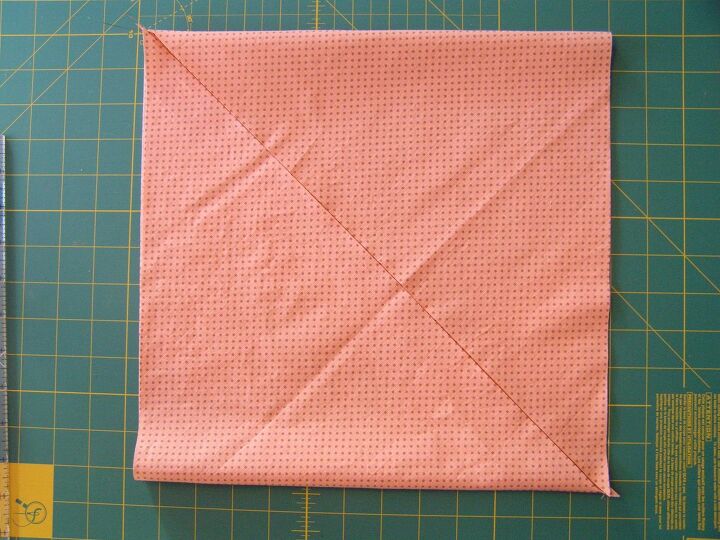
Because I have a cutting mat, I was able to just cut the triange in half. If you don't have a cutting mat, you can open the triage to make a square and then using a straigh edge, draw a diagonal line from corner to corner, and then cut.
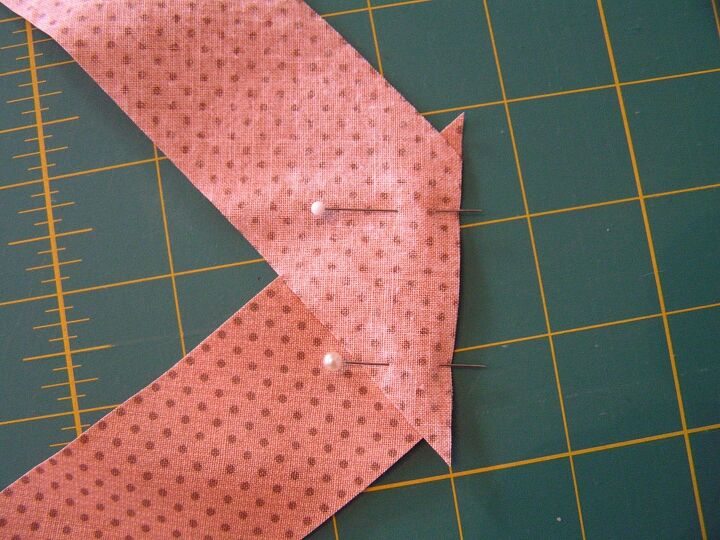
Arrange the triangles right sides together. Offset the triangles by about a quarter of an inch.
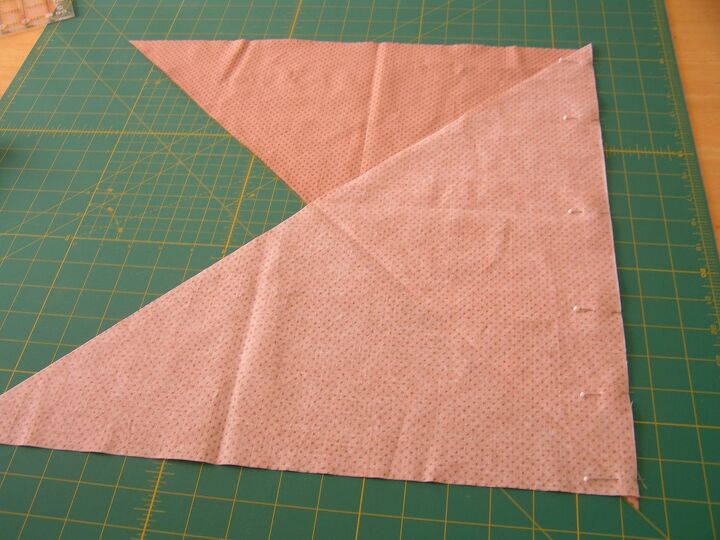
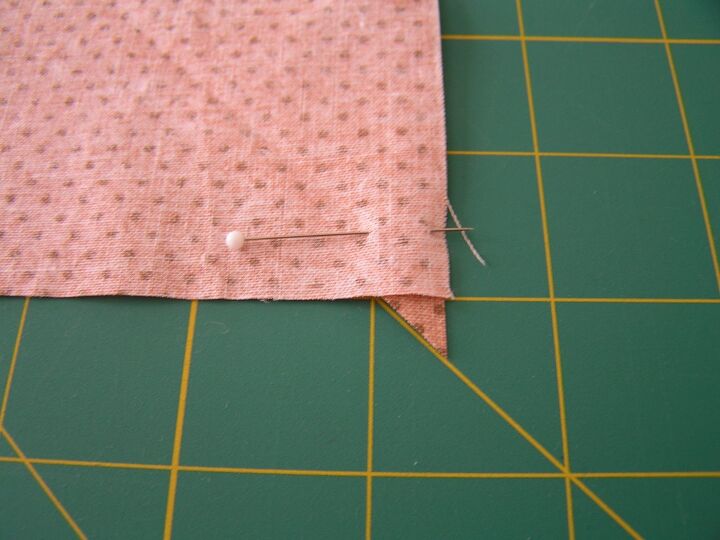
Pin the triangles together. (This picture shows the overlap a bit better too)
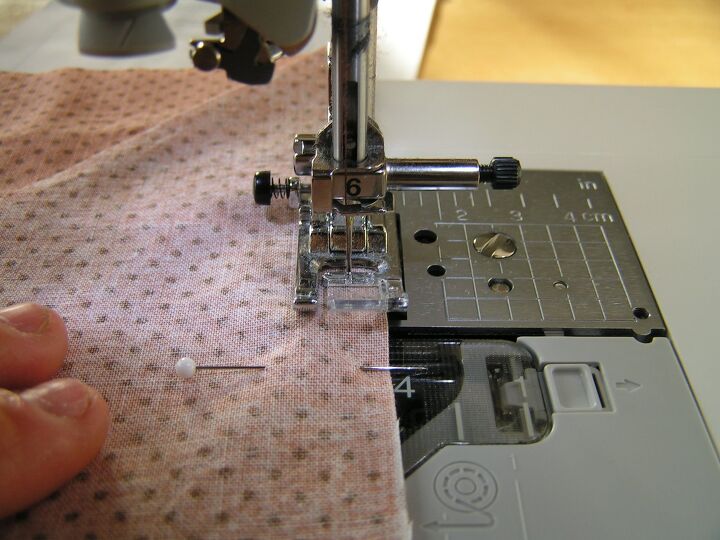
Using a quarter inch seam, sew them together.
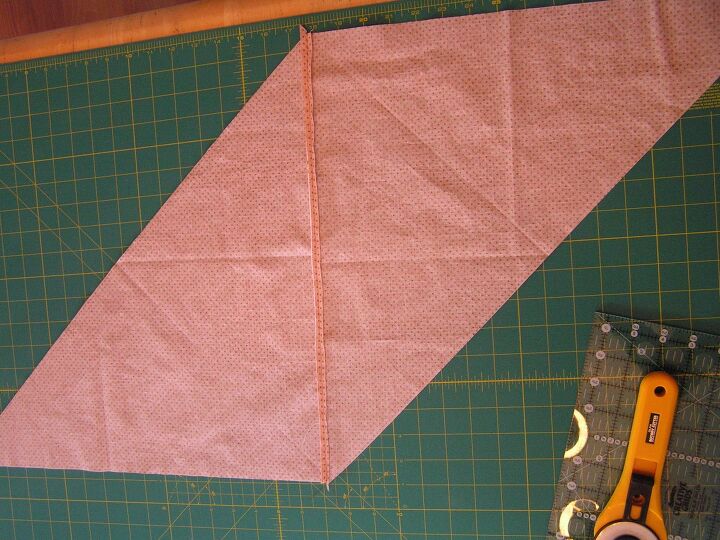
Open the seam and press with a hot iron (Don't stretch the fabric).
Fold fabric back into a square.
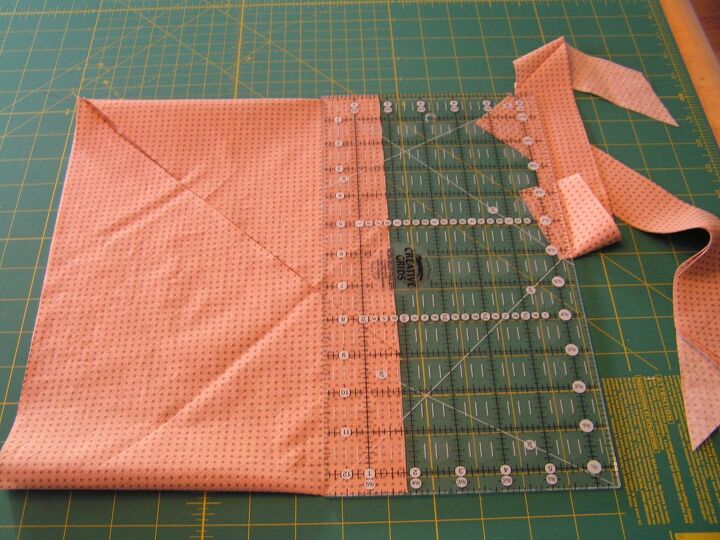
I like to cut 1 3/4 inch strips, you may prefer wider strips. It depends on the project you are on and what you need or want.
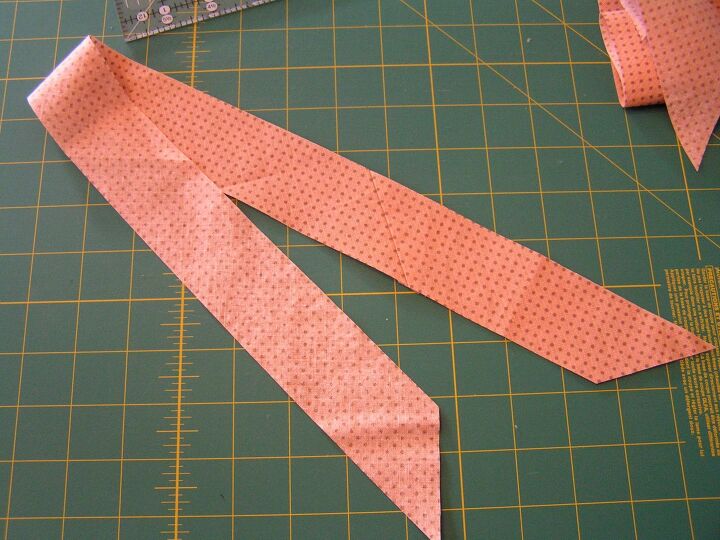
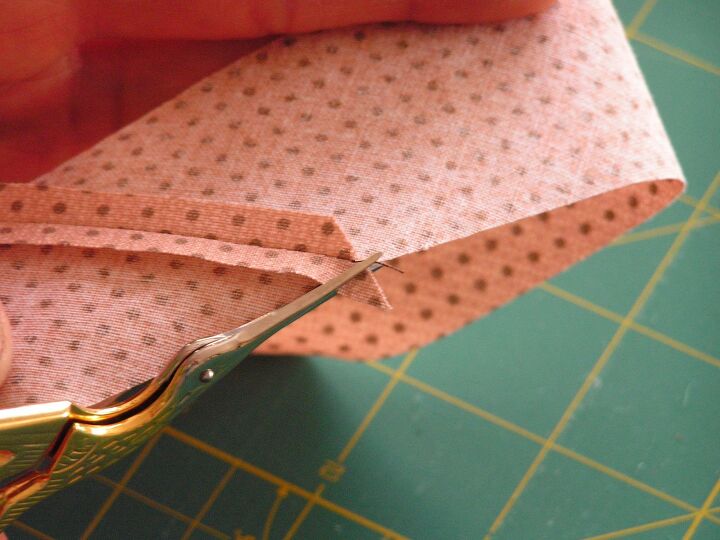
After I finish cutting it into strips, I then sew the strips end to end by pinning the strips right sides together, offset a quarter of an inch.
After they are all sewn together in one long line, open up at the seams and press with an iron. Then cut off the excess.
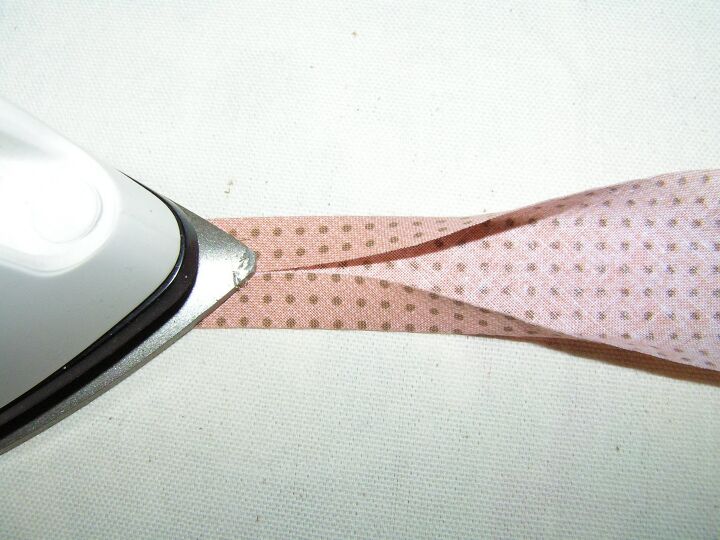
As I iron, I use my fingers to fold the fabric. Some people prefer folding the strip in half, I prefer folding the edges into the center.
Now the bias tape is ready to use. I hope this was helpful to some of you.
The author may collect a small share of sales from the links on this page.


Comments
Join the conversation
Will definitely try this ,thanks