How to Sew a Zigzag Stitch: Everything You Need to Know

Here’s a little sewing 101 for you; I’ll be showing you everything you need to know about a zigzag stitch!
The zigzag stitch is one of the most basic stitches in sewing. It's essential for sewing enthusiasts to know the principles of this particular stitch. So, are you ready to learn how to do a zigzag stitch? Let’s get started!
Why is a zigzag stitch important?
A zigzag stitch basically finishes off your seam and prevents the fabric’s raw edge from fraying.
Tools and materials:
- Fabric
- Thread
- Sewing machine
Where do you add a zigzag stitch?
Zigzag stitches are commonly added to the edges of the fabric. If you put a zigzag stitch right in the middle of the seam, it will just continue to fray.
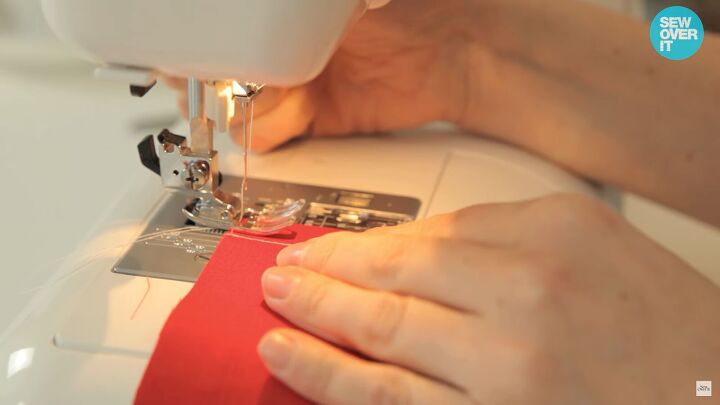
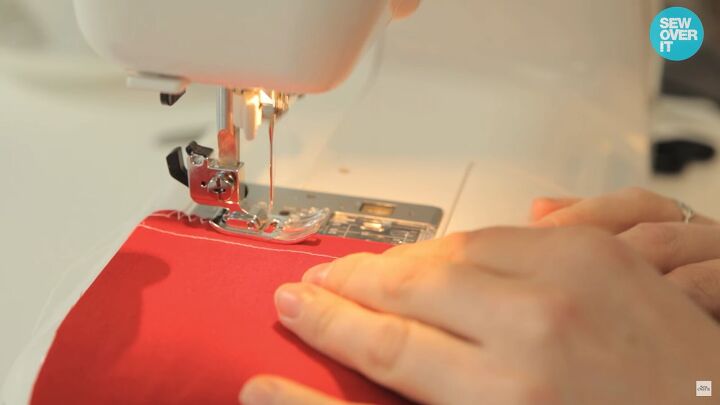
How to position the presser foot for the zigzag stitch
To start, position the fabric’s edge to align with your presser foot. You want to have a little gap within the presser’s window where there's no fabric.
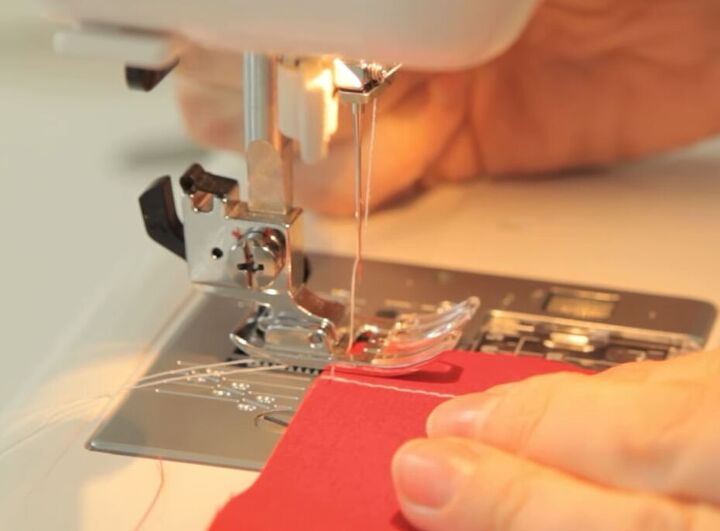
On my machine, it’s a perfect position. So, when the needle head goes right, it will graze off the edge of the fabric.
If that’s not right on your machine, then you’ll have to adjust it. You can also put a piece of masking tape as a guideline to follow.
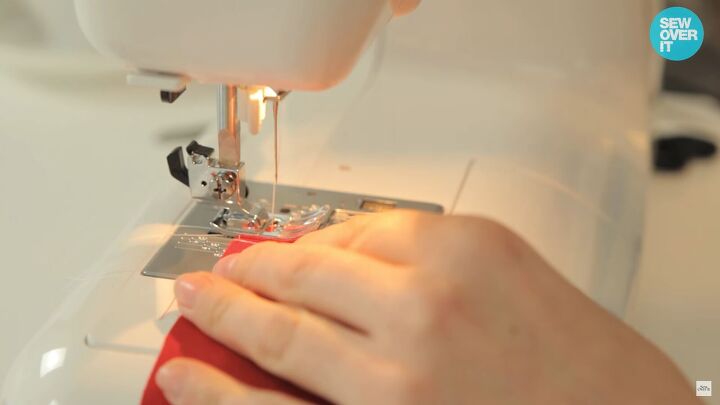
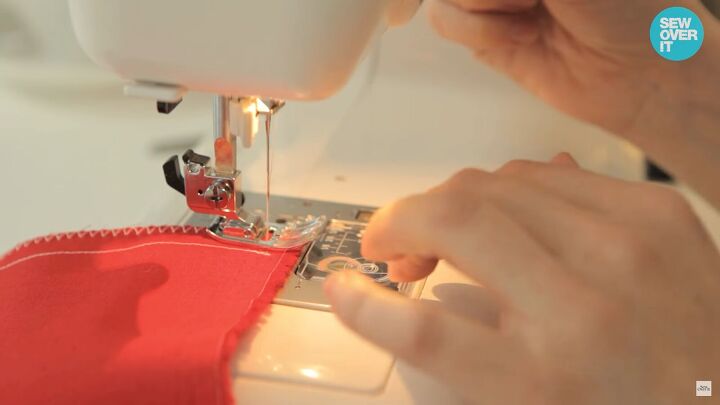
How to zigzag stitch
When you start zig-zagging your way through the edge, you’ll need to do a little locking (reverse) stitch at the beginning.
My sewing machine does a reverse stitch for me. Depending on yours, you may or may not have to do this.
After this, you simply keep the fabric steady and aligned and let your machine do its magic! It should be grazing off the edge of the fabric.
Tip: If it bulges up some of the fabric, there’s no need to worry. It could be because the fabric you’re using is lightweight. You can always give it a good press after for a smoother finish.
You either do a locking stitch (if your machine has it) or a reverse stitch when you get to the end.
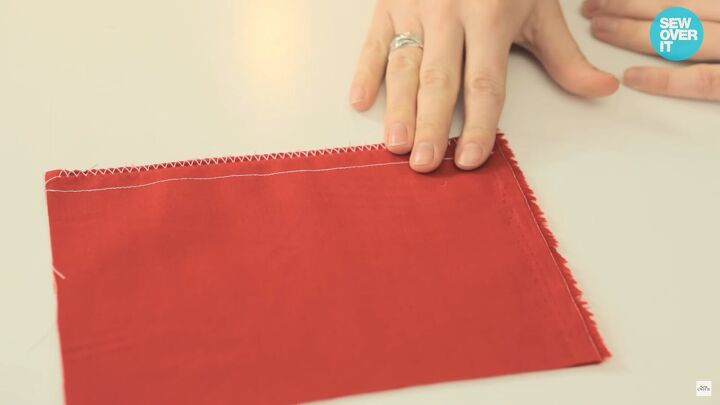
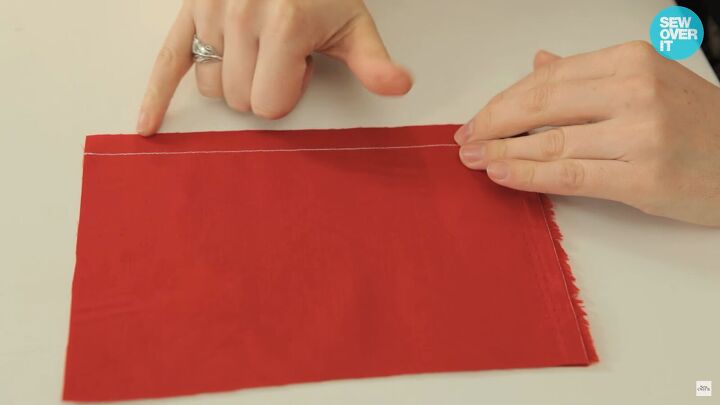
The right zigzag stitch
There we have it; you can see a nice and neat stitch at the edge of the fabric. The edge is protected and can’t fray because the stitch is literally wrapped around the seam. Easy, right?
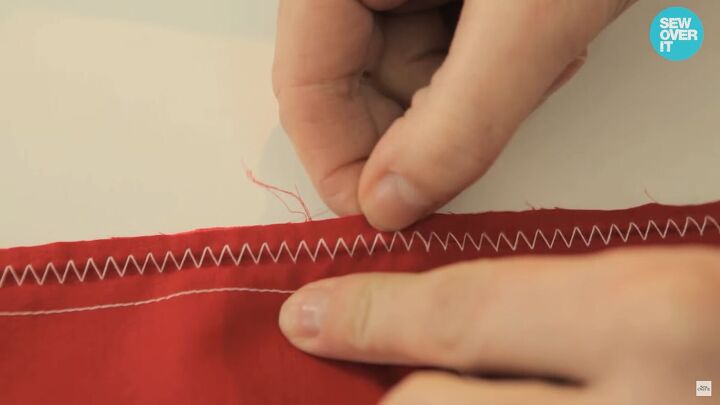
The wrong zigzag stitch
I also wanted to show you one that is wrong to see the difference. The zigzag stitch is sitting on the middle of the seam, defeating the purpose of preventing the edges from fraying.
This is why you need to be mindful of your zigzag stitches’ length and width, and how you align it to the presser footer.
How to sew a zigzag stitch
So, that’s it! I hope you got a tip or two from this quick zigzag stitch tutorial. Be sure to practice this stitch on scrap fabric to get the hang of it. Thanks for joining me, and good luck!
The author may collect a small share of sales from the links on this page.


Comments
Join the conversation