Easy Upcycle Tutorial: Old Pants to Stylish DIY Jacket

If you have some oversized pants in your closet and don’t know what to do with them, then this tutorial is for you! Follow along, and I will show you how to upcycle those pants into a long-sleeved jacket.
My old pants were especially cool because they had buckles on the bottom of the legs that I could reuse for my DIY jacket.
But of, course, that’s not essential. What’s important is that your pants are still in pretty good condition.
Tools and materials:
- Old, oversized pants
- Sweater (for a template)
- Tank top (for a template)
- Scissors
- Sewing pins
- Thread
- Sewing machine with zigzag foot
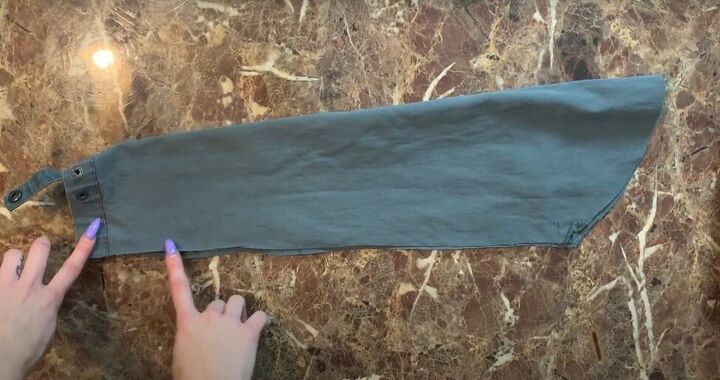
1. Cut out the jacket sleeves
Your old pant legs are going to become your new jacket sleeves.
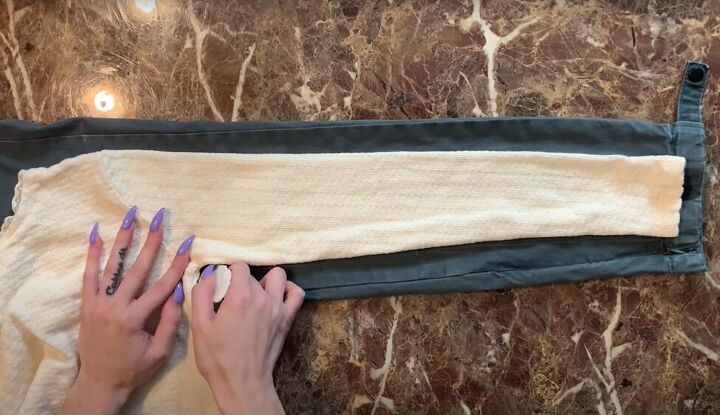
Lay the sleeve of a sweater on top of your pant leg, with the cuff of the sleeve at the bottom of the pant leg and trace the outline of your sleeve onto the pants.
Leave some extra width above the top of the sleeve for a seam allowance.
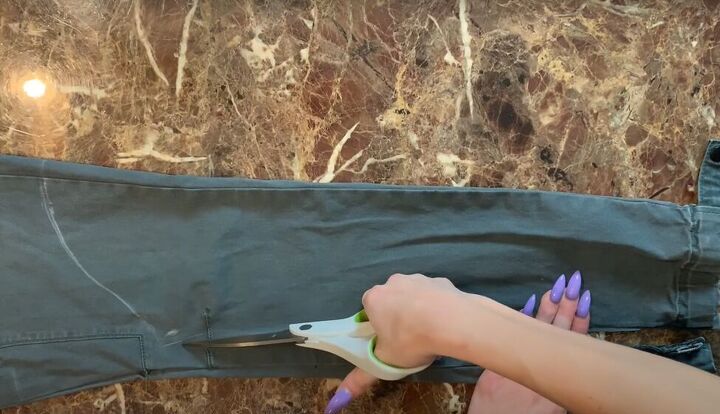
Now, cut out your sleeve, keeping the outside seam of your pants intact. It will be the outside seam of your sleeve.
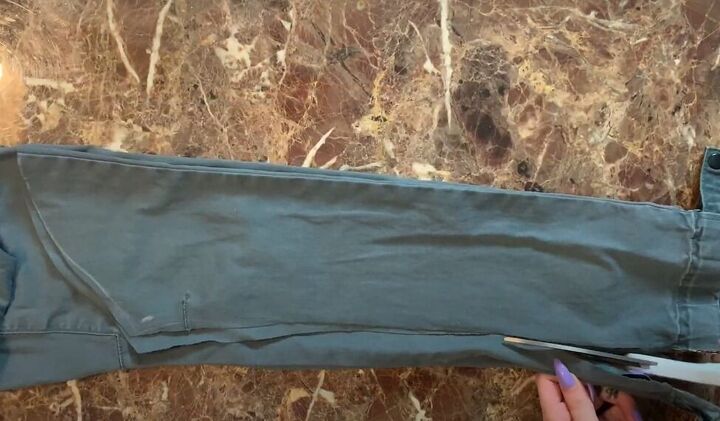
Use your first cut out sleeve as a template to cut the second sleeve from your other pant leg.
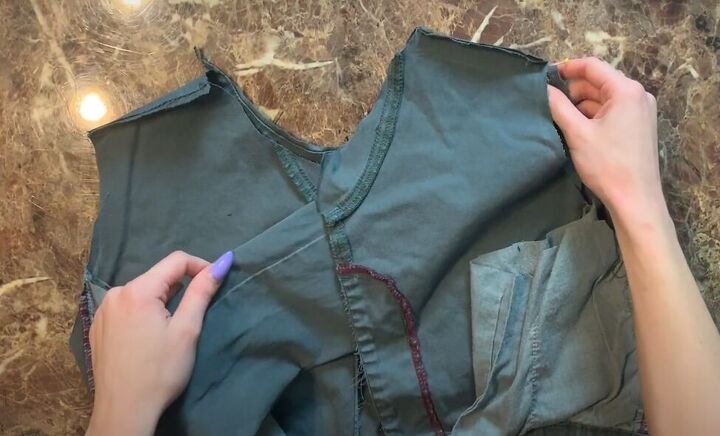
2. Make the jacket bodice
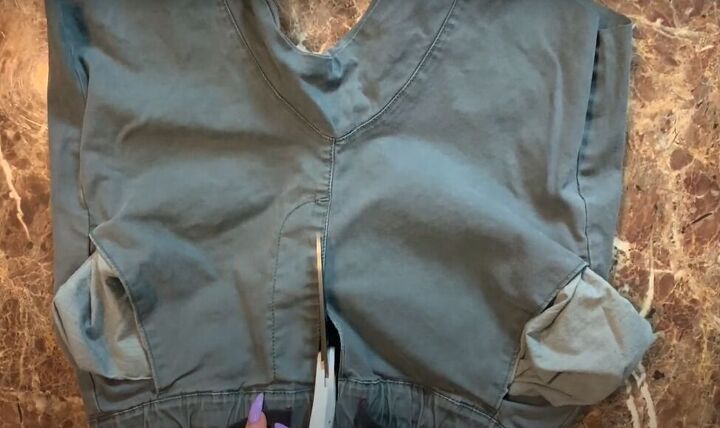
First, pull all of the pockets on your pants out, so you don’t accidentally cut them off. You will want those pockets on your jacket!
Turn the pants upside down so the waist is closest to you and cut a straight line down the center-front of the pants, on the top layer only.
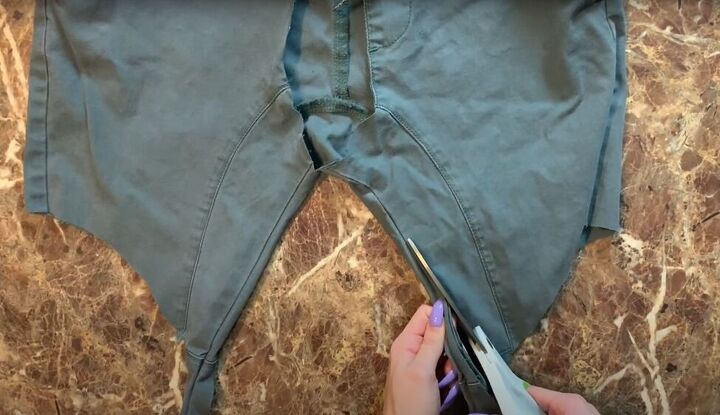
Flip the pants around and cut open the two inside pant seams.
Flip the pants around one more time so the waistband of your pants is closest to you.
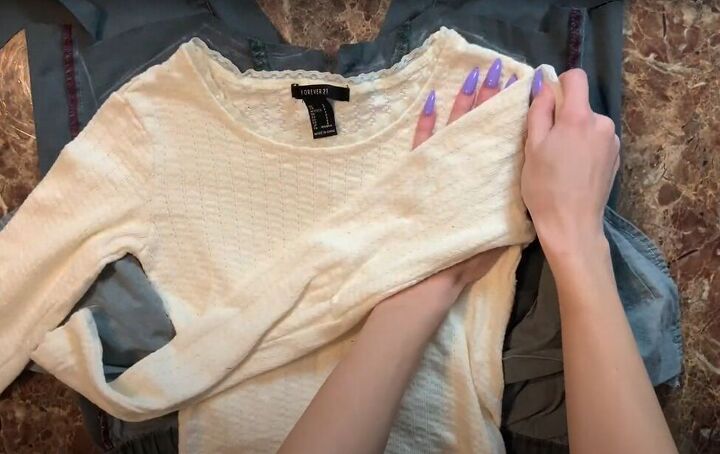
Lay your sweater on your pants as a template for your jacket bodice, and trace out the body of your jacket, making the pants waistband the waistband of your jacket.

Cut out your jacket bodice from both layers of the old pants.
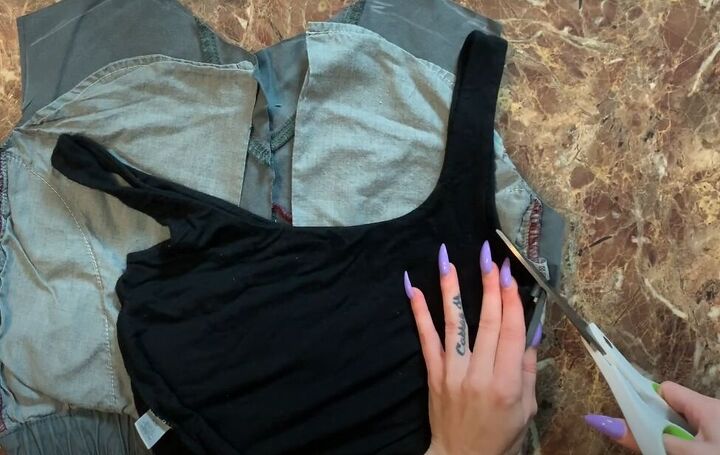
Adjust the armholes, using a tank top as a template, so that they’ll be a bit roomier.
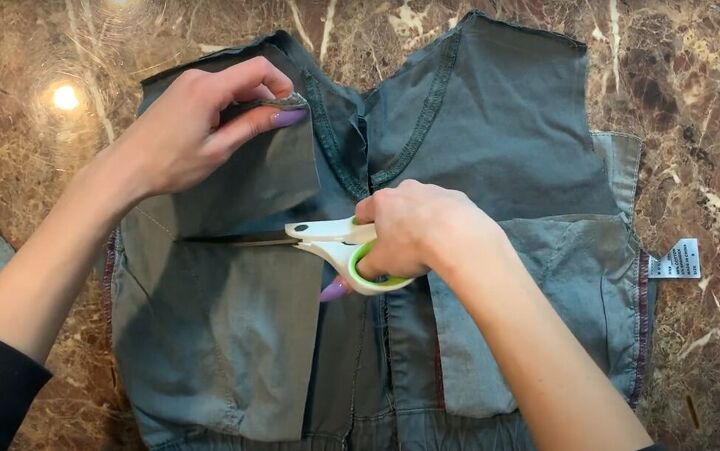
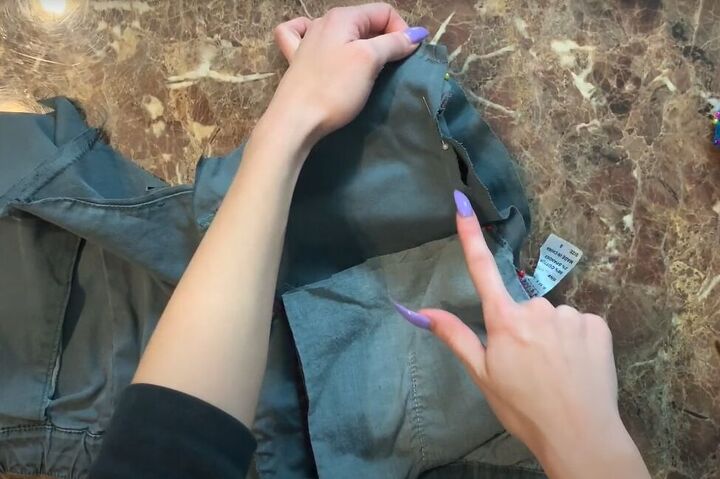
3. Resize the pockets
If your pant pockets are a bit too large and bulky for your new jacket, like mine were, then go ahead and cut them down in size.

4. Sew the jacket
With right sides facing, sew the shoulder seams with a zigzag stitch.
With right sides facing, sew each of the sleeve seams – but not the armhole!
Insert the sleeve into the jacket and pin it in place at the top.
Pin the rest of the sleeve into the armhole and then sew it in place.
Repeat with the second sleeve.
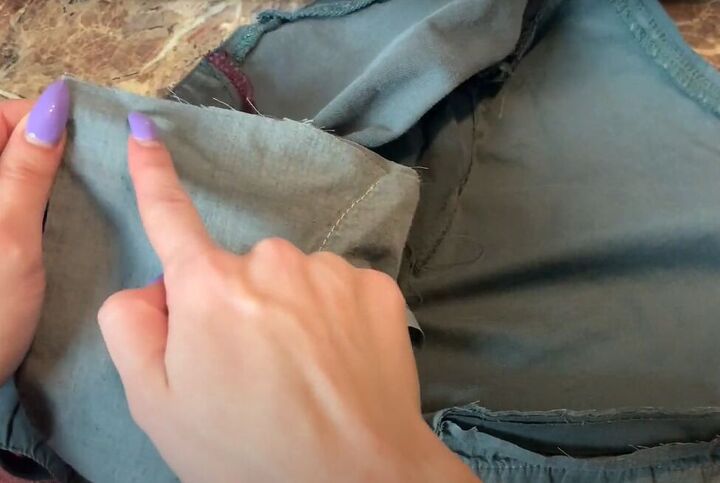
5. Close the pockets
Sew the cut opening on the pockets with straight or zigzag stitches.
6. Finish all edges
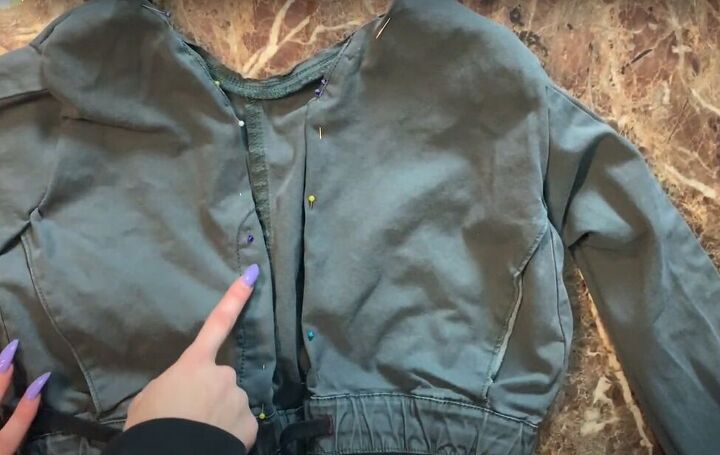
Fold in and pin the two front center edges and the neckline and hem them with a straight stitch.
You can do this in one continuous row of stitches by starting to sew at the bottom of one front edge, going up and around the back neckline, and back down the other front edge.
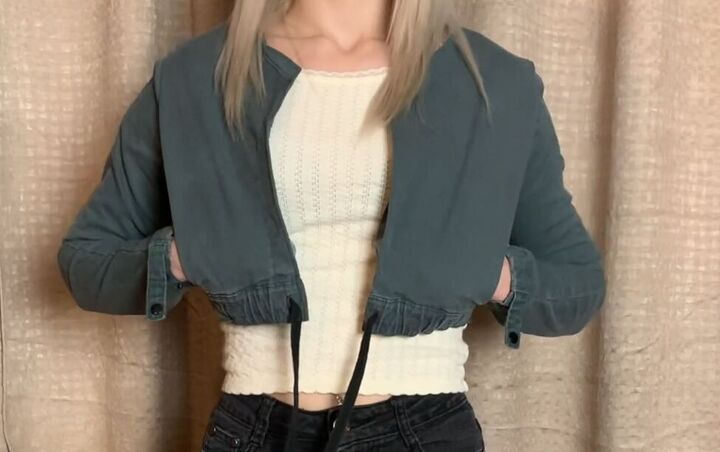
DIY jacket from upcycled pants
That’s it! Here’s the new DIY jacket from upcycled pants.
For my jacket, I was able to keep the buckles from the bottom of my pant legs and use them as my new jacket cuff buckles. Plus, the old pants waistband and drawstring became my new jacket and the pockets remained fully functional.
If you try this upcycle fashion tutorial yourself, leave a comment to let me know how it worked out!
The author may collect a small share of sales from the links on this page.


Comments
Join the conversation