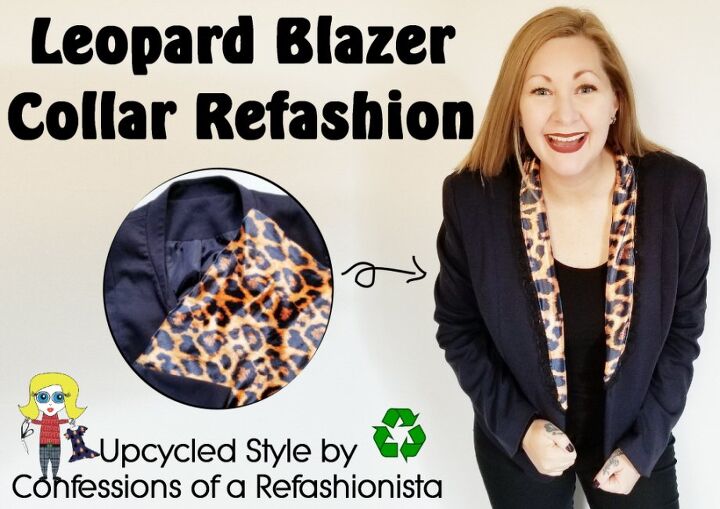
DIY Leopard Blazer Collar Refashion
Hi everyone. How are you doing?
If you're looking for some fashion inspiration, check out how I created my DIY leopard blazer collar refashion below. This 80s-inspired DIY was so much fun.
Did you see my thrifty copycat of one of the many amazing looks from the popular 80's film Desperately Seeking Susan?

I simply adore that blazer and have worn it with loads of different outfits since refashioning it!
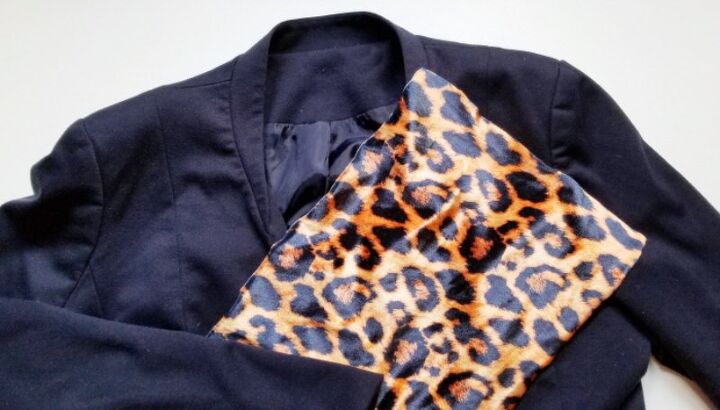
I grabbed a plain vintage blazer as well as the leftover thrifted t-shirt fabric from my fancy designer inspired dress tutorial.
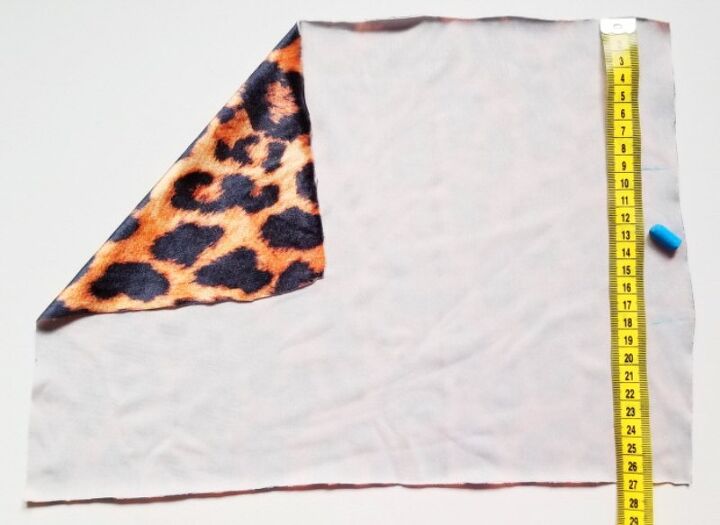
1. Mark and measure
Then I measured and marked the leopard print fabric into 3 equal-ish parts.
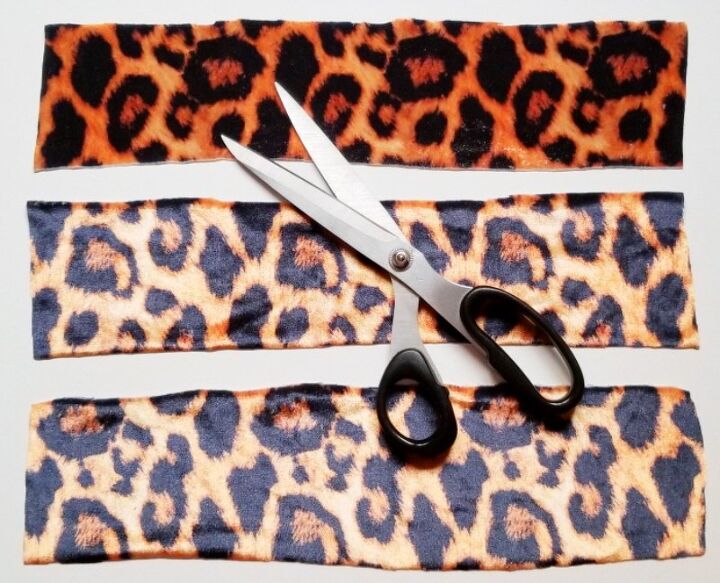
2. Cut fabric
I then used my marks to cut the fabric into 3 strips.
I stitched them all together to form a piece long enough to fit all around the neckline and collar area of the blazer.
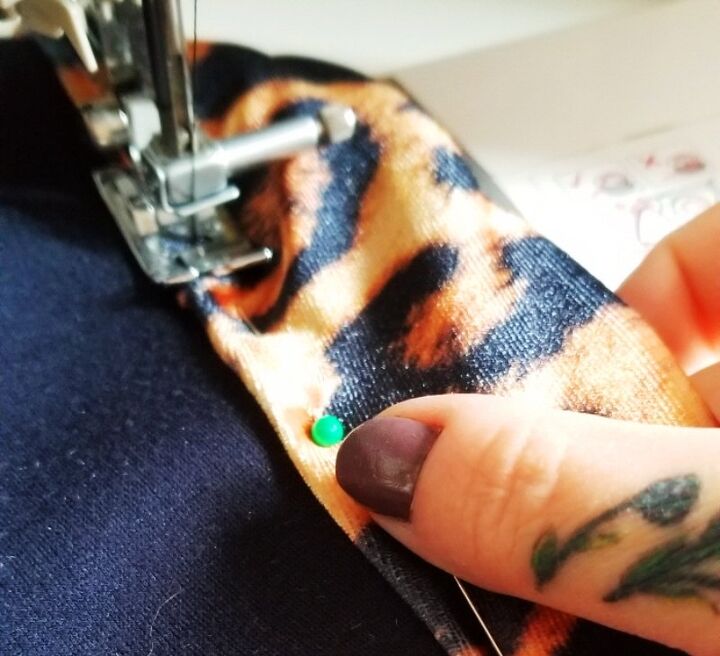
3. Pin and sew
Then pinned it in place around the collar and carefully stitched it on.
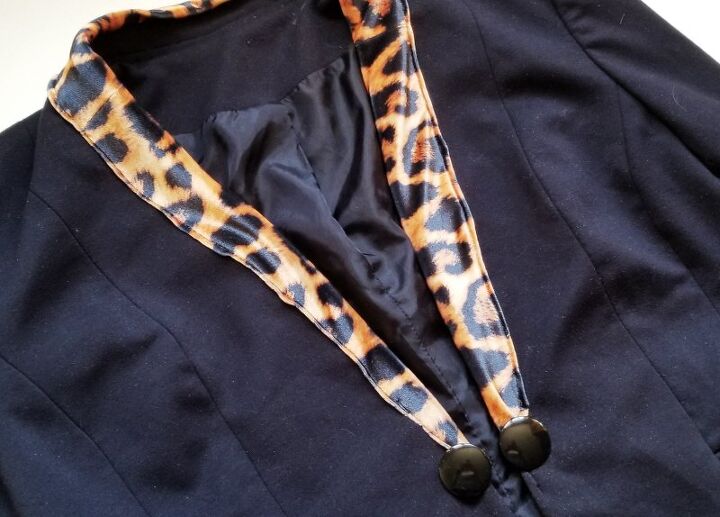
I wasn’t thrilled with the result and, at first, I thought that I’d add a couple of big buttons to the ends to snazz it up a bit.
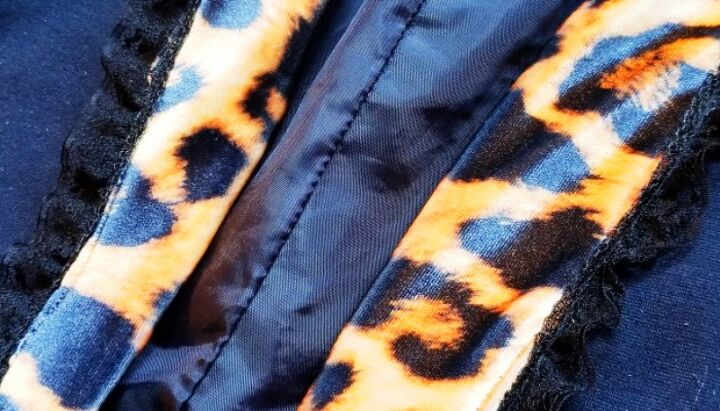
Then I discovered some awesome vintage lace in my stash and stitched it around the edges of the leopard print to give the blazer a truly unique look!

DIY leopard blazer collar refashion
A bit of leftover leopard print definitely took this boring blazer from drab to fab!
What do you think? Let me know in the comments.
Next, check out my Easy Tutorial on How to Make a Dress Bigger.
The author may collect a small share of sales from the links on this page.


Comments
Join the conversation
Just a suggestion but I would add some interfacing or some type of light buckram so that the lapel lies well and has a bit of shape and makes the collar look like it has been part of the original jacket :). The stiffening fabric will alleviate the puckering and pulling and cause the added fabric to lay flat. Great idea thank you for the memories :)
All you need are the rhinestone boots!🙂