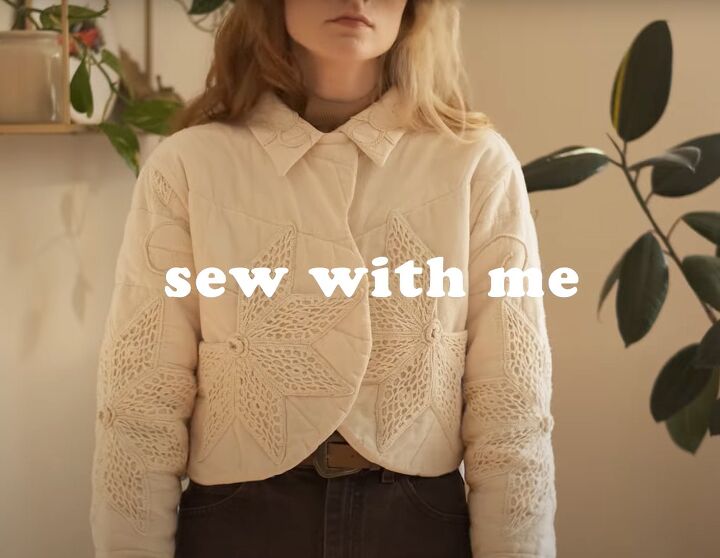
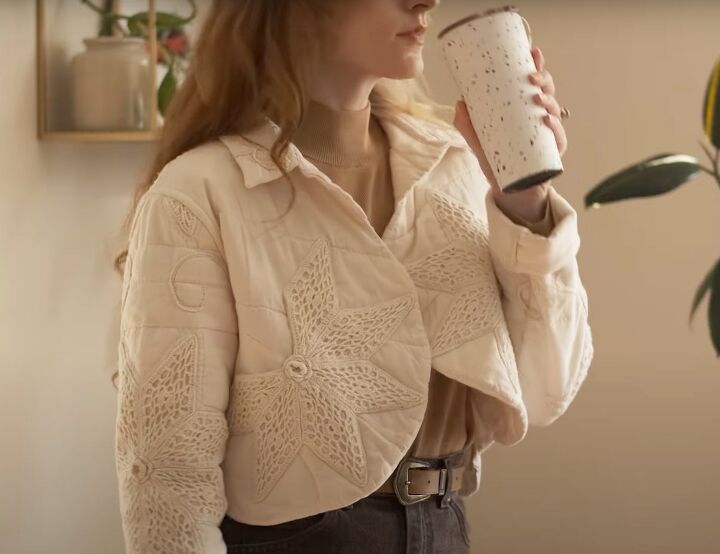
How to DIY a Super Fabulous Quilt Coat

I thrifted a quilt in Georgia, which is where the TV show Stranger Things is filmed. And, amazingly after I'd made this upcycled quilt jacket, I spotted the quilt itself on an episode of the show!
I used a free workwear jacket pattern as my quilt coat pattern and used both flat-felled and bias bound seams, which I explain exactly how to do in this tutorial.
Tools and materials:
- Thrifted quilt
- Free Jacket Pattern
- Paper for pattern
- Plain fabric scrap
- Bias tape
- Scissors
- Rotary cutter and mat (optional)
- Pins
- Sewing machine
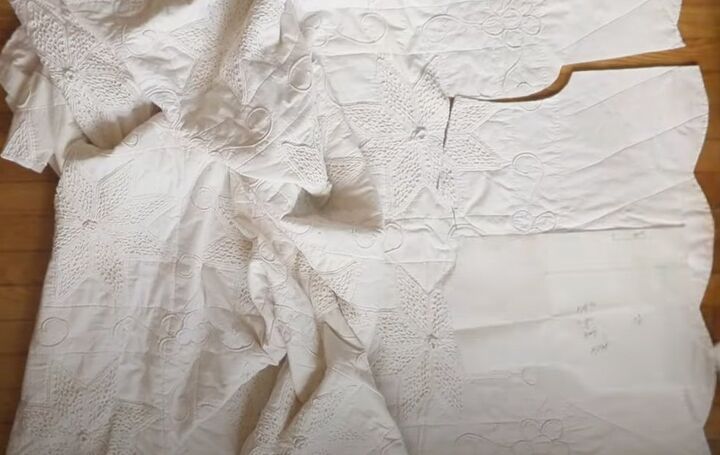
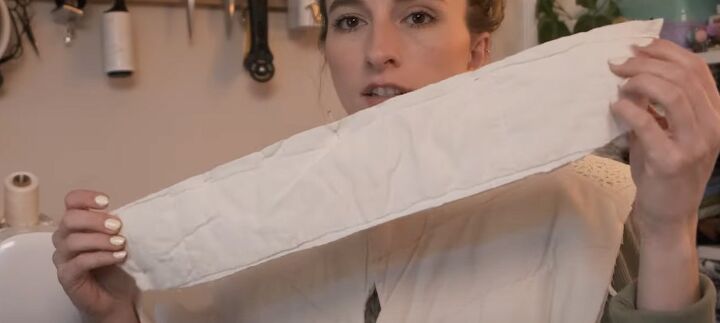
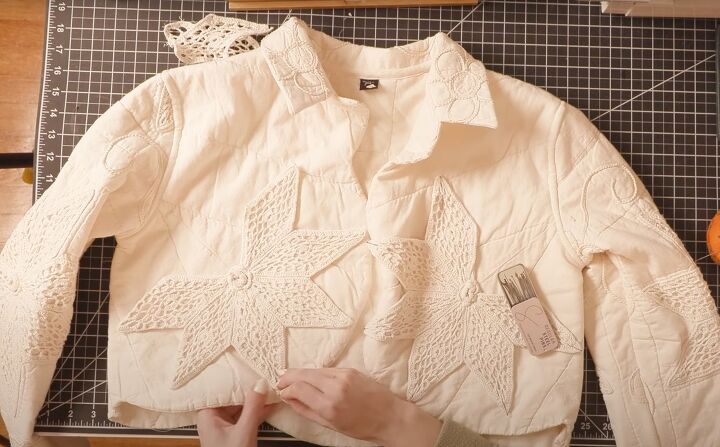
1. Cut out fabric
To get the best from your quilt, make sure to center any designs you want featured.
I centered the star pattern on each sleeve and added width to accommodate patterns on the back and collar.
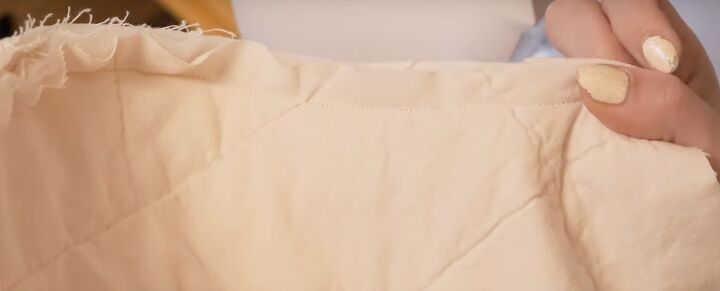
My quilt had scalloped edges, so I laid out my pattern pieces to use as the lower edges of the jacket and I suggest you do the same.
2. Flat-felled seams
Join the shoulder seams with the right sides together.
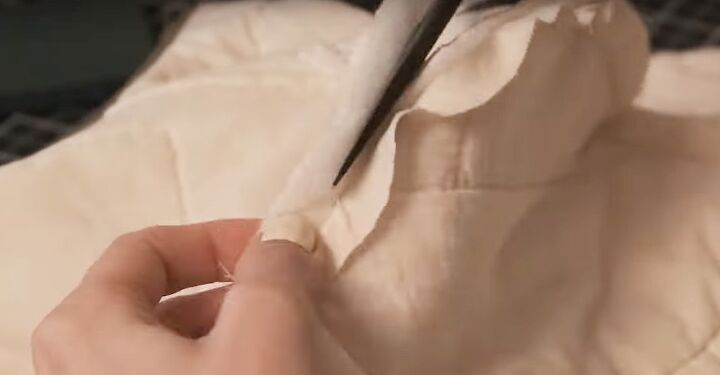
Grade the seam allowance by cutting away as much of the bulk from the center and one side as you can.
Leave one of the outer edges uncut and wrap it over the entire seam.
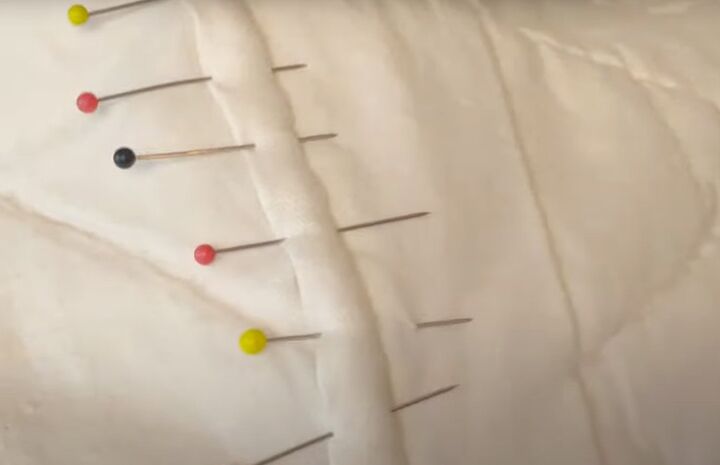
Fold in a narrow hem and pin and sew it down on the other side of the seam.
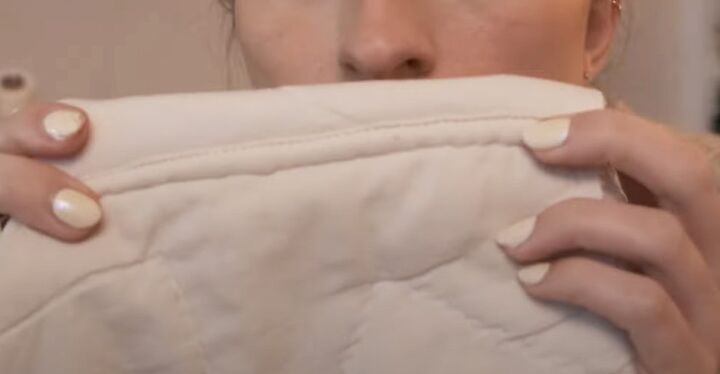
Use lots of pins to hold it in place before sewing as close to the folded edge as you can.
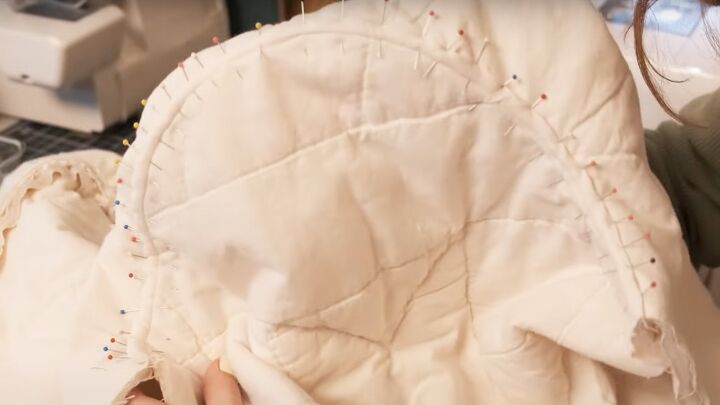
3. Collar
To avoid too much bulk in the collar, I cut the under collar from a scrap of plain fabric.
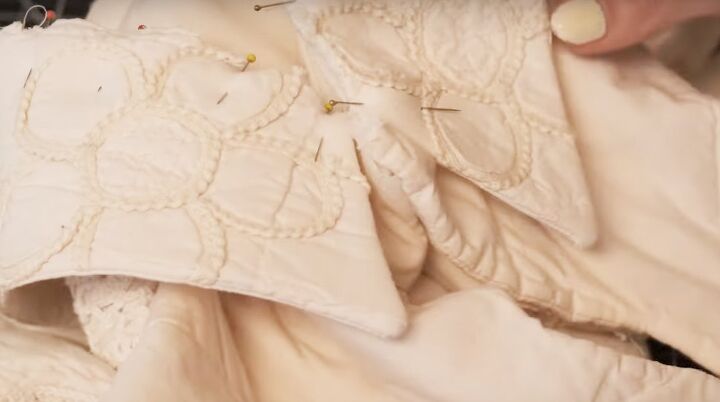
Sew the upper and under collar together on the side and upper edges, with right sides together.
Grade the seam allowance and turn the collar right side out. Push out the corners to make them sharp and press well.
Pin the collar to the neck edge, with the under collar facing the right side of the jacket. Pin and sew through all layers.
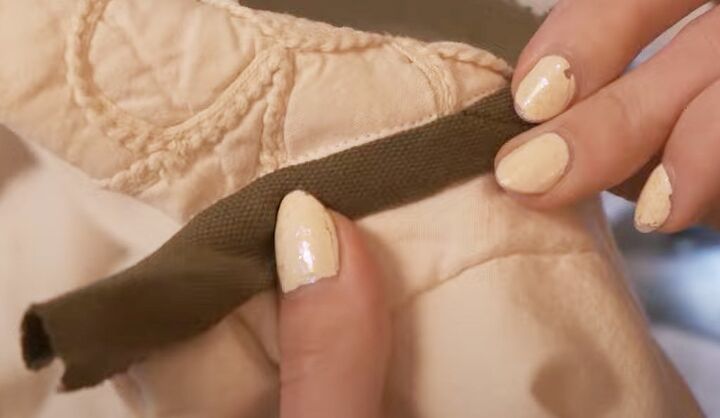
4. Bias bound seams
I initially used a contrast color bias tape on the collar, but changed it later to a toning color.
Grade the seam allowance to remove bulk. Pin the bias tape to one side of the seam, so the right side of the tape is against the inside of the jacket, and stitch it down.
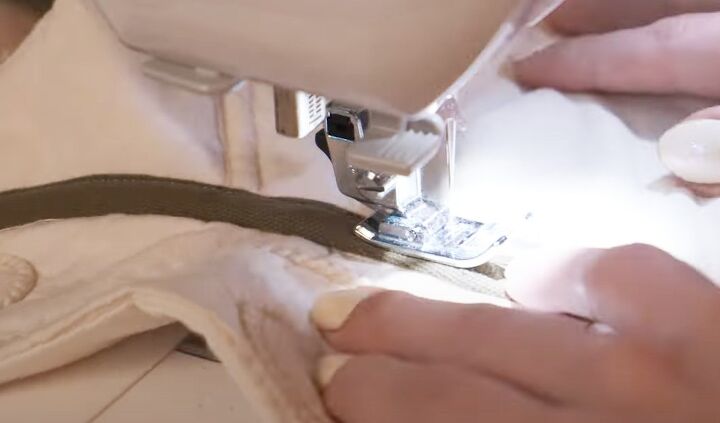
Fold the tape over the seam, turning in the lower edge, and sew in place.
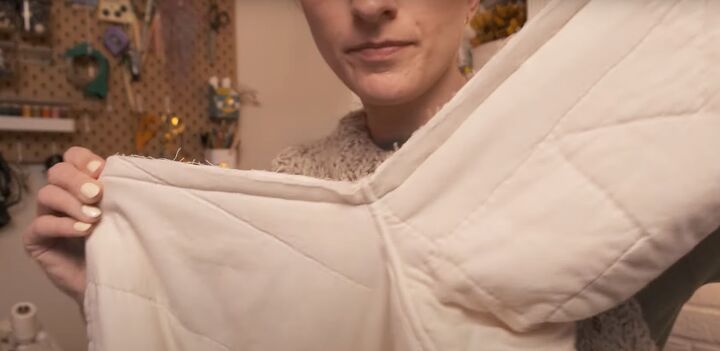
5. Insert sleeves
Matching the center of the sleeve head to the shoulder seam, pin and sew the sleeve into position with right sides together.
I finished with a flat-felled seam, but you could use bias tape here if you prefer.
6. Side and sleeve seams
Join the side and sleeve seams and finish with flat-felled or bound seams. I chose to bias bind these seams.
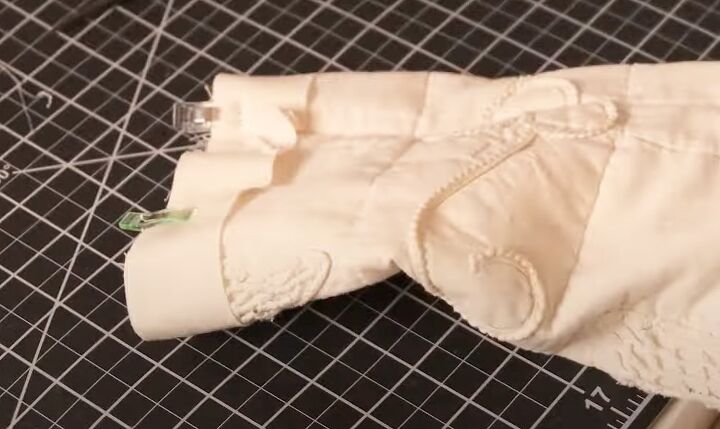
7. Sleeve edges
I finished the ends of the sleeves with bias tape, so I could turn them out as cuffs if I wanted.
I pinned and sewed the right side of the tape to the right side of the jacket first, then turned it over the raw edge and stitched it down on the inside.
8. Pockets
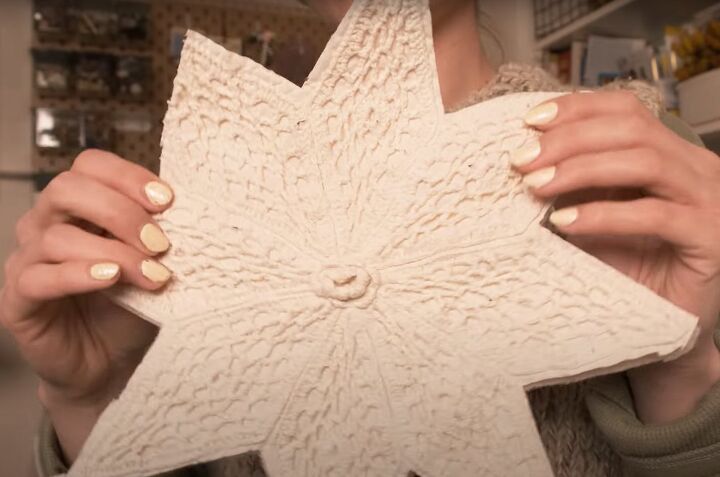
I wanted to use two of the star sections of the quilt as front pockets, making the most of this design element and matching the pattern I had on the sleeves.
I cut out two stars, but in hindsight I should have left a larger seam allowance when I did so.
I separated the filling and the backing from the top of the quilt. I seam ripped two of the star points out to make the pocket opening.
I reattached the backing with the right sides together, turned the pockets right side out and pushed out all the points.
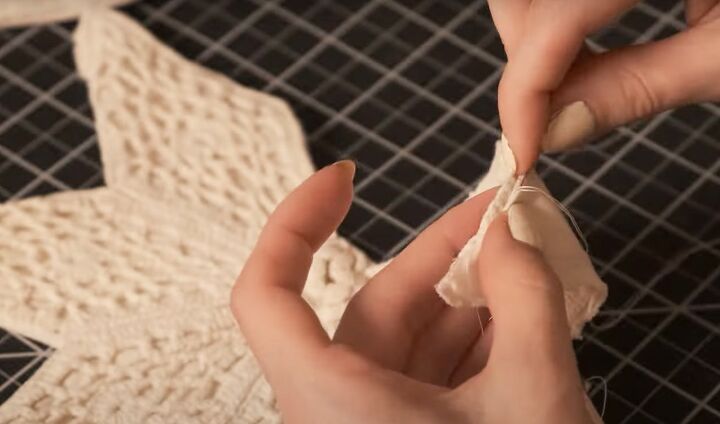
As I'd left so little seam allowance, I had to hand stitch a lot that the machine missed.
I pinned and sewed the pockets to the jacket on the right side, stitching along each point close to the edges.
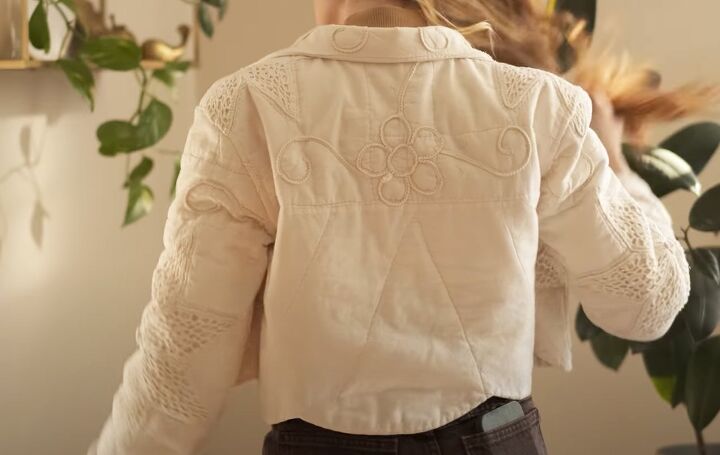
DIY quilt coat
I'm glad I chose to honor the time someone put into this quilt by taking care to make the inside of my upcycled quilt jacket look as good as the outside.
I added a hook and eye fastening under the collar but left the rest of the jacket open. I hope you got some ideas from this of how you can upcycle a quilt that you have.
I'd love to see what you do! Please let me know in the comments.
For more sewing content, check out my post on How to Make a Super Cute Checkerboard Purse.
The author may collect a small share of sales from the links on this page.


Comments
Join the conversation