How to DIY a Super Cozy Belted Poncho

When the temperature starts to warm up a bit, a belted poncho is a timeless and trendy alternative to a heavy winter coat. It bridges the seasons beautifully and is easy to throw on.
I made my poncho cape shawl from two fleeces and trimmed it with contrast thread, but you can also use scarves or cut up a blanket.
Best lightweight sewing machine!
Tools and materials:
- Two fleeces or scarves or a large blanket
- Small piece of fusible interfacing
- Pins
- Ruler
- Hip curve ruler (optional)
- Scissors
- Tailor's chalk
- Measuring tape
- Crochet thread
- Large-eyed sewing needle
- Sewing machine
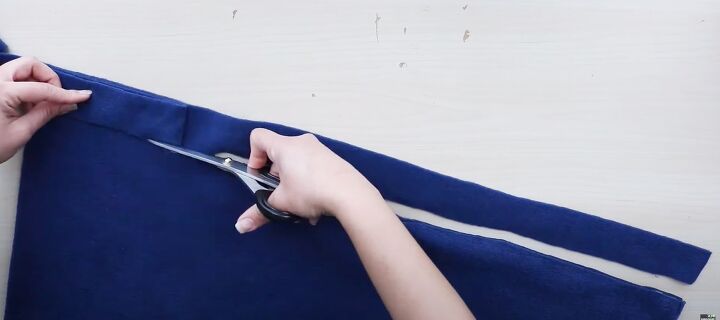
1. Cut belt
My fleeces were each 1/4 yard by 60 inches wide.
Fold each fleece in half widthways and cut a strip 1.5 inches wide from each for the belt.
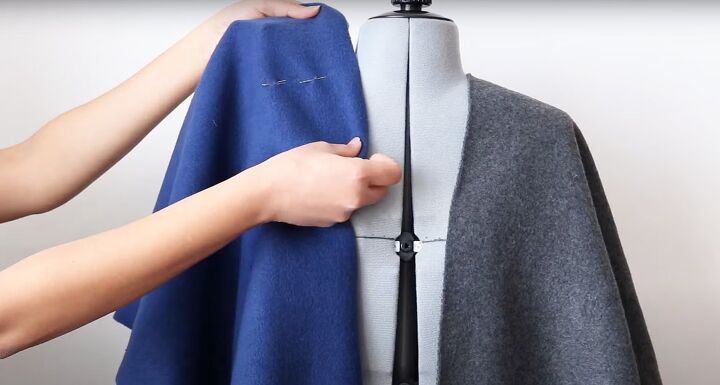
2. Mark shoulder seam
Drape your fleeces over your shoulders or use a dress form and adjust them to the length you want. Mark the position of the shoulder seams.
I made my poncho cape shorter at the front. If you're making your poncho an equal length front and back, you can skip this step and fold your fabric in half to find the shoulder point.
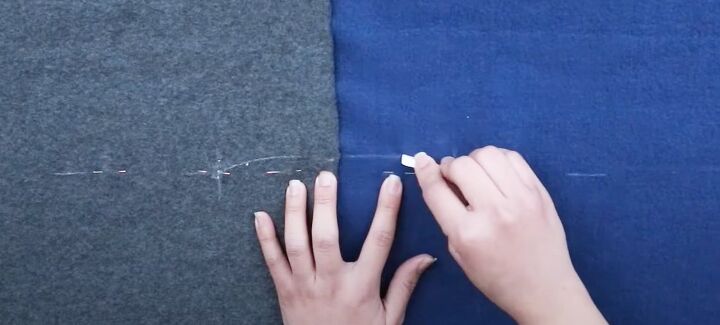
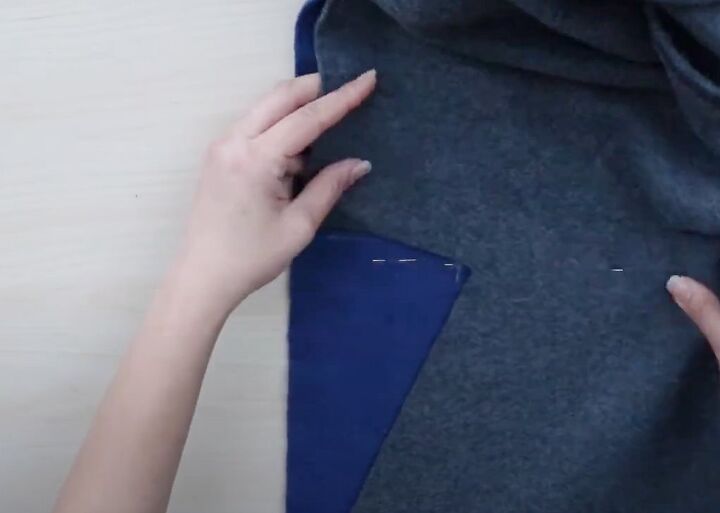
3. Create neckline
Lay the fabric flat and pin the back sections together past the shoulders. Mark a straight line across both sides for the shoulder seam.
For the back neck opening, measure 3.5 inches either side of the center back seam at the shoulder point. Join the two marks with a slight curve.
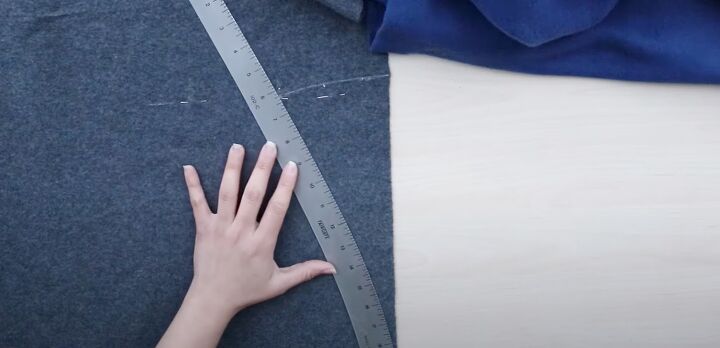
Open the front parts and draw one half of a V neck from the outer edge of the back neckline to the front edge.
I used a hip curve ruler to give a slight curve to the opening. You could use a straight ruler and draw in the curve manually, or leave it as a straight line.
Cut out the half V and back neck, then use that side as a template to cut the other side.
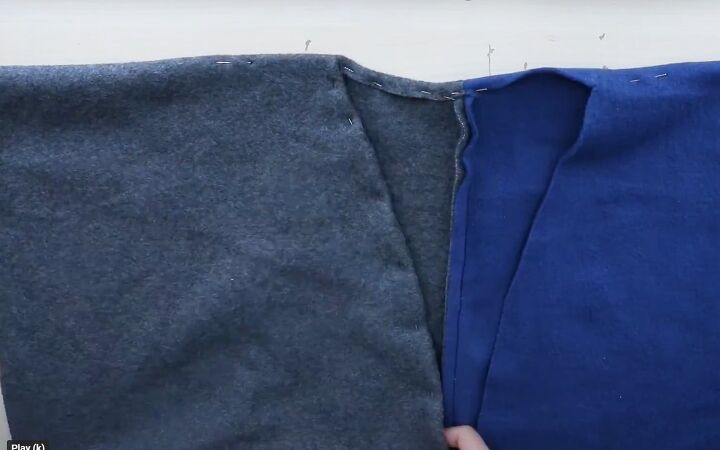
4. Hem edges
Sew the center back seam with right sides together.
Turn in a narrow double hem around the neckline and center front edges and sew.
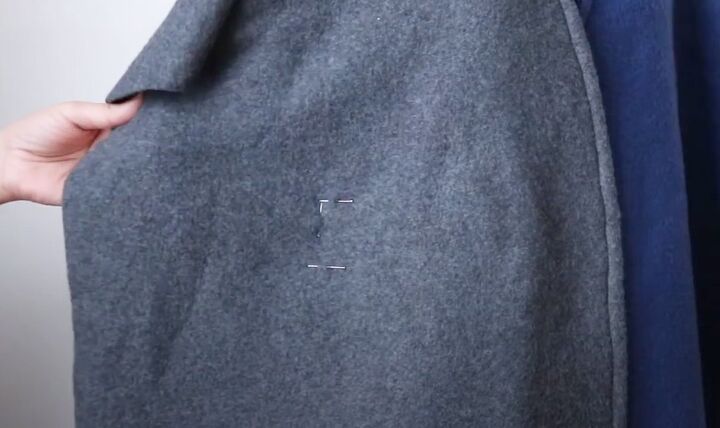
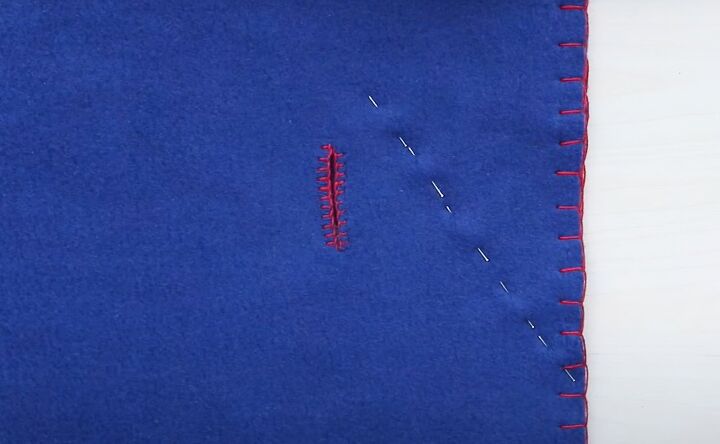
5. Create belt slits
Try on your DIY poncho. Mark the position for a belt slit at waist level and one inch away from your body on one side.
Use the belt strip to measure the depth of the slit so the belt will fit through it easily.
Take the poncho off and measure and mark the slit for the other side.
Pin through both layers of fabric so you can mark the position of the slits on the back as well.
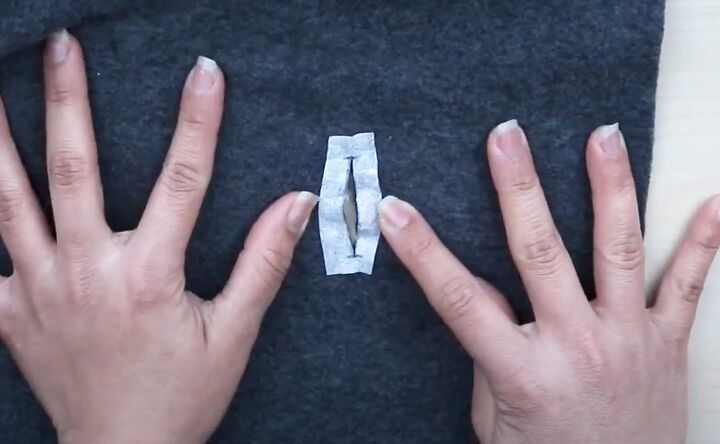
Iron a small piece of fusible interfacing on to the wrong side of each marked belt slit to reinforce it. Cut through each slit and interfacing.
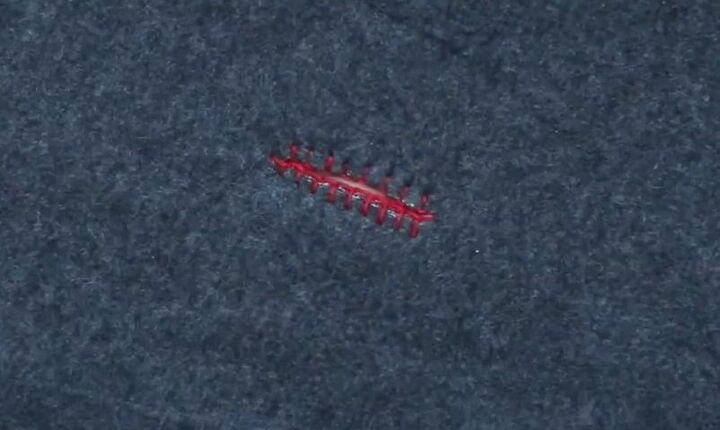
6. Blanket stitch belt slits
Thread a large-eyed needle with contrast or matching crochet thread.
Starting at one corner, blanket stitch the edges of each slit on the right side. See the video at 5:06 for how to sew blanket stitch.
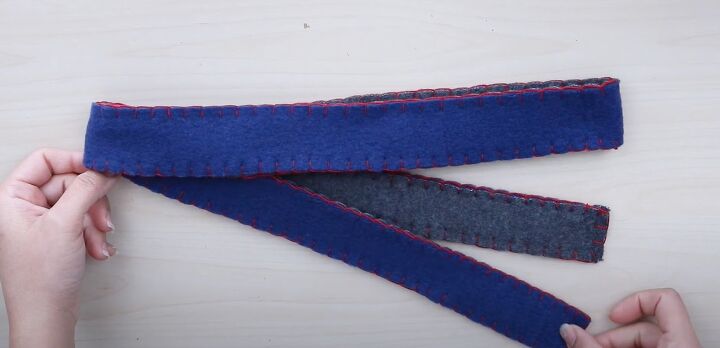
7. Make belt
Place one belt strip on top of the other and blanket stitch them together around all the edges.
8. Finishing
Finish all the edges of the poncho with a blanket stitch.
Partially sew the side seams, starting an inch or two above the belt slits and slanting down to the side edge.


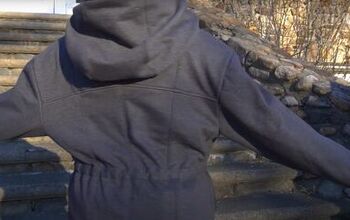
DIY belted poncho
This belted poncho was so quick and easy to make that I finished it in one evening. You can wear it belted as a poncho or unbelted as a cape.
You could even add a faux fur collar to the neckline. Feel free to add your own touches to it.
I'd love to see what you come up with. Please leave a comment below and let me know.
For more DIY fashion content, check out my post on How to DIY Michelle Obama-inspired Sequin Boots.
The author may collect a small share of sales from the links on this page.


Comments
Join the conversation
Cute, but not everyone can make the contrasting scheme work. So, I’d suggest the matched set or an animal print for those of us like me!
But, I do think this is a really GREAT idea, and I will try to do it in the near future! 👏👏👏👏👏
What a great idea! Now I can try to create the long vest that isn’t available for the retail market.