How to Sew a Velvet DIY Bomber Jacket From Scratch (Free Pattern)

In this tutorial, I'll show you how to make a DIY bomber jacket using a free pattern from Mood Fabrics.
The bomber jacket sewing pattern is for men but really anyone could wear it! In this gorgeous navy velvet, this DIY bomber jacket is perfect for even a special occasion.
Let me show you how to sew a bomber jacket with lining!
Tools and materials:
- DIY bomber jacket pattern
- 1½ to 2 yards of velvet fabric
- 1 yard lining (preferably satin)
- Knit ribbing
- 21-inch zipper
- Scissors
- Ruler/measuring tape
- Pins
1. Make the pattern
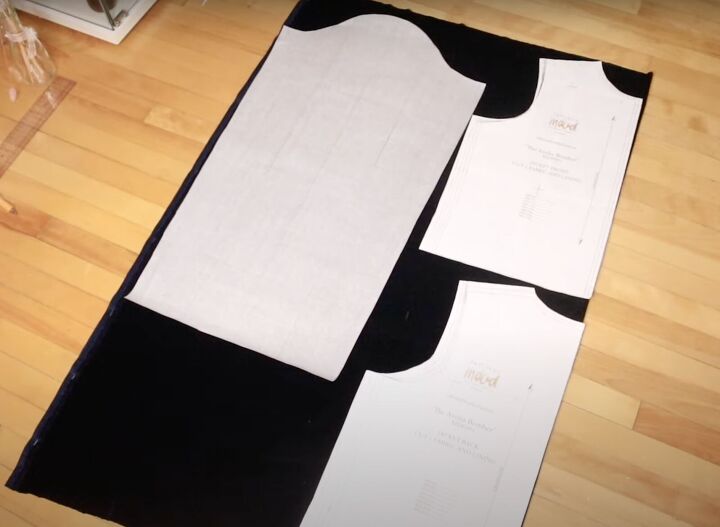
Print and cut out the pattern. Print the sleeve pattern twice.
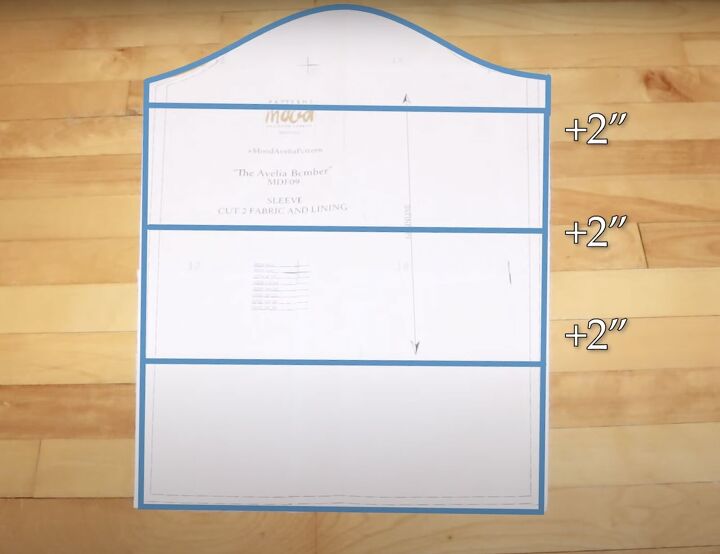
The velvet sleeves will be ruched so you’ll modify the sleeve pattern by adding a total of 6 inches to enlarge one of the sleeve patterns.
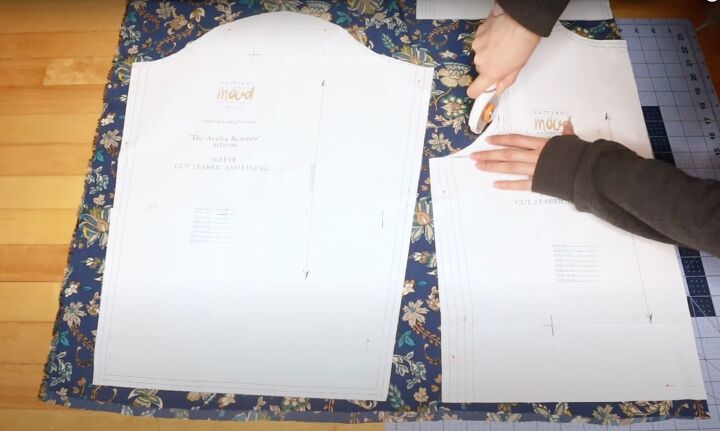
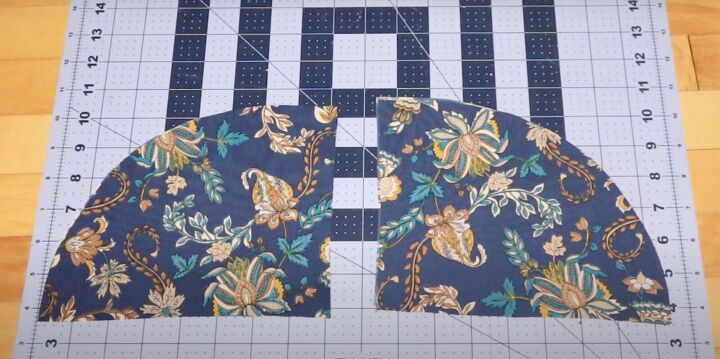
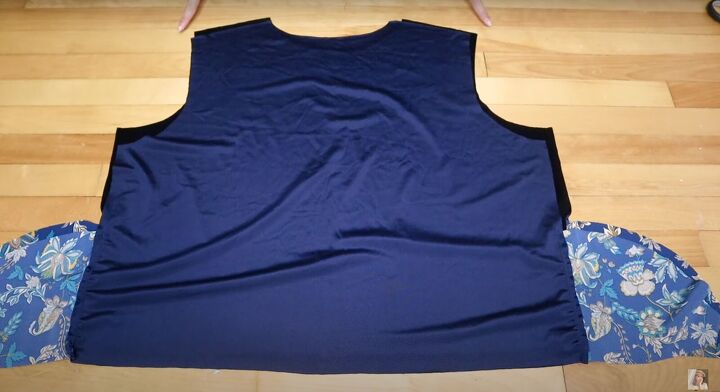
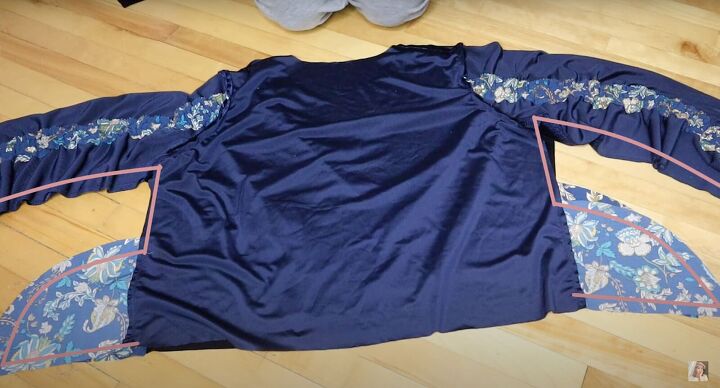
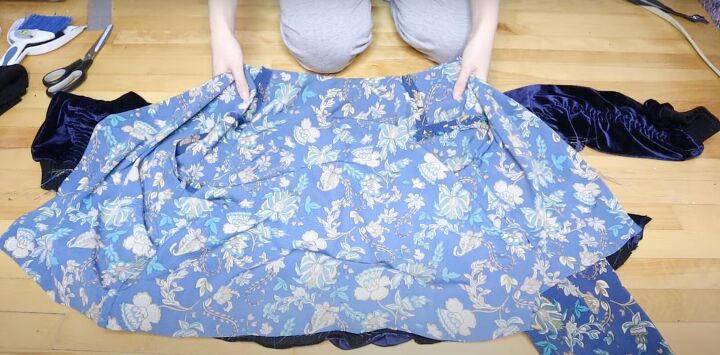
Leave the other sleeve in its original size. Lay the pattern on the fabric and the lining. Cut the pieces out.
You should have 2 front pieces, 2 sleeves, and 1 back piece of the velvet and lining. Cut out 2 velvet rectangles that are 3 X 6 inches to use later.
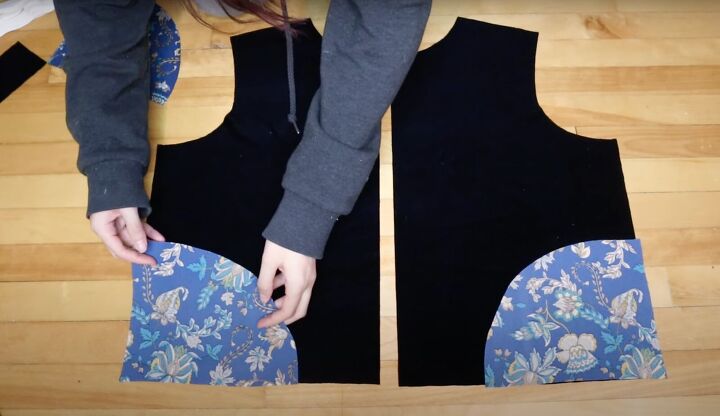
2. Make pockets
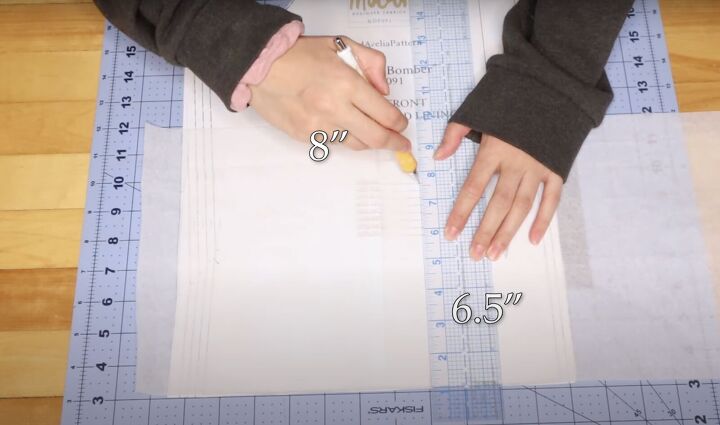
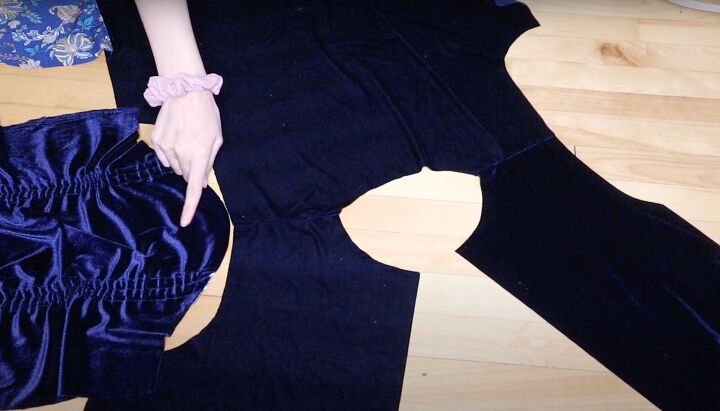
The jacket pattern doesn’t come with pockets so let’s make some! Lay a piece of tracing paper over the front bodice pattern and trace the side. Draw a 6½ X 8-inch rectangle using the ruler.

Curve out the corner into a pocket shape.
Cut 4 of these out of the lining fabric.
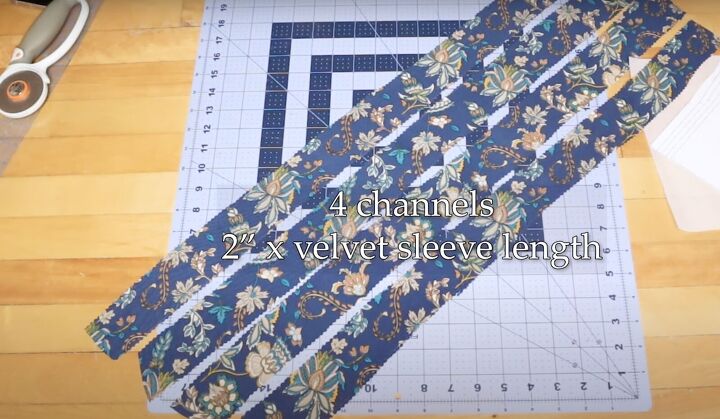
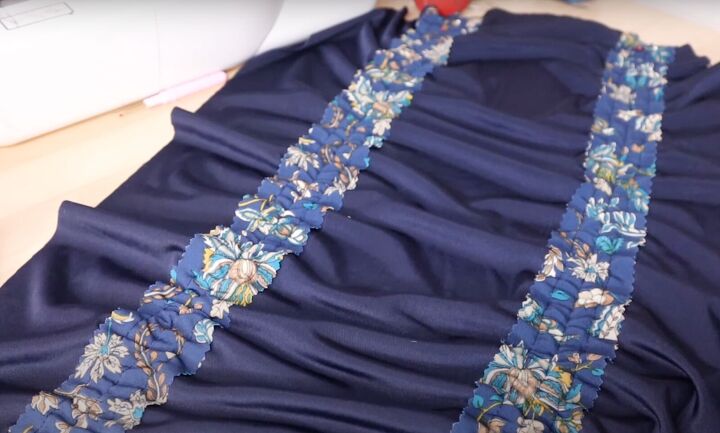
3. Make the ruching channels
Cut 4 rectangles that are 2 inches wide by the length of the longer velvet sleeve out of the lining fabric.
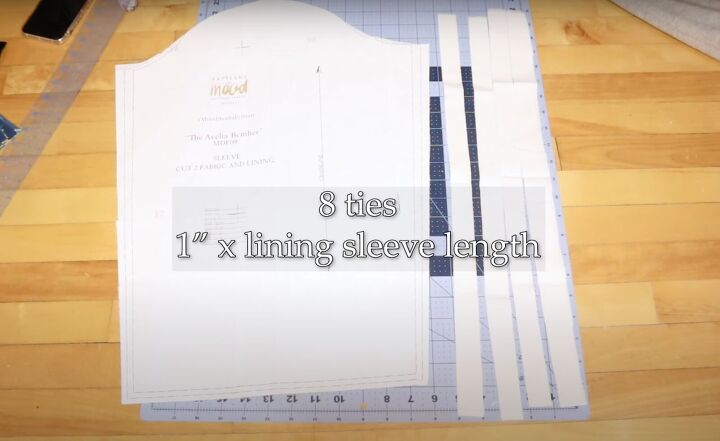
Cut 8 fabric ties out of any fabric you have as they won’t be visible that are 1 inch wide and the shorter length of the sleeve lining.
4. Start sewing
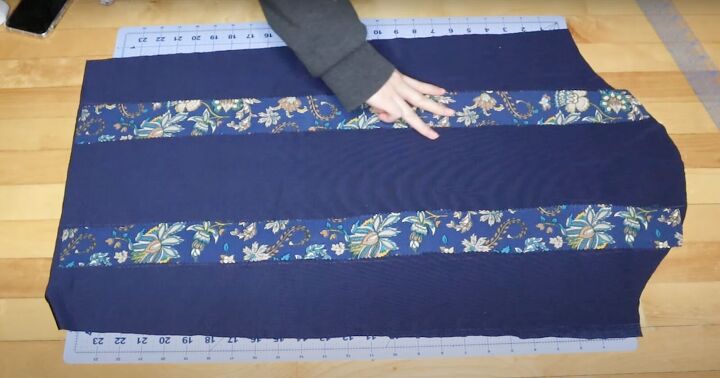
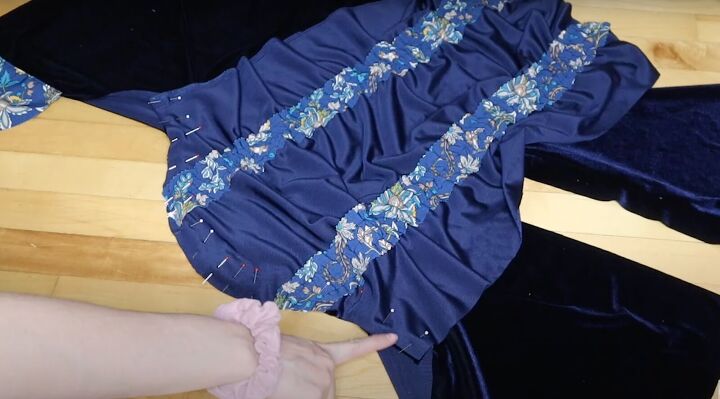
Start by sewing the channels on the sleeve. Mark the wrong side of the velvet sleeve where you want the ruching.
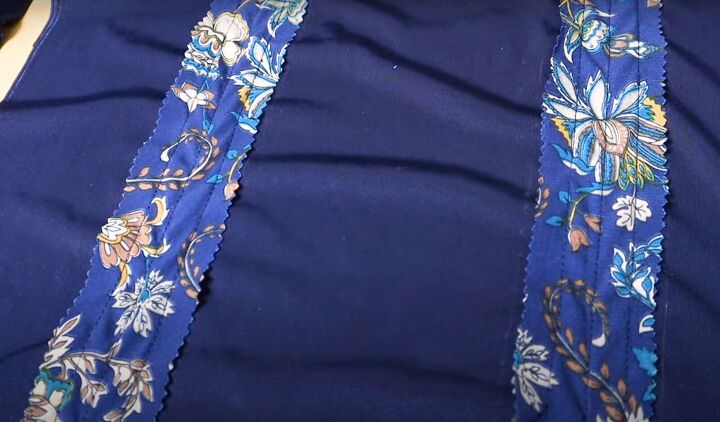
Sew them down the middle and then on either side to create 2 channels, spaced ½ inch apart.

Repeat for the second sleeve.
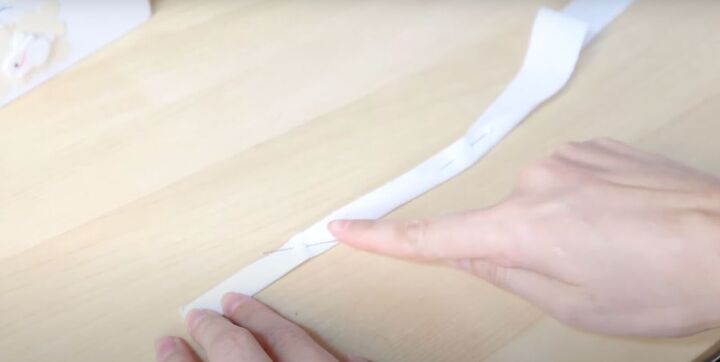
5. Make the 8 ties
Fold the tie fabric in half. Pin and sew along the length at a ¼ inch with a zigzag stitch.
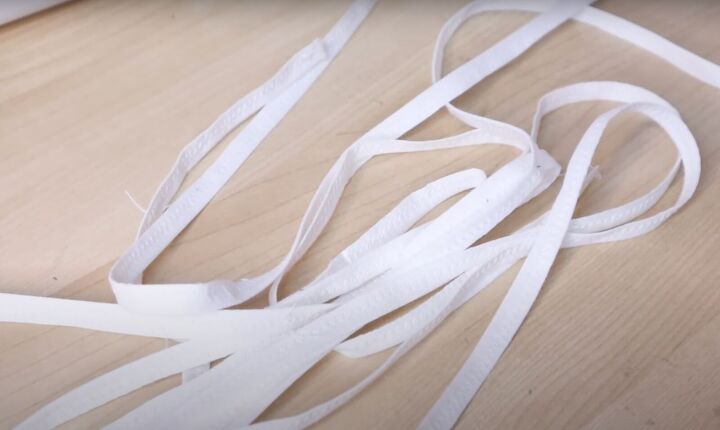
No need to turn them inside out. Cut off the excess fabric.
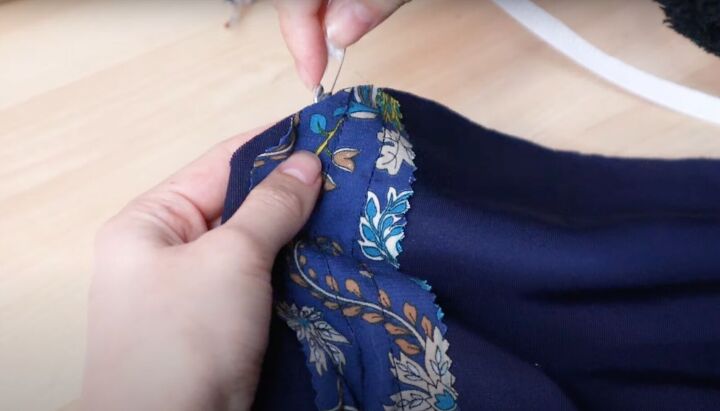
6. Insert the ties
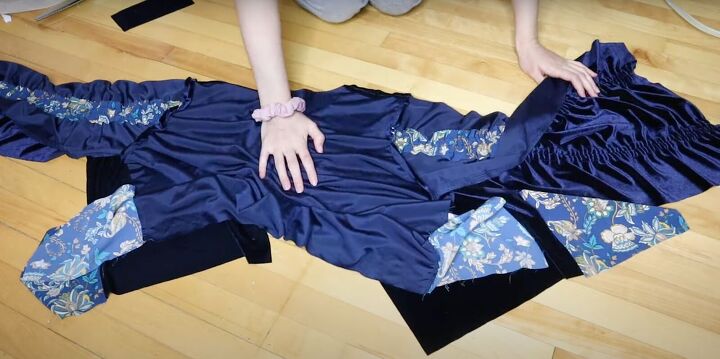
Guide the ties through the channels by attaching a safety pin to the tie and inserting them into the channels until they reach the end.
Repeat for the other 3 channels.
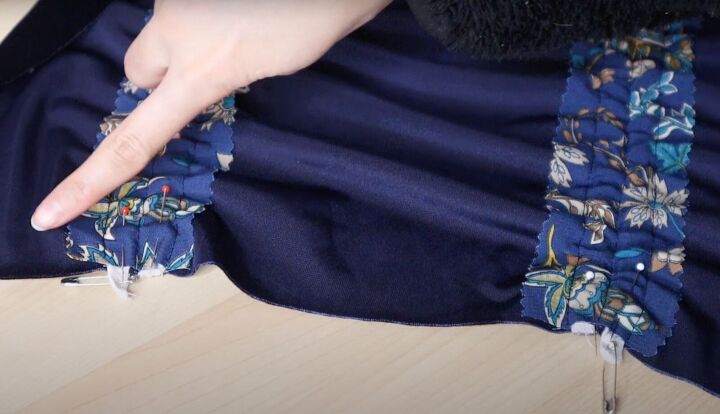
Pin at the bottom and sew across to secure.
7. Sew the pocket
Place the pockets right sides together to the front pieces and sew to the side.
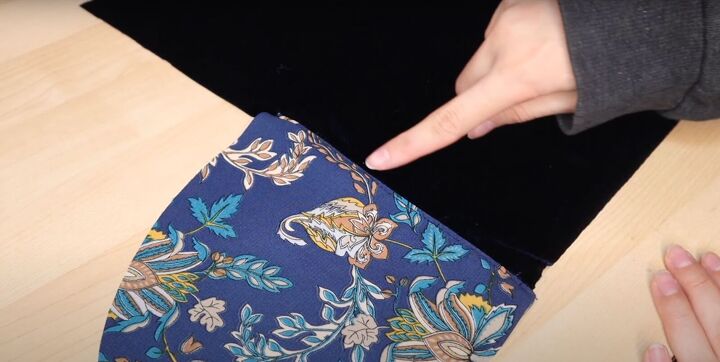
Turn the pocket out and topstitch the edge to prevent it from rolling out.
Do the same for the back piece.
8. Sew the sleeves
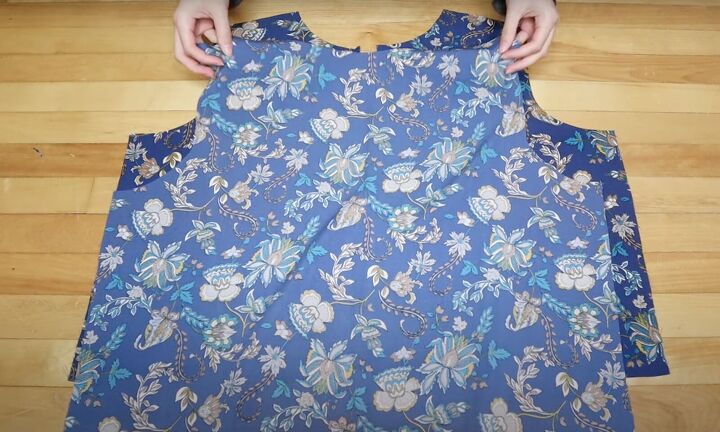
Place the front and back pieces right sides together and sew the shoulder seams.
Then, open the jacket and align the shoulder seam and the middle of the sleeve together. Pin the sleeve all around the armhole. Sew in place.
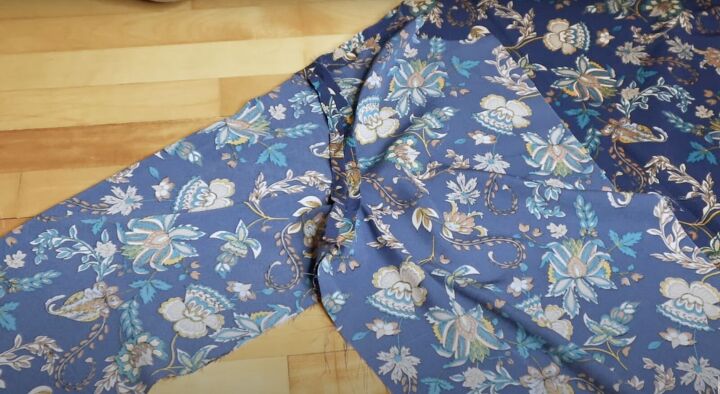
Once the sleeves are attached, place the jacket front and back right sides together.
Sew the pockets first and the side seams. Sew down 1 inch at the bottom of the pocket and towards the front of the jacket. Then sew the inner sleeve seam.
9. Sew the lining
Repeat the same steps to sew the lining: front and back, right sides together, shoulder seam, attach the sleeves.
Sew the side seams.
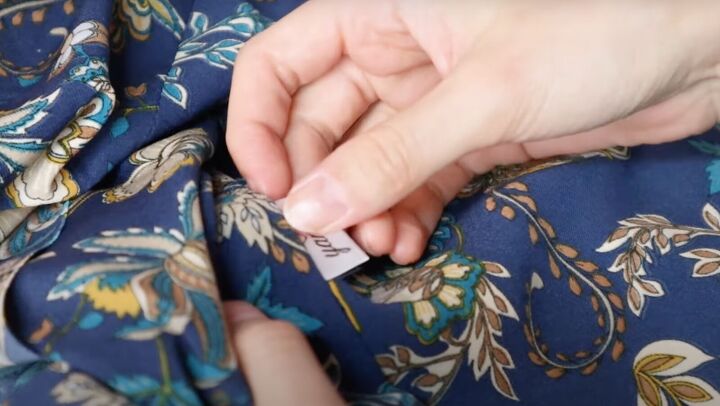
If you have your own label, insert into the lining.
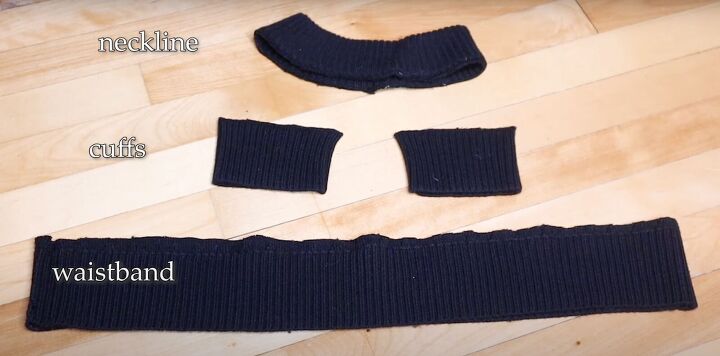
10. Attach the ribbing
For sustainability, I’m using existing ribbing from a thrift store sweater. You’ll need a waistband, collar, and 2 cuffs.
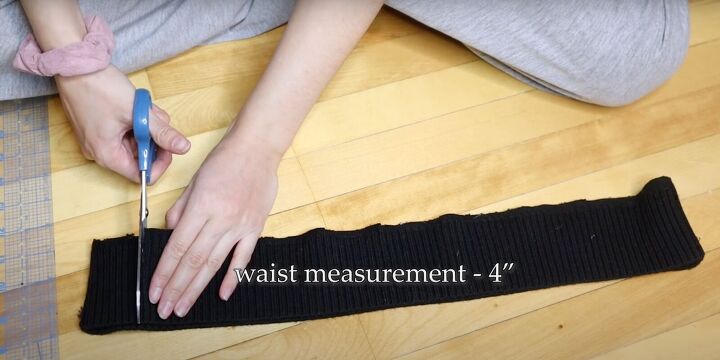
Measure your waist and use this measurement, less 4 inches for the waistband piece.
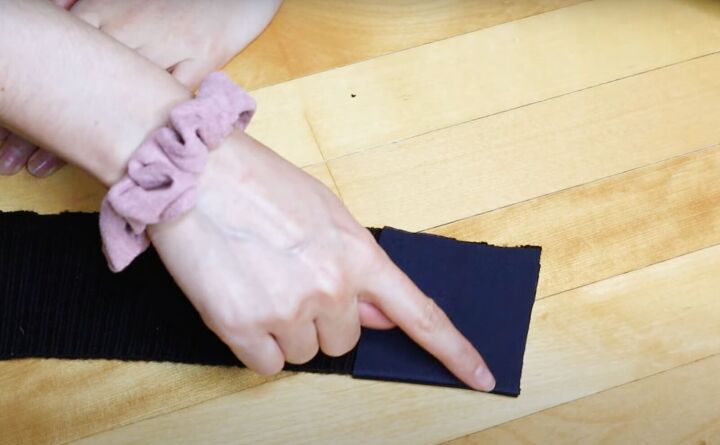
Add the 3 X 6 inch velvet rectangles. Place them right sides together and tuck around.
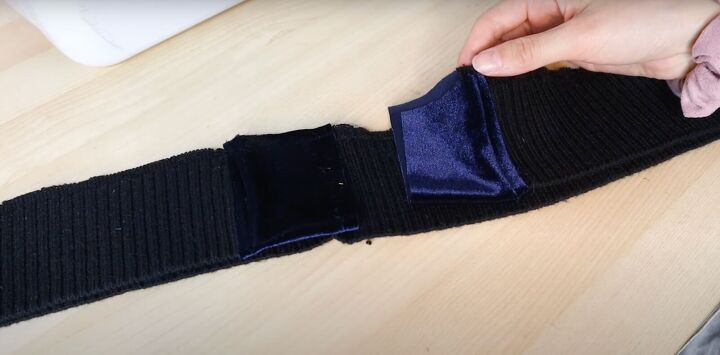
Sew. Then flip it and topstitch.
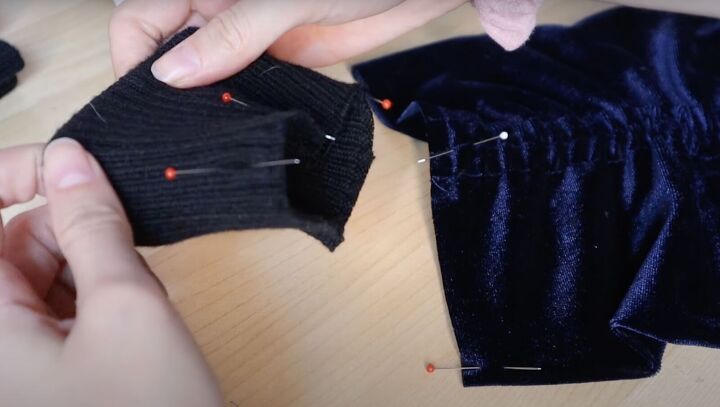
For the cuffs, mark 4 equal points on the cuff and matching pins on the sleeve. Pin the two together.
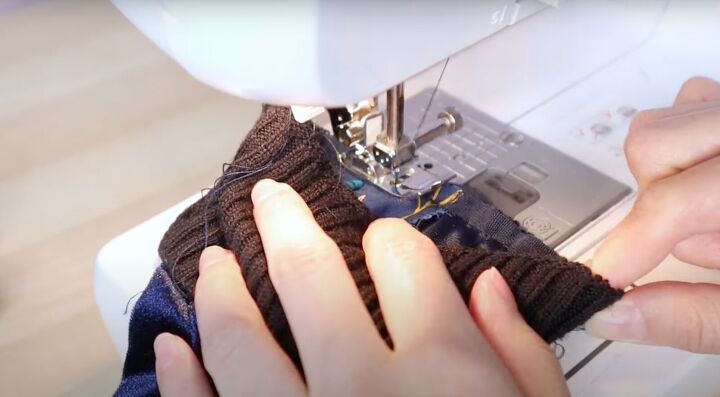
Stretch the cuff as you sew.

Make sure to sew all the layers evenly.
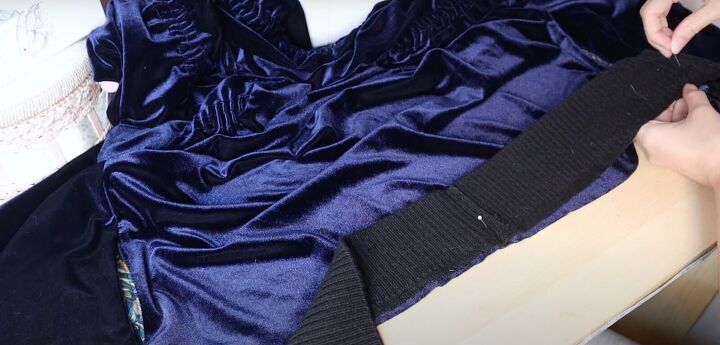
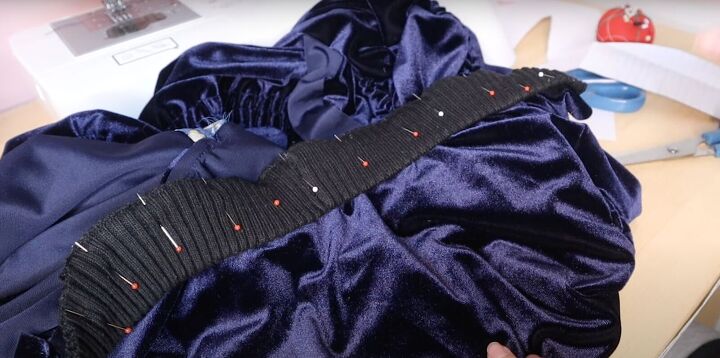
For the waistband, lay it on the hem of the jacket, right sides together. Match the center seam of the ribbing to the center back. Pin it evenly across.
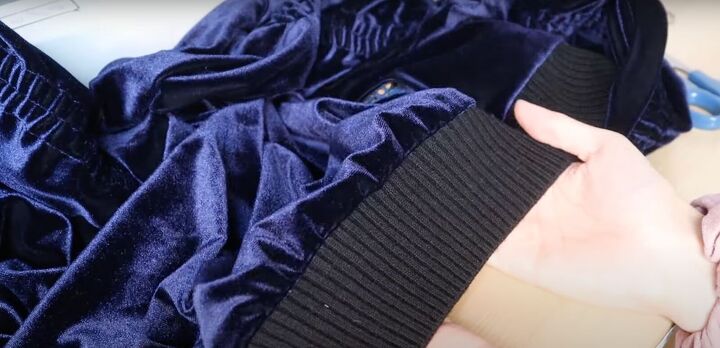
Sew.
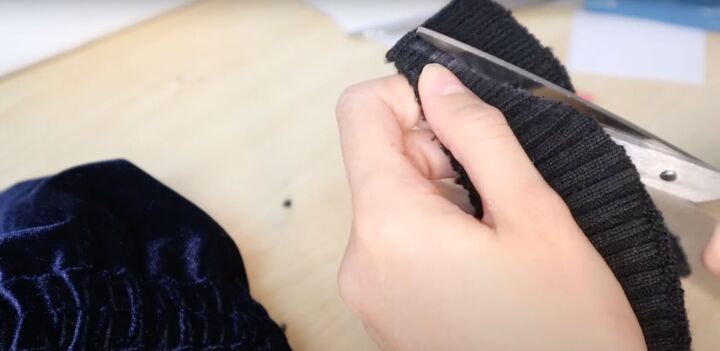
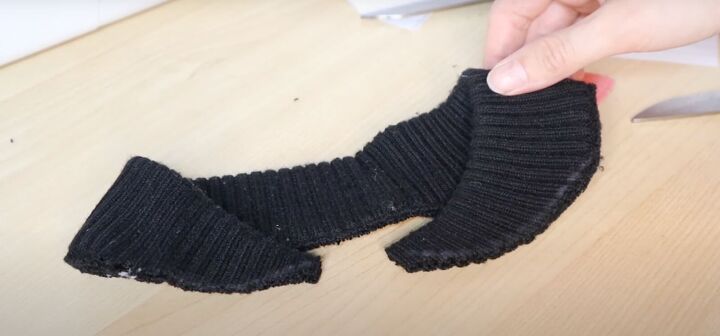
For the collar, trim the edges for a streamlined look.
Pin the collar right sides together raw sides down along the neckline.

Sew.
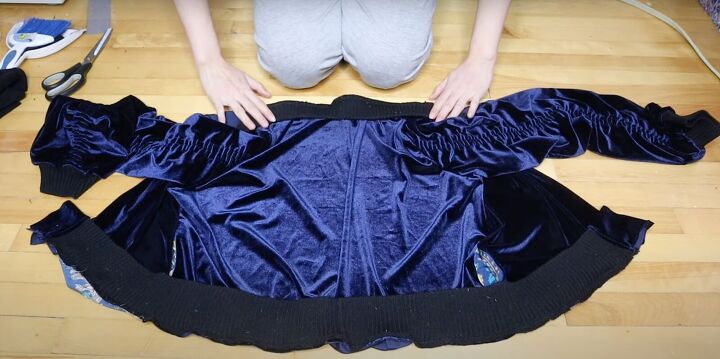
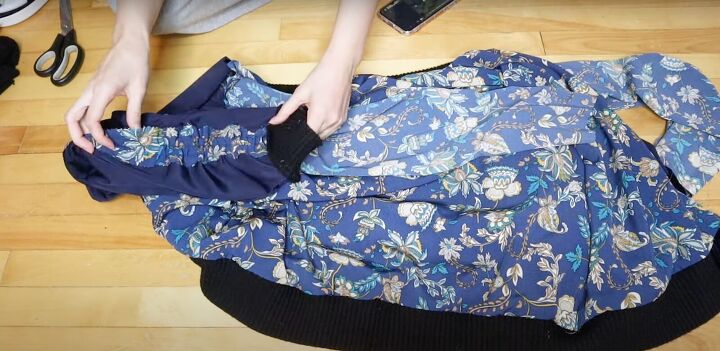
11. Attach the lining
Fold up the collar and the waistband.
Place the lining on top of the jacket, right sides together. Pin the lining to the collar and waistband. The ribbing should be sandwiched in between the lining and the velvet.
Once it’s flipped, all the seams will be on the inside.
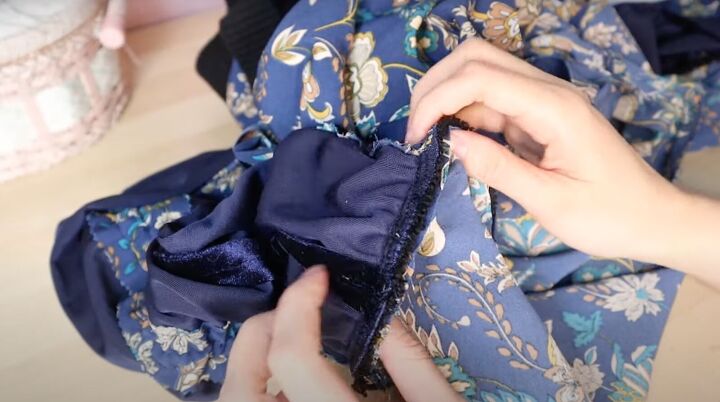
Attaching the lining to the sleeve may be a bit confusing.

Lay the jacket so the lining is facing you. Turn the lining and sleeve inside out. Fold in the ribbed cuff. Fold the lining up about 2 inches to the right side. Insert into the velvet sleeve. Sew it all around.
Flip the sleeve inside out. If you have trouble, watch on the video from 8:10 to 8:35.
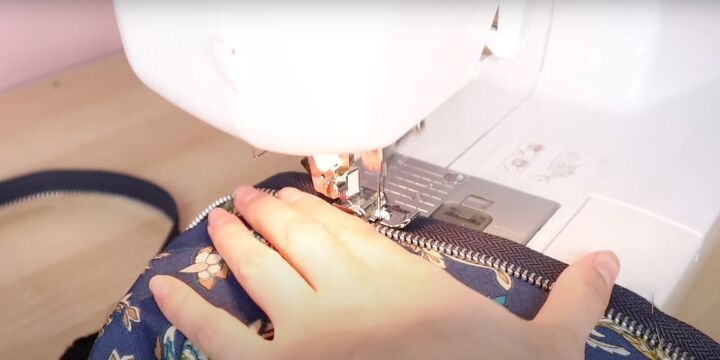
12. Add the zipper
Sew the zipper to the lining only.
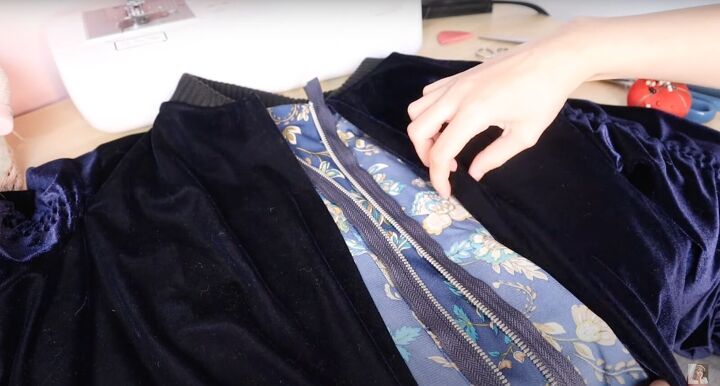
Fold and iron the seam allowance of the velvet fabric.
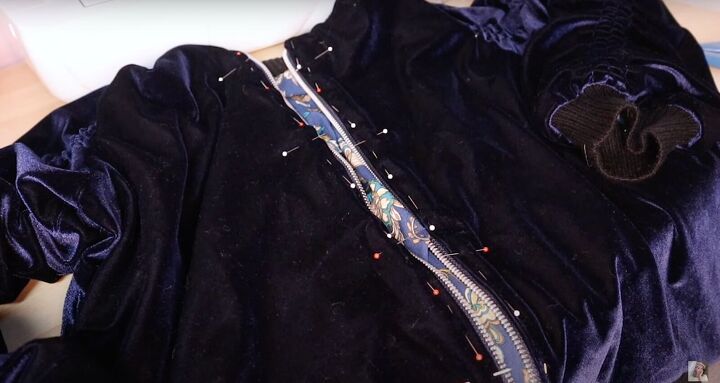
Pin in evenly to the zipper. Topstitch it down.
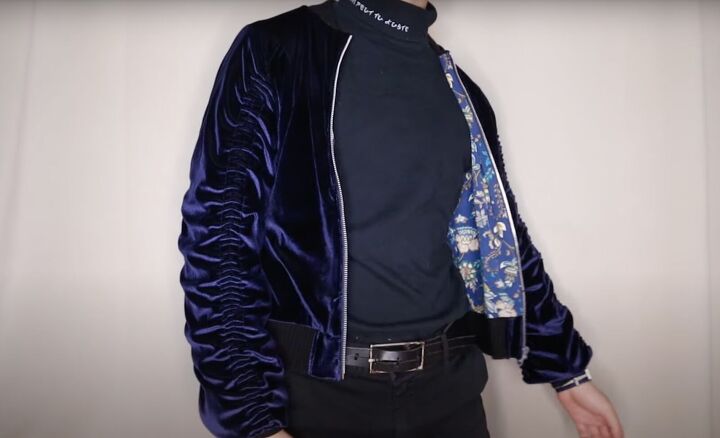
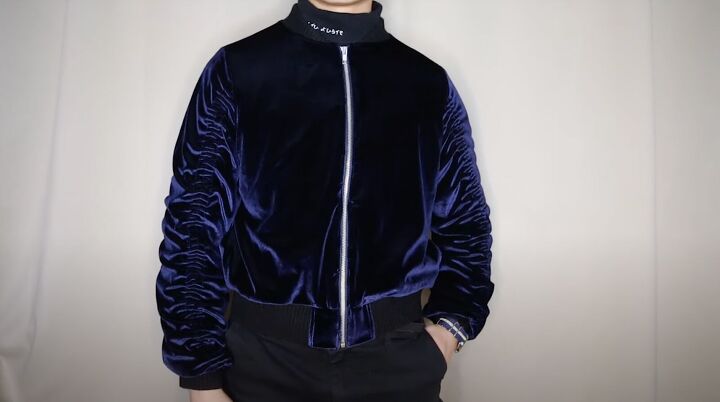
DIY bomber jacket tutorial
You’re done making this lovely DIY bomber jacket! As always, let me know what you think in the comments!
The author may collect a small share of sales from the links on this page.


Comments
Join the conversation
I love it! I am wanting to start sewing again & I would love to make this! ❤️