DIY Fall Vest


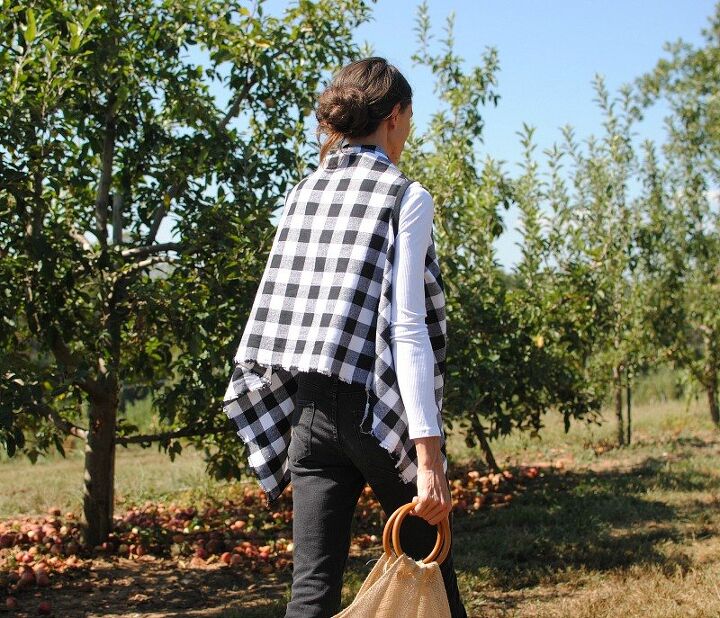


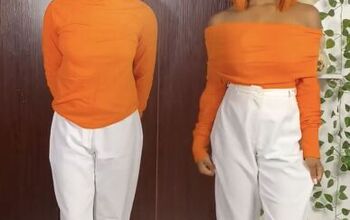
This time of year is my favorite time to be a sewist. I love all things fall sewing, from Halloween Costumes and decor, to light jackets and ponchos. This is a great time to sew separates for layering your looks. I like pieces I can take simply take on and off that aren't too heavy for the chilly mornings and hot days fall can bring. This drapey vest is a great example. Get the details below with and sew your own Fall Vest in under 30 minutes.
Supplies:
- Fabric
- Coat's & Clark All Purpose Thread
- Double fold bias tape or Fold-Over Elastic (1/4" and 1/2")
- Brother Sewing Machine
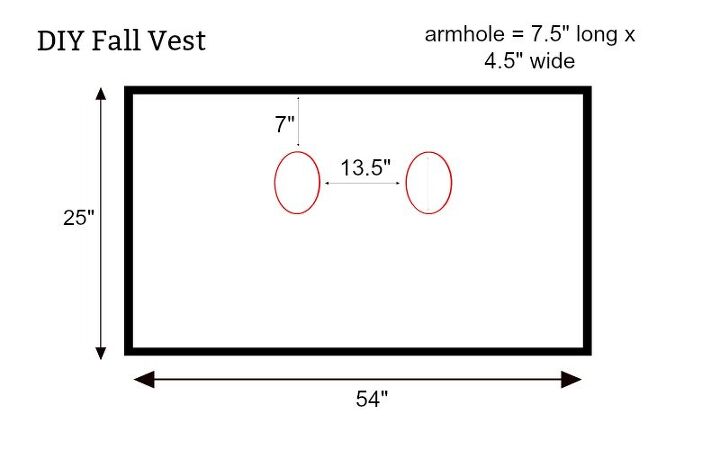
Refer to the diagram above. You may need to adjust for your measurements. Maybe make the shoulders wider or the arms bigger/smaller. The only part you will cut is the red armholes. Keep in mind if you're using a knit or stretchy fabric you will want to cut the armholes much smaller (start at almost 50% smaller). I used the selvage edge which had a short fringe as the bottom hem of the vest.
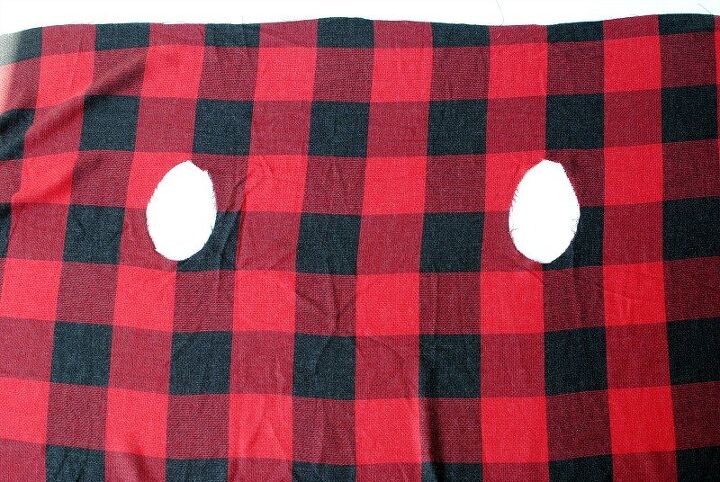
Cut the armholes out.
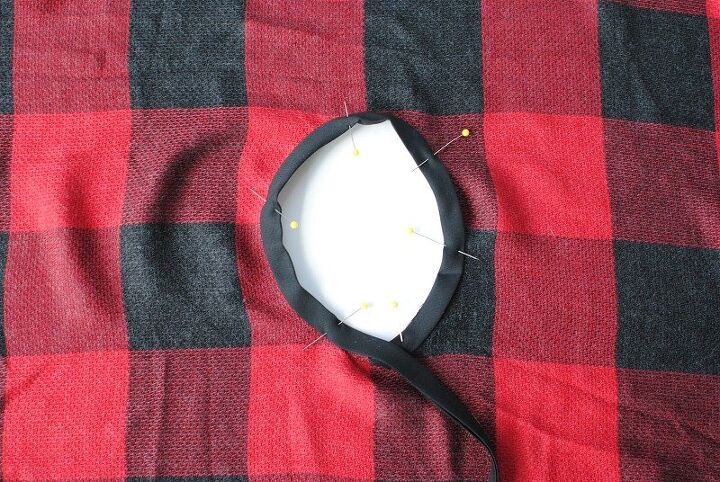
Pin 1/2" Fold-Over elastic or double fold bias tape around the armholes.

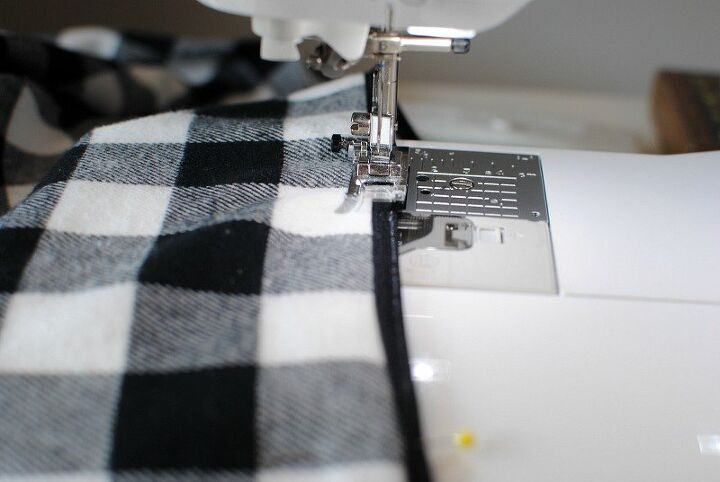
Sew along the edge encasing the raw edge.

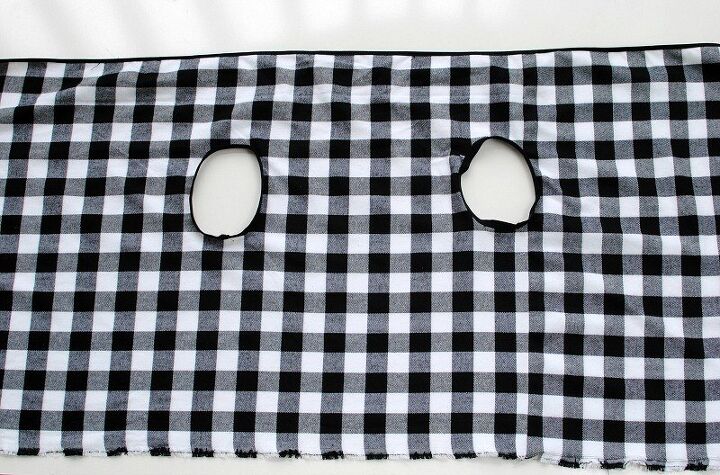
Finish the top and side edges of the fabric by folding over 1/4" pressing, and then fold over again 1/4" and topstitch.
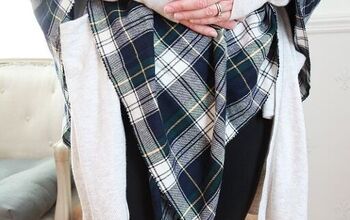
You can also use 1/4" Fold-Over elastic or double bias tape around the edges as well. I did this with the black and white version which I liked better than the hem because of the contrast. That way to when the vest folds the wrong side still looks good too.
Pin the fold over elastic encasing the raw edges and sew just along the edge making sure to get both front and back.
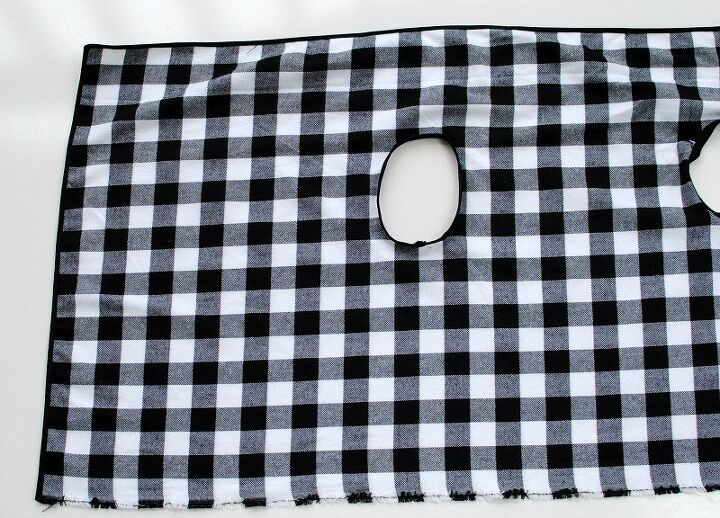
Again the selvage edge is the bottom hem and here you can see the top and sides finished with the 1/4" Fold-Over Elastic.
The author may collect a small share of sales from the links on this page.


Comments
Join the conversation