How to Make a DIY Hoodie With Trendy Puff Sleeves

This tutorial includes a sewing pattern and instructions to make a DIY hoodie with puff sleeves and a kangaroo pouch pocket, inspired by Johanna Ortiz's designs. If you don’t want the puffy sleeves, you can always make your hoodie with straight sleeves.
Tools and materials:
- ½ yard of knit fabric
- 2 yards of polyester quilt fabric
- T-shirt
- Pattern paper
- Scissors
- Pen
- Fabric chalk
- Tape measure
- Thread
- Sewing machine

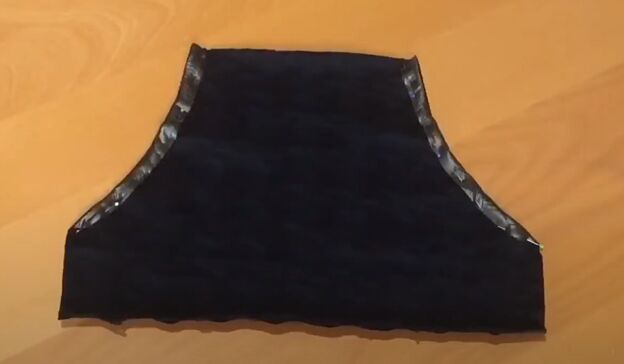
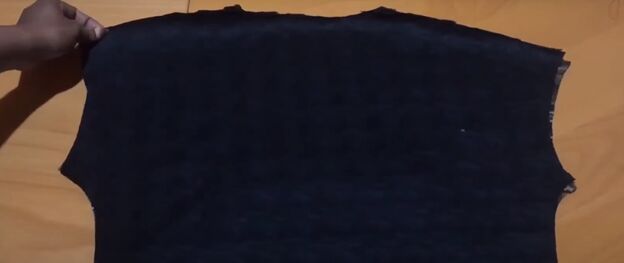
1. Cut the bodice
Fold the bottom of your t-shirt in so it is the length you want your puffy-sleeve hoodie to be.
Fold your quilt fabric in half and place your t-shirt on it. Do not place your t-shirt on the fold of the fabric, because you want to be able to cut two pattern pieces at the same time.
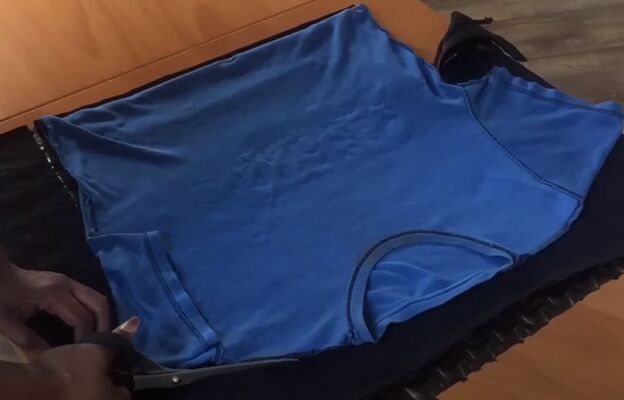
Cut the fabric along the outline of the t-shirt adding a ½-inch seam allowance all around. When you get to the sleeves, fold the t-shirt in so you can cut the fabric without sleeves.
Cut the neckline along the outline of the back of the t-shirt. You can then deepen the neckline on the front jacket piece if you wish.
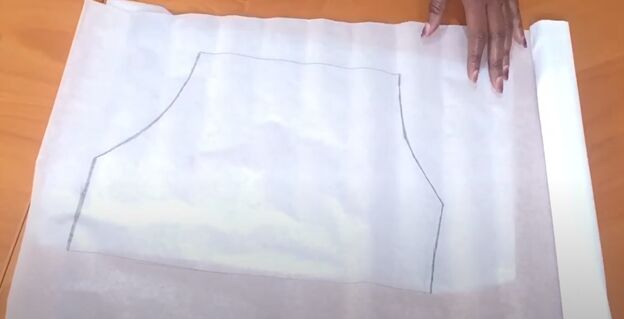
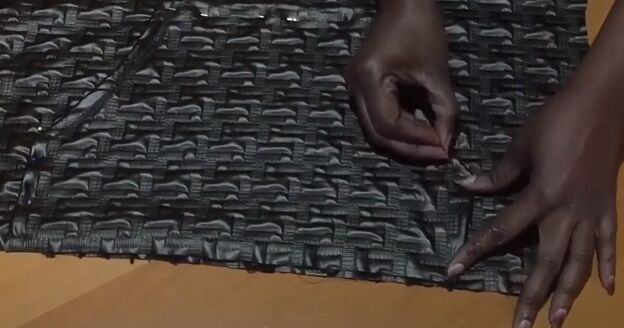
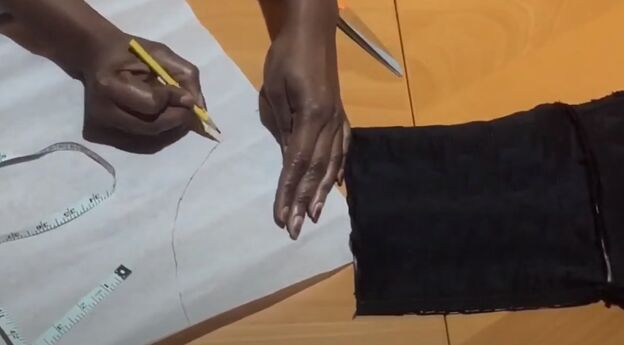
2. Make the pocket
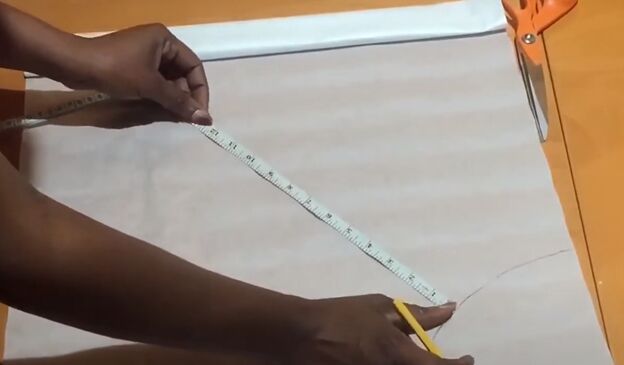
Freehand draw a kangaroo pouch pocket on your pattern paper. If you already have an item of clothing with a pouch pocket, you can trace it from that.
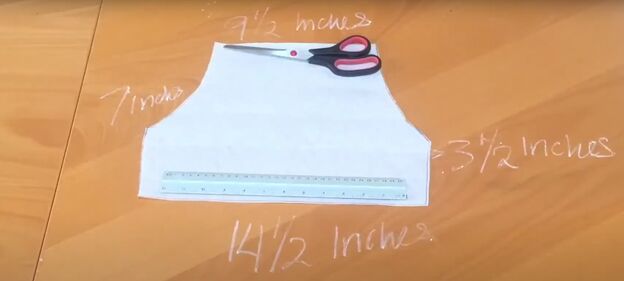
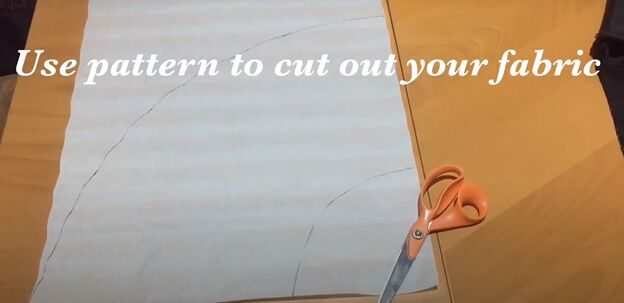
Cut out the pocket pattern piece. Above are the approximate dimensions you should use.
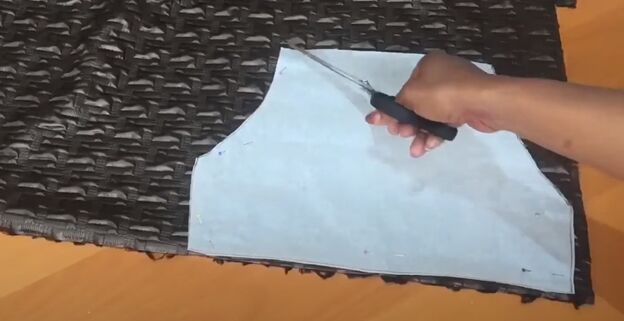
Use your pattern piece to cut out the pocket from your fabric.
Turn the curved edges of the pouch pocket in 1 inch and pin down.
Straight stitch along the curved edges. For a more dramatic look, you could use a zigzag stitch.
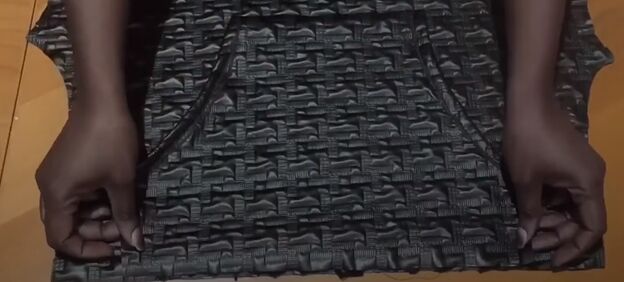
3. Attach the pocket
Place the pocket right-side out on the front hoodie piece. Make sure you center the pocket in the middle of the hoodie, and the bottom of the pocket is along the bottom edge of the hoodie.
Fold the top and both sides of the pocket under ½ an inch and pin the pocket in place.
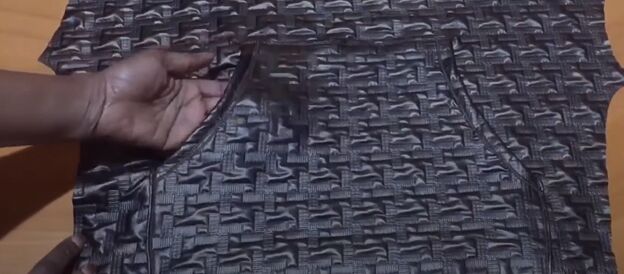
Topstitch along the straight sides and the top of the pocket.
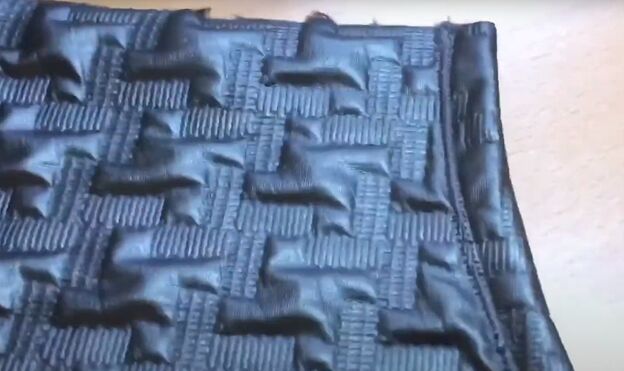
4. Sew the jacket
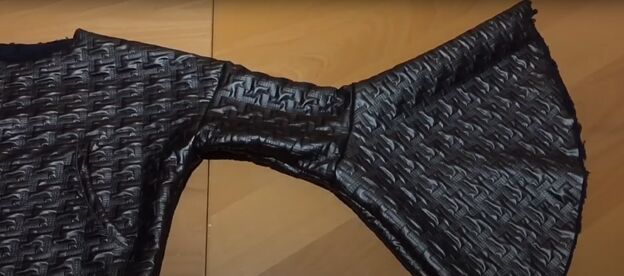
Place the front and back hoodie pieces together with right sides facing in. Sew the side and shoulder seams with a straight stitch.

5. Make the upper sleeves
Using the armhole of the hoodie as a guide for width, cut out a square on the fold of the quilt fabric, adding a ¼-inch seam allowance. Use the first square as a template to cut a second square.
Pin and sew the open edge of each sleeve, with right sides facing in.
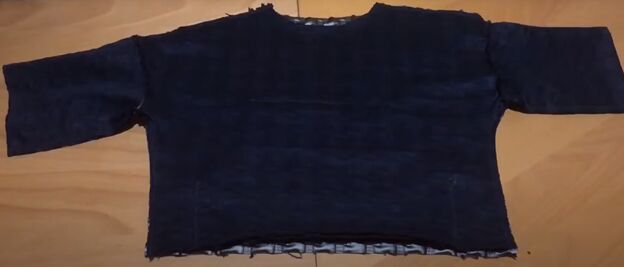
With right sides facing, insert the sleeve into the hoodie armhole. Pin the raw edges of the sleeve and hoodie armhole together.
6. Make the puffy sleeves
Measure the width of the bottom of the upper sleeve and draw a quarter-circle in the corner of your pattern to that measurement.
Now, measure the length of your arm to get the sleeve length measurement. Use a tape measure to mark another quarter-circle line from the smaller quarter-circle you just made.
Cut the paper along both lines and use that pattern piece to cut your fabric for the puffy sleeve.
With right sides together, slide the puffy sleeve circle around the bottom of the upper sleeve. Pin the pieces together.

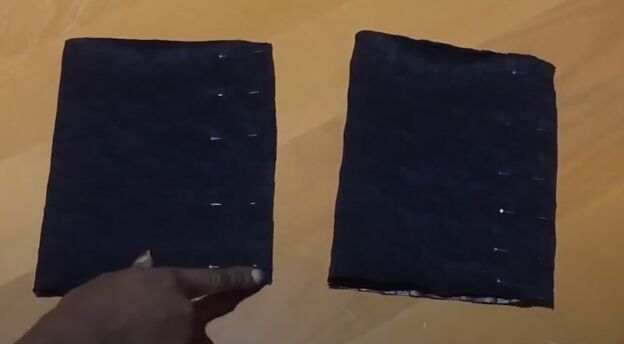
7. Make cuffs
Measure your wrist circumference. Fold the knit fabric in half and cut a cuff-sized piece, half the size of your wrist with a ¼-inch seam allowance.
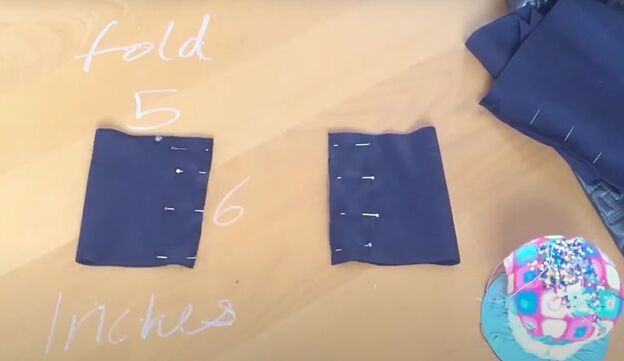
Pin and sew the open edge of the cuffs.
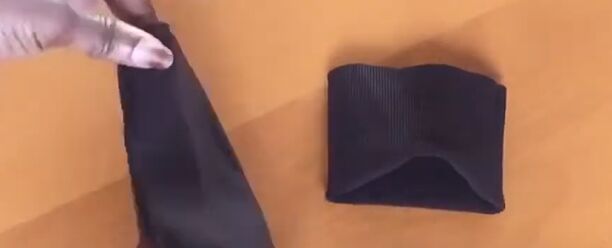
Turn the cuff right-side out and fold it in half lengthwise.
Gather the bottom edge of the puffy sleeve so the circumference of it will fit to the cuff. Sew the edge using a straight stitch.
With the right sides together, place the cuff around the end of the puffy sleeve with raw edges together.
Sew the cuff to the sleeve with a zigzag stitch.

8. Make the waistband.
Follow the same instructions for the cuffs to make a waistband, adjusting the circumference to your waist size.
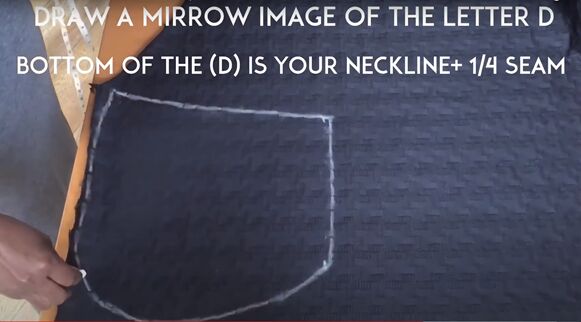
9. Make the hood
Draw a large letter “D” on your quilt fabric, with the straight edge being the width of the back neckline of the jacket. Add a ¼-inch seam allowance.
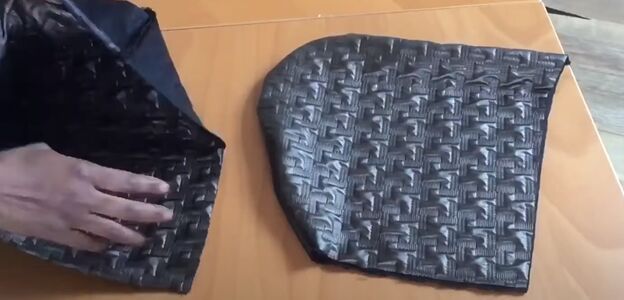
Cut the hood from folded quilt fabric so you 2 get pieces and use one piece as a template to cut two more pieces.
Join two hood pieces and sew along the curve using a straight stitch. You should have two sides sewn and two sides open. Repeat for the other two hood pieces.
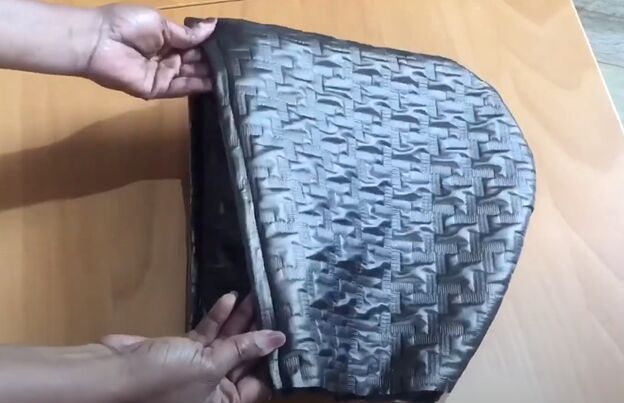
Pin the hood pieces together with right sides facing. Sew to attach them, leaving the bottom and front of the hood open.
Pin the bottom edge of the hood to the back of the jacket neckline with right sides facing, overlapping to the front piece 1 inch on each side.
Sew the hood to the jacket with a zigzag stitch.
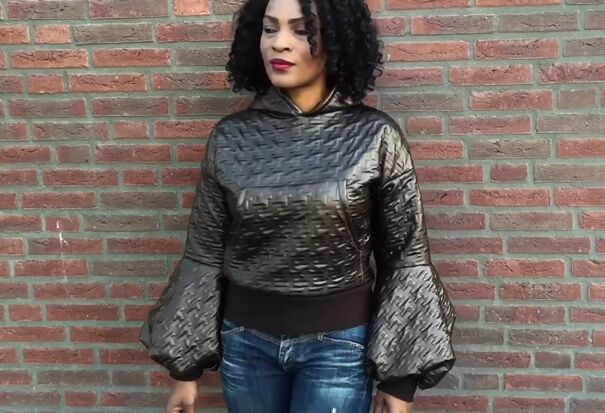
DIY hoodie with puff sleeves tutorial
Your hoodie is done and it’s perfect for the cooler weather! Enjoy wearing your DIY puff sleeve hoodie and leave a comment about how yours turned out.
The author may collect a small share of sales from the links on this page.


Comments
Join the conversation