How to Make a Cloak
If you want to make a costume of a witch, knight, superhero, or almost any other popular character, you’ll need one important part for it. The hooded cloak!

A cloak can turn the simplest costume into the real deal in a flash. That’s why every costume sewing enthusiast needs to know how to sew it. It doesn’t matter if you’re a beginner or an experienced sewing veteran, with this tutorial of ours, you’ll learn how to make a proper hooded cloak in minutes. And you’ll get to save some money you’d otherwise waste on buying a finished costume from a store.

Now let’s get ready for your cosplay or Halloween with an original and creative costume that’s easy and fun to make!
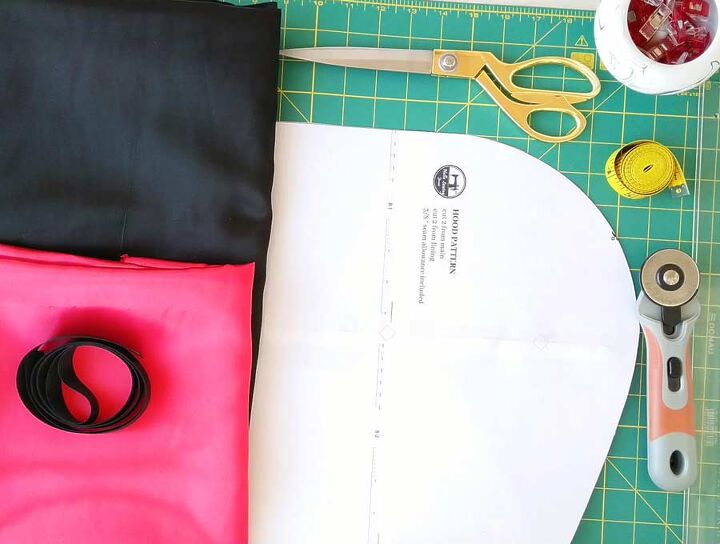
Prepare the pattern
Download our free hooded cloak pattern and print it out in full size on a piece of paper. Cut off any excess paper and your pattern will be ready for action.
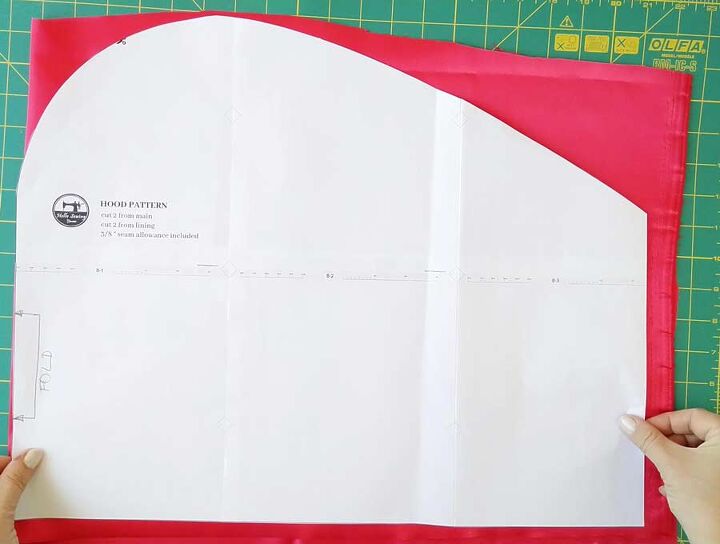
Cut out the fabric
Start by cutting the fabric for the hood. Fold the fabric in half so that the right sides are in. Place the pattern on the fabric so that the upper edge of the hood is on the fold. Cut out the fabric according to the pattern.
Do the same with the lining fabric.
The hood should be about 1/3 wider than your neckline, make sure the measurements are right.
Next, cut out the fabric for the cape. Decide how long it should be and add about 6 inches to that, for the seam allowance and the shoulders. The width should be 60 inches.
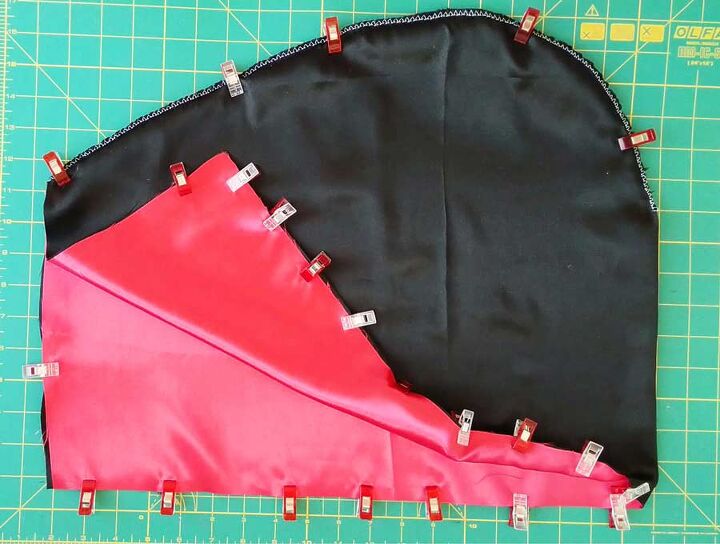
Sew the hood
If you have a serger machine, use it for this step. If not, set your regular sewing machine on a zig-zag stitch and use it instead.
Secure the middle seam with pins and sew the edges. Do the same with the lining.
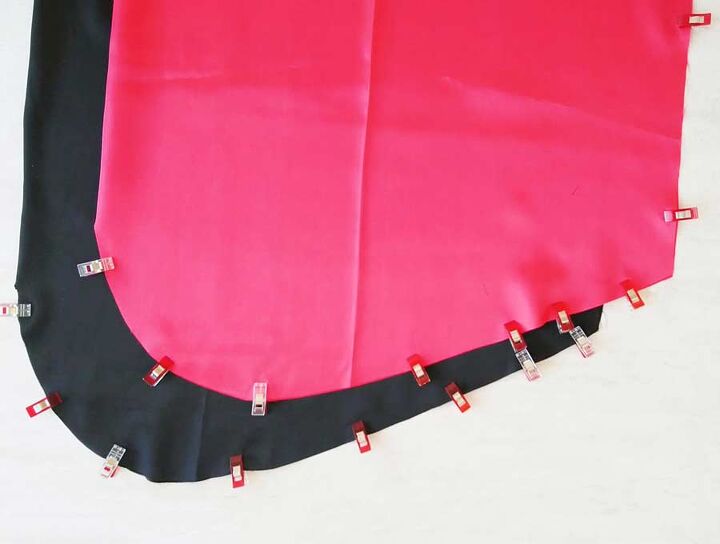
Finish the hood
Place the lining hood into the main hood fabric with their right sides facing each other. Align and pin the edges. Sew all around with a half-inch seam allowance, but leave the bottom unstitched.
Turn the hood through the opening you left and press everything flat.
Hem the cloak
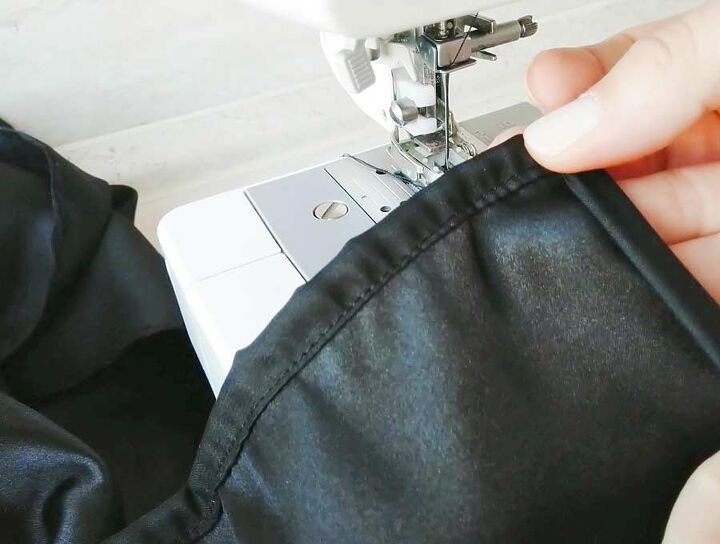
This step is necessary only if you’re using satin for the cape. Fold the edges twice and press them flat. Sew all around, except for the top edge, leave that unhemmed.
Gather the top of the cloak
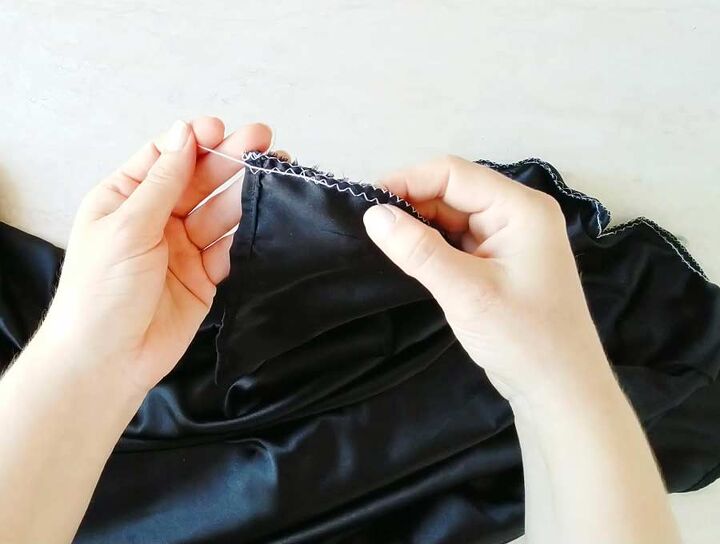
You’ll need a piece of strong thread, about 70 inches long, and place it on top of the cape, near the edge. Use a zig-zag stitch and sew over the thread. Make sure to use a large zig-zag stitch and not to catch the strong thread.
When you finish sewing, grab the ends of the strong thread and pull them apart to gather the fabric.
Put the hood onto the cape and finish the hooded cloak
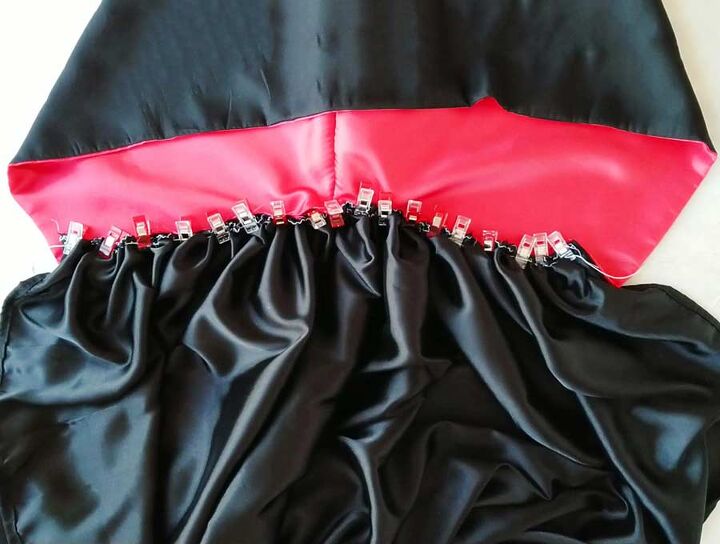
Align the top of the cloak with the bottom of the hood and see the two together with a half-inch seam allowance.
Place a ribbon over the place where the hood and cloak are joined. Sew through the three fabrics with two parallel stitches.
the hooded cloak is now complete. For even more detailed step by step tutorial go to HelloSewing.com
Your costume piece is complete!
Did you enjoy this tutorial? If so, subscribe to my newsletter to receive more free tips and patterns like this. Try making a hooded cape and tell us how it turned out. Have fun sewing!
The author may collect a small share of sales from the links on this page.


Comments
Join the conversation