15 Quick and Easy Cottagecore Hairstyle Ideas

Cottagecore: A new word for an old style that embraces the beauty of simple, old-timey rural living.
Think linen dresses, homegrown vegetables and dried wildflowers. It's an aesthetic I'm very drawn to!
So, in today's tutorial, I thought I'd show you 15 cottagecore style hairstyles that are super cute, and really easy to recreate.
Tools and materials:
- Bobby pins
- Hair elastics
- Thin silk ribbon
- Bow clip
- Floral tie headband
- Floral elastic headband
- Ponytail holder
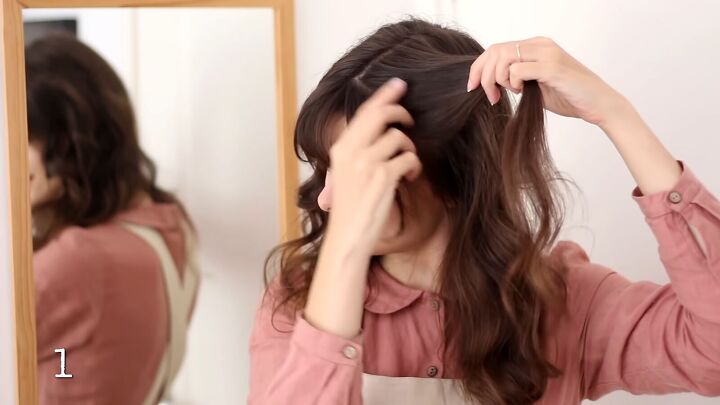
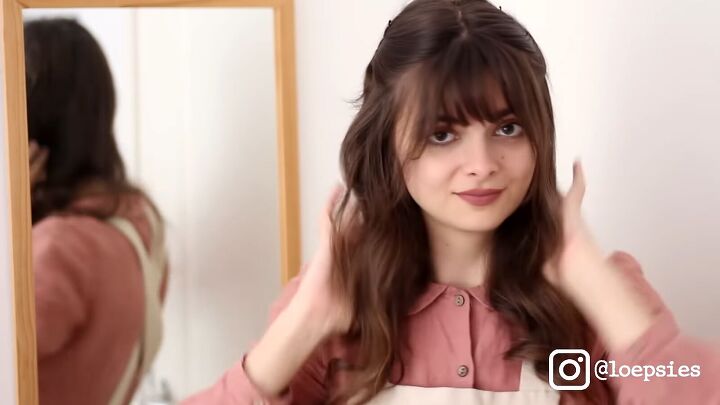
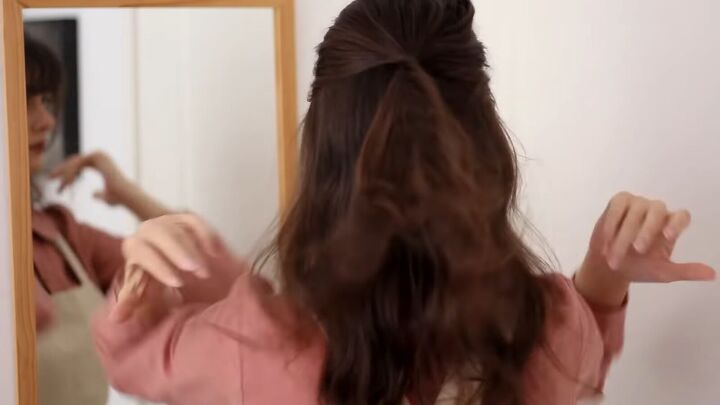
1. Side twists
Separate a section of hair just beyond your bangs (if you have them).
Give it a slight twist, then secure it with a bobby pin. Repeat with a section on the other side as well.
2. Delicate bows
Start with style 1, then tie small silk bows over the bobby pins for an added, feminine touch.

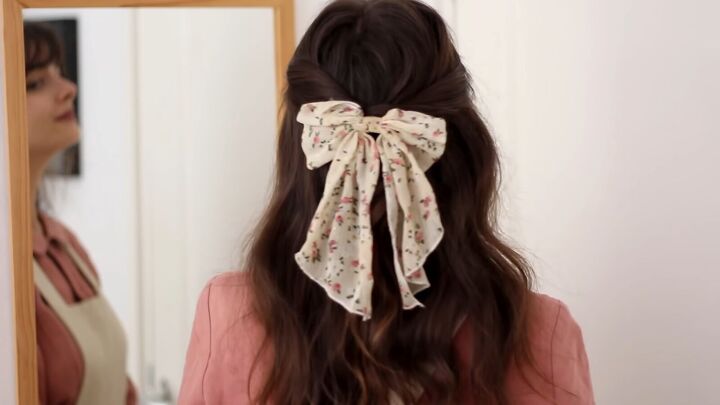
3. Half-pony with a bow clip
Grab slightly larger sections of hair starting at each temple and twist them toward the back of your head.
Join them together, like a loose, half-ponytail. Then, secure them in place with a bow clip.
Gently fluff out the top portion of hair for some extra volume and that’s all there is to it!
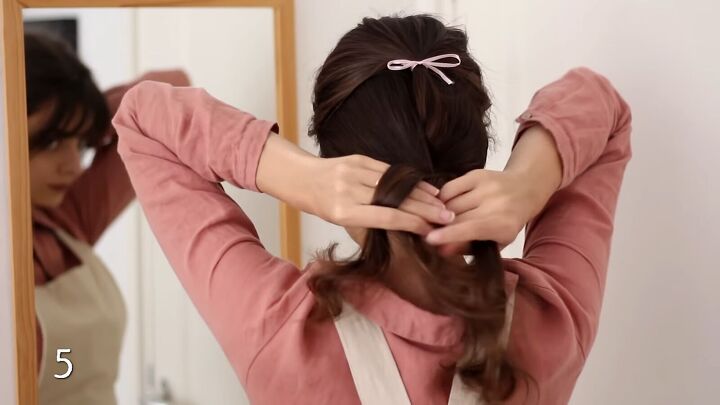
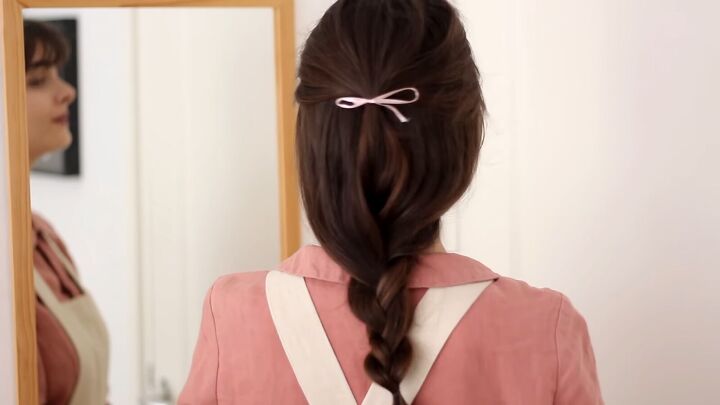
4. Half-pony with a tiny bow
Use a hair elastic to tie your hair in a half-ponytail.
Then simply cover it with a bow.

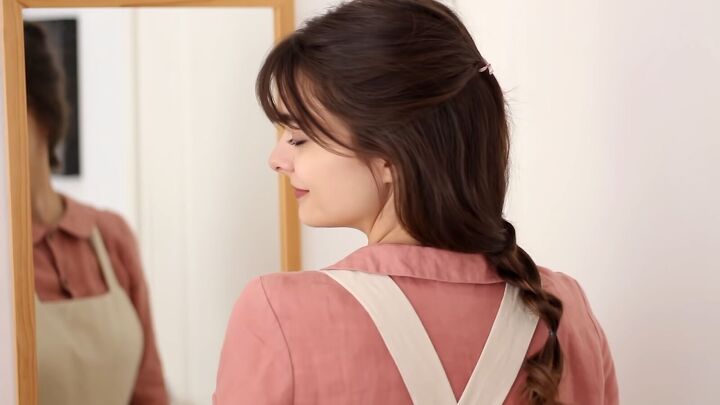
5. Half-pony to loose braid
Start with the previous hairstyle. Then braid all the ends in a basic braid, securing the end with a hair elastic.
Then, fluff out the sections of the braid.
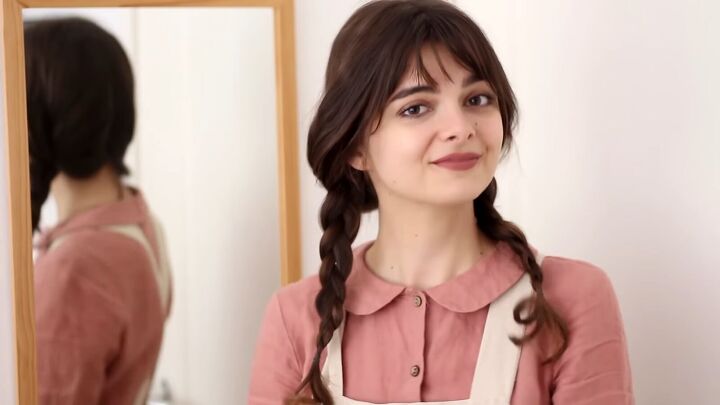
6. Pigtail braids
Split your hair down the middle.
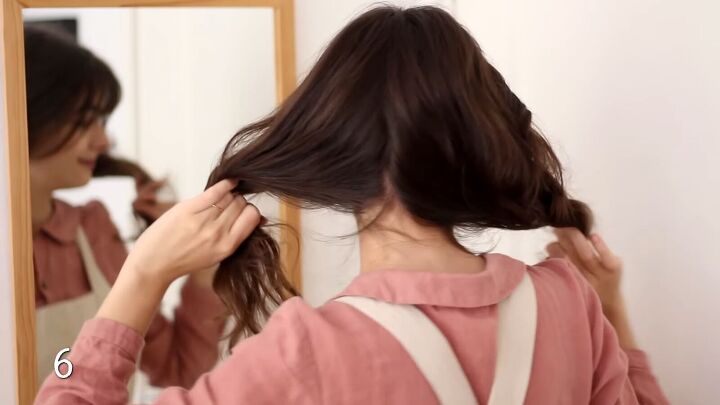
Make a regular braid, secure it with a hair elastic, then fluff out the sections.
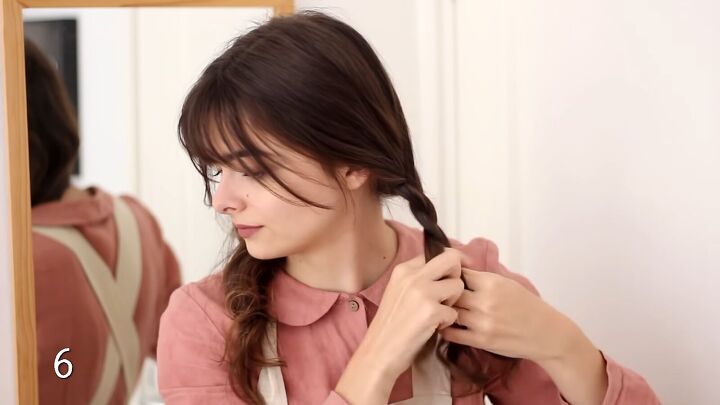
Then repeat on the other side.
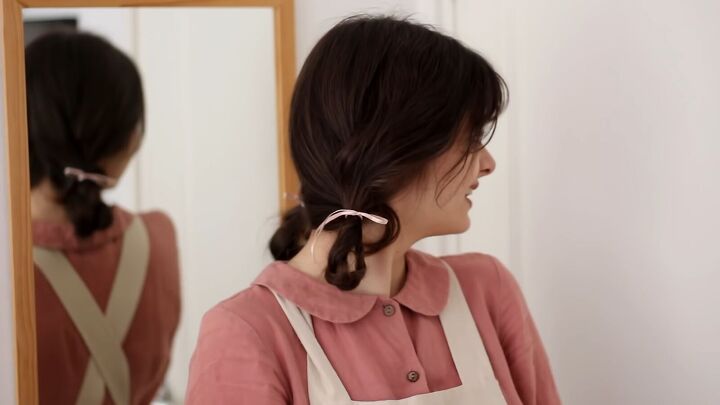
7. Pigtail loop buns
Start with pigtail braids. Then, fold each braid upward and secure with hair elastics to make loop buns.
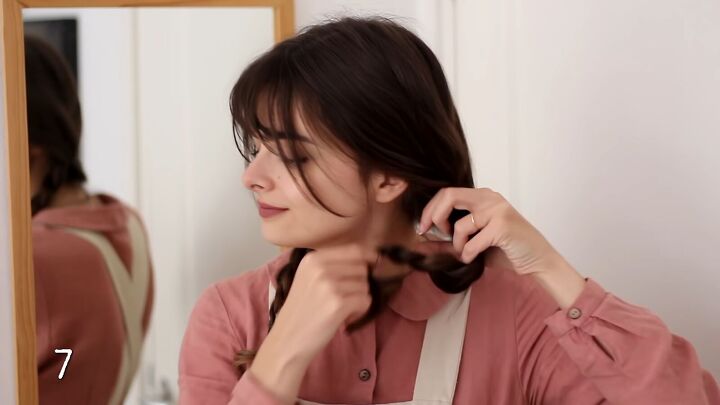
Tie on small bows if you’d like.
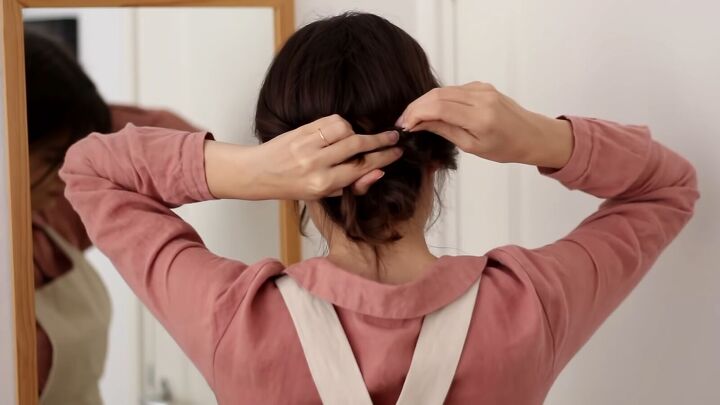
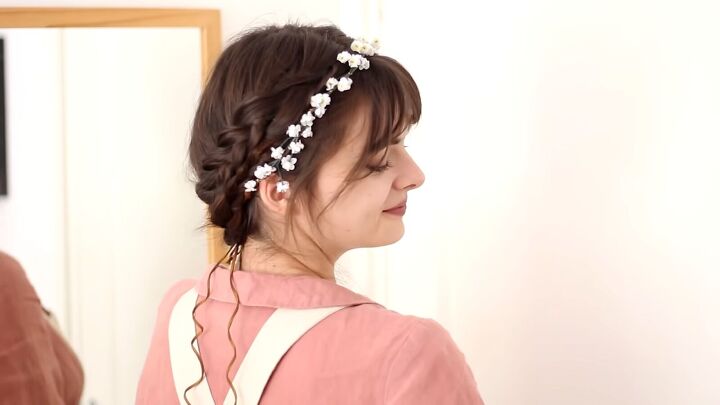
8. Crossed braids with flowers
Start with two pigtail braids. Then, cross each braid at the back of your head.
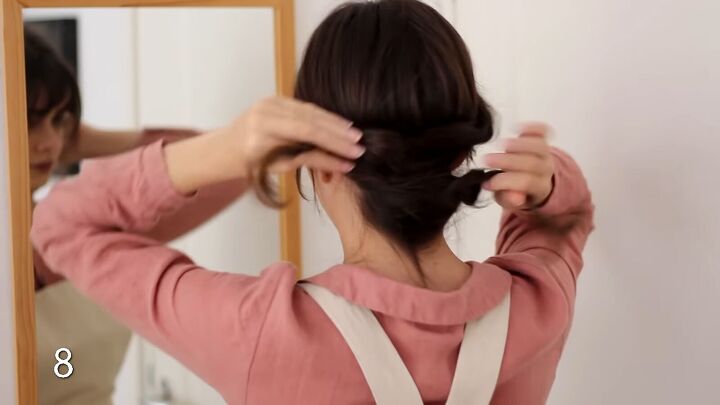
Hide the ends by tucking them into the crossed braids and securing with a few bobby pins.
Add a floral tie headband to beautifully frame your face.

Here’s the result:
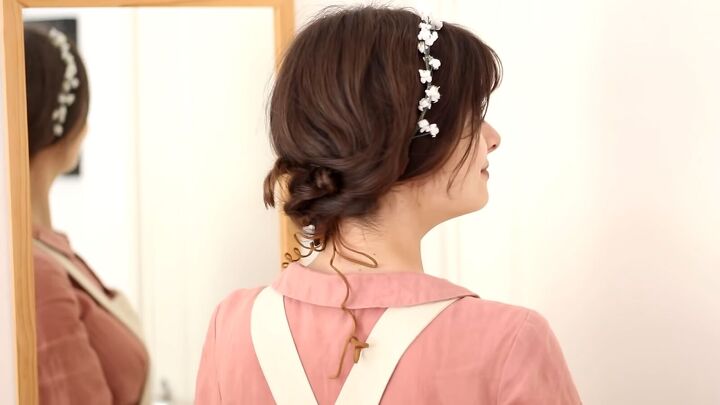
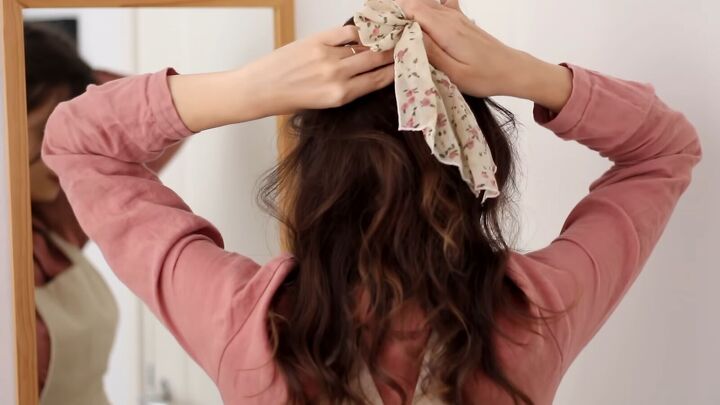
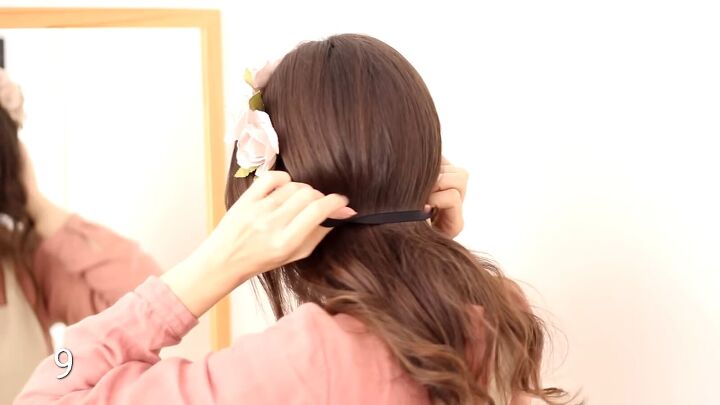
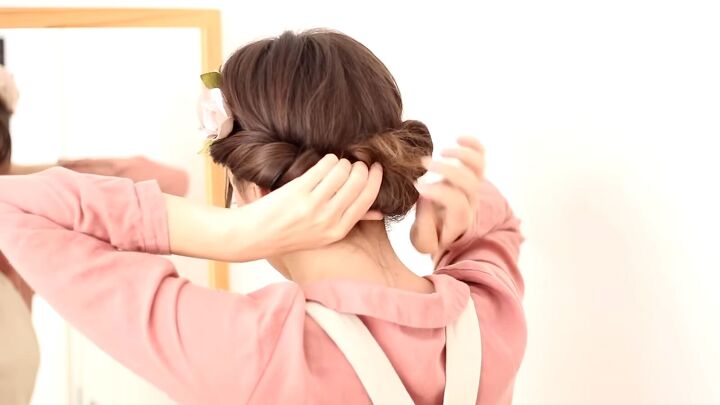
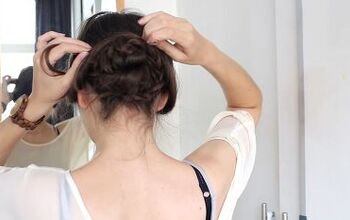
9. Floral headband rolled updo
Place a floral headband with an elastic back over your hair.
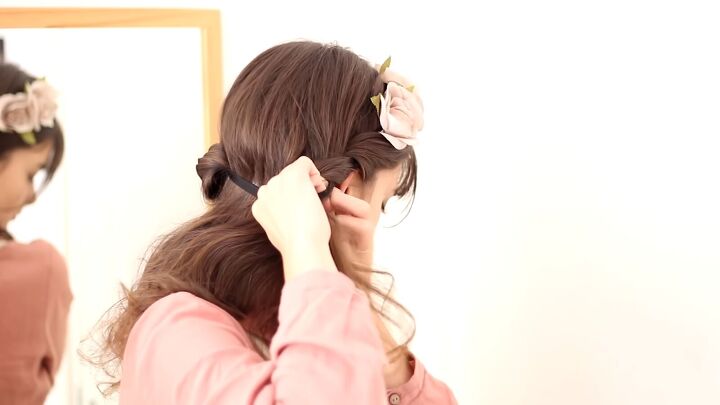
Start covering the elastic behind your ears by taking sections of your hair ends and wrapping them around it.
Once you are left with just a tail of hair down the middle, grab that hair together.
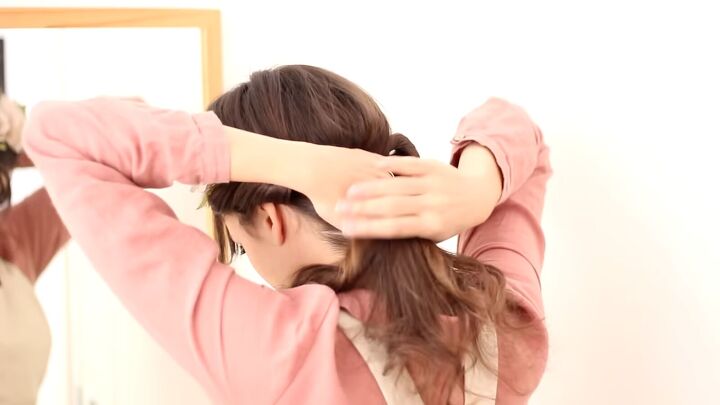
Roll the tail upward and tuck the ends into the elastic. You might need a bobby pin or 2 to make sure they stay put.
Here’s the look from the side:
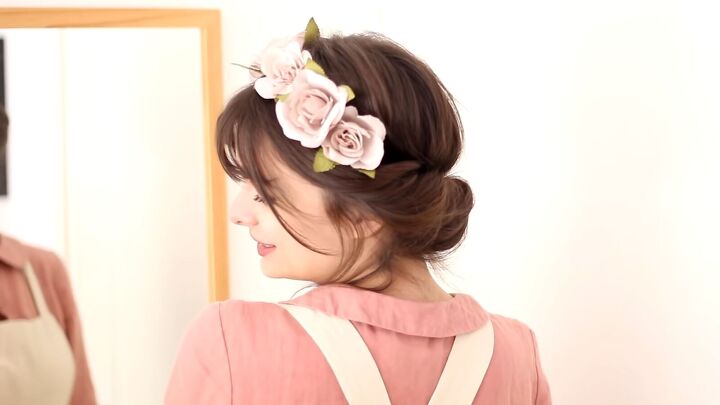
And from the back:

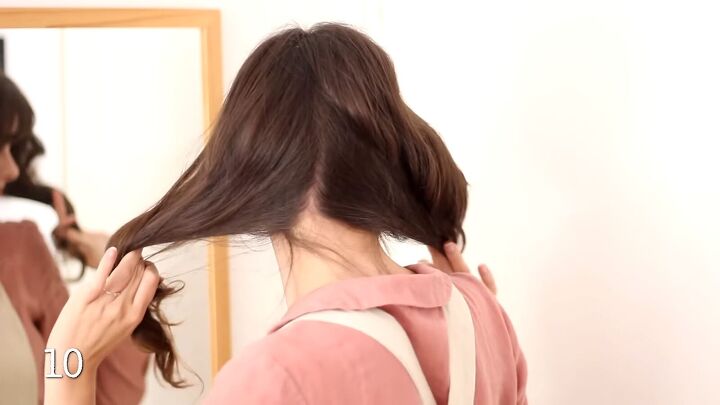
10. French braids
Start by splitting all of your hair in 2 sections. Pull each section to either side to keep them separate.
Begin a French braid on one side of your head, adding in hair from behind as you go.
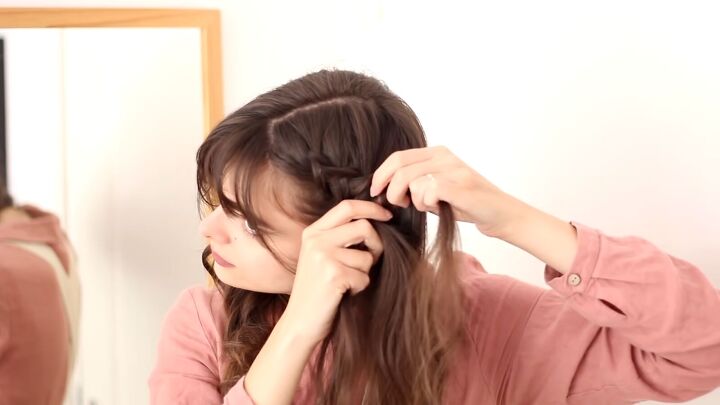
Tie the end with a hair elastic.
Repeat on the other side and fluff out the sections of the braids.
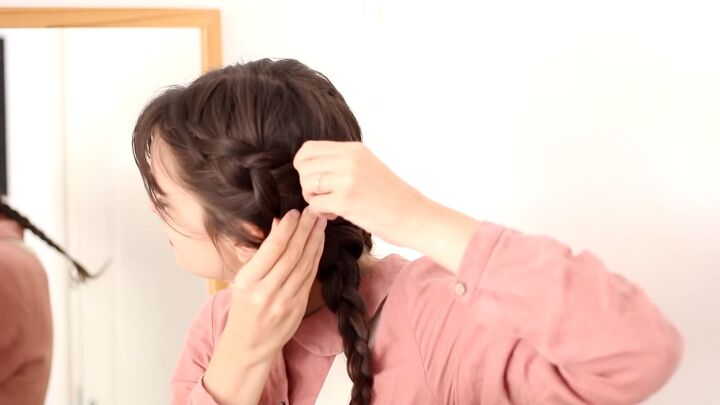
Finally, pull out some stray pieces in the front to frame your face.

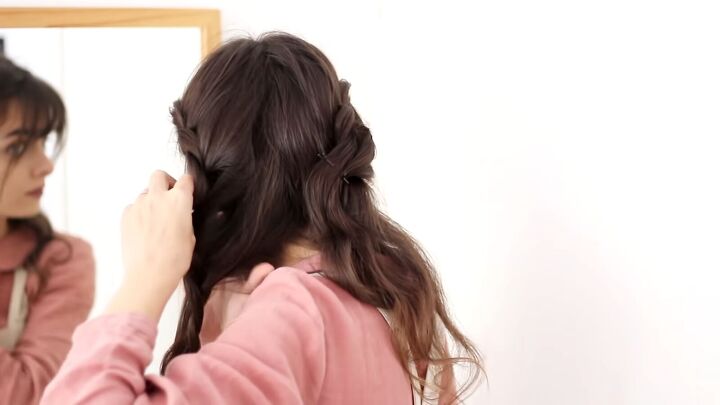
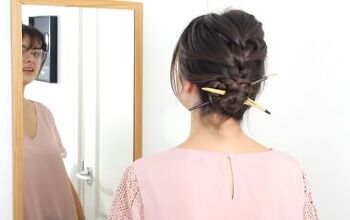
11. French braided wreath
Start with 2 French braids. Then cross the ends at the back of your head.

Next, pull each end forward, to the start of each braid, securing the ends in place with bobby pins.
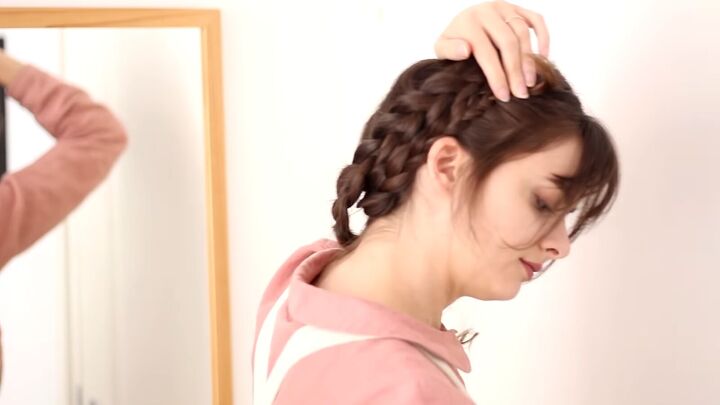
It’s like a braided wreath!
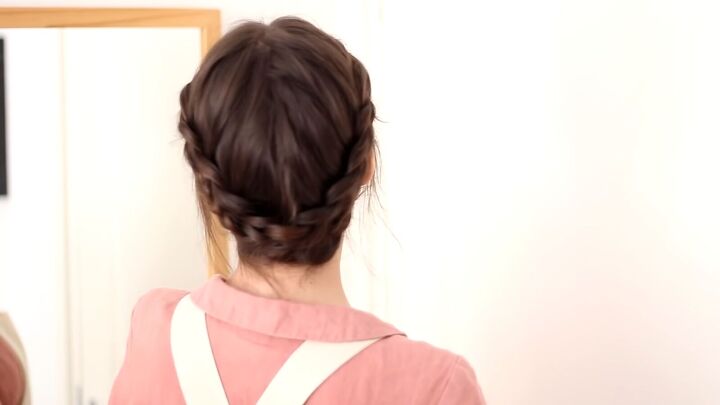
Then just add a floral tie headband.
12. French braided half-pony with a bow clip
Start with French braiding on either side of your head, but don’t braid the tails.
Join both braids at the back of your head to make a half-ponytail, then secure them in place with a decorative, bow clip.
It’s so feminine and cute!
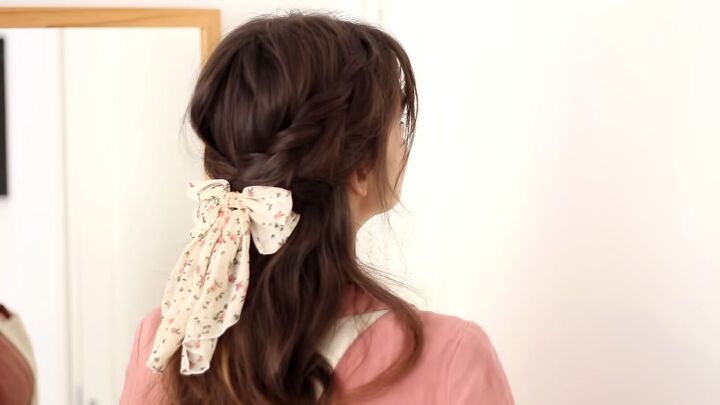
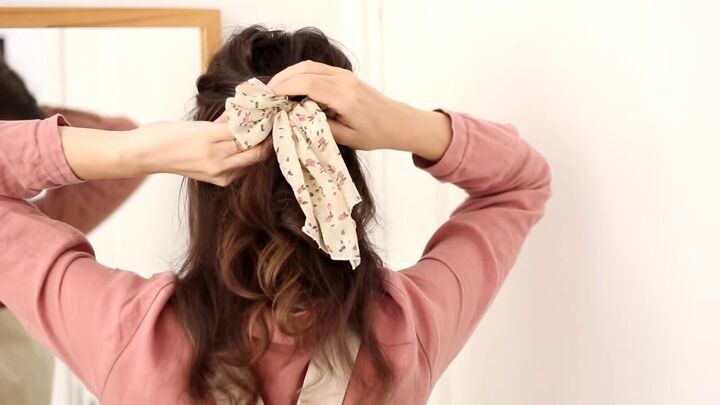
13. Low ponytail with a bow
Pull all of your hair into a low ponytail.
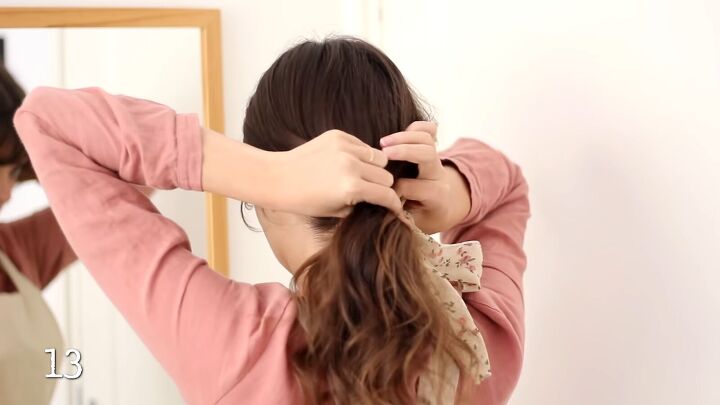
Then, secure the hair with a decorative bow clip. If you have thick hair, you might want to tie it off with a hair elastic first.
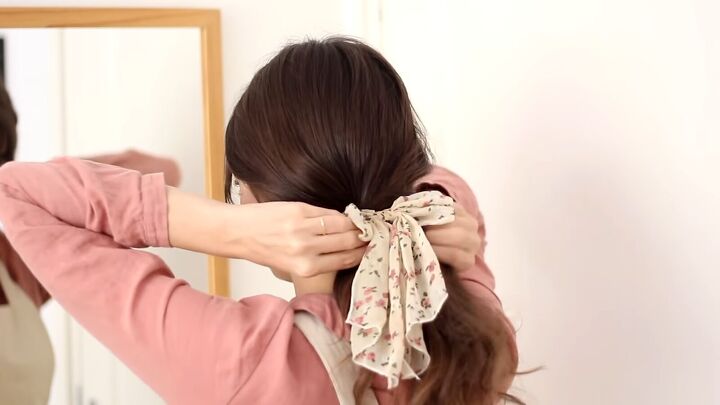
So simple!
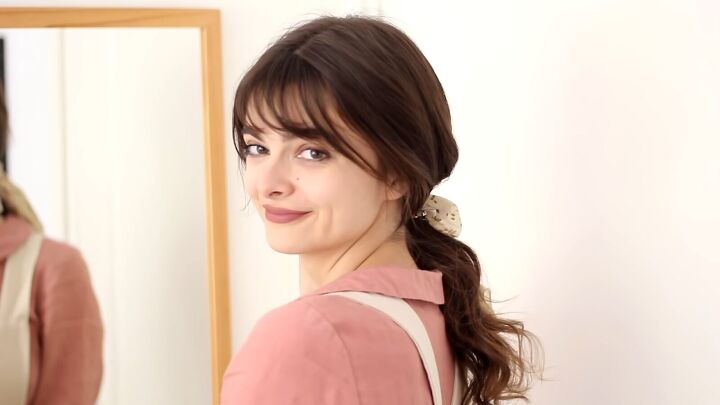
14. Loose braid with a floral headband
Start with a regular, loose braid, slightly to the side and secure the end with a hair elastic.
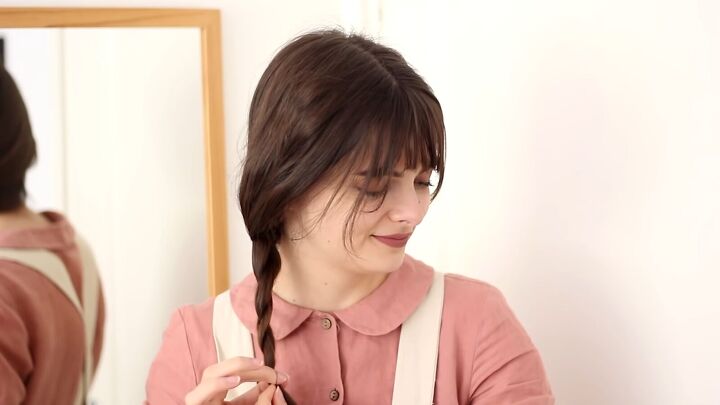
Then add your favorite flower-embellished headband.

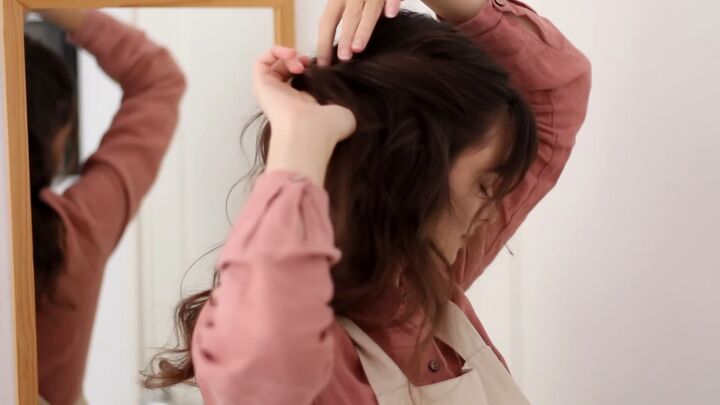
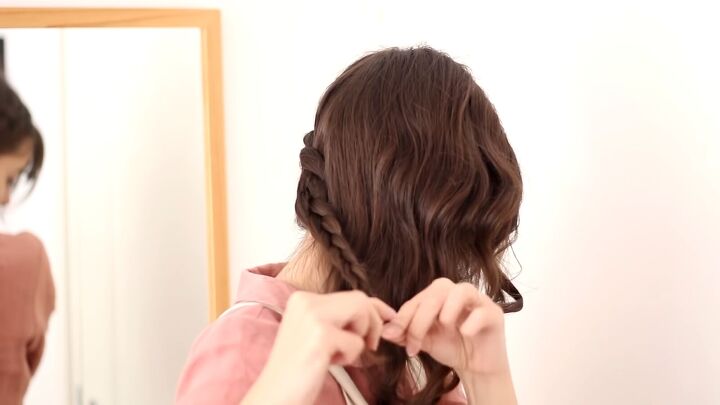
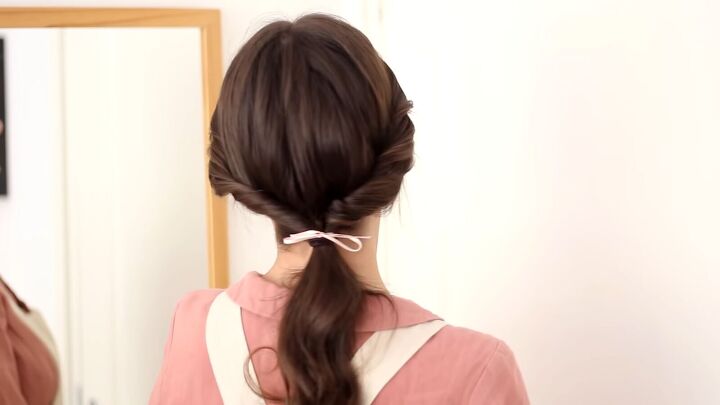
15. Side twists with a low ponytail
Start by twisting the hair on one side, from your temple.
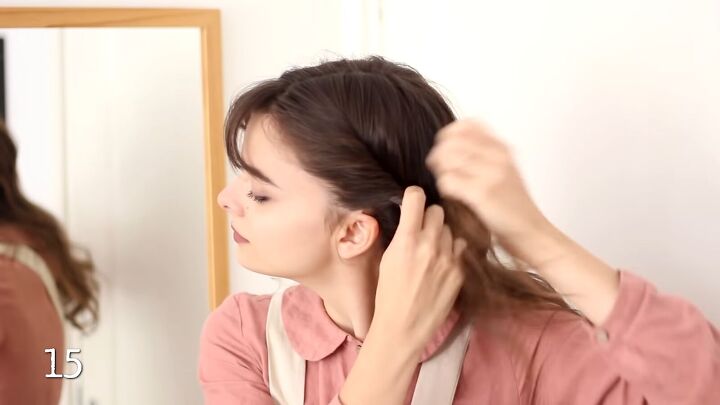
Add in more hair as you move toward the back of your head. Then secure it in place with a bobby pin.
Repeat on the other side.
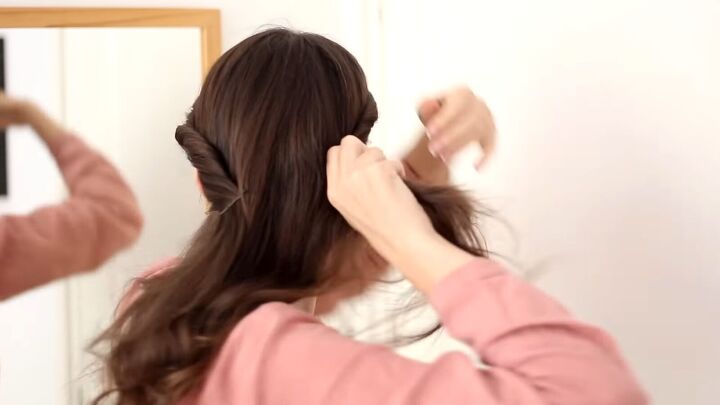
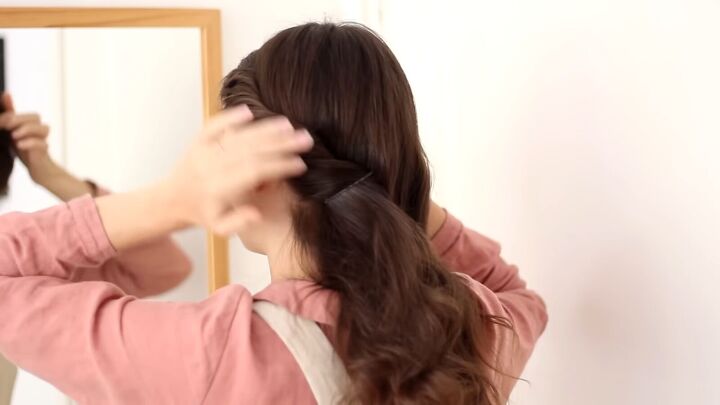
Then, once you meet with the piece from the other side, remove the bobby pin and hold them together.
Then, with a ponytail holder, make a low ponytail with all the hair.
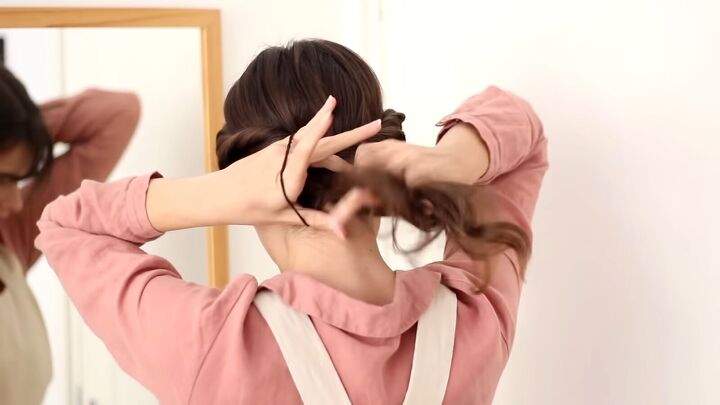
Add a tiny bow if you’d like!
Easy cottagecore hairstyles
That’s what I call the cottagecore hair encyclopedia!
Comment below which of these 15, cute quick and easy hairstyles is your favorite.
For more hair content, check out my post on 5 Super Cute and Easy Hairstyles for Long Hair as well as a Super Easy DIY Tea Rinse for Healthy Hair.
The author may collect a small share of sales from the links on this page.


Comments
Join the conversation