Creating a Zombie Inspired Shirt “Jersey Knows Best”
Were you invited to a Halloween Party?! Are you not sure what to wear for your Halloween costume?! Check out this easy Zombie inspired shirt to wear! Ready?! Let’s do this!
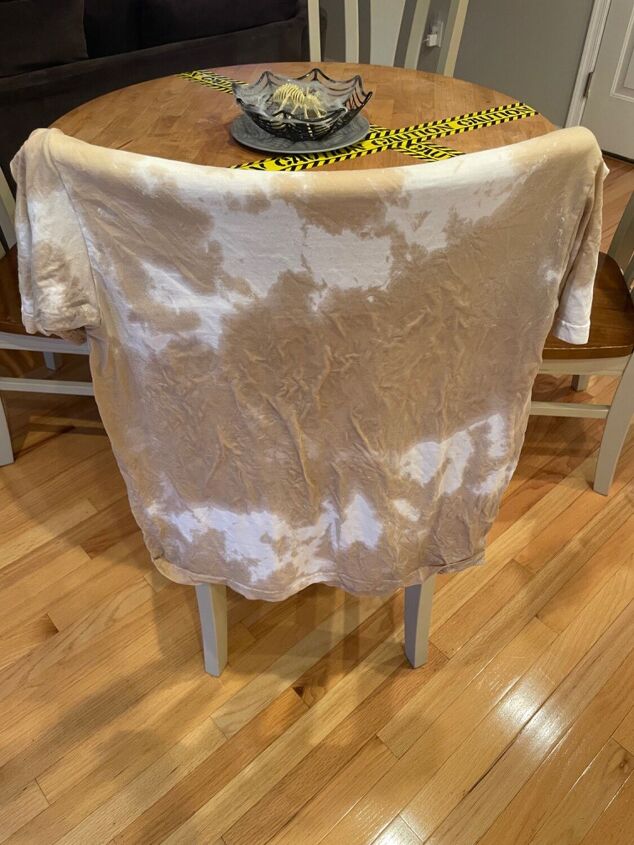
Here I dipped parts of the shirt in leftover coffee. This is the wet coffee and as it dries it gets lighter.
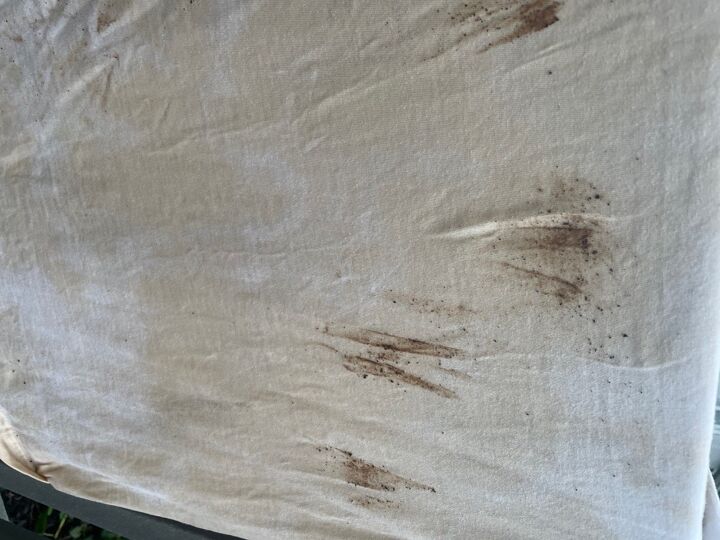
Here I rubbed spots of the cooled coffee grinds for a dirt look. I washed the shirts with water only and let them air dry.
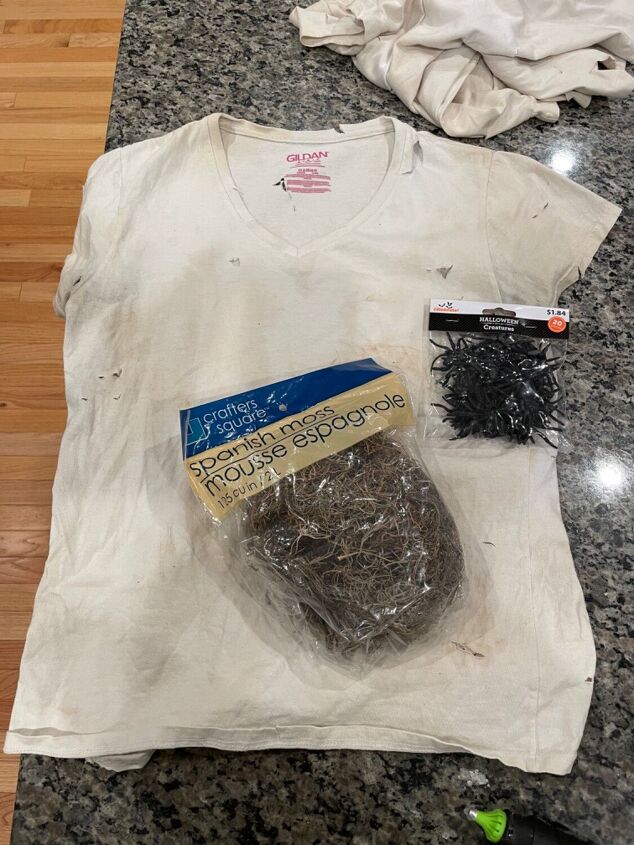
After my shirt air dries, I cut small holes and the edges of the shirt all the way around. I then hot glued spiders and pieces of Spanish moss to my shirt, on the front and back. If you can, work outside or in the garage for the Spanish Moss part…it’s messy to work with.
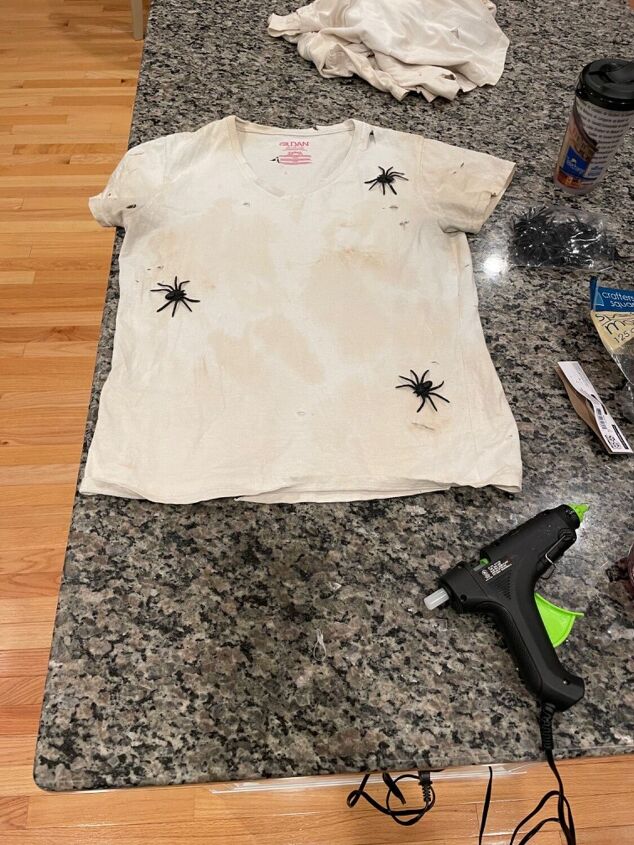
Spiders are done! Front and back!
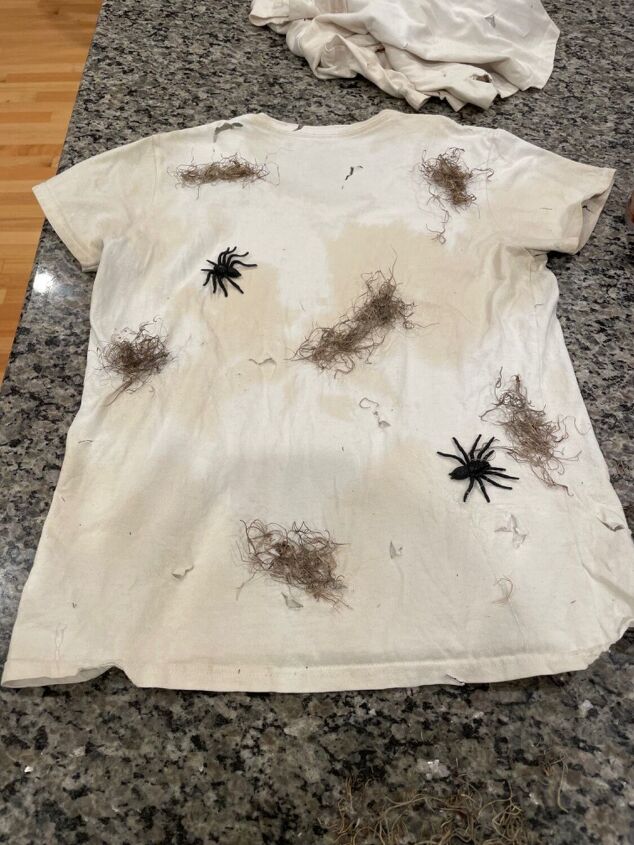
Spanish Moss is done. The shirt is starting to look like I roam around in the woods all day 🧟♀️🧟♂️
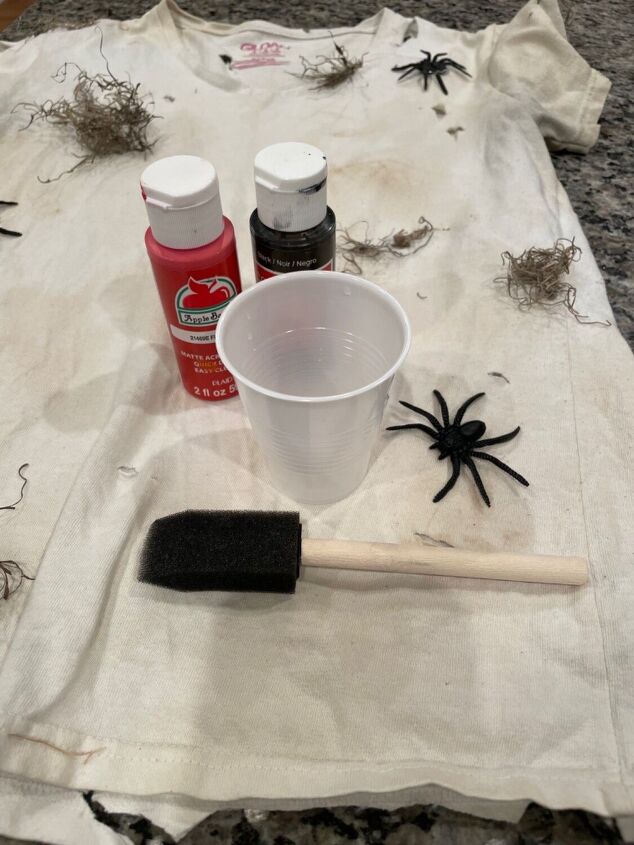
To give a blood effect on the shirt, I get together red and black acrylic paint and a sponge brush or small paint brush. I mix red paint, about a teaspoon, with a drop of black and about 3 teaspoons or so of water to make a thin dark red paint. It should be a dark red color.
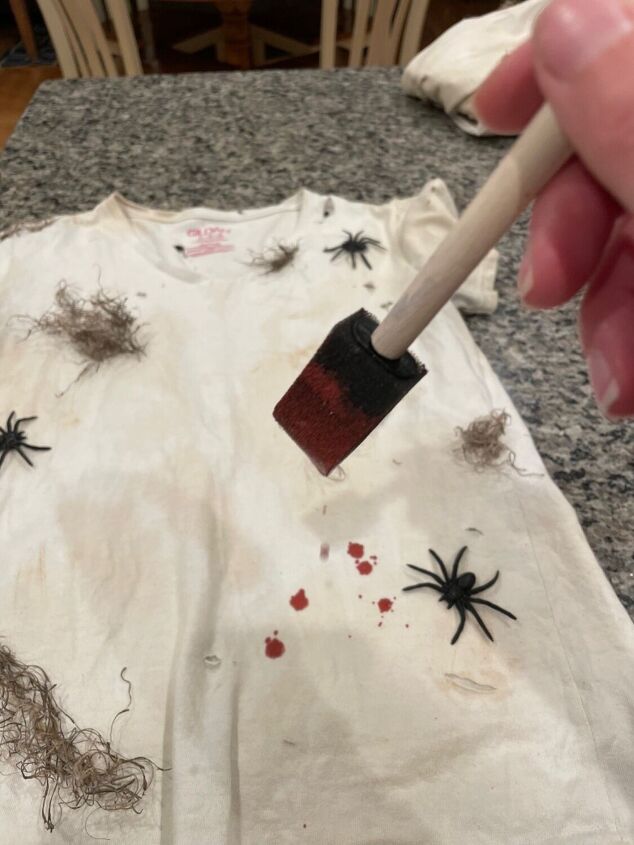
The paint should be thinned out enough to drip off your paint brush or sponge brush. I then drop and lightly splatter the paint onto the shirt. I do that on the front and back of the shirt.
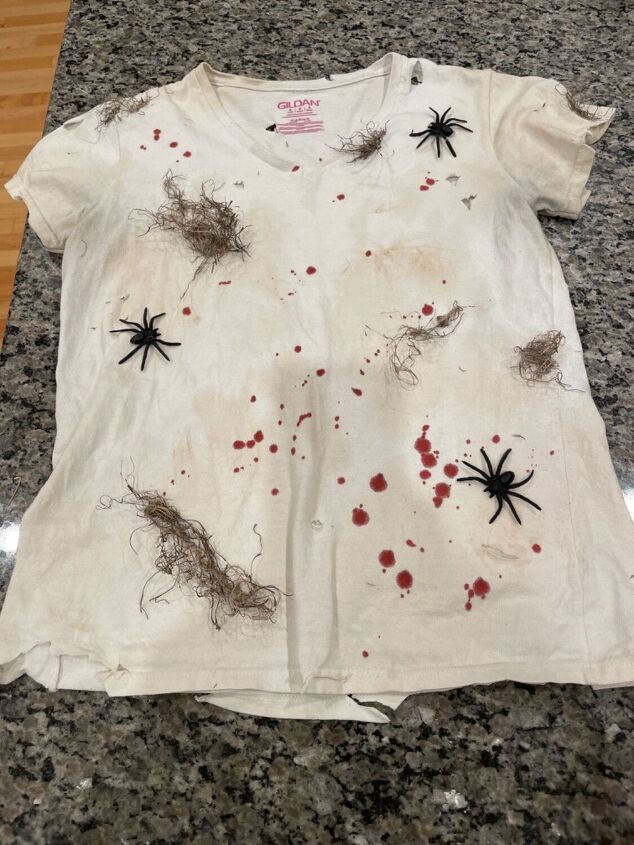
This is the finished look! I love how it turned out. Check out my Zombie pants tutorial to finish the look! Happy Halloween! 👻💀🎃
The author may collect a small share of sales from the links on this page.


Comments
Join the conversation