Crocheted Santa Inspired Cell Phone Pouch
Around the holidays when we gather with family, my biggest pet peeve is having someone pull out their cell phone instead of being present with people that are actually there! Our solution may be a little unconventional but it's a fun one. Make these cell phone covers for everyone attending (you can coordinate this ahead of time). Then have everyone slip their phone into the cover and leave them on display with your Christmas decor. They become part of your Christmas decor for the duration of the party, then everyone can have their phone back when they leave. Be sure to crochet a different one for each person so they can easily identify which one is theirs!
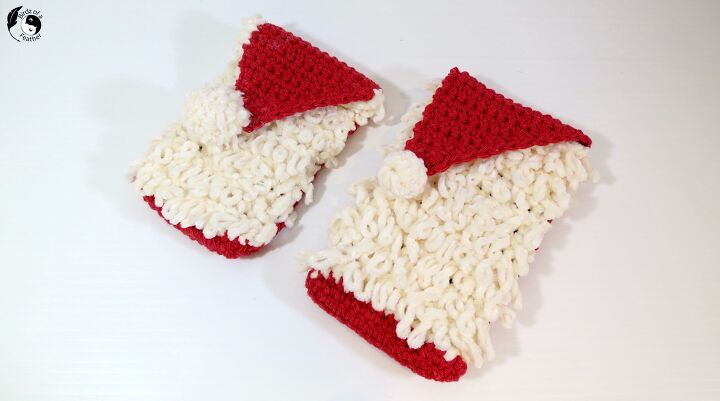
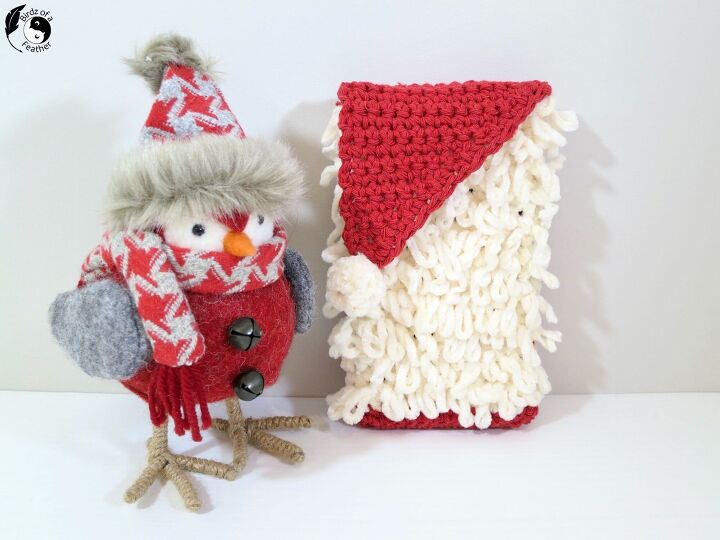
Here's a pattern for our first design. Our crocheted Santa inspired phone cover has a fun loopy texture!
And the best part? Our pattern is easy to adapt to whatever size cell phone you, or your family members, own! You'll likely be able to make this in only one hour, depending on the size of phone!
If you’d like to gift this pattern to a crocheter on your Christmas list, grab the ePattern from our Ribblr shop. All patterns are on sale until the holidays! If you don’t already know, the money we earn from pattern sales go directly to our Alzheimers’ Crochet for a Cure charity fund drive each year. It was started over a year ago in memory of our mothers :).
However, if you want to crochet this phone case right along with me, watch this video for the tutorial and read on for instructions:
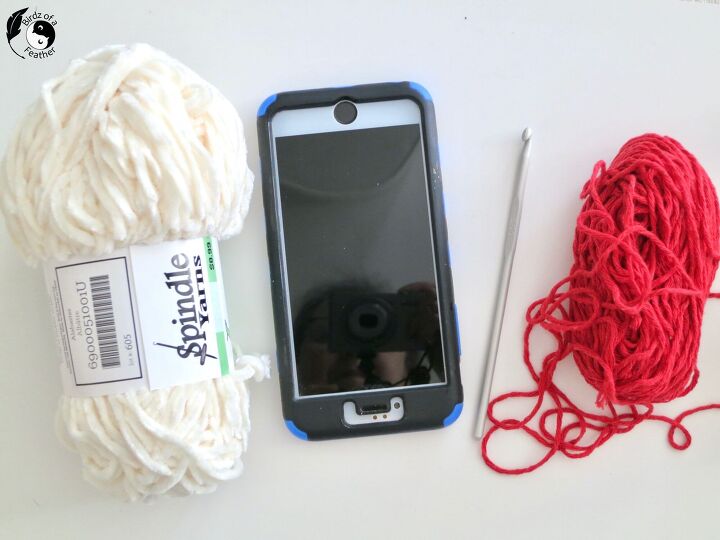
All you need is red worsted weight yarn, velour yarn in a creamy white, and a 5 mm crochet hook.
Abbreviations:
- ch = chain
- st = stitch
- sc = single crochet
- ls = loop stitch
- sl st = slip stitch
- (..) = repeat the instructions in between brackets the given number of times
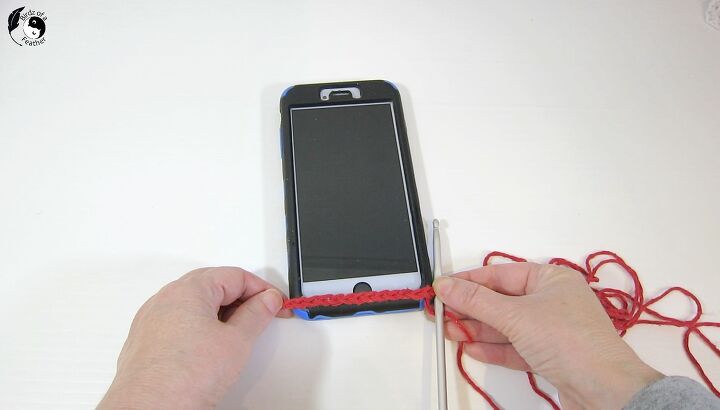
Crochet with yarn in red colour. Start with a slip knot.
Using a 5.0 hook, chain enough to reach from side to side. The number of chains will depend on your gauge and size of phone. When you measure the chain, don’t stretch it. I did about 14 chains to start, but yours could be different. Be sure to measure against your cell phone before continuing (note that we’ll be adding more stitches in next steps).
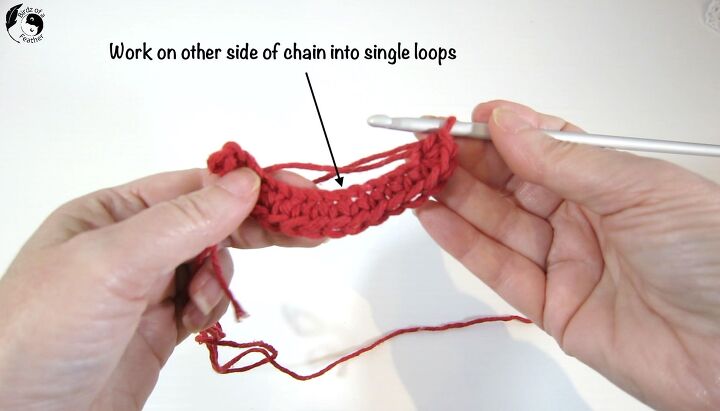
Single crochet into each chain st. When you reach the last ch st, sc 3 times into the st. Continue onto other side of chain, working through the single loops, and make your way back on the other side of the chain until you reach the last st. SC 3 times in last st.
However, before you complete the last sc, change colour to white. Be sure to leave the red attached; we’ll be picking that back up later to complete the back of the crochet phone pouch.
Loop Stitch (repeat two rows)
Crochet with white.
(sc 13 sts. ch 1, turn.
Loop st for 13 sts. Ch 1 turn).
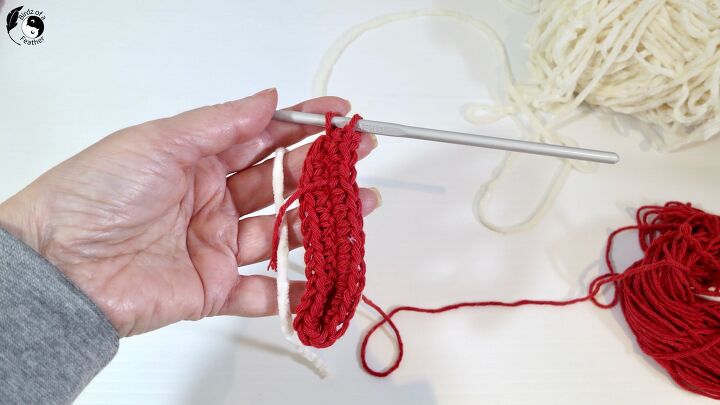
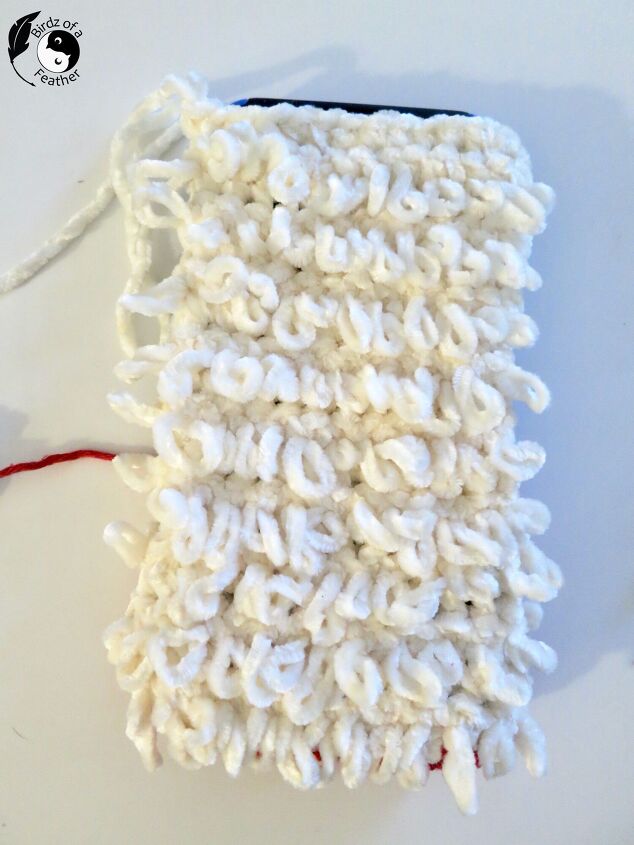
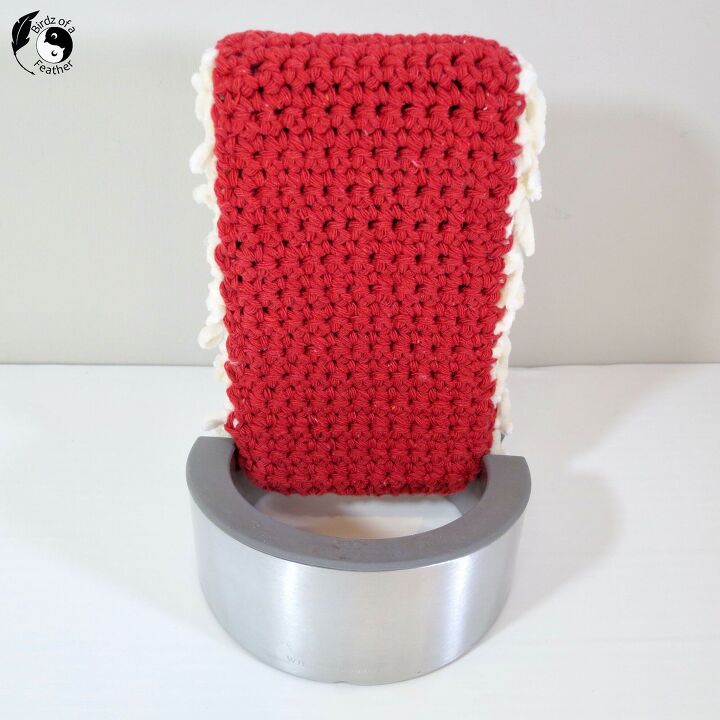
These two rows form the loop stitch. Here’s how it will start to look after the first two rows of white.
The red will wrap around the bottom and the white loops will form the front of the crochet phone pouch.
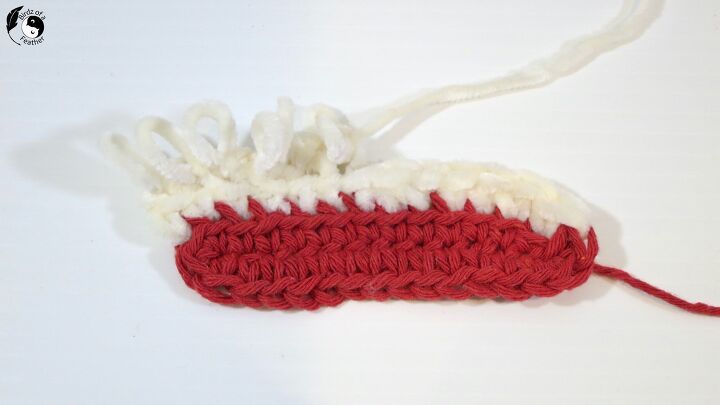
Repeat previous two rows (between the brackets above) until you reach the top of your own particular cell phone as shown.
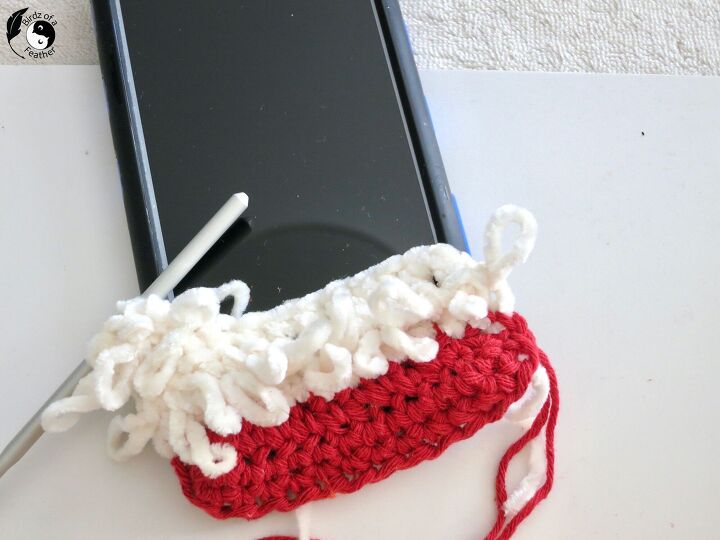
Pick up red yarn where you left off. Pull up a loop in red through the white sts and sc 14 sts. Pick up a white loop at side and sl st.
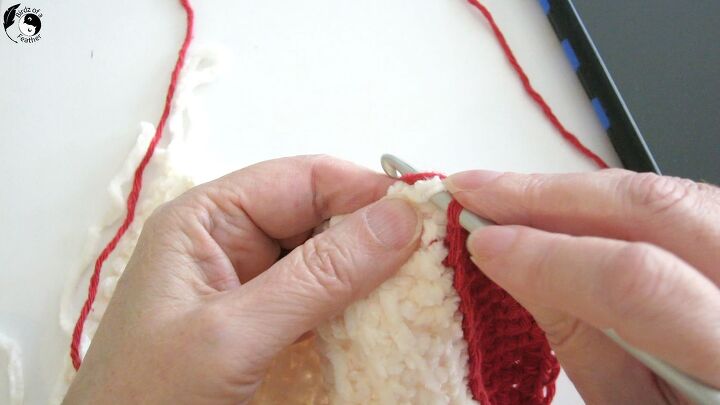
Turn around and work your way back. sc across all red sts, sl st through white loop at side, turn and make your way back again with sc in every st.
By capturing the white yarn on the side, it will start to form the crochet phone pouch!
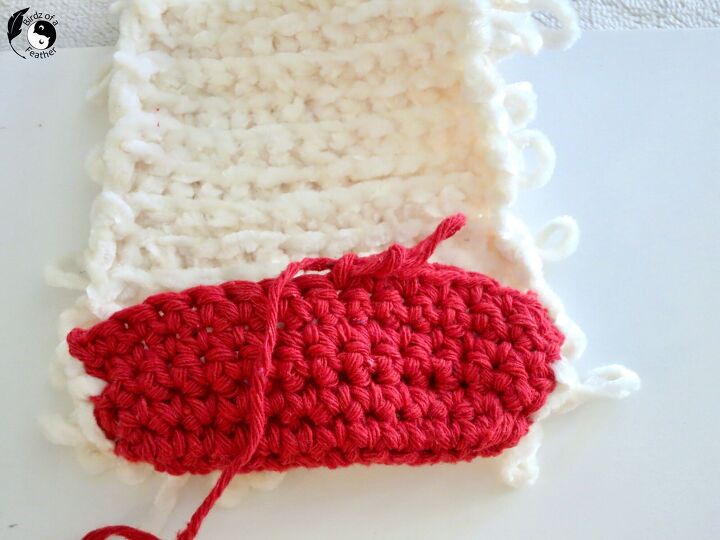
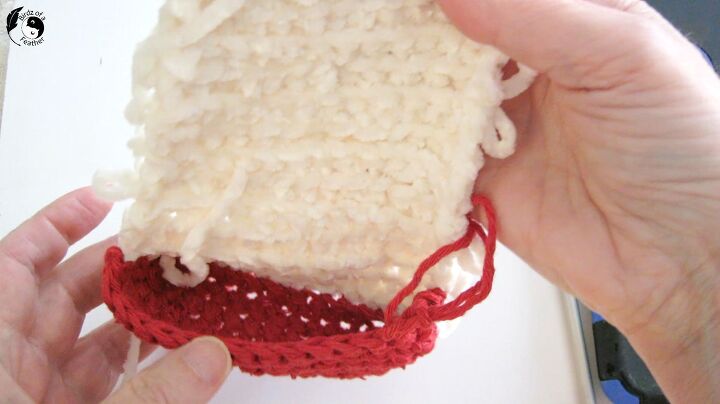
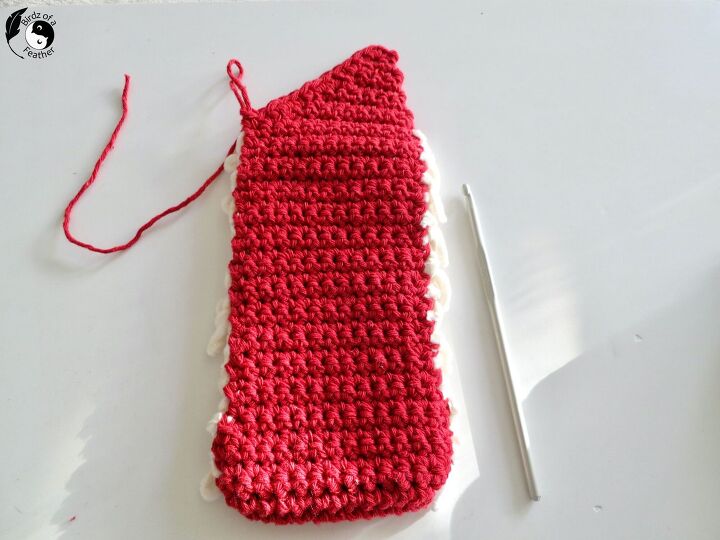
Continue on in that manner until the red is fully enclosing the crochet phone pouch in the back.
Here’s how the back will look when complete.
Head to our blog (link at the end of this post) or watch the video for step-by-step on how to complete the hat.
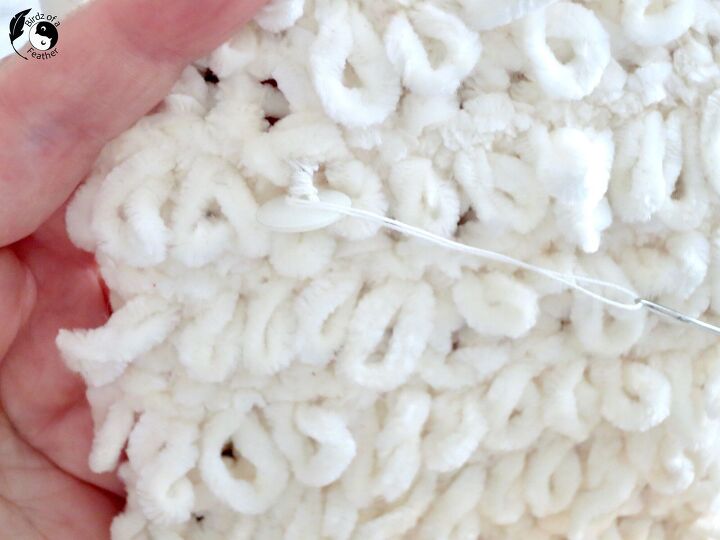
Stitch on a button to keep the flap closed. Choose a red button if you want to camouflage it in the red yarn.
The trick to keeping buttons from falling off is to leave slack to form a shank. Then wind the yarn around the shank to stiffen it. Bring yarn to back and knot, hiding the tail.
The single crochet is loose enough that you can pop the button through to close the flap/hat. Now, to complete, make a pom pom for the end of the hat.

Pom Pom
For one version I use a serving fork to form the pom pom. You’ll see that technique in an upcoming project!
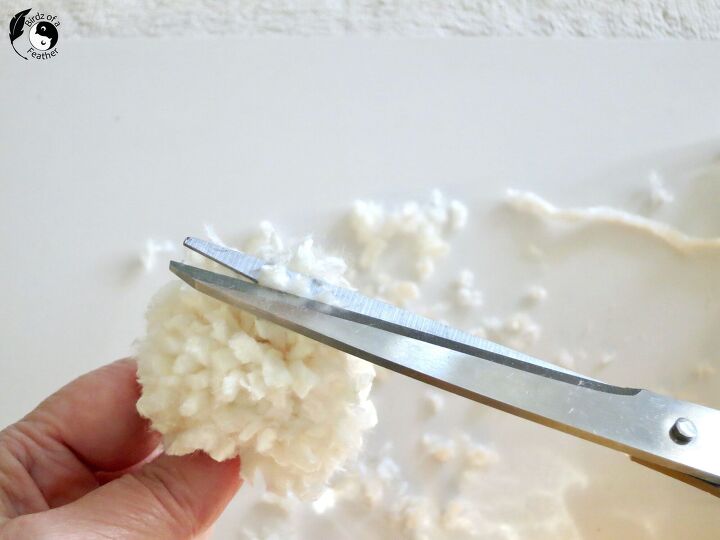
Watch the video at the beginning of this post to see how I crochet a pom pom for this pouch.
A crochet pom pom is much more practical for this particular yarn because it tends to shed when cut!
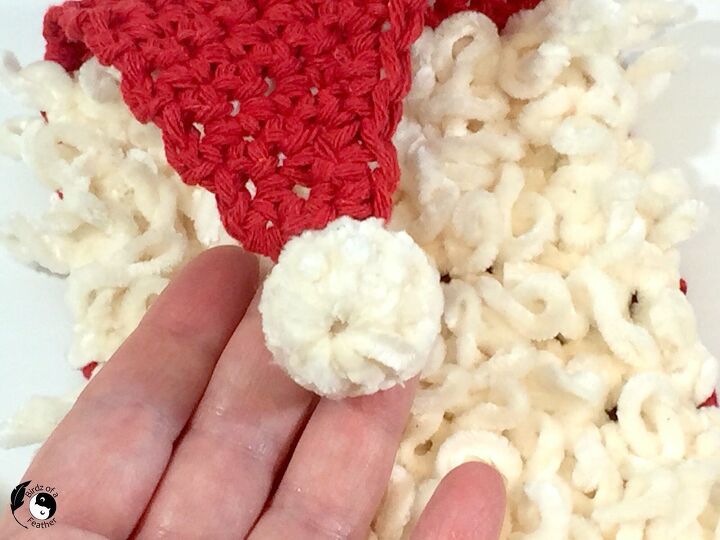
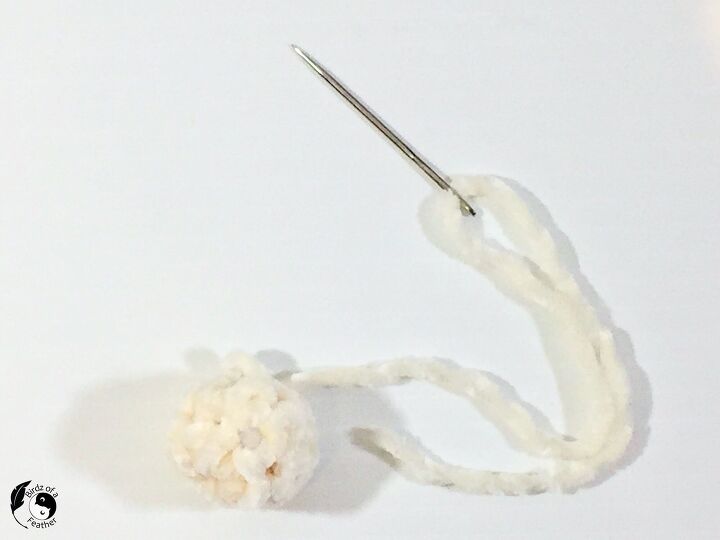
Tie the pom pom onto the tip of the hat. On the smaller version, I fastened it on in such a way that it hides the button.
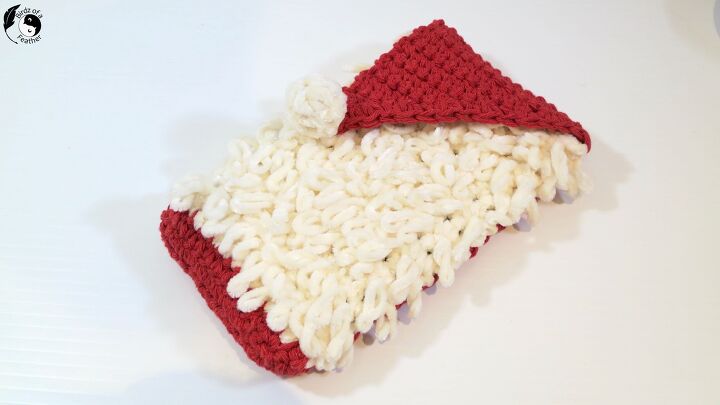
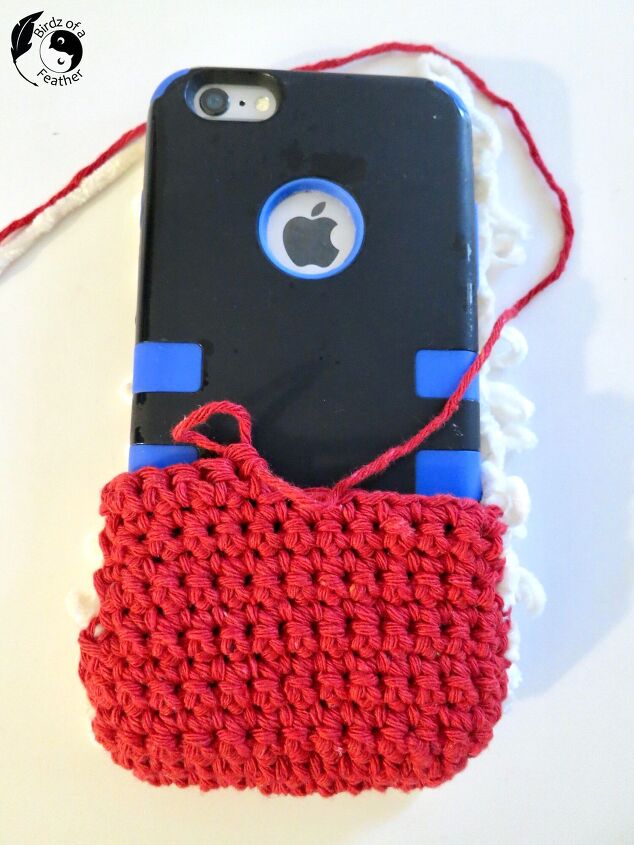
Just slip your phone in and you’re done!
By the way, if you like the idea of having your cell phone blend in with your Christmas decor over the holiday, you might like the other patterns in the holiday collection:
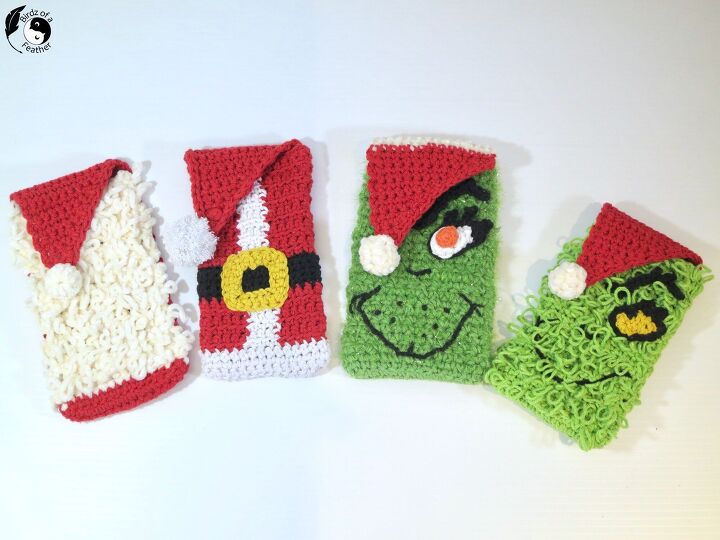
You find our eBook for all four patterns here.
Subscribe for more creative DIYs ( https://birdzofafeather.ca/subscribe/). Also follow us on social media (copy & paste in browser – or use the direct links at the top of this post):
Pinterest: http://bit.ly/BirdzPIN
YouTube: http://bit.ly/BirdzYT
Facebook: http://bit.ly/BirdzFB
Instagram: http://bit.ly/BirdzIG
The author may collect a small share of sales from the links on this page.


Comments
Join the conversation