4 Super Cute Christmas Hairstyles That Don't Use Heat

Today, we are going to do some cute, last-minute Christmas hairstyles.
These hairstyles are incredibly quick and simple to create. It’s kind of amazing how easily you can create fabulous hairstyles that look like they were done at a salon.
Tools and materials:
- Hair ties
- Bobby pins
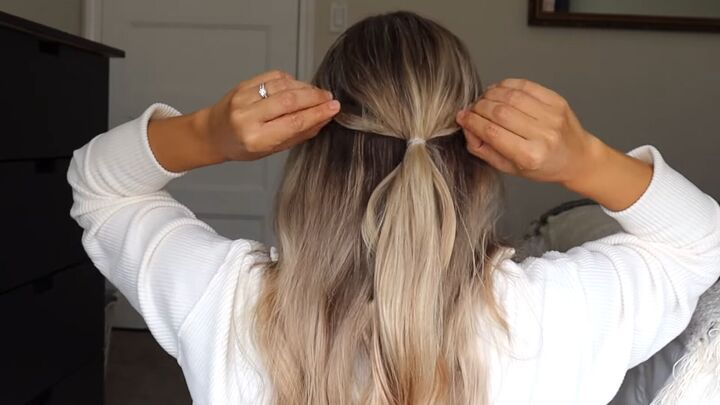
1. Half pony twist
For the first hairstyle, grab a section of hair in the middle of the back of your head and then tie it off.
Pull on the sides and then pinch and pull it for some texture and volume.
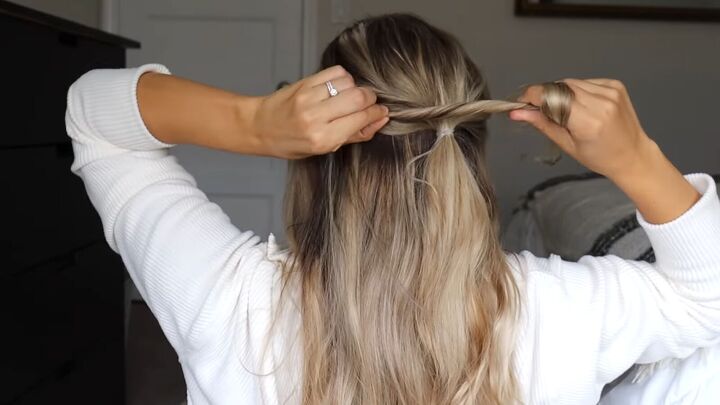
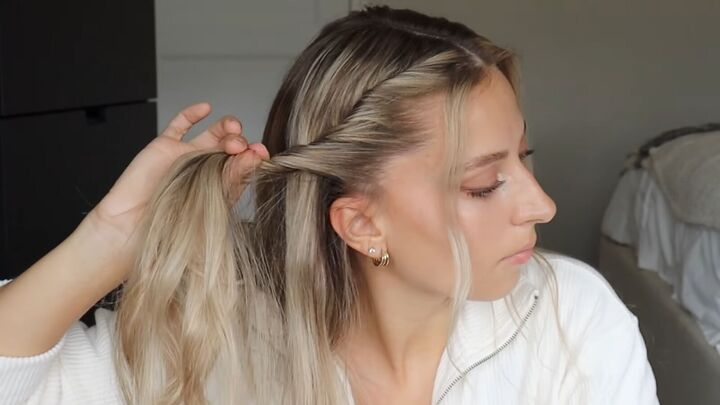
Take a small section from the left side of your head and twist it a couple times away from your face, around your finger.
Pinch and pull it to give it some volume and drape it over your hair elastic. Bobby pin it into place.
Do the same thing with the right section.
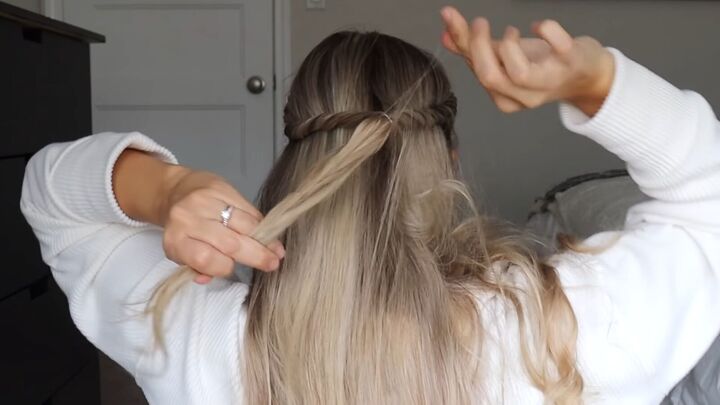
Take a small section, twist it away from your face, pinch and pull it a couple of times.
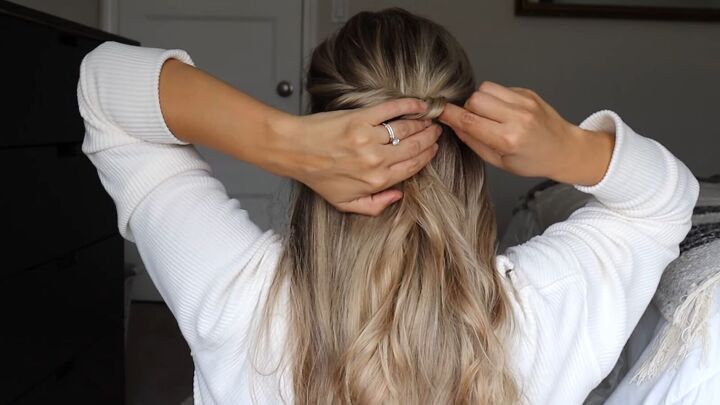
For this one, you're actually going to stick your fingers underneath your opposite twist, and then pull your right twist through that.
Then, bobby pin it into place. This makes it look like it's one continuous twist.
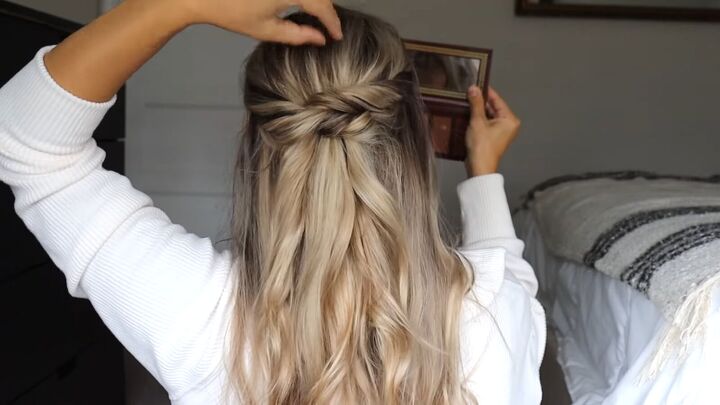
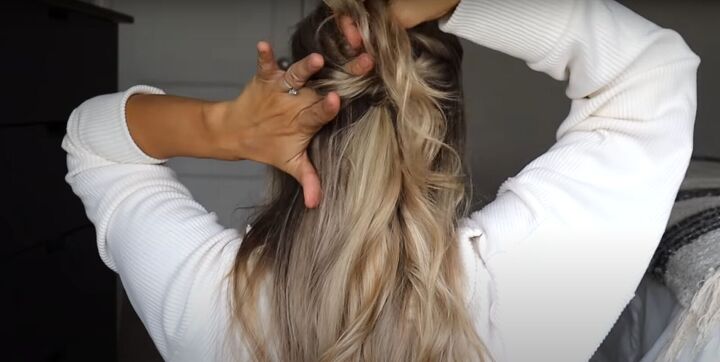
Pull at the top for some texture.
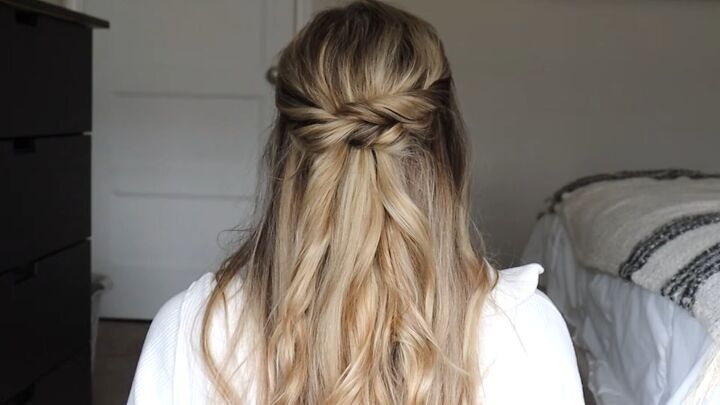
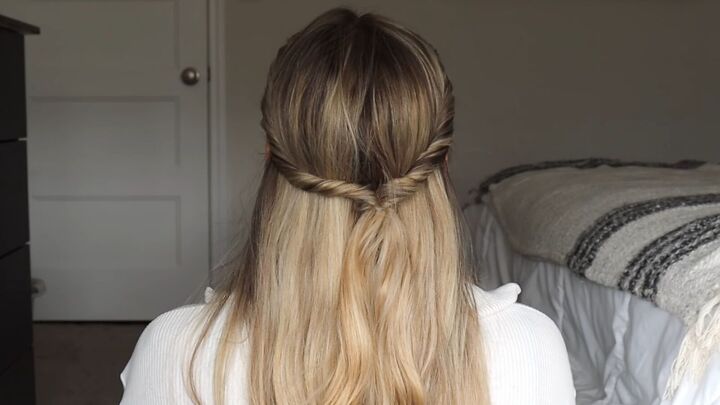
This is what it looks like. It's really cute and really simple, but it looks fabulous.
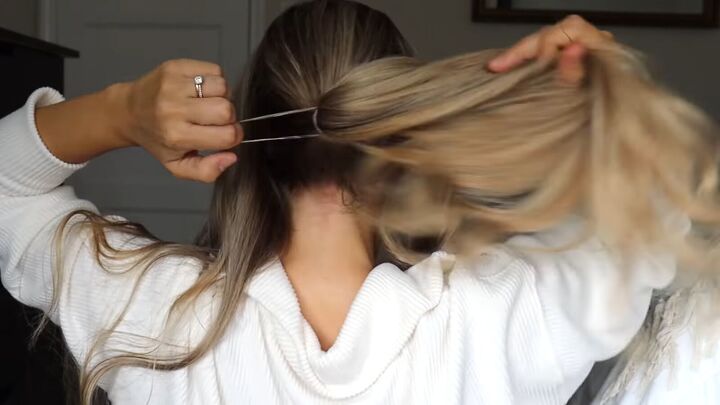
2. Twisted pony
For the next hairstyle, you are making three sections. Make a section on the left, a section on the right, and a section in the middle.
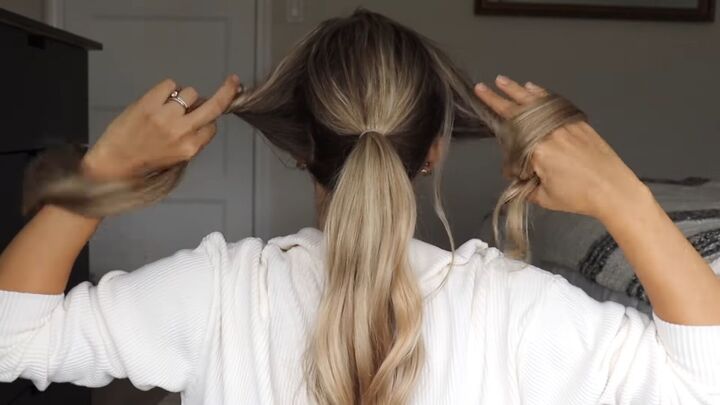
Tie off that middle section into a ponytail. Your two outside sections should be smaller than your ponytail.
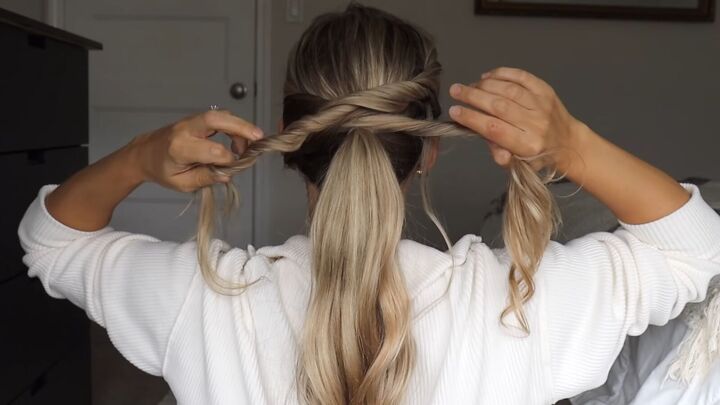
Twist the side sections away from your face, around your finger, and cross them over your ponytail.
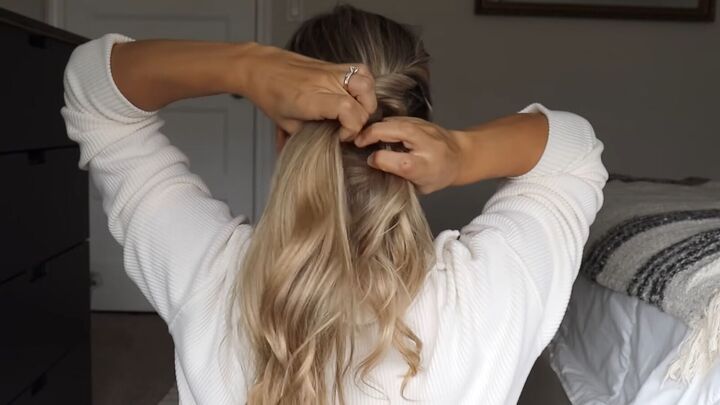
Tighten them, and bring both of those sections underneath your ponytail.
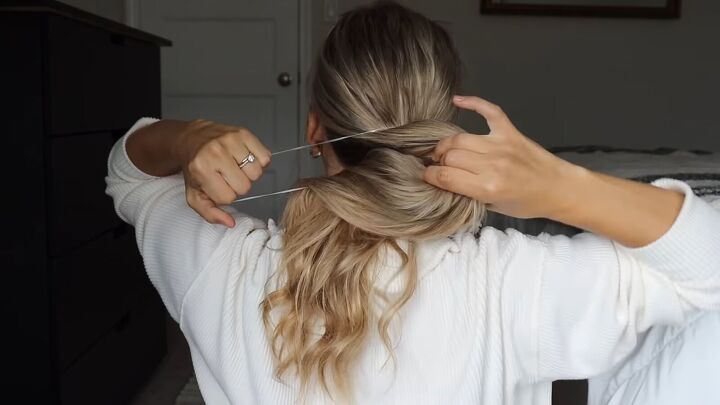
Take a small section from the bottom of your ponytail and add it into those two sections to make it look like it's one with the ponytail. Tie it off with a clear elastic.
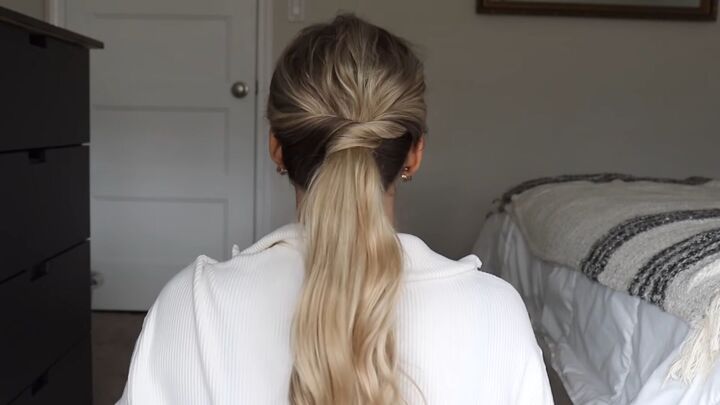
The end result should look something like this. You can just pinch and pull if you want to add some texture.
This ponytail is really great. I'm always looking for a really cute ponytail to wear.
3. Classy twisty bun
For the next hairstyle, you want to pull your hair back. Take your hair and keep it tight while pulling it through the hair tie twice.
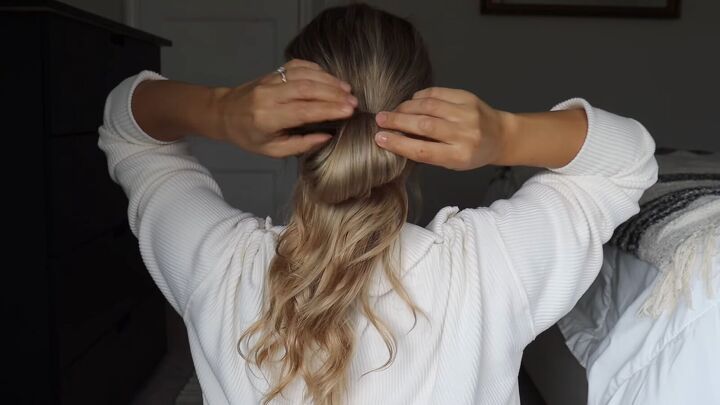
On the third time, just pull it through a little bit to create a bun.

Divide the hair that's left hanging out into two.
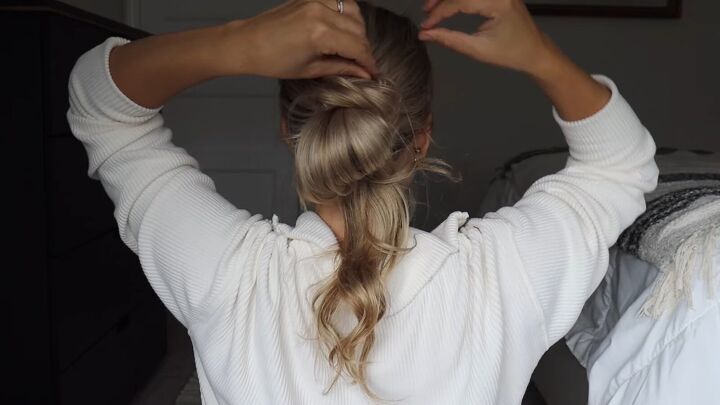
Take one section, twist it away from your face, tug on it, and then wrap that twist around the base of the bun all the way around.
Wrap the ends all the way around and just tuck them up under the hair and bobby pin it.
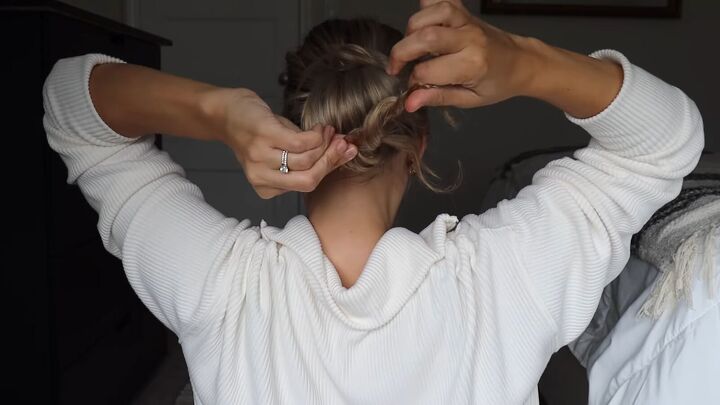
Do the same thing with the opposite strand. Twist away from your face, and wrap that up towards the top and around.
Tuck the ends underneath the bun and bobby pin it in place.
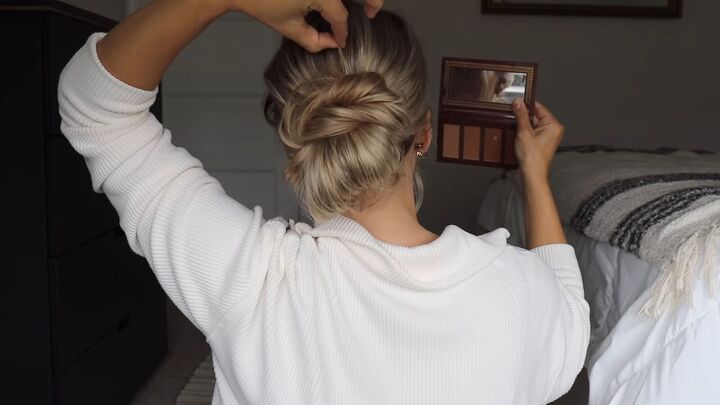
Pinch and pull the twists. It makes your hairstyles look so much better. Pinch and pull around the top for texture.

Here is the finished look. This one is adorable.

4. Twisted crown

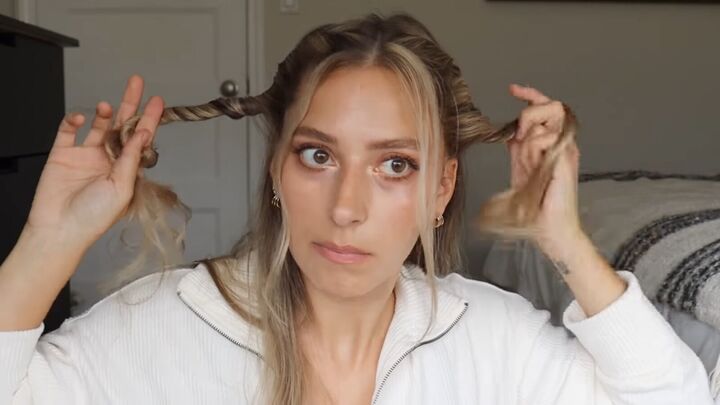
For the last hairstyle, part your hair down the middle. Take a small section at the top and twist it.
Add in a small section of your hair. Continue to twist and add small sections of your hair.
Twist away from your face, adding in a section all the way down until you reach the top of your ear.
Once you reach the top of your ear, stop adding in hair and just keep twisting it away from your face. Make sure it's nice and tight.
Then you're going to do the same thing on the opposite section.
Once you're finished grab the twists and tie them off in the back of your head.
Here is what it looks like when it’s done. This hairstyle is adorable as well.
Cute Christmas hairstyles
Hopefully, you guys can find the perfect holiday hairstyle. Leave me a comment and let me know which hairstyle you tried!
For more hair ideas, check out my post on 4 Cute and Easy 60-second Hairstyles.
The author may collect a small share of sales from the links on this page.


Comments
Join the conversation
Beautiful.
Brava! I happen to be disabled and I can do these styles. Seriously, your explanation and video made it easy to understand and do my do!